How to Share WiFi on iPhone Using QR Code

To share WiFi on iPhone using QR code, we need the support of other applications. The Passwords application on iOS 18 manages all applications that have saved passwords when accessing, including the WiFi passwords we have accessed. Through this Passwords application, you can easily share WiFi on iPhone using QR code. Below are instructions for sharing WiFi on iPhone using QR code.

Share WiFi on iPhone using QR code on Password app

Step 1:

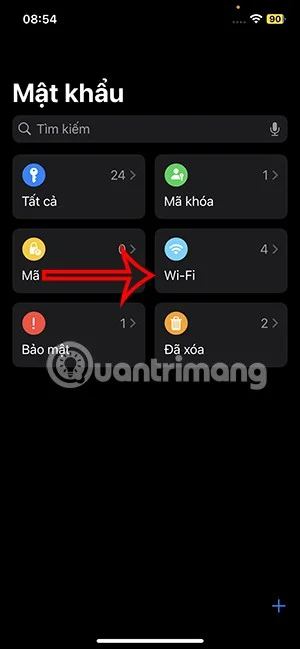
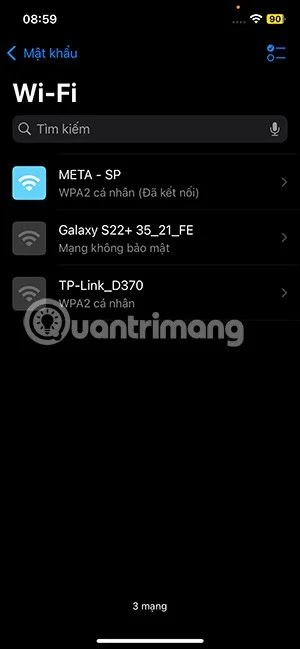
We access the Passwords application on iOS 18, then click on the WiFi item to see the WiFi information saved on the iPhone. Displays the list of WiFi that the user has connected to on the phone. You click on the WiFi that we want to share with the QR code.

How to Share WiFi on iPhone Using QR Code

Step 2:

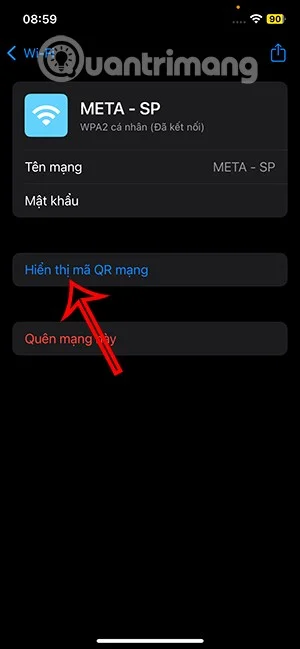
In this information interface, you continue to click on the Show network QR code item to get the WiFi QR code.

How to Share WiFi on iPhone Using QR Code

Step 3:

Now you just need to give this QR code to another device to scan to access. Then your WiFi password will not be revealed.

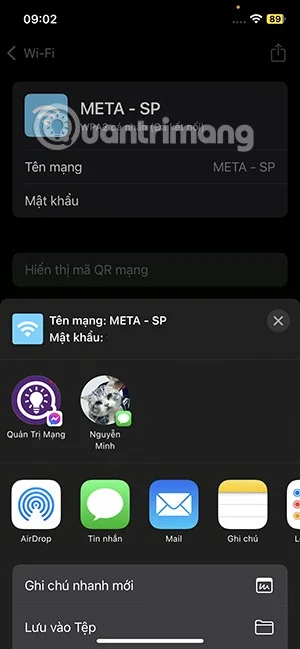
Or there is another way to share the WiFi password, you click on the share icon , then we will see the name and WiFi password to share with others.

How to Share WiFi on iPhone Using QR Code

How to generate iPhone WiFi QR code via third party

If your device is running an older version of iOS or macOS, you'll need to use a third-party website to generate a WiFi sharing QR code.

Step 1:

We access the QiFi.org website via the link below.

https://qifi.org/

Step 2:

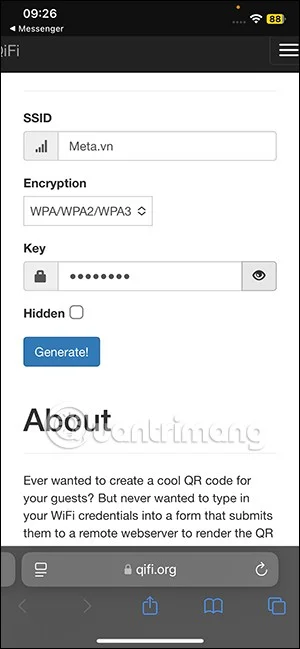
In the web interface , enter your Wi-Fi network name in the SSID section . In the Encryption section , select WPA/WPA2/WPA3 as shown. For Key, enter your WiFi password and click Create to create.

How to Share WiFi on iPhone Using QR Code

Step 3:

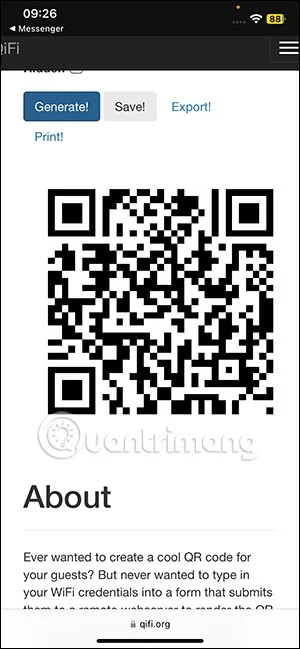
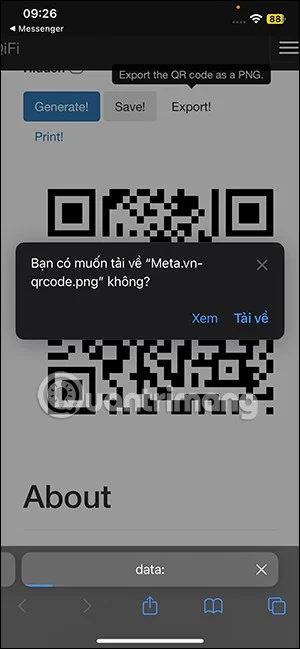
As a result, we have a QR code for WiFi to save and share with others.

How to Share WiFi on iPhone Using QR Code

Instructions for sharing wifi password on iPhone/iPad

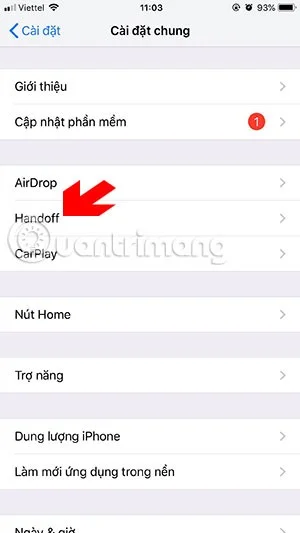
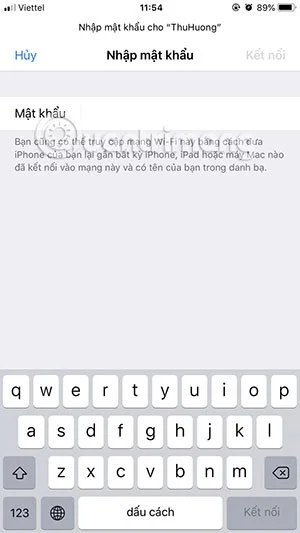
First, to share passwords on iPhone and iPad, go to Settings > select General > then turn on Handoff. Note that this feature must be turned on on both devices.

How to Share WiFi on iPhone Using QR CodeHow to Share WiFi on iPhone Using QR Code

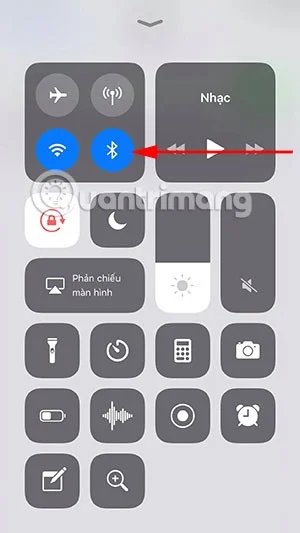
Next, turn on Bluetooth sharing on both devices and place them close to each other.

How to Share WiFi on iPhone Using QR Code

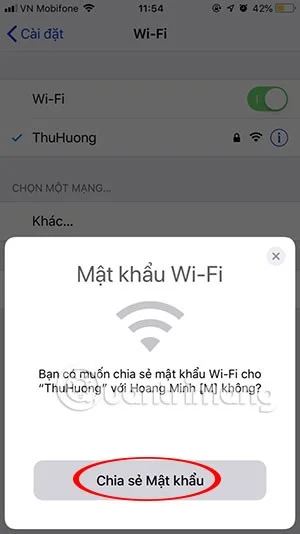
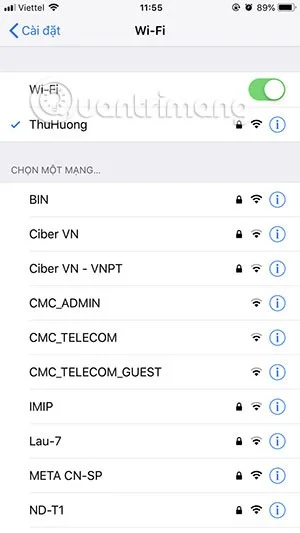
Then, in the wifi list on your device, go to the wifi name that the other device has accessed before. Next, the other device will display a message saying " Do you want to share the wifi password to that device?" . Click Share Password to share the password to the other device.

How to Share WiFi on iPhone Using QR CodeHow to Share WiFi on iPhone Using QR Code

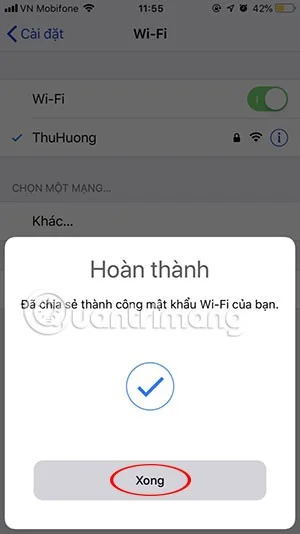
If successful, there will be a message saying Your wifi password has been successfully shared . Now you can use that wifi normally.

How to Share WiFi on iPhone Using QR CodeHow to Share WiFi on iPhone Using QR Code

Note that if you have clicked to connect to wifi but the other device does not show a notification to share wifi, you can press the power button to lock the device, then turn it back on to connect.

Above is an article instructing how to share wifi password on iPhone/iPad when you don't remember the password. Usually, this tip only applies to devices using iOS 11 or later, and is also often only seen when friends share wifi passwords on their phones while at home.
How to share WiFi QR code on iPhone

Leave a Comment

Enable FIPS Mode on SLES 15 and Verify the Boot State

Enable FIPS Mode on SLES 15 and Verify the Boot State

Follow SUSE’s SP7 procedure to enable FIPS mode, reboot safely, verify the active policy, and check whether your compliance requirement calls for validated modules.

Set Up a LUKS-Encrypted Data Volume on SLES

Set Up a LUKS-Encrypted Data Volume on SLES

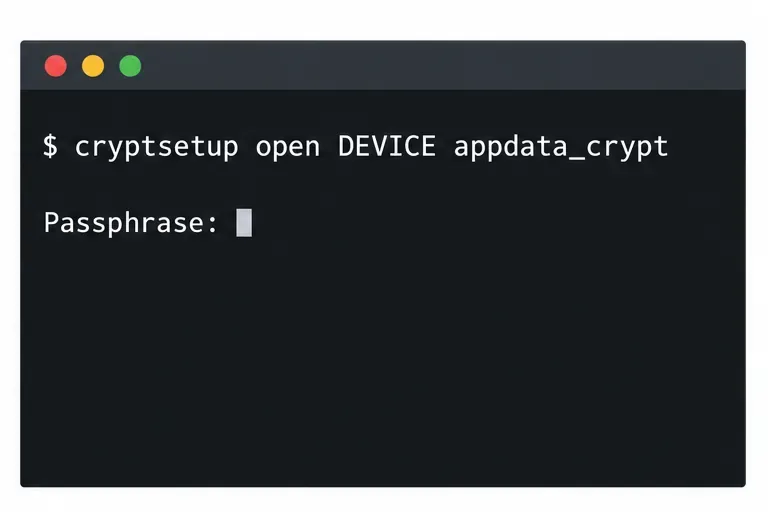
Compare YaST and cryptsetup for a new encrypted SLES data volume, choose LUKS1 or LUKS2, and verify unlock and mount behavior safely.

Build a Custom AppArmor Profile on SUSE Linux

Build a Custom AppArmor Profile on SUSE Linux

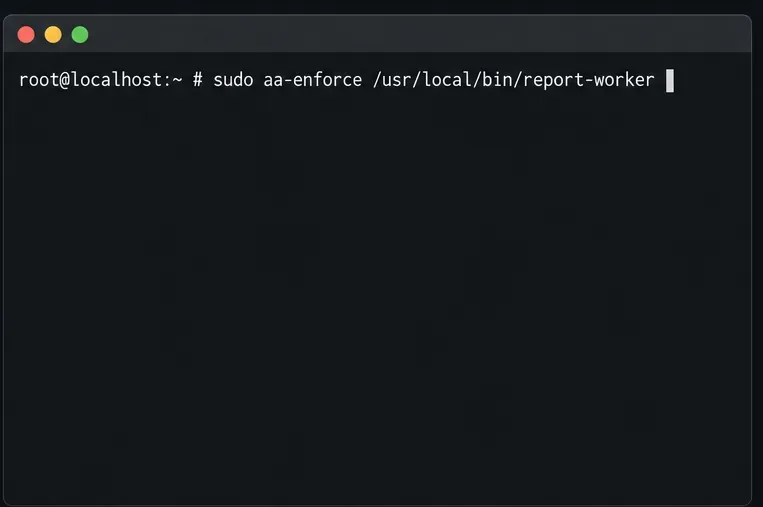
Create, refine, and verify a least-privilege AppArmor profile on SLES 15 SP7, with a clear note on SLES 16’s SELinux default.

Build a Local SUSE Update Server with RMT on SLES 15

Build a Local SUSE Update Server with RMT on SLES 15

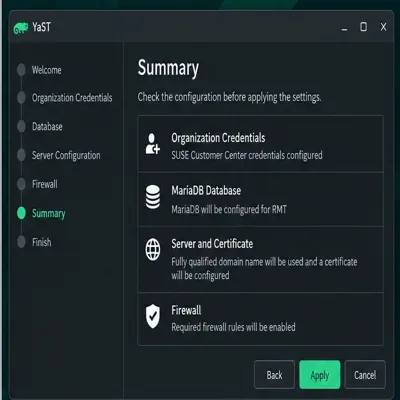
Set up RMT on SLES 15, mirror entitled repositories, and verify HTTPS registration and package access from a test client.

Join SLES 15 to Active Directory with SSSD in YaST

Join SLES 15 to Active Directory with SSSD in YaST

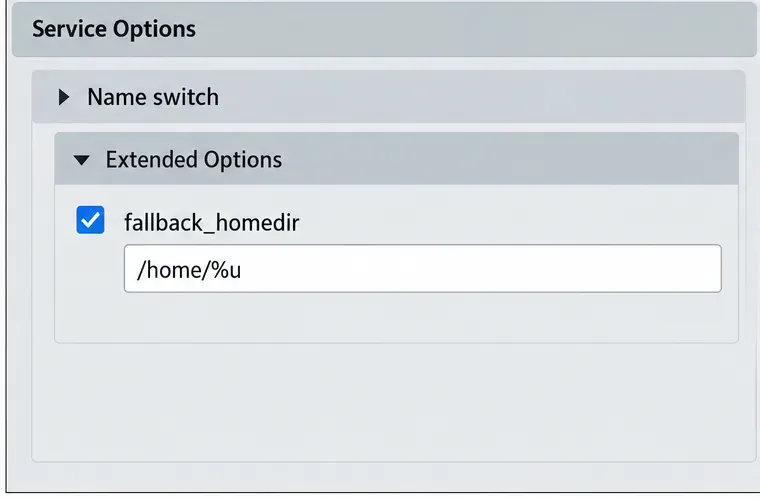
Connect SLES 15 to AD with YaST’s SSSD-based logon management, then verify directory lookup, domain login, and Kerberos tickets.

Enable SLES Live Patching and Verify a Kernel Fix

Enable SLES Live Patching and Verify a Kernel Fix

Set up the right Live Patching path for SLES 16.0 or 15 SP7, apply eligible kernel fixes, and confirm what is active without confusing it with a reboot-required kernel update.

Install and Sign Custom Kernel Modules on SLES 15 Secure Boot

Install and Sign Custom Kernel Modules on SLES 15 Secure Boot

Load a custom SLES 15 kernel module without disabling Secure Boot. Match the running kernel, sign the .ko file, enroll a MOK key, and verify loading.

Keep Services Available During a SLES 15 SP5 to SP6 Upgrade

Keep Services Available During a SLES 15 SP5 to SP6 Upgrade

SLES 15 SP5 can migrate online to SP6, but each node must reboot. Use a tested rolling upgrade or blue-green cutover to keep workloads reachable.

Apply the SLES 15 STIG Safely with OpenSCAP

Apply the SLES 15 STIG Safely with OpenSCAP

Use SUSE’s supported STIG profile to scan SLES 15, test remediation, review remaining findings, and retain assessment evidence.

Restore Cockpit Access to SUSE Linux Enterprise Server

Restore Cockpit Access to SUSE Linux Enterprise Server

Trace a failed Cockpit connection through DNS, port 9090, the systemd socket, firewalld, TLS, and login settings using current SUSE guidance.