Set Up ONLYOFFICE JWT Secrets Across Server and Connector
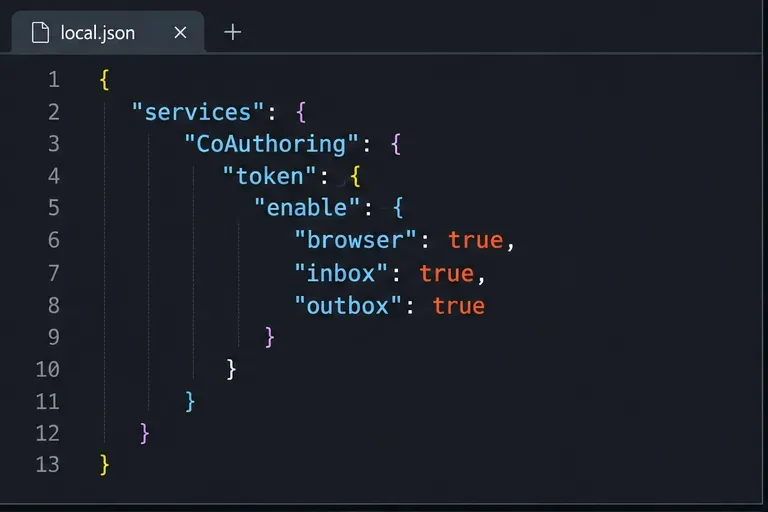
Configure matching JWT secrets for ONLYOFFICE Docs and its connector, with safe steps for Linux packages, Docker deployments, and verification.
The new Sharpen and Denoise tools in Google Photos can help you create better photos. Here's how to sharpen and denoise photos in Google Photos .
How to sharpen and denoise photos in Google Photos
If you use Google Photos on your smartphone, you probably already know that this application has built-in editing tools. Sharpen and Denoise are just an addition to the existing toolset.
With Sharpen , you can make photos clearer. Basically, this tool helps you improve the sharpness of your images. You can adjust the sharpness from 0 to 100.
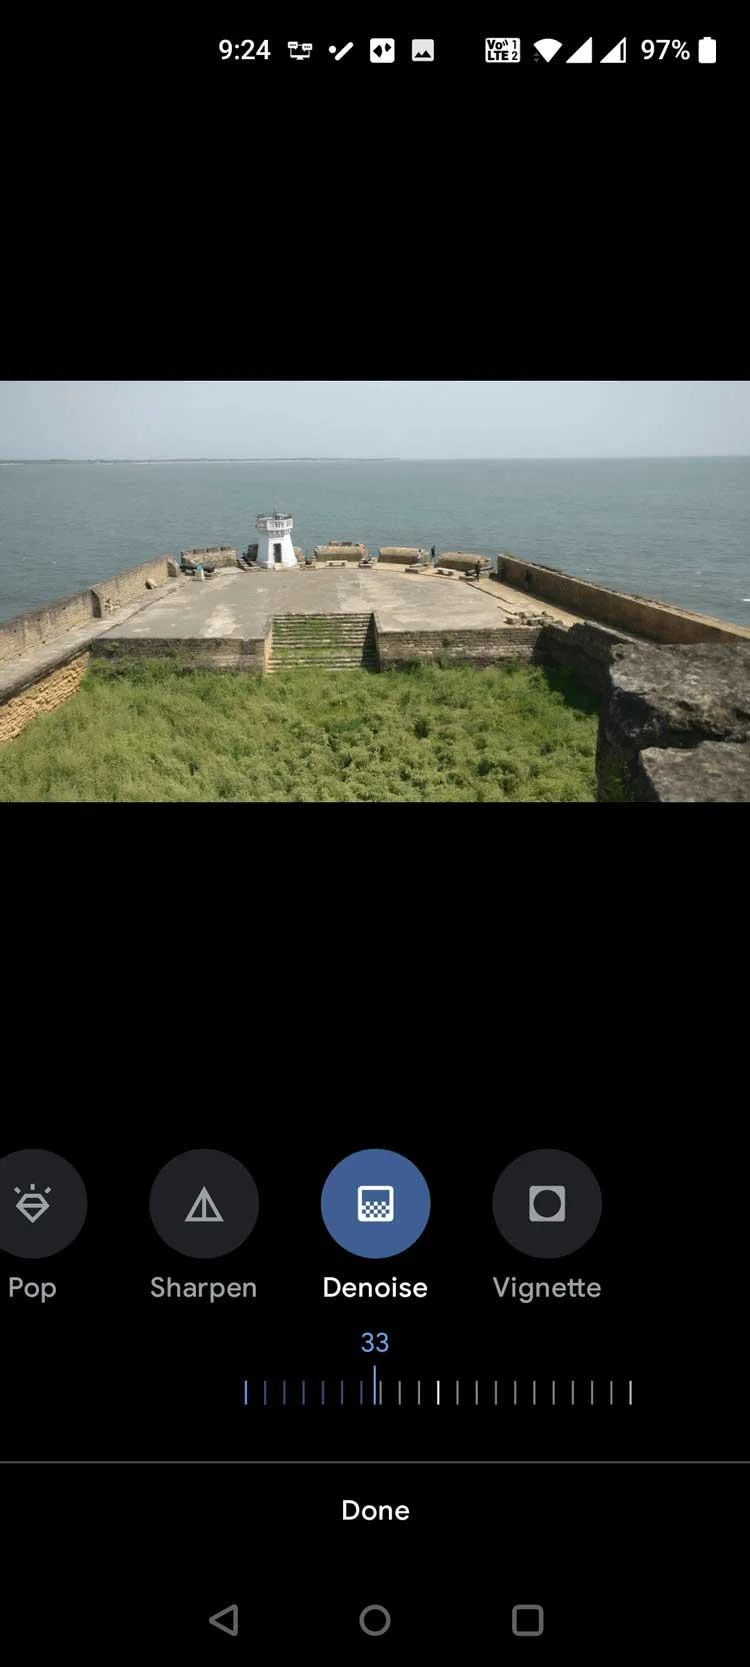
With Denoise , you will remove noise from the image. It also provides an adjustment range from 0 to 100.
No matter which tool you use, you can experiment with different levels to achieve the best results. Just move the slider until you get the desired result.
Since Sharpen is integrated into Google Photos, you no longer need to rely on third-party apps to sharpen your photos. Just make sure the photo you want to edit is available in Google Photos.
Instructions for using the Sharpen tool in Photos:
1. Open the Google Photos app on the device.
2. Tap the image you want to use with the Sharpen tool .
3. When the photo opens in full screen mode, select Edit in the bar below.
4. Swipe left on the bottom bar and tap Adjust .
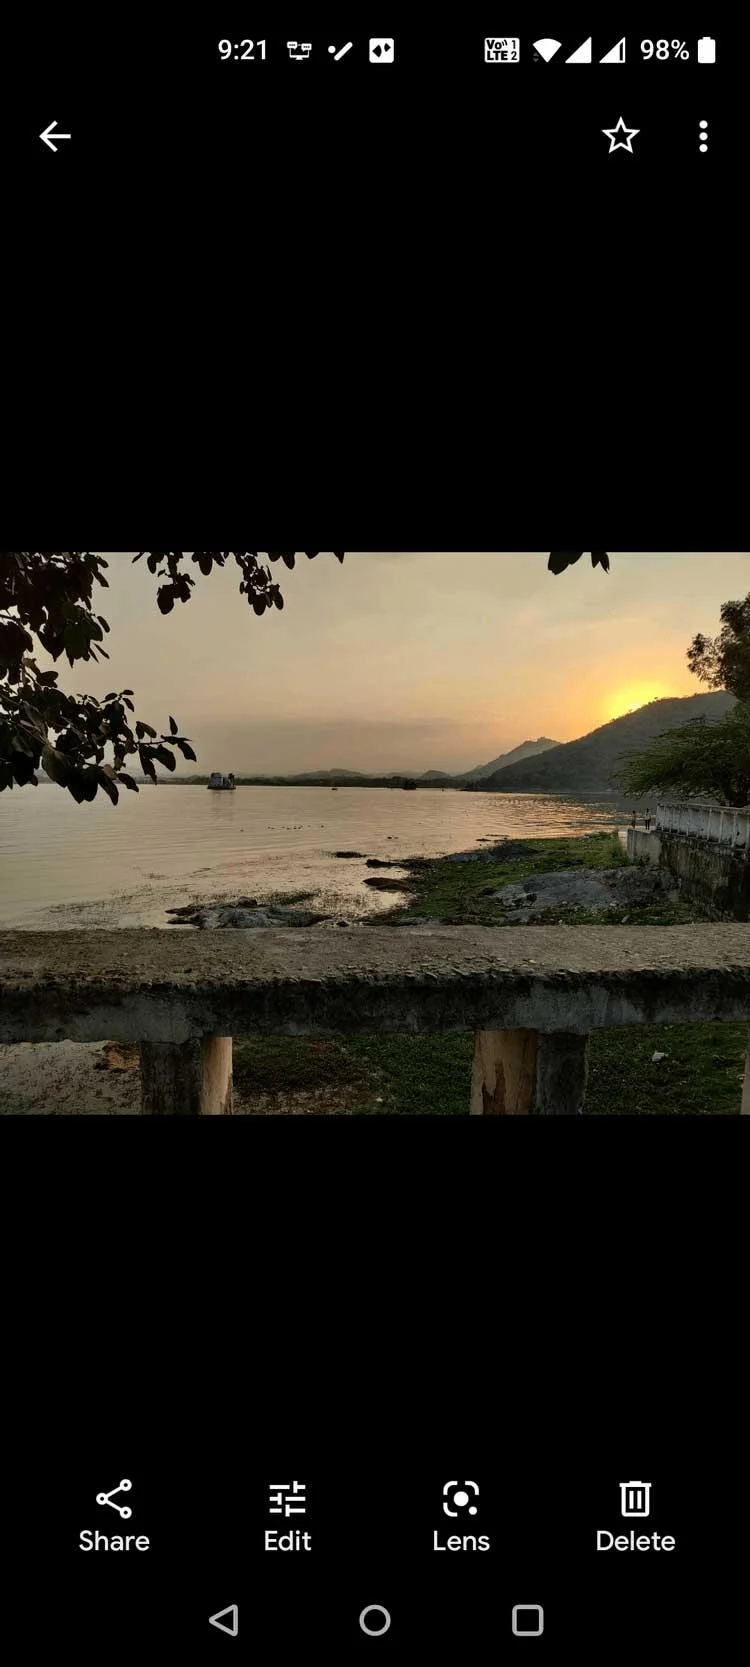
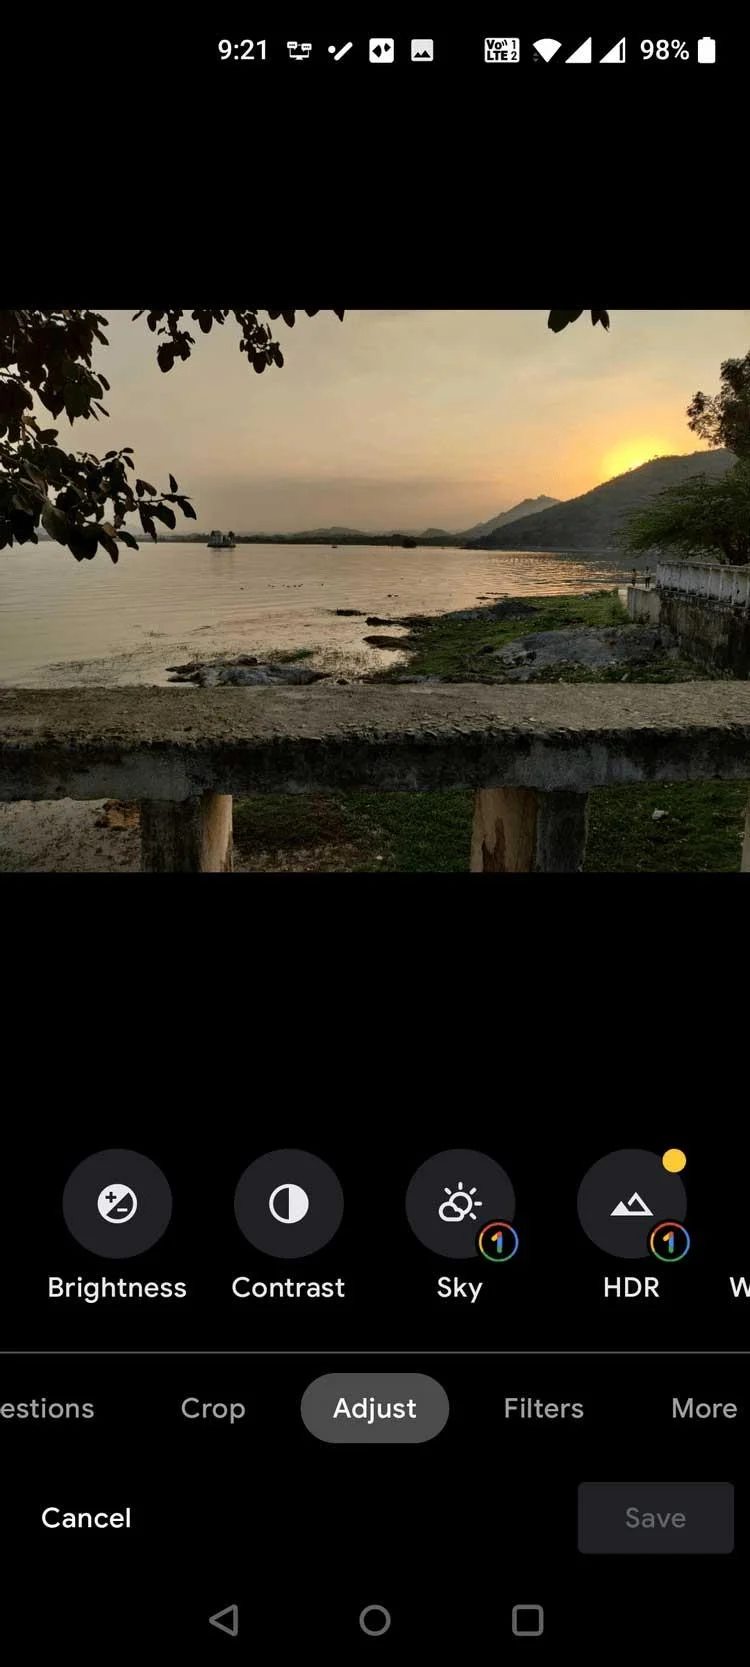
5. Swipe to the left of the tool panel in Adjust , then tap Sharpen .
6. A slider will appear just below Sharpen . Drag this slider to the right to adjust the sharpness levels of the image.
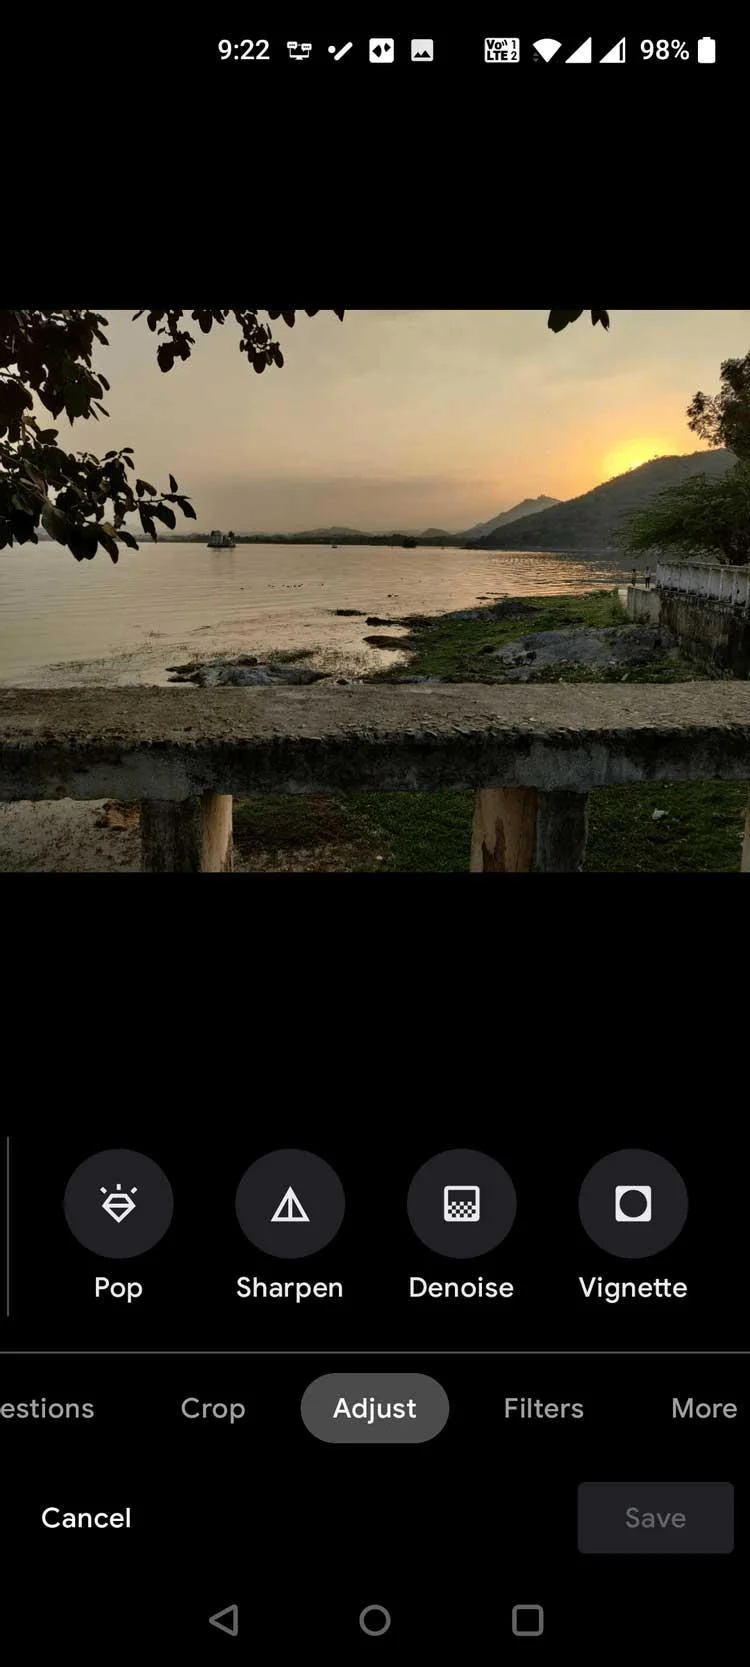
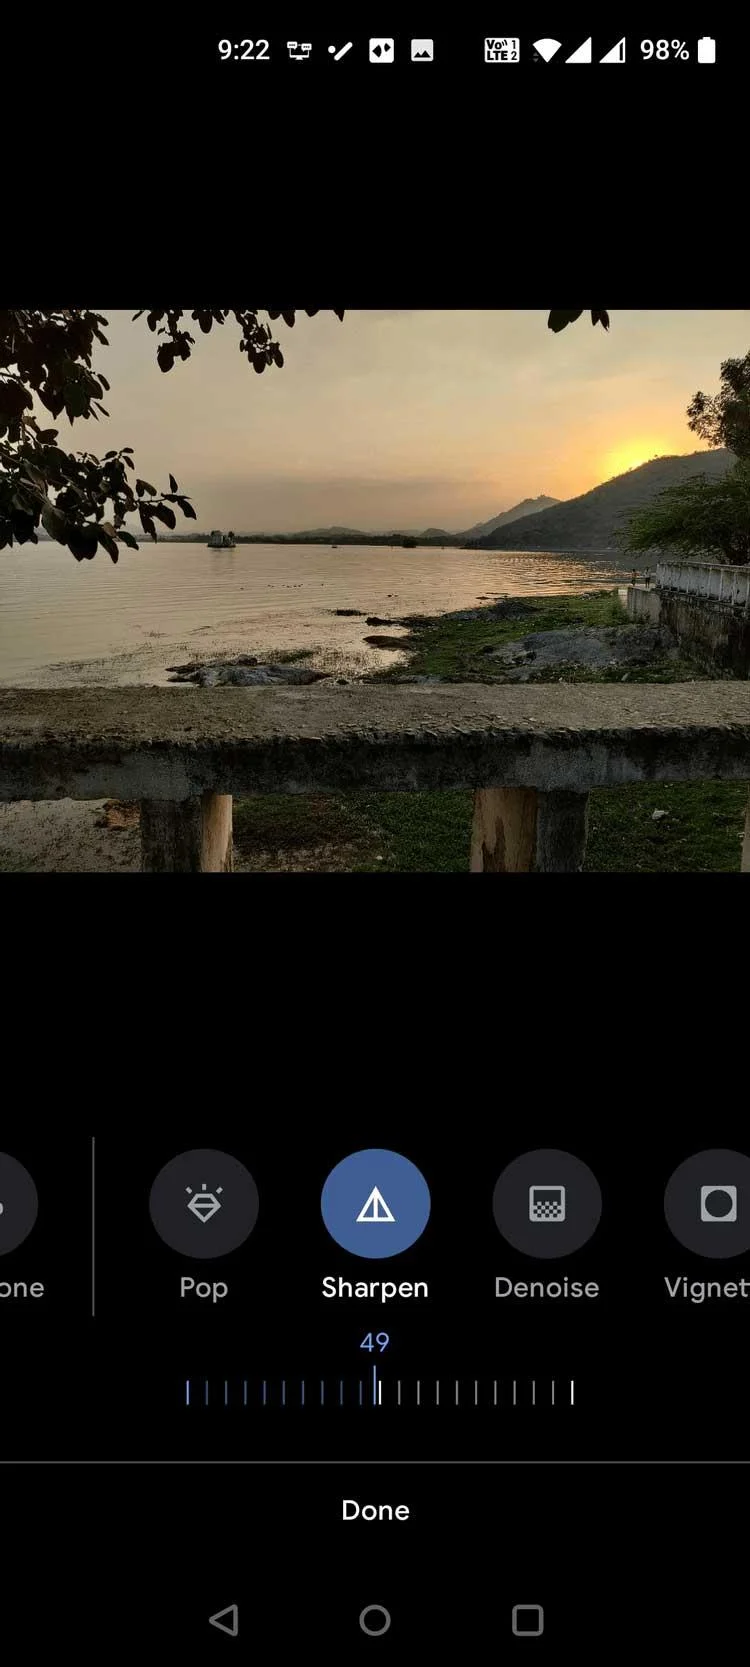
7. When you achieve the desired result, tap Done at the bottom.
8. Tap Save copy in the lower right corner to save the edited photo.
Denoise offers a great option for deleting multiple photos. With levels from 0 to 100, you can customize it as you like.
How to use the Denoise tool in Google Photos:
1. Open the Google Photos app on the device.
2. Select the photo you want to remove noise from.
3. When opening the photo in full screen, tap Edit below.
4. Select Adjust from the options shown below.
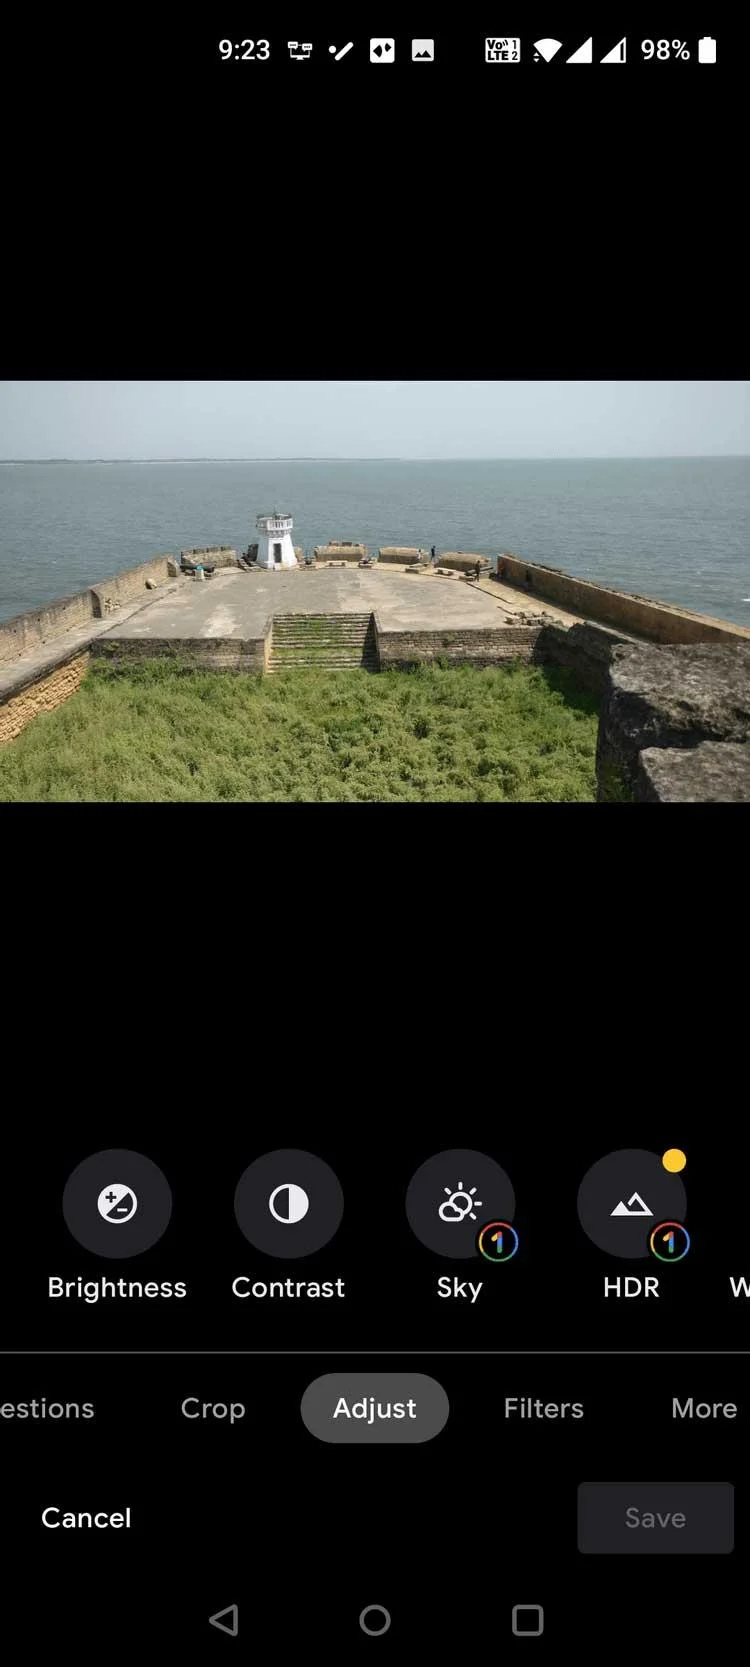
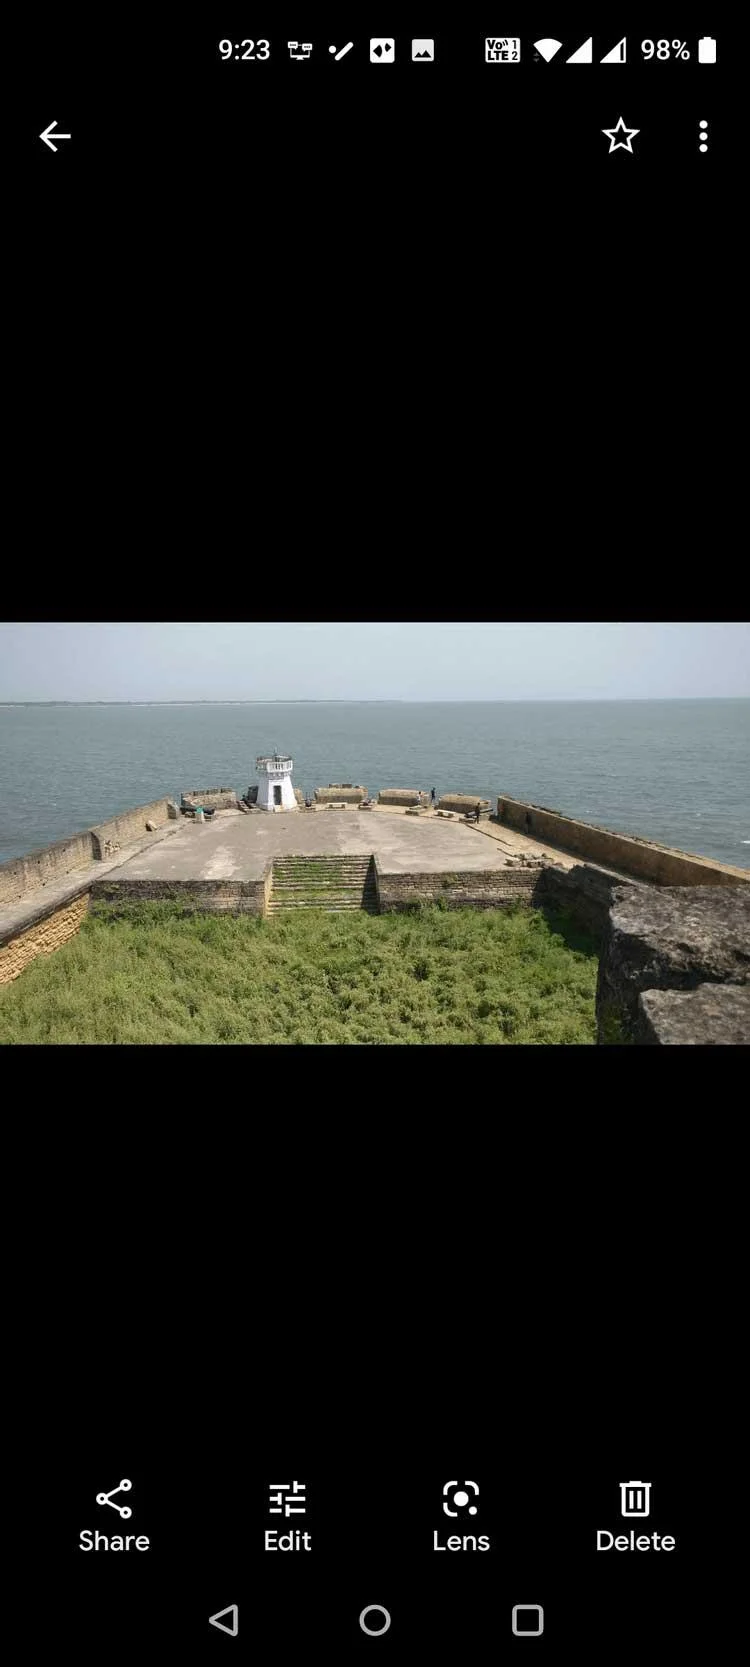
5. In the list of tools in Adjust , scroll right and select Denoise .
6. In Denoise , drag the slider to adjust the level of image denoising.
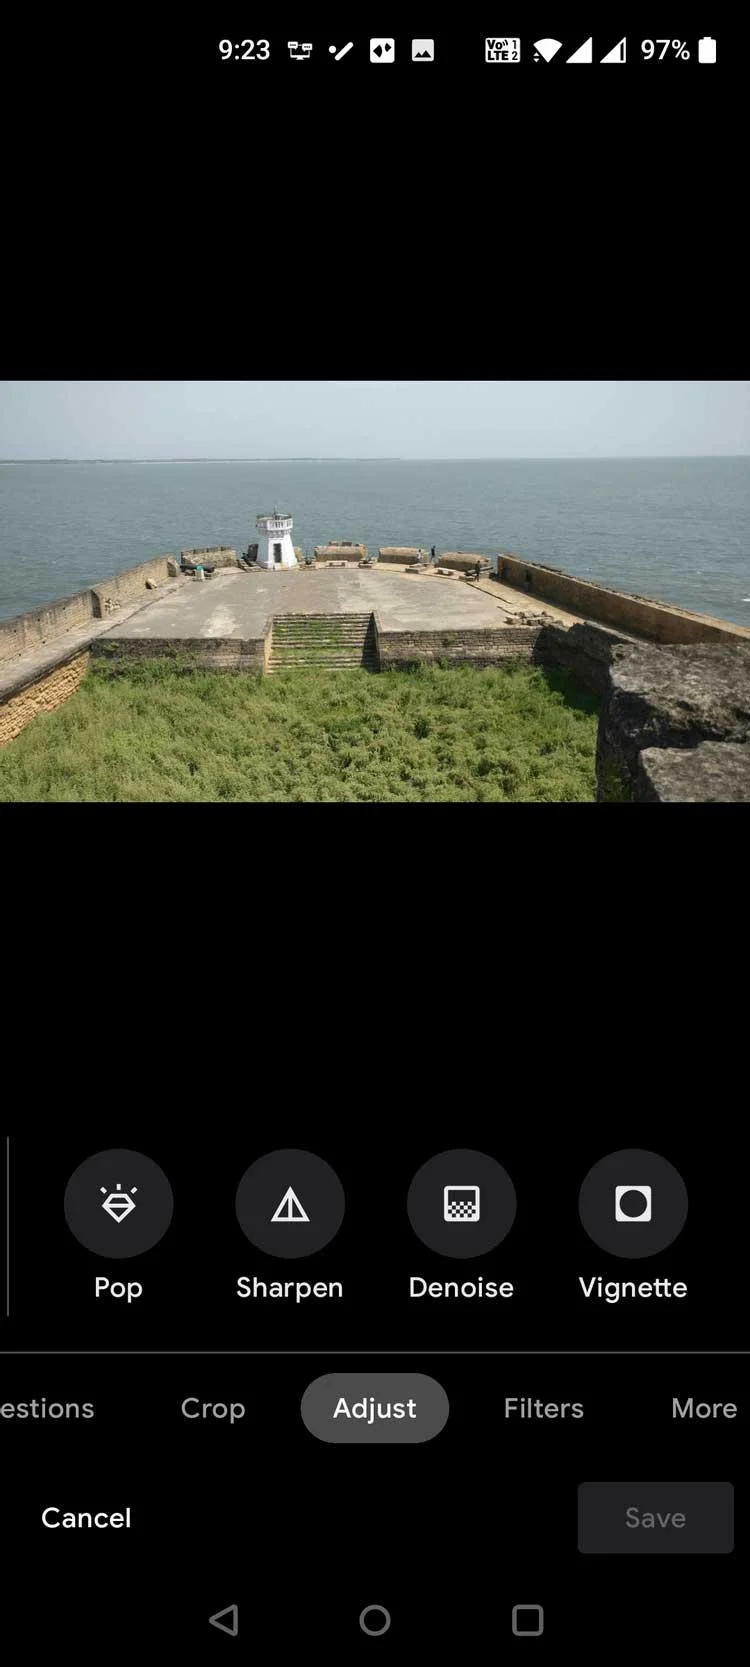
7. Tap Done when you have finished editing the photo.
8. Select Save copy in the lower right corner to save the image.
Above is how to use Sharpen and Denoise tools in Google Photos . Hope the article is useful to you.
Configure matching JWT secrets for ONLYOFFICE Docs and its connector, with safe steps for Linux packages, Docker deployments, and verification.
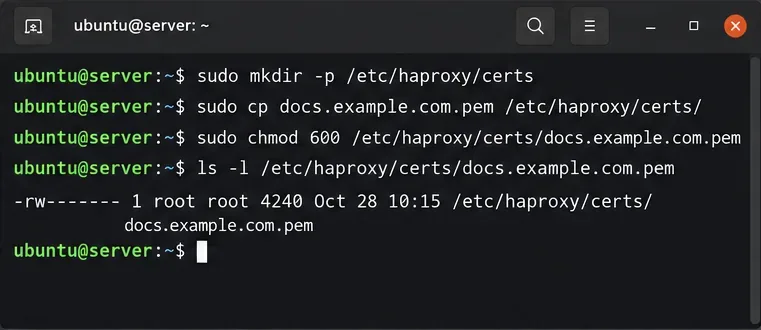
Configure HAProxy HTTPS, forwarding headers, WebSocket timeouts, and health checks for ONLYOFFICE Docs, then verify editing and saves.
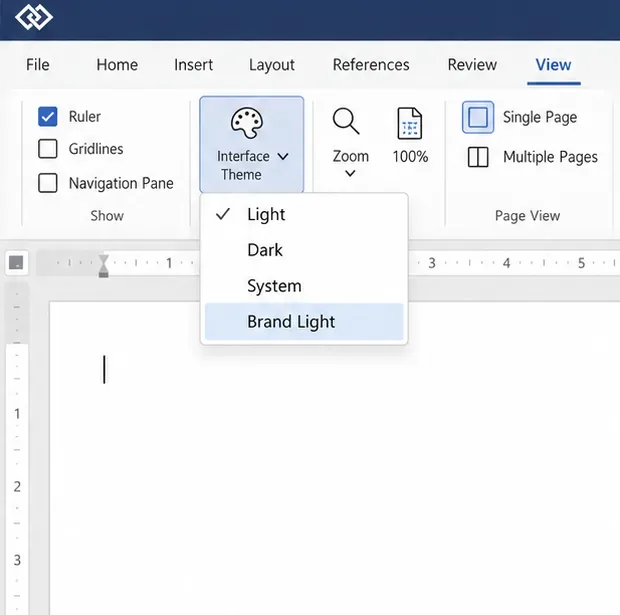
Give an embedded ONLYOFFICE Docs editor your company logo and interface colors with a custom theme file and editor configuration. See edition limits and deployment checks.
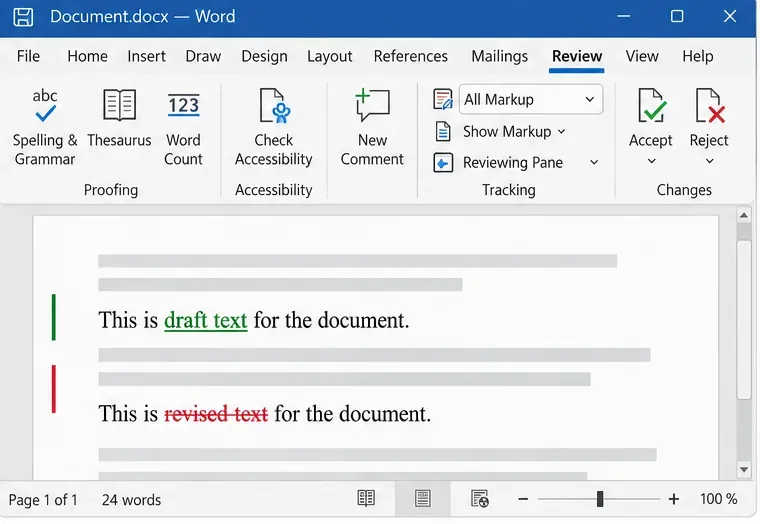
Track edits in Writer, preserve an editable ODT source, and check the exported DOCX in Word before sharing it.
Follow SUSE’s SP7 procedure to enable FIPS mode, reboot safely, verify the active policy, and check whether your compliance requirement calls for validated modules.
Compare YaST and cryptsetup for a new encrypted SLES data volume, choose LUKS1 or LUKS2, and verify unlock and mount behavior safely.
Create, refine, and verify a least-privilege AppArmor profile on SLES 15 SP7, with a clear note on SLES 16’s SELinux default.
Set up RMT on SLES 15, mirror entitled repositories, and verify HTTPS registration and package access from a test client.
Connect SLES 15 to AD with YaST’s SSSD-based logon management, then verify directory lookup, domain login, and Kerberos tickets.
Set up the right Live Patching path for SLES 16.0 or 15 SP7, apply eligible kernel fixes, and confirm what is active without confusing it with a reboot-required kernel update.