Get RTL8821CE Wi-Fi Working on Pardus with the Right Firmware
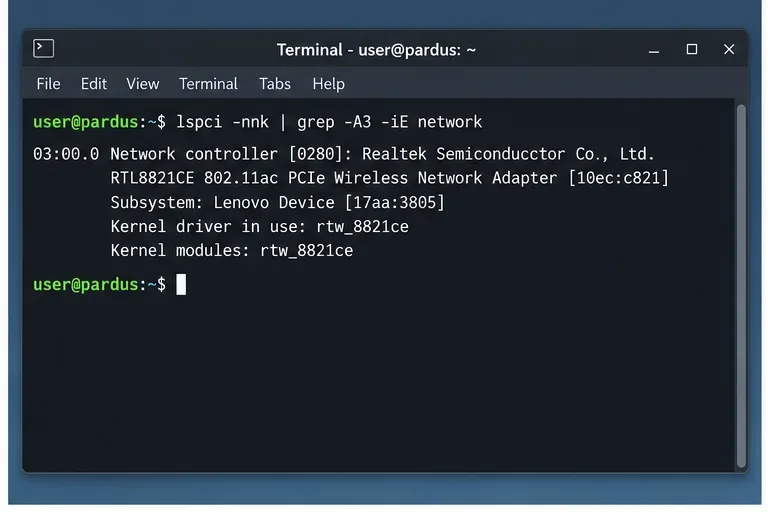
Identify the RTL8821CE, install Pardus-supported Realtek firmware, and verify the driver, Wi-Fi scan, and next troubleshooting step.
How to Synchronize OneDrive keeps files updated across all your devices without manual uploads. This process uses the official OneDrive client to create a local folder that mirrors your cloud storage. The steps below cover desktop and mobile setup with precise menu paths.
You need a Microsoft account and the latest OneDrive application. On Windows 10 or 11 the client is usually pre-installed. Mac users must download it from the Microsoft website. Make sure your internet connection is stable and you have at least 5 GB of free space on the drive where you plan to store synced files.
Sign in to your Microsoft account at account.microsoft.com to confirm you have OneDrive storage available. If you use a work or school account, check with your administrator that sync is enabled for your tenant.
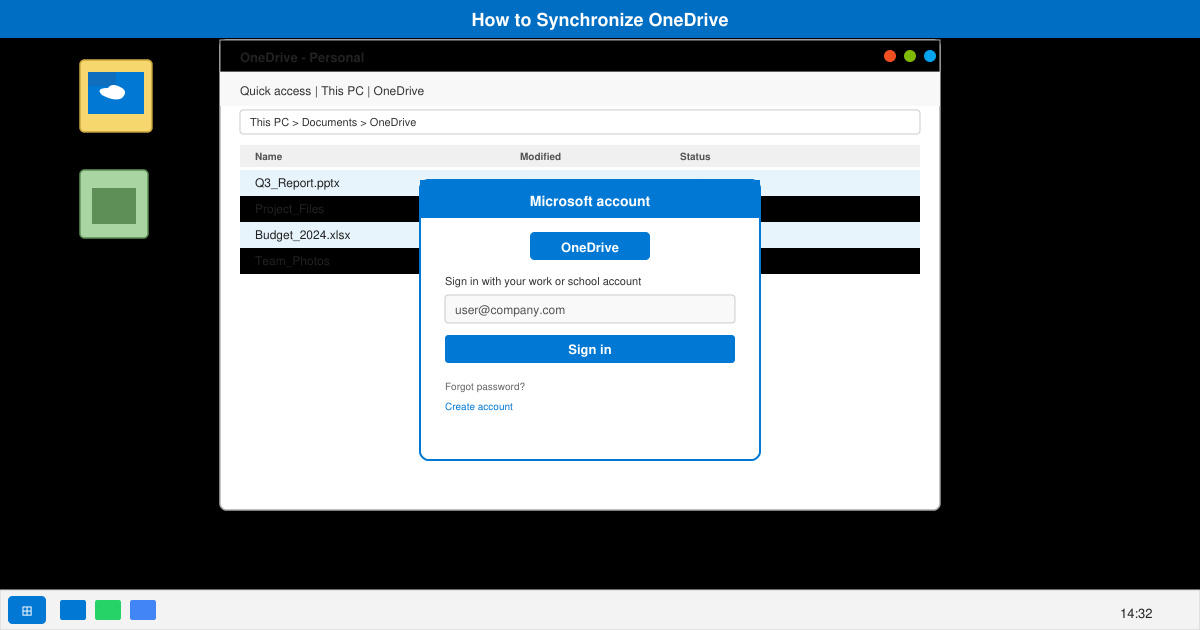
On Windows, search for OneDrive in the Start menu. On Mac, go to the Applications folder or download the installer from onedrive.live.com/download. Run the application and enter your Microsoft account email when prompted.
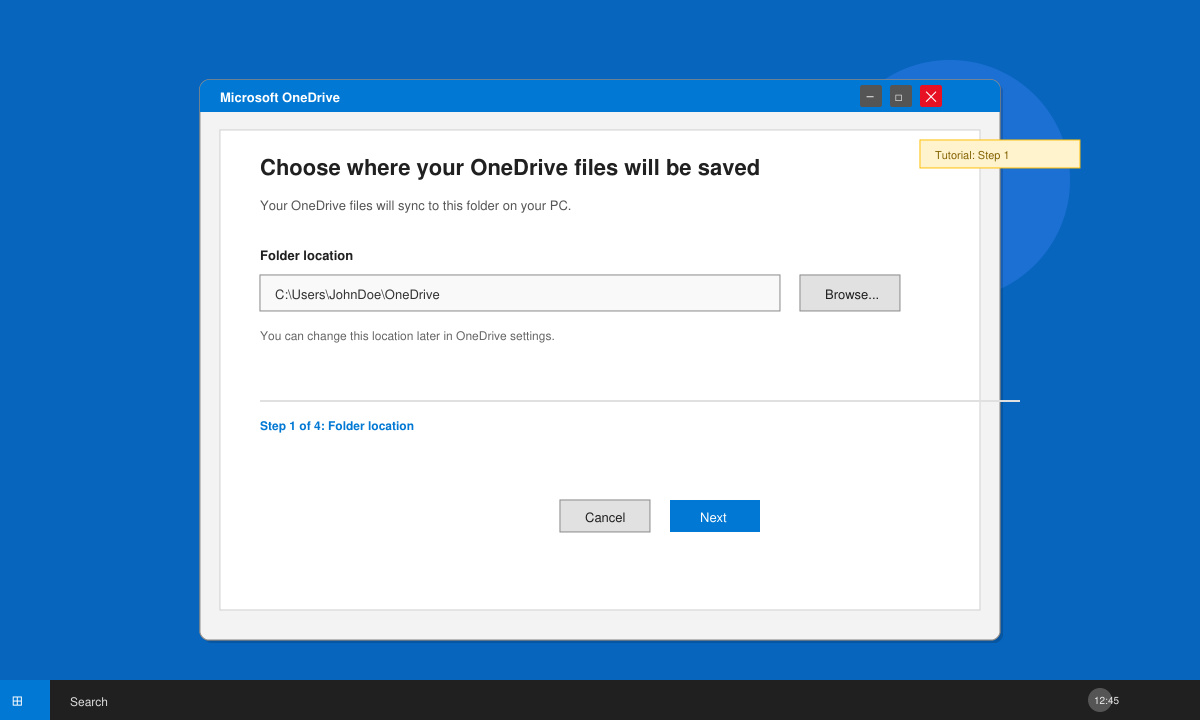
The setup wizard asks where to place your OneDrive folder. Click Change location and select a folder on your internal drive, then click Next. Do not choose an external drive if you want automatic background syncing.
OneDrive shows a list of your cloud folders. Check the boxes next to the folders you want available offline. Click Continue. The client then downloads the selected content to your computer.
Open File Explorer on Windows or Finder on Mac. Look for the OneDrive folder with the blue cloud icon. Any file you add here uploads automatically and appears on other signed-in devices.
Open the App Store on iOS or Google Play on Android. Search for OneDrive by Microsoft Corporation and tap Install. Launch the app after download completes.
Enter your Microsoft account credentials. After signing in, go to Settings inside the app and toggle Camera upload on. Choose whether to upload photos only over Wi-Fi or on any connection.
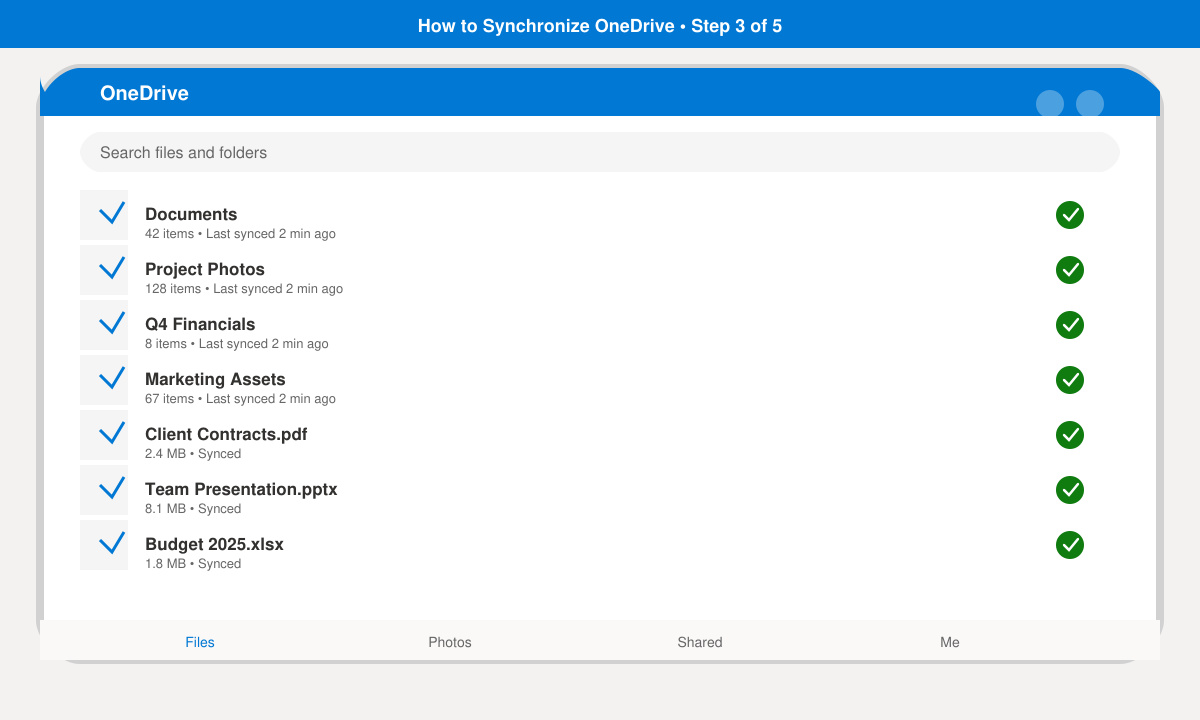
Tap Files at the bottom of the screen. Your cloud folders appear. Any changes made here or on your computer update across all devices within seconds when connected to the internet.
No. The web version at onedrive.live.com allows manual uploads only. Automatic two-way synchronization requires the installed client on each device.
Yes. During initial setup or later in OneDrive settings, click Choose folders and clear the checkboxes for folders you do not want on that device.
OneDrive creates a copy with the other user’s name added to the filename. You can then compare both versions and merge changes manually.
Once How to Synchronize OneDrive is complete, the service runs in the background. Regularly check the system tray icon for status updates and keep the client updated through Windows Update or the Mac App Store.
Identify the RTL8821CE, install Pardus-supported Realtek firmware, and verify the driver, Wi-Fi scan, and next troubleshooting step.
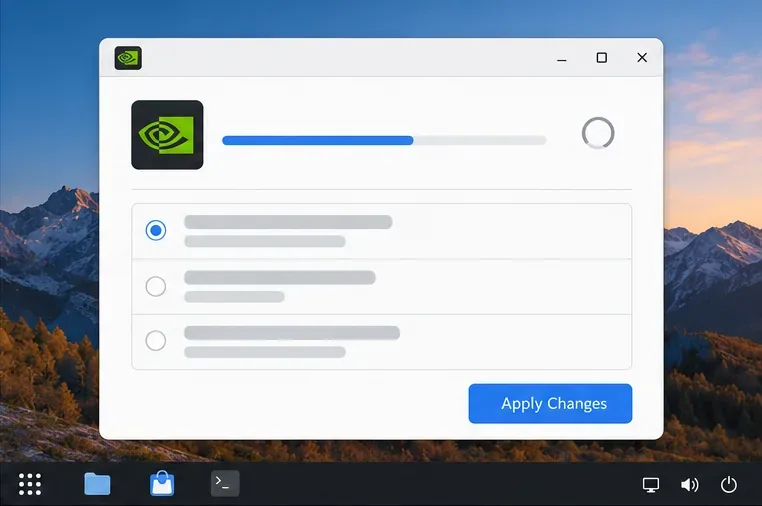
Use Pardus’s hardware-aware installer to enable the right NVIDIA driver, reboot safely, and verify the active kernel module.
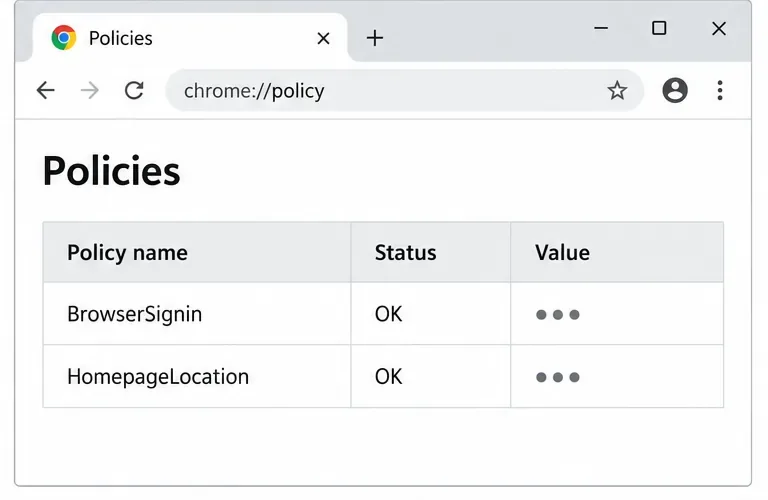
Install the official Chrome package safely on Gooroom OS, check compatibility, preserve device controls, and verify browser policies before use.
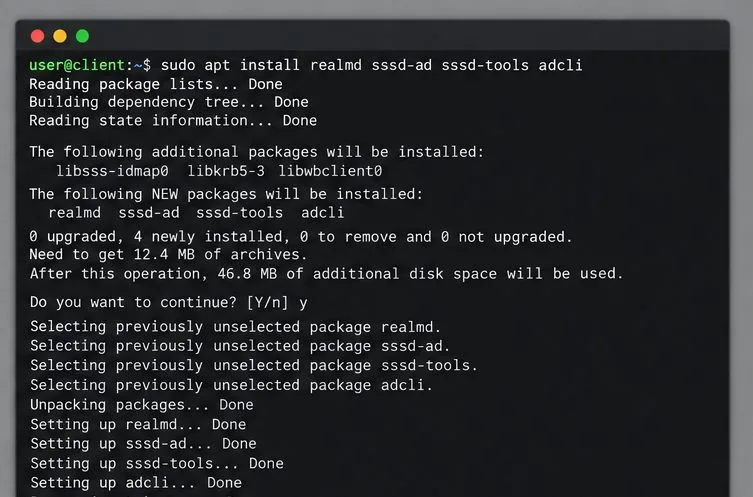
Prepare DNS and time, enroll Pardus with realmd and SSSD, and verify domain membership and user lookup before relying on AD sign-in.
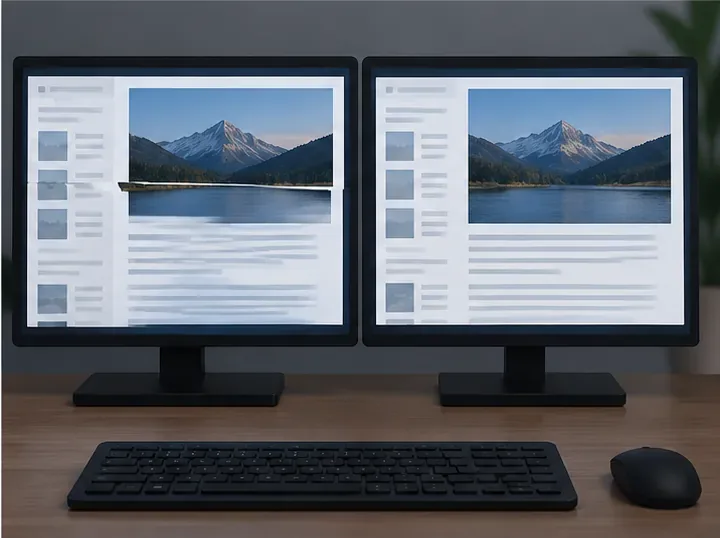
Reduce horizontal tearing in Pardus XFCE by checking your display session, enabling compositor synchronization, and applying Intel’s Xorg TearFree option only when the active driver supports it.
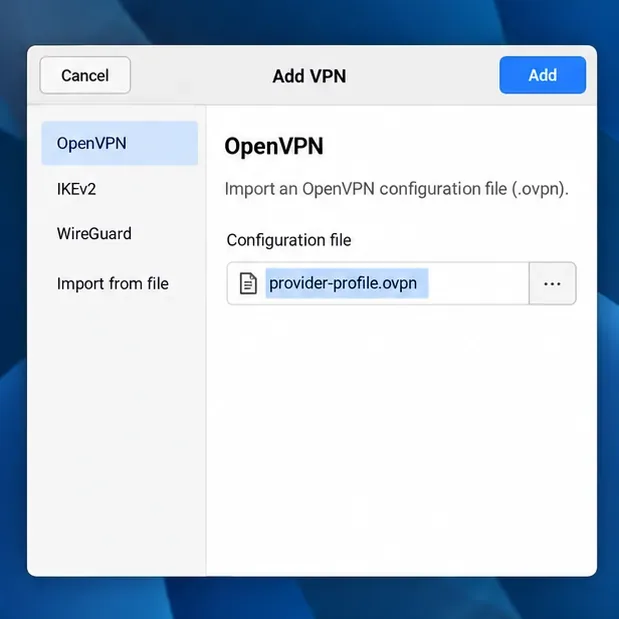
Add an OpenVPN profile to NetworkManager on Pardus, install the right plugin, protect credentials, and verify the VPN is active.
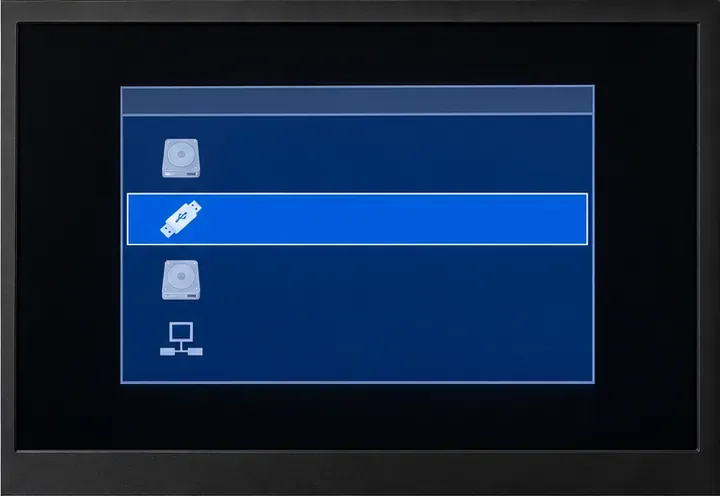
Prepare a bootable USB, check 64-bit hardware compatibility, and install Pardus 23 XFCE while protecting existing files and avoiding common legacy BIOS pitfalls.
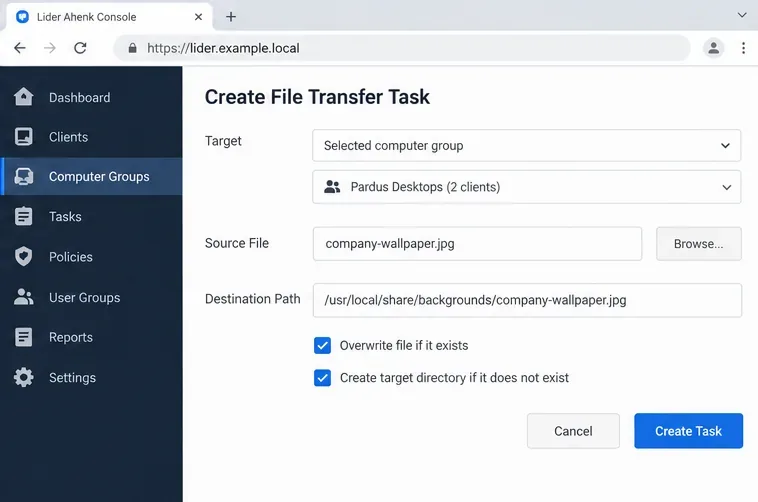
Distribute a custom wallpaper to Pardus clients, configure Xfce or GNOME desktops, and apply Lider Ahenk user policies with safe pilot checks.
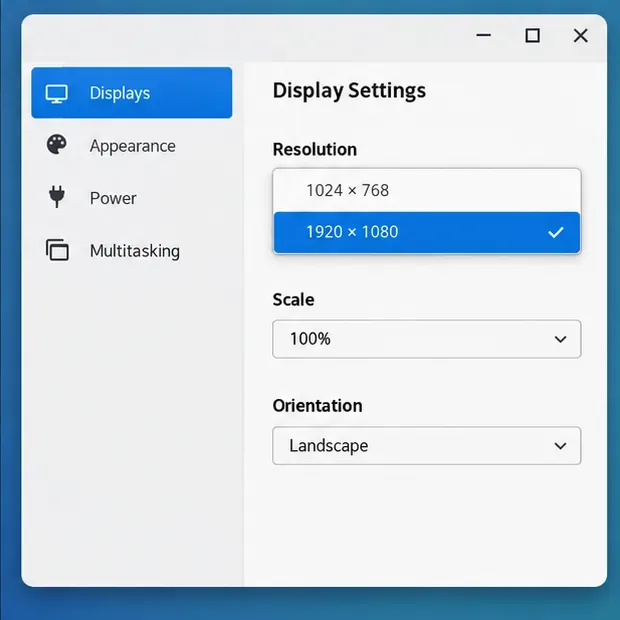
Fix a 1024 × 768 ceiling by checking SPICE, virtual video, the guest channel, and spice-vdagent—with safe checks when Pardus lacks a package candidate.
Set up the Lider server, configure its installer safely, register Ahenk endpoints, and verify a pilot before expanding central management.