Get Higher Resolutions in a Pardus 23 KVM Guest
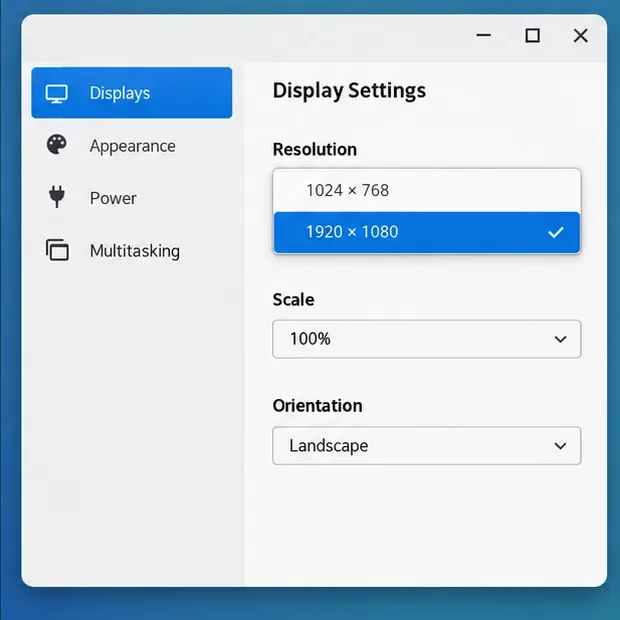
Fix a 1024 × 768 ceiling by checking SPICE, virtual video, the guest channel, and spice-vdagent—with safe checks when Pardus lacks a package candidate.
Peripheral accessories such as mice, keyboards, headphones, speakers, etc. that support Bluetooth wireless connections are becoming more and more popular. This article will guide you on how to enable Bluetooth on Windows 11 to connect to wireless accessories with just a few simple steps.
Turn on Bluetooth using the Quick Settings Menu
The quickest way to turn on Bluetooth in Windows 11 is to use the Quick Settings menu. Access this menu by clicking the set of indicator icons located just to the left of the date and time in the taskbar at the corner of your screen.
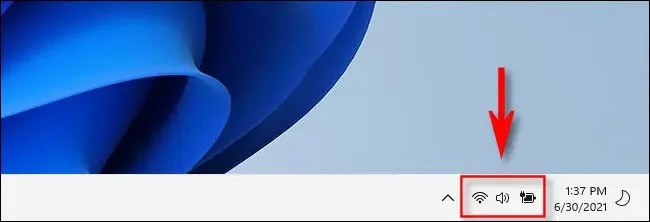
The Quick Settings menu will appear immediately. Find and click the Bluetooth icon, which looks like a stylized “ B ,” as shown below.
(In case you don't see the Bluetooth button or icon here. Click on the pencil icon, then click on “ Add ” and select “Bluetooth” from the list).
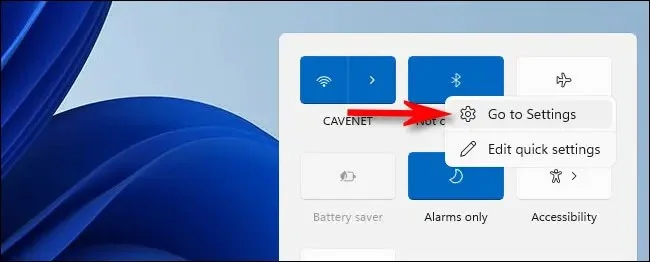
Once you click on the Bluetooth icon, the button will change to blue, indicating that the Bluetooth signal is turned on. To make a connection, right-click on the Bluetooth button, select “ Go to Settings ” then search for available devices.
Turn on Bluetooth using Windows Settings app
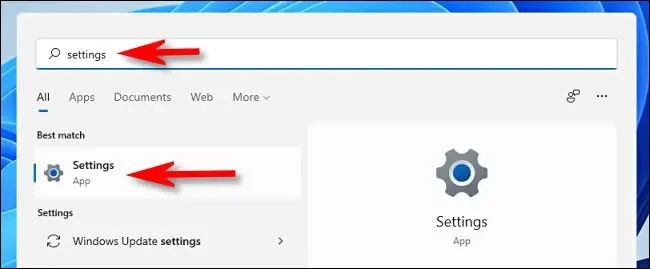
You can also turn on Bluetooth from the Windows Settings app. First, open the Settings app by pressing Windows + i on your keyboard, or open the Start menu, search for “ settings ,” and then click the return gear icon.
In the Settings interface that opens, find and click on “ Bluetooth & Devices ”.
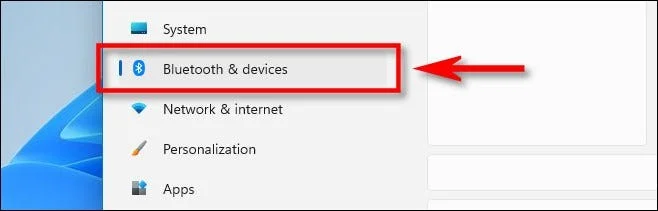
In the Bluetooth settings, turn the switch next to “ Bluetooth ” to the “ On ” position .
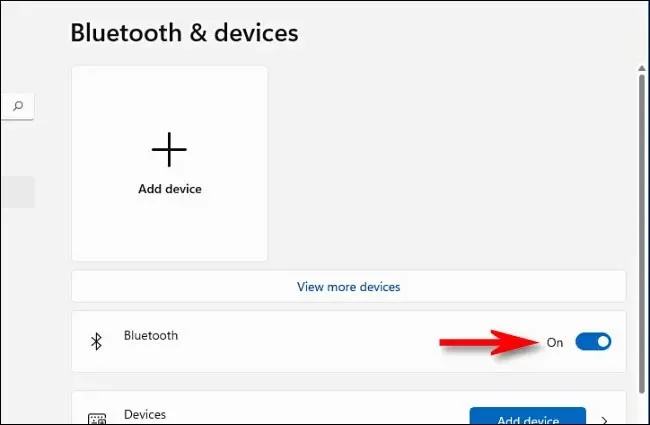
Bluetooth is now enabled and you can start pairing devices.
Pair Bluetooth devices on Windows 11
Bluetooth is enabled, it's time to connect wireless peripherals to your Windows 11 PC.
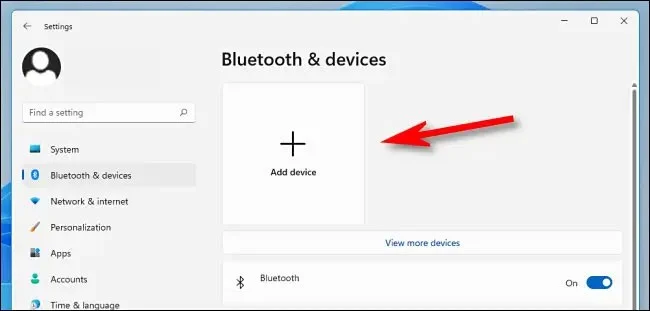
On the “ Bluetooth & Devices ” interface (in the Settings menu), click the “ Add Device ” button with a large plus (“ + ”) sign in the middle.
In the “ Add a Device ” window that pops up, click “ Bluetooth ”.
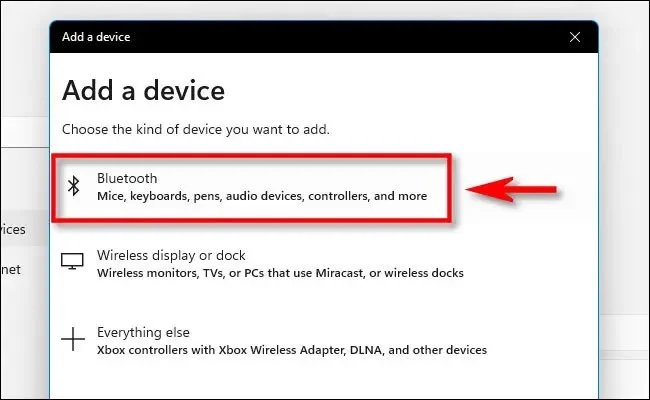
Next, make sure that the device you are trying to connect to is powered on and in pairing mode.
Windows will search for available nearby devices. These devices will appear in a list on the screen. When you see the device you want to connect to, click its name in the list.
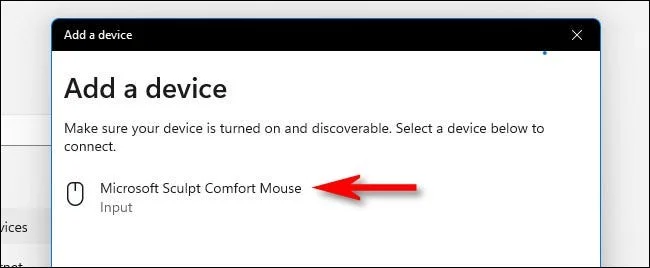
If it's a mouse, game controller, or headset, it should connect automatically. If it's a keyboard, Windows 11 may show you a passcode. Enter that passcode on the Bluetooth keyboard you're trying to connect.
When you see the message “ Your device is ready to go ”, it means your Bluetooth device is connected to your PC. Click “ Done ”.
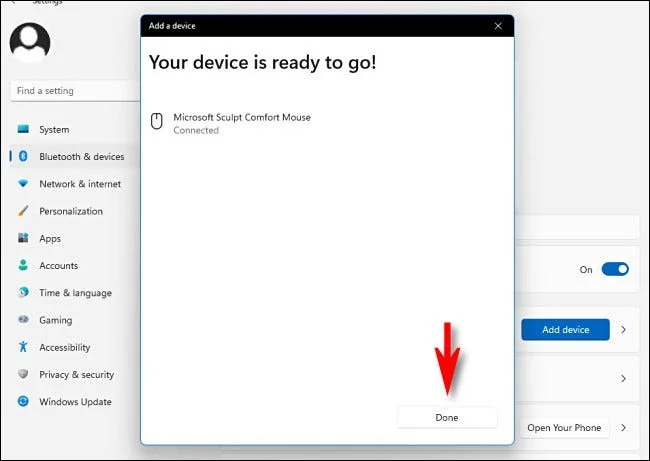
Then close Settings and start enjoying.
Good luck!
Fix a 1024 × 768 ceiling by checking SPICE, virtual video, the guest channel, and spice-vdagent—with safe checks when Pardus lacks a package candidate.
Set up the Lider server, configure its installer safely, register Ahenk endpoints, and verify a pilot before expanding central management.
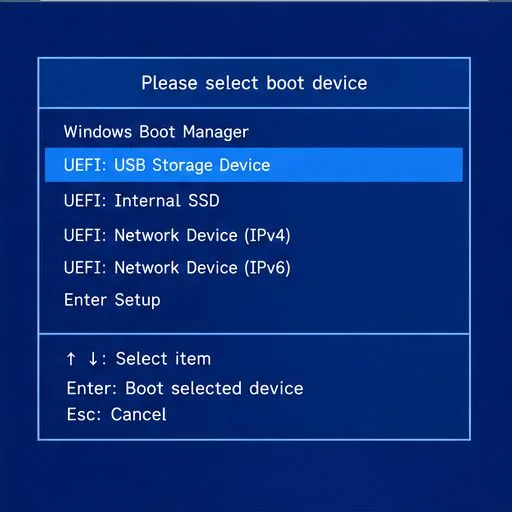
Download the official Pardus 23 desktop ISO, write it safely with Rufus, and boot a Windows PC into a temporary Live session.
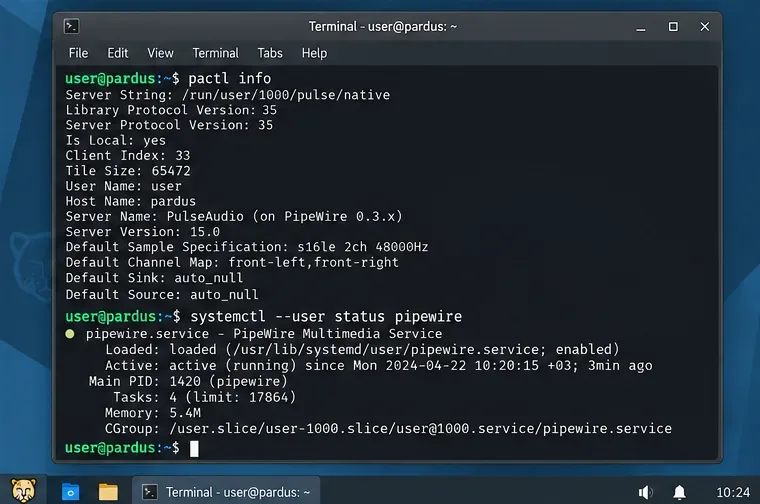
Find out why Pardus 23 cannot detect your sound card, then use targeted ALSA, firmware, and PipeWire or PulseAudio checks to restore playback.
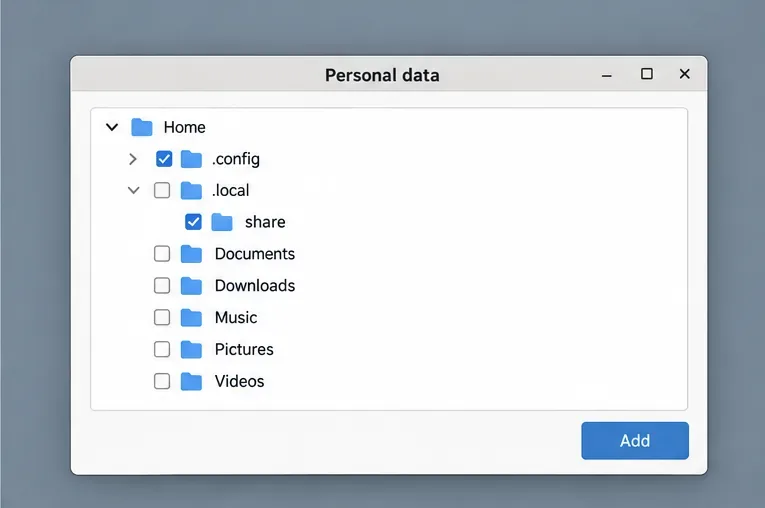
Save HamoniKR preferences to external storage, include hidden home folders, and choose a safe restore mode when moving to a fresh installation.
Install and configure xrdp on Pardus, choose the right Xfce session, restrict network access, and verify that remote login works.
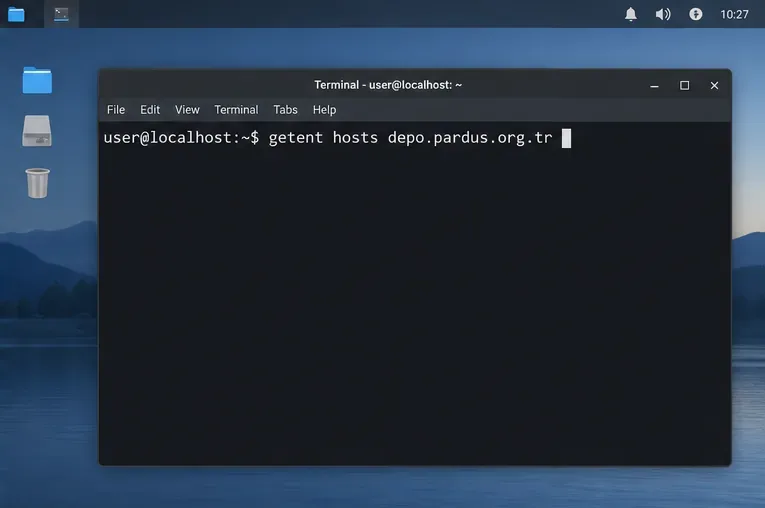
Diagnose Pardus 23 APT connection failures, confirm the official yirmiuc sources, and restore apt update without bypassing package signature checks.
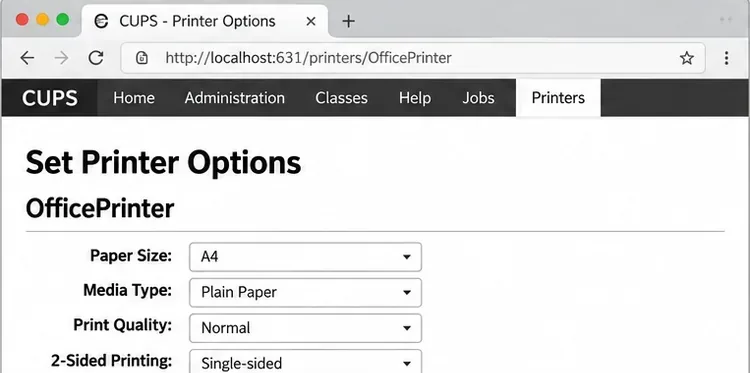
Configure printers on Harmonica OS using CUPS, compare driverless IPP with legacy drivers, and verify USB or network printing with a test page.
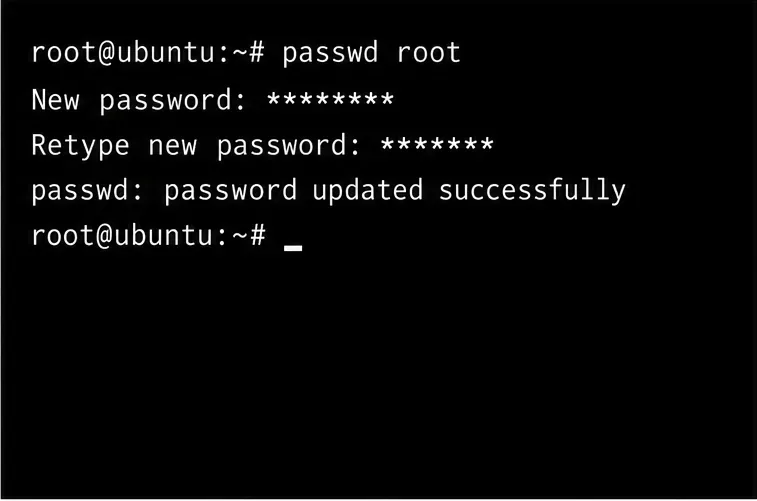
Use a recovery shell to set a new Harmonica OS root password, with checks for encrypted disks, read-only filesystems, and accounts that use sudo.
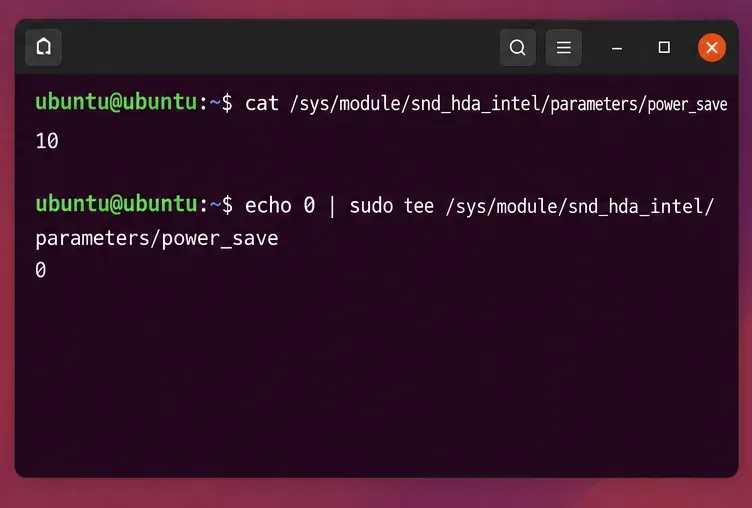
Trace whether clipping, ALSA format conversion, or HDA power saving is causing Ubuntu 24.04 audio distortion, then apply the matching reversible fix.