Get RTL8821CE Wi-Fi Working on Pardus with the Right Firmware
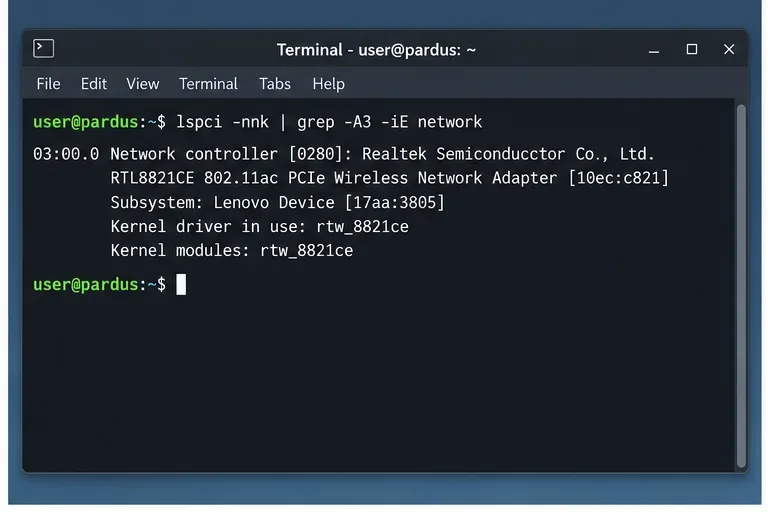
Identify the RTL8821CE, install Pardus-supported Realtek firmware, and verify the driver, Wi-Fi scan, and next troubleshooting step.
Upgrading from Windows 10 to Windows 11 gives you access to the new Start menu, improved Snap layouts, and stronger security features. If your device meets the hardware requirements, the process can be completed directly from within Windows 10. This guide explains how to upgrade to Windows 11 from Windows 10 using official Microsoft tools while keeping your files and apps intact.
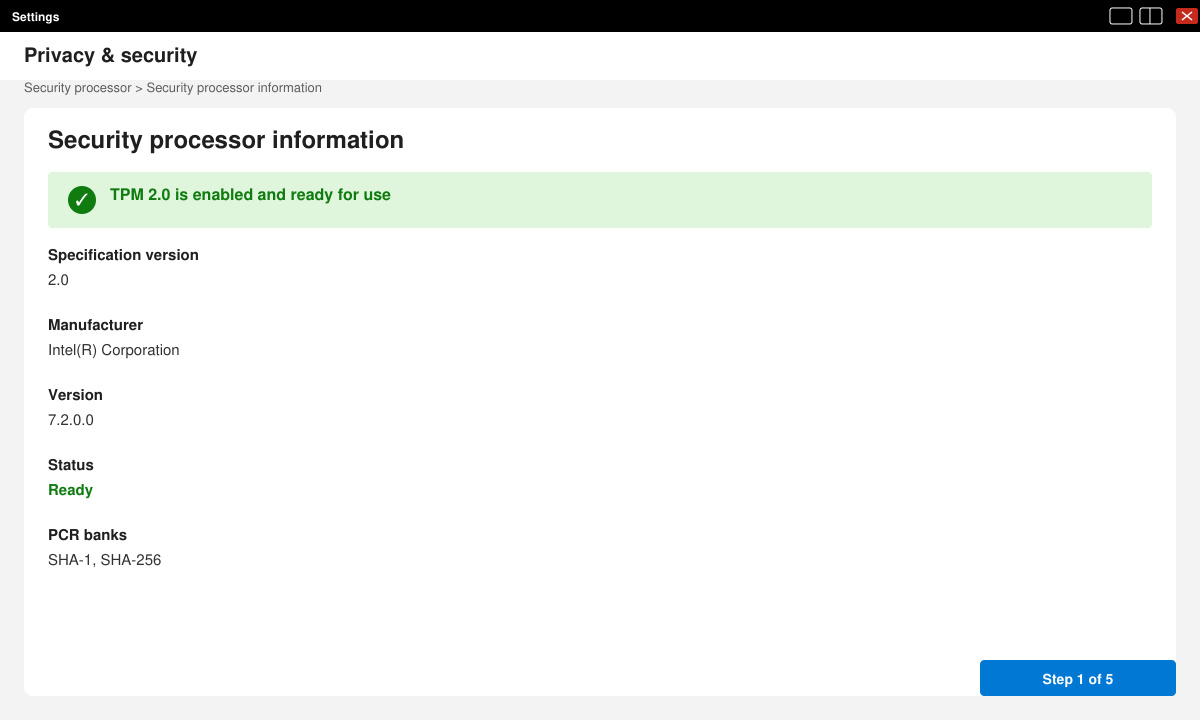
Windows 11 has stricter hardware rules than Windows 10. Your PC must have a compatible 64-bit processor, at least 4 GB of RAM, 64 GB of storage, UEFI firmware with Secure Boot, and a TPM 2.0 chip. Most devices made after 2018 meet these specs, but older machines often do not. Microsoft provides the free PC Health Check app to confirm compatibility before you begin.
Run the app first so you know whether your current hardware supports the upgrade. If any requirement fails, the upgrade will be blocked until you resolve it or choose to stay on Windows 10.
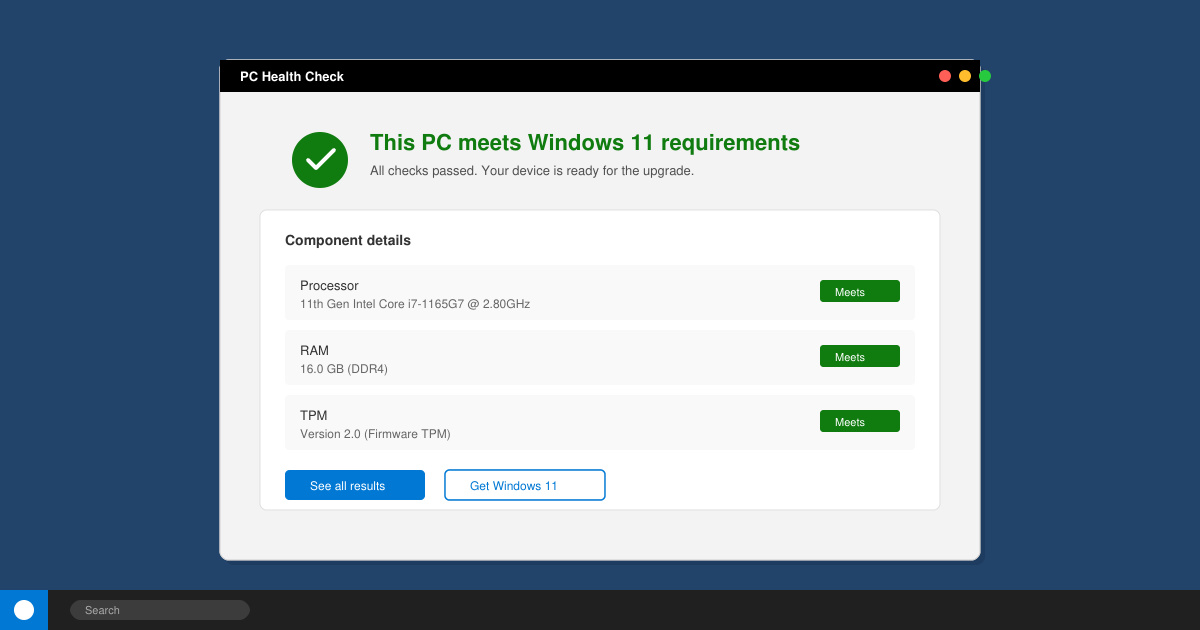
Go to the official Microsoft support page and download “PC Health Check”. Install and open the app, then click “Check now”. Note any failed items such as TPM or Secure Boot. Enable TPM in your BIOS if the app reports it is off.
Before starting any major upgrade, copy personal documents, photos, and downloads to an external drive or OneDrive. Open File Explorer, select your user folder, and drag the key folders to your backup location. This step takes only a few minutes but protects against unexpected issues.
Click the Start button, type “Windows Update”, and open the Settings page. Click “Check for updates”. If Windows 11 is offered, select “Download and install”. The process may take 30–90 minutes depending on your internet speed and hardware.
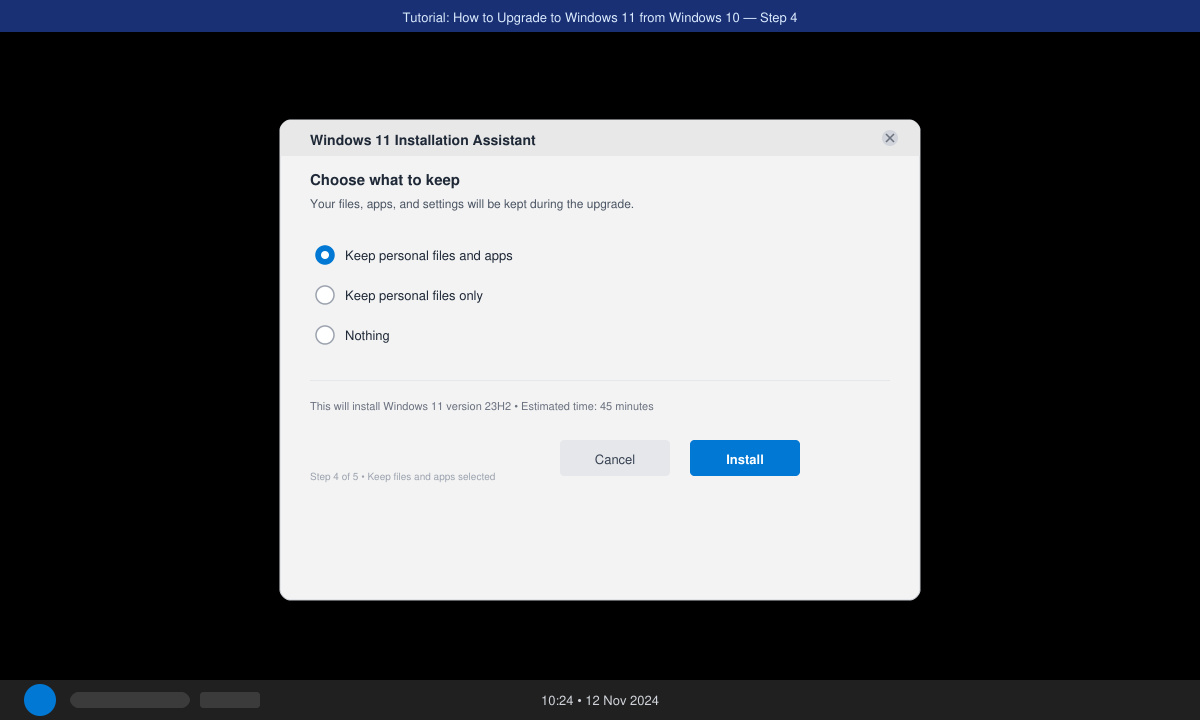
Visit the official Windows 11 download page and click “Download Now” under Installation Assistant. Run the downloaded file, accept the license terms, and let the tool verify your PC. Choose “Keep personal files and apps” when prompted, then click Install.
Your PC will restart several times. When the desktop appears, sign in with your Microsoft account, adjust privacy settings, and pin your most-used apps to the taskbar. Open Settings > Windows Update > Check for updates one more time to install any post-upgrade patches.
Yes. Microsoft offers a free upgrade path for eligible Windows 10 devices that meet the hardware requirements.
No files are deleted when you select the “Keep personal files and apps” option in either Windows Update or the Installation Assistant.
Most users finish in 45–90 minutes, including download time and the multiple automatic restarts.
Following the steps above lets you move from Windows 10 to Windows 11 safely and with minimal downtime. Start with the PC Health Check app, back up your data, and use either Windows Update or the Installation Assistant to complete the process.
Identify the RTL8821CE, install Pardus-supported Realtek firmware, and verify the driver, Wi-Fi scan, and next troubleshooting step.
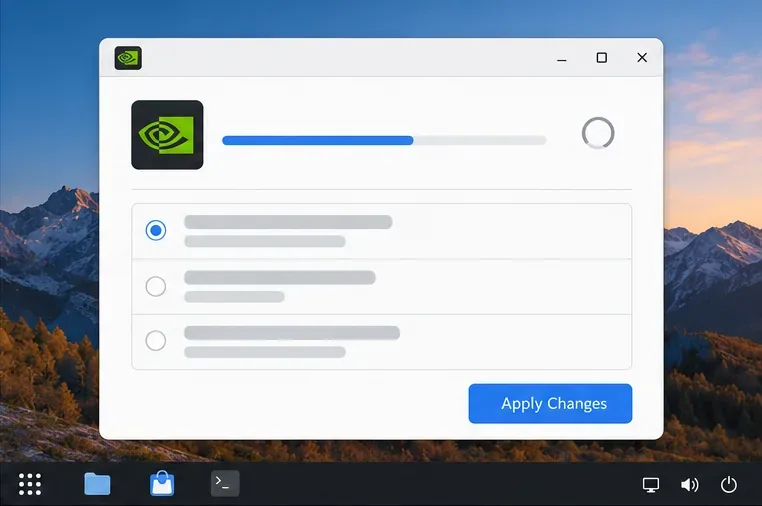
Use Pardus’s hardware-aware installer to enable the right NVIDIA driver, reboot safely, and verify the active kernel module.
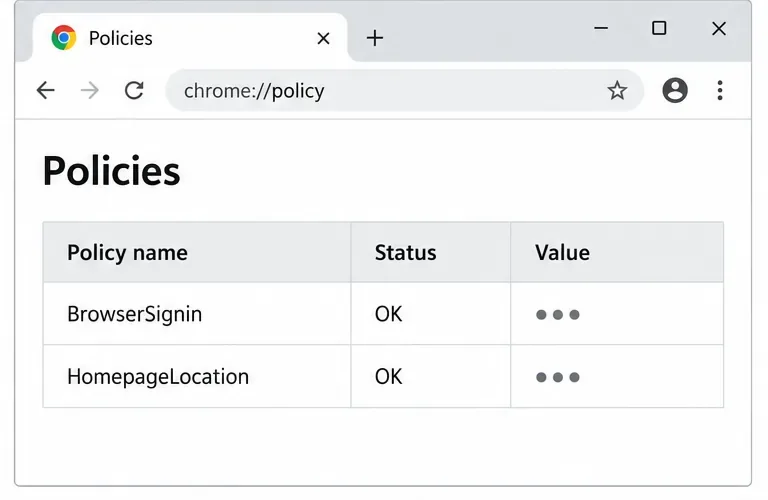
Install the official Chrome package safely on Gooroom OS, check compatibility, preserve device controls, and verify browser policies before use.
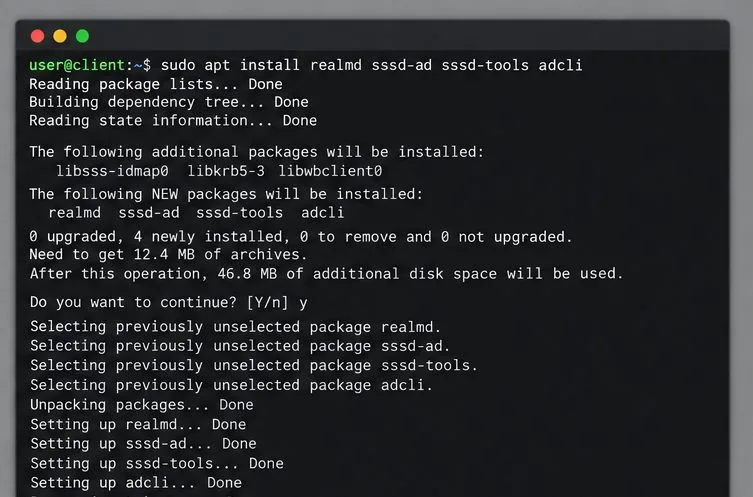
Prepare DNS and time, enroll Pardus with realmd and SSSD, and verify domain membership and user lookup before relying on AD sign-in.
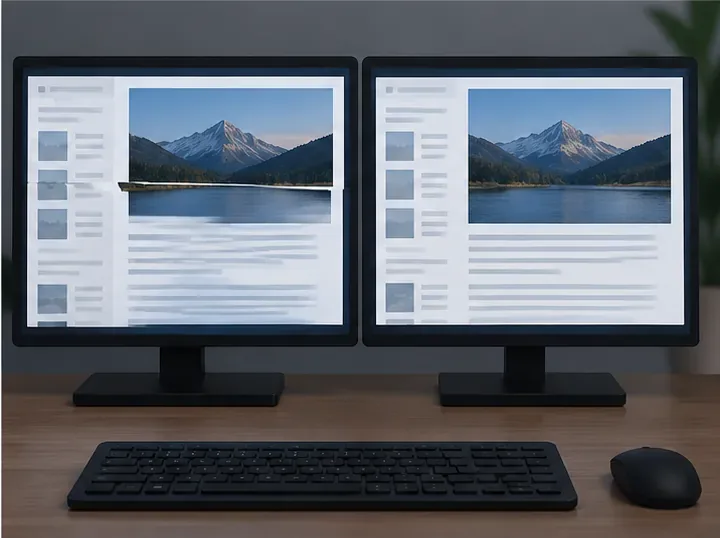
Reduce horizontal tearing in Pardus XFCE by checking your display session, enabling compositor synchronization, and applying Intel’s Xorg TearFree option only when the active driver supports it.
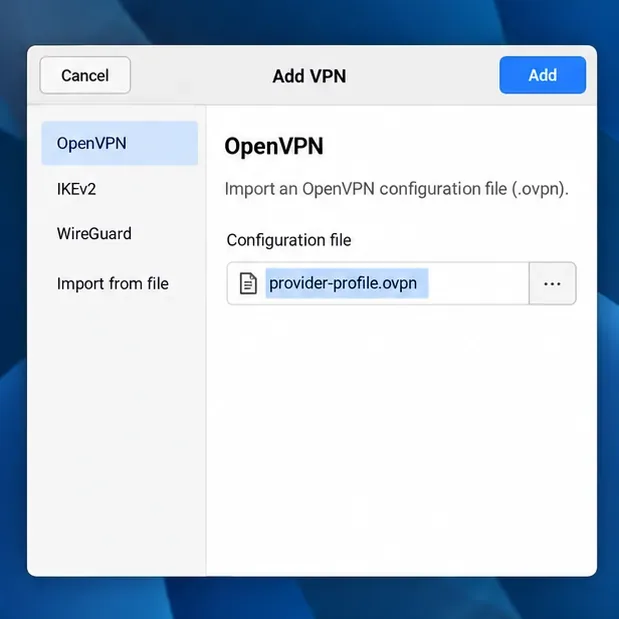
Add an OpenVPN profile to NetworkManager on Pardus, install the right plugin, protect credentials, and verify the VPN is active.
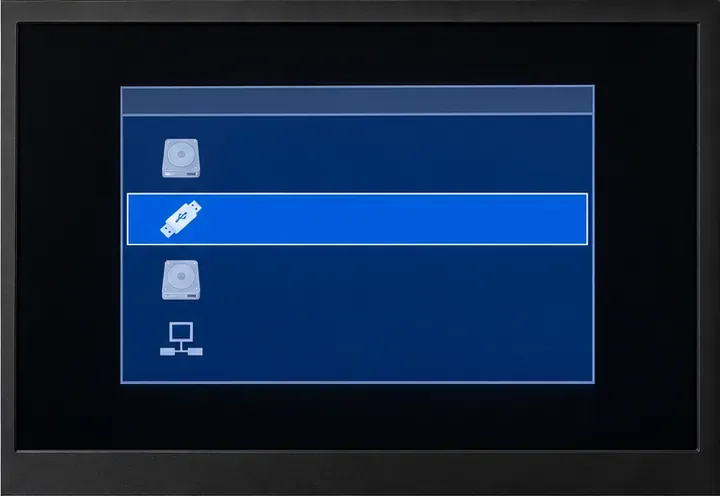
Prepare a bootable USB, check 64-bit hardware compatibility, and install Pardus 23 XFCE while protecting existing files and avoiding common legacy BIOS pitfalls.
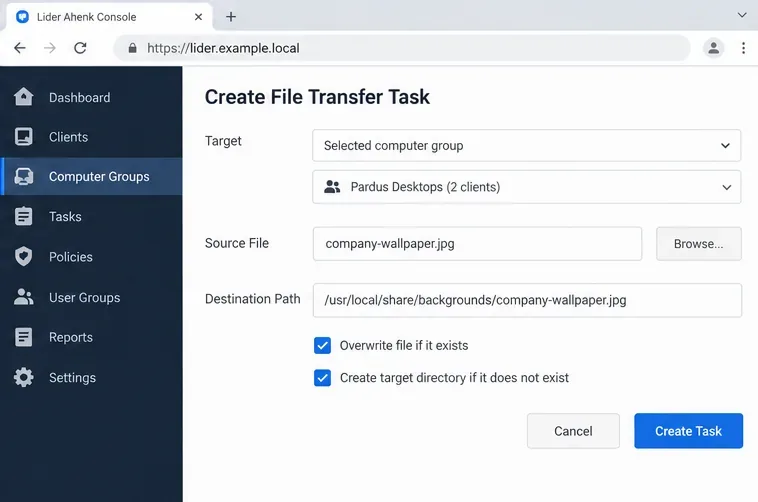
Distribute a custom wallpaper to Pardus clients, configure Xfce or GNOME desktops, and apply Lider Ahenk user policies with safe pilot checks.
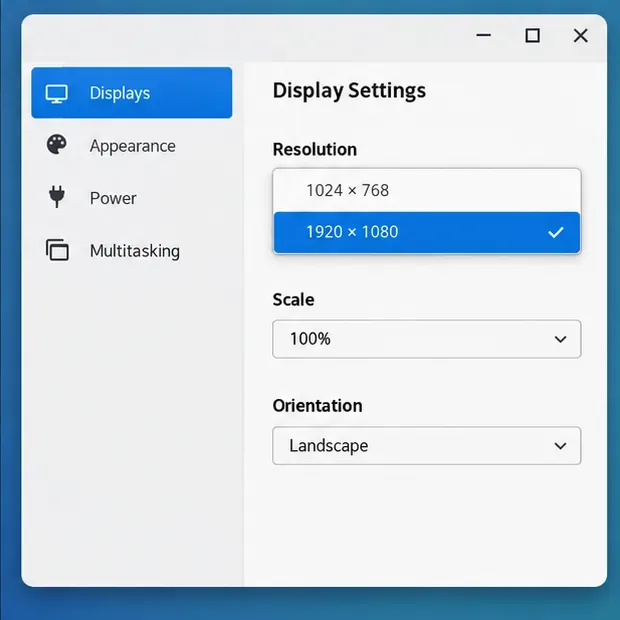
Fix a 1024 × 768 ceiling by checking SPICE, virtual video, the guest channel, and spice-vdagent—with safe checks when Pardus lacks a package candidate.
Set up the Lider server, configure its installer safely, register Ahenk endpoints, and verify a pilot before expanding central management.