SLES Boot Module Load Failure: Find the Driver and Fix It
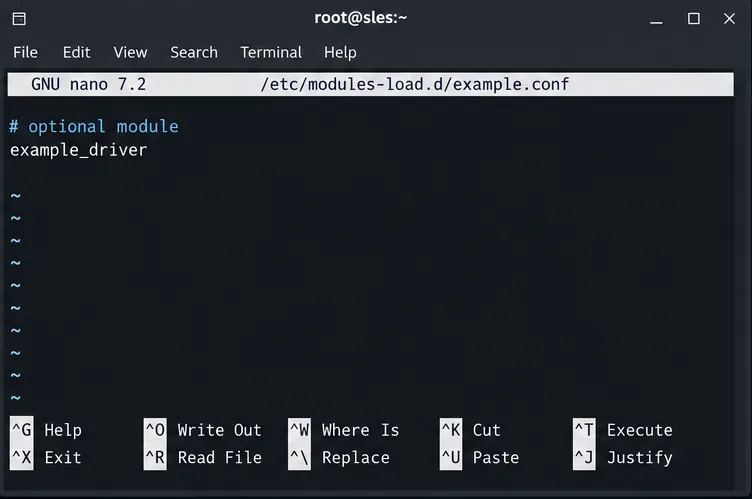
Trace a failed kernel module at SLES startup, correct an obsolete boot entry or repair the required driver, and verify the next boot.
Using Gemini in Gmail will give you more options to compose or reply to emails. You just need to enter the email content you want to compose or reply to and then Gemini will help you compose the email. You can still refine the email to your liking from the email composed by Gemini. The article below will guide you to use Gemini in Gmail.
How to use Gemini in Gmail to compose emails
Note , to use Gemini in Gmail you need to subscribe to the Google One AI Premium package to use the latest AI tool with more advanced features than the free version.
Step 1:
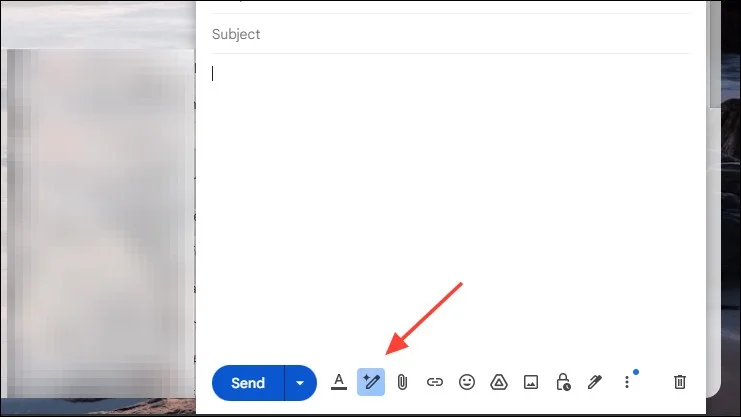
You tap compose email as usual and then tap the pen icon to open the Gemini email composer.
Step 2:
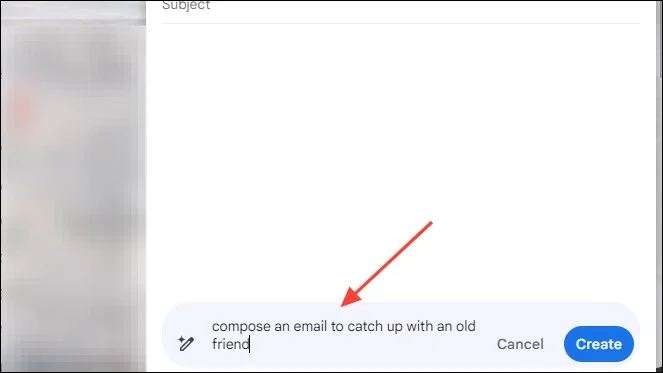
We click on Help Me Write to use the AI tool to compose an email. At this time, the box to enter the email content you want to compose will appear so that Gemini can help you compose the email. After entering, click Create to create the email .
Step 3:
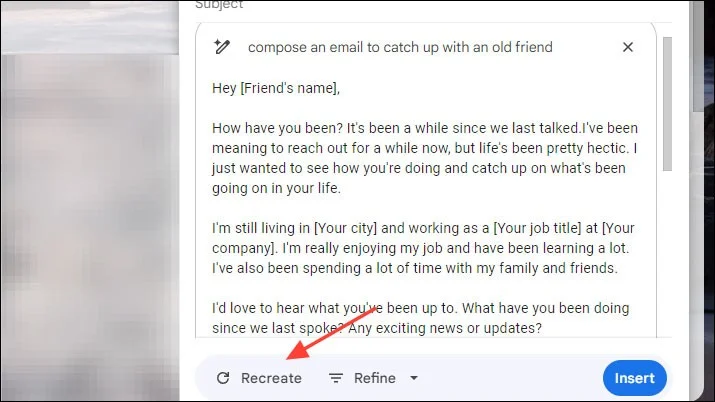
You will then see the draft email created by Gemini in Gmail. If you want to create another draft email, click Recreate to recreate it. Or you click the Refine button to edit the email content to compose the email as you like.
Step 4:
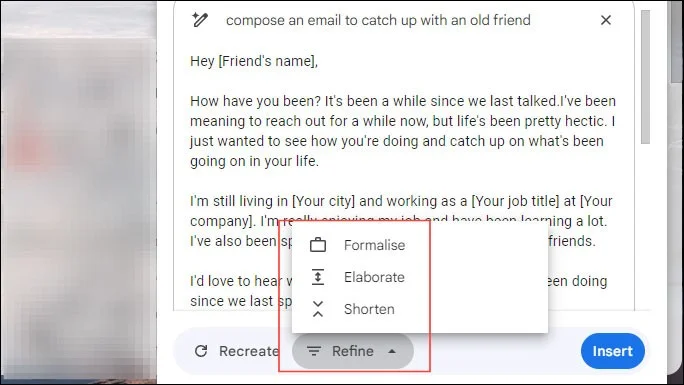
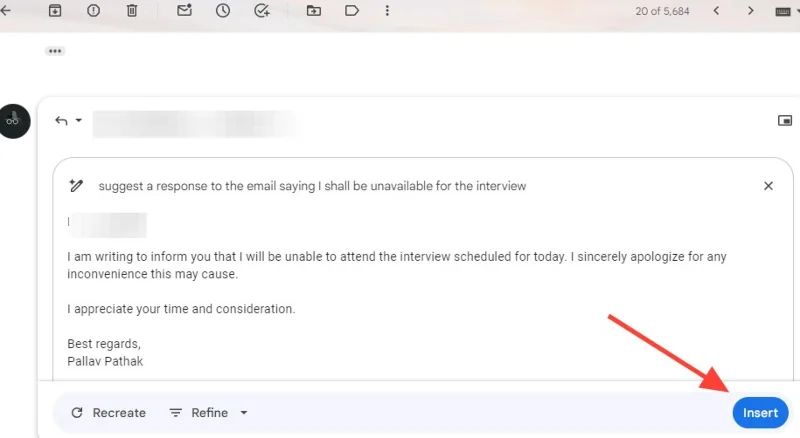
When editing the email, you will have the option below to adjust your email. Finally, click Insert to insert this email into the email compose box to send.
How to use Gemini in Gmail to reply to emails
Step 1:
Select the Gmail email you want to reply to, then click Reply to respond to this email.
Step 2:
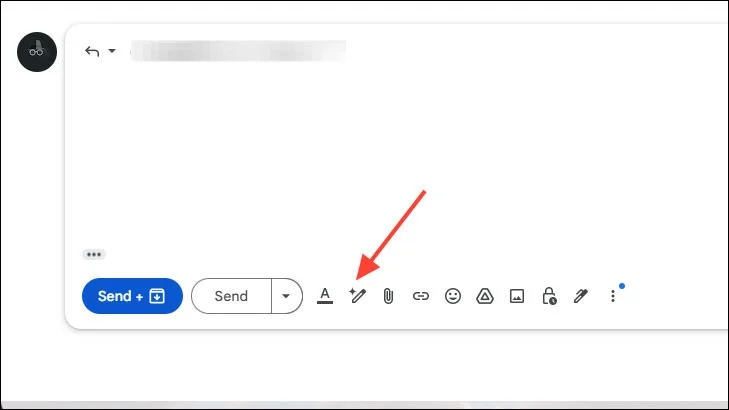
Now you also click on the pen icon to use the AI tool to compose a reply email.
Step 3:
You also enter the email content you want to respond to so Gemini can help you compose the email and then click Create to create.
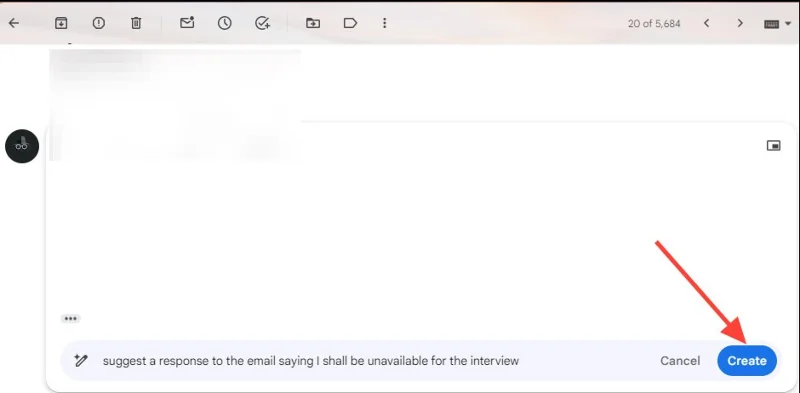
Step 4:
Finally you see the reply email Gemini. We also have the option to edit the email if needed, or we can press Insert to send the email.
Trace a failed kernel module at SLES startup, correct an obsolete boot entry or repair the required driver, and verify the next boot.
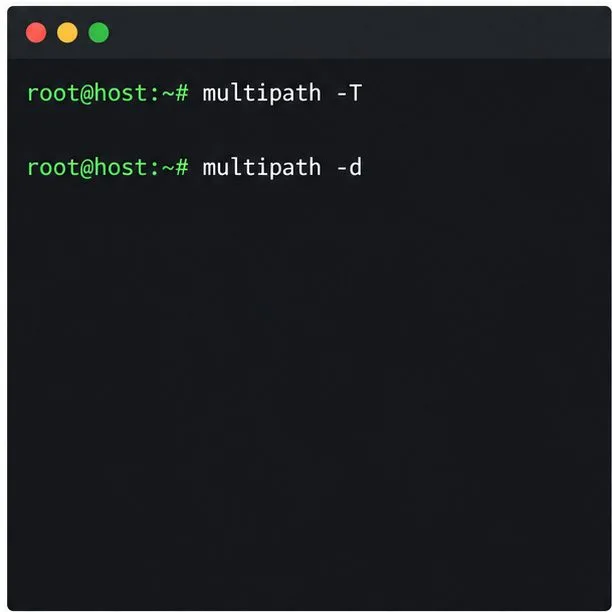
Prepare SCSI SAN paths, enable multipathd, inspect SUSE’s hardware defaults, and verify stable device maps without guessing array settings.
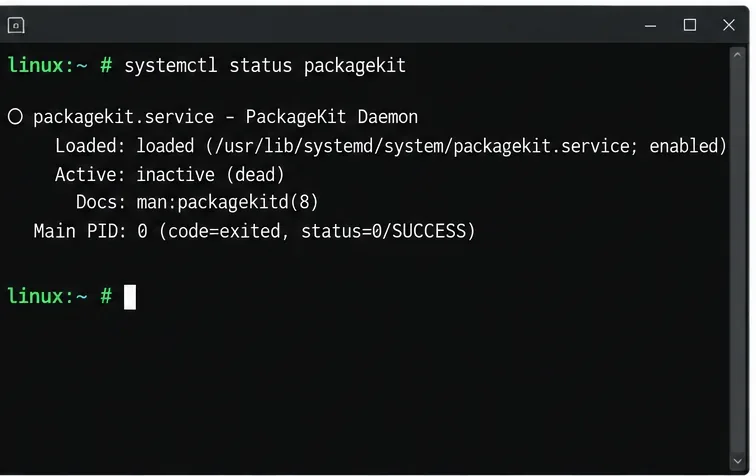
Find the process holding Zypper’s package lock, distinguish process conflicts from package locks, and retry updates without deleting lock files blindly.
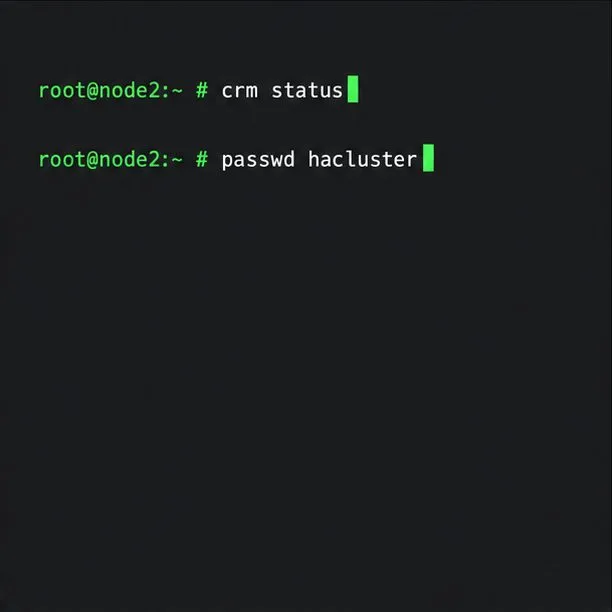
Register SLE HA, bootstrap SLES 15 nodes, then add fencing, quorum, and tested service resources before relying on failover.
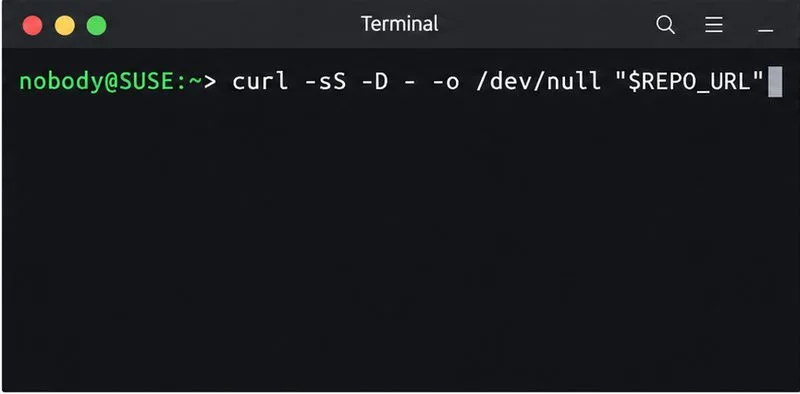
Trace a Zypper refresh error to SUSE, RMT, or a third-party endpoint, then apply the right server-side or cache fix without disabling essential updates.
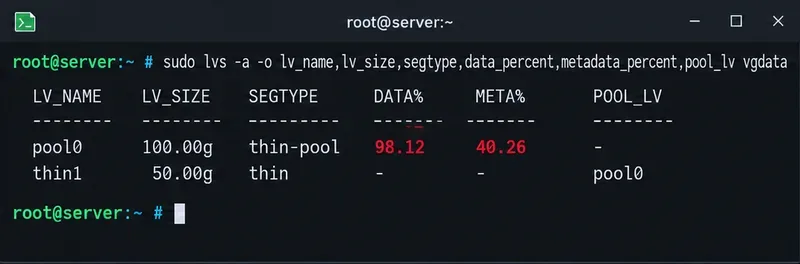
Resolve SUSE LVM thin-pool space errors by checking data and metadata usage, expanding the pool safely, and preventing repeat outages.
Identify whether Btrfs is intentionally read-only, short on space, or protecting data after errors, then choose a recovery path that fits the cause.
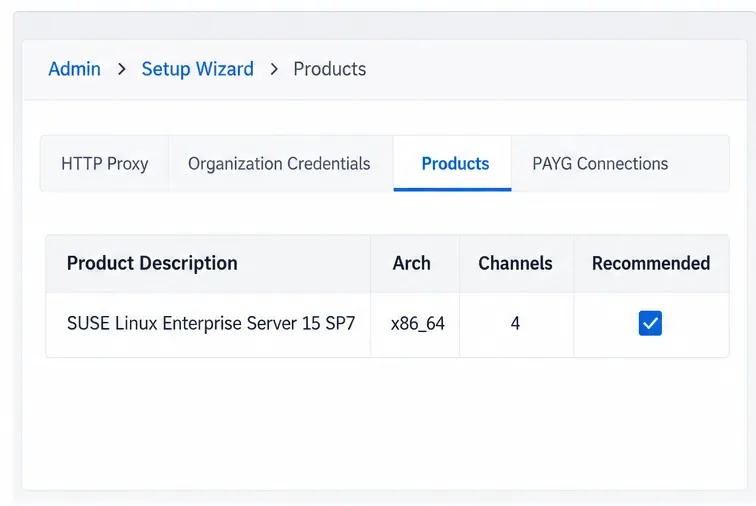
Prepare mirrored channels, create an activation key, and bootstrap an SLES 15 client without direct internet access while preserving the connection needed for Manager check-ins.
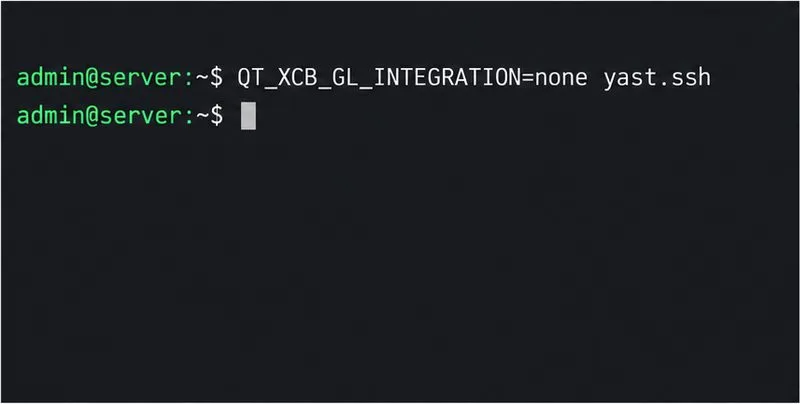
Fix YaST’s XIO launch error over SSH, verify X11 forwarding and xauth, and switch to the ncurses interface when a remote window is unnecessary.
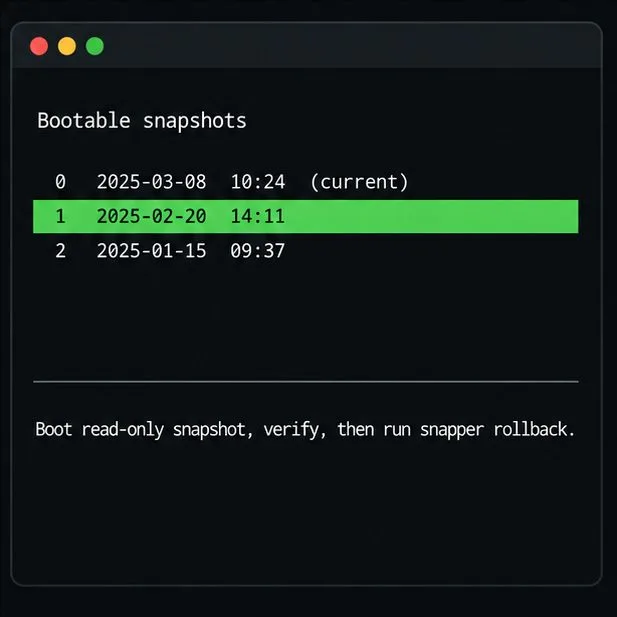
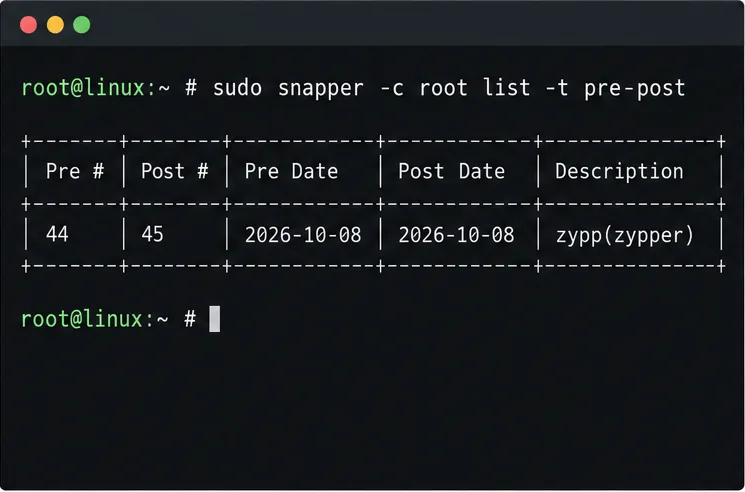
Find the pre-update Btrfs snapshot, test it read-only, and make recovery permanent with Snapper while understanding which data stays outside the root rollback.