Keep ONLYOFFICE Spell Check on the Language You Choose
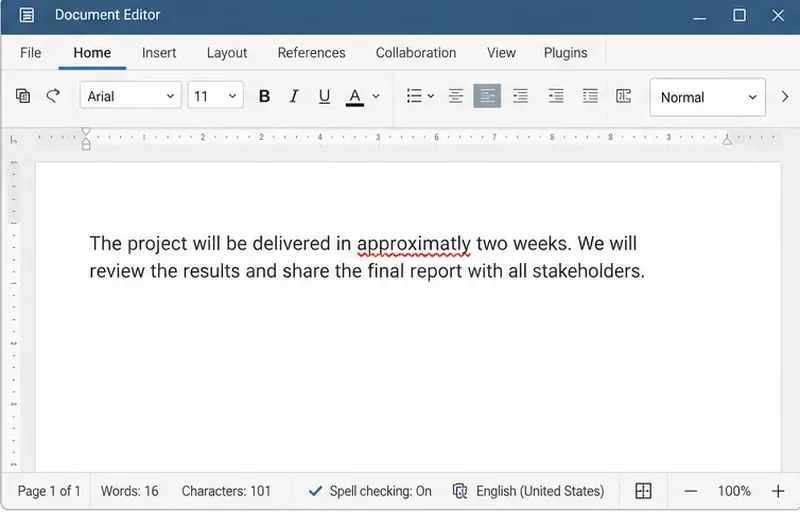
Set the proofing language for the whole document or selected text, confirm spell checking is active, and identify when a server dictionary is missing.
Likee is an application that allows users to create unique and impressive videos thanks to a number of tools such as: cutting, creating subtitles, inserting music, effects,... In addition, this application also supports Helps livestream users talk to many other people, especially likee also helps us connect with many people everywhere in the world.
With many tools to help create beautiful and impressive videos, this is an application that is loved by many young people. Therefore, today we would like to introduce an article on instructions for downloading and recording videos with Likee on your phone , please follow along.
Instructions for installing Likee on your phone
In the following article, we would like to introduce the steps to install the application on Android. You can also do the same to install Likee on iOS or click the download button below.
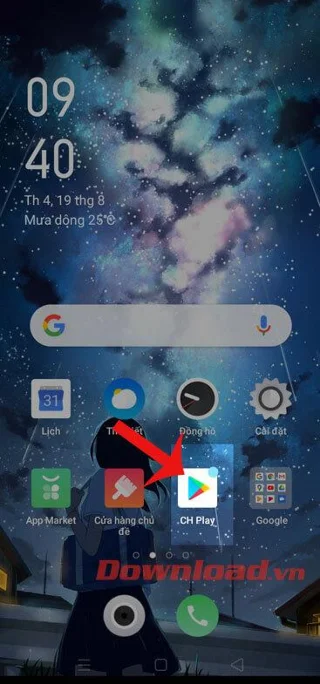
Step 1: First, we need to open the Google Play app store on the phone.
Step 2: Type the keyword Likee , then click the Search button .
Step 3: Click the Install button to start the process of downloading the application to your device.
Step 4: After completing the installation process, press the Open button to start using this application.

Instructions for recording videos on Likee
Step 1: At the main interface of the application, click on the video camera icon at the bottom of the screen.
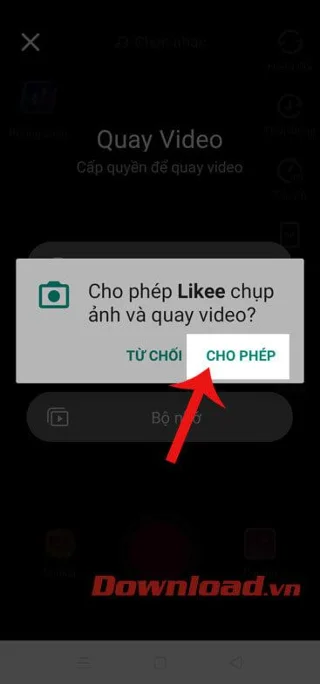
Step 2: Click the Allow button to grant permission to use this application's camera.

Step 3: Touch and hold the movie recording button below the screen.

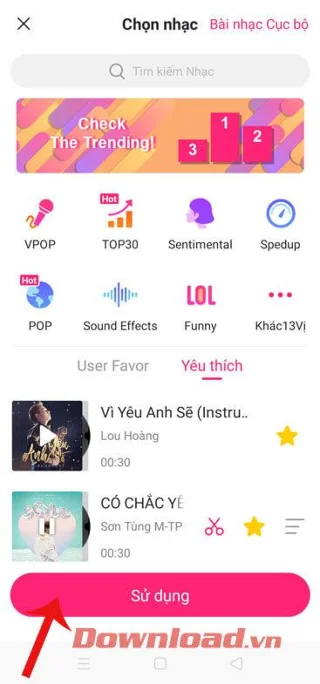
Step 4: After successfully recording a video, click on Choose music , then search and click on the song you want to insert into the video, next click the Use button to add music to the video.
Step 5: Touch Volume to adjust the volume of the video sound and music sound.


Step 6: Click on Filter to choose color effects for the video.
Step 7: Click on Subtitles , then enter the text you want to insert into the video.
Step 8: Click on the Cover photo section , write the title content for the video, with a good and impressive title, the video will get many likes.


Step 9: At the bottom of the screen, tap Touch Magic to add effects to make the video more beautiful.
Step 10: Continue, click on Mix Effects , and choose a color transition effect for the video.
Step 11: Tap on Time Magic to choose the video playback speed: Slow motion, Reverse, Speed up,...



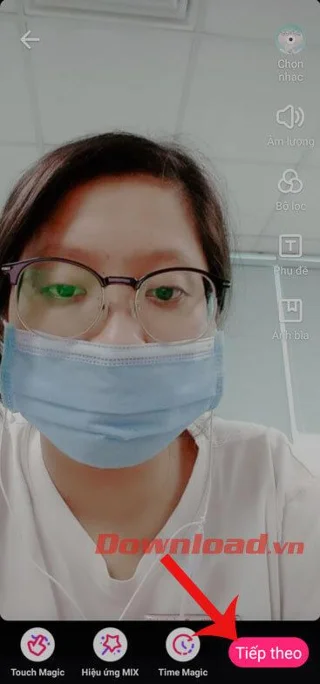
Step 12: After editing the video, click the Next button in the lower right corner of the screen.
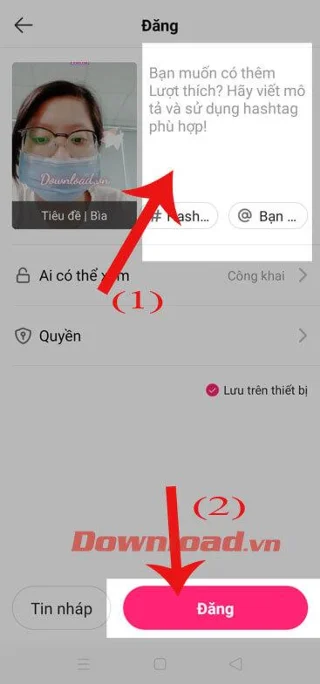
Step 13: Write a caption for the video, then press the Post button .
Step 14: At this point, your video will display on the application's home page.

Wishing you success!
Set the proofing language for the whole document or selected text, confirm spell checking is active, and identify when a server dictionary is missing.
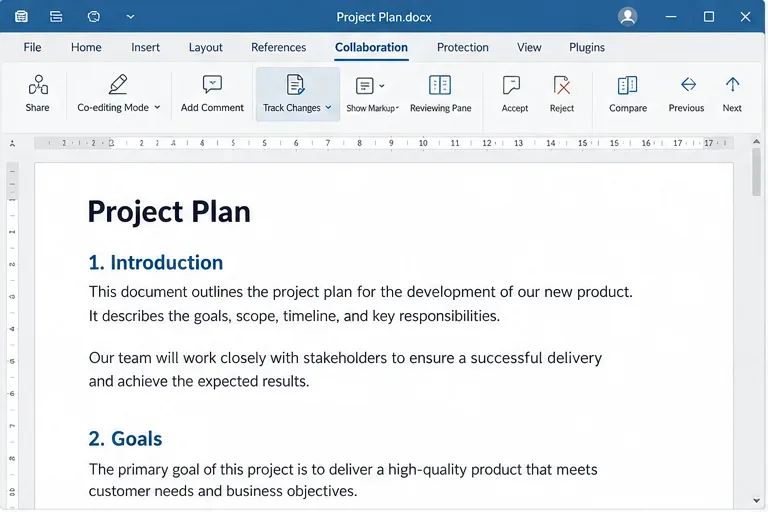
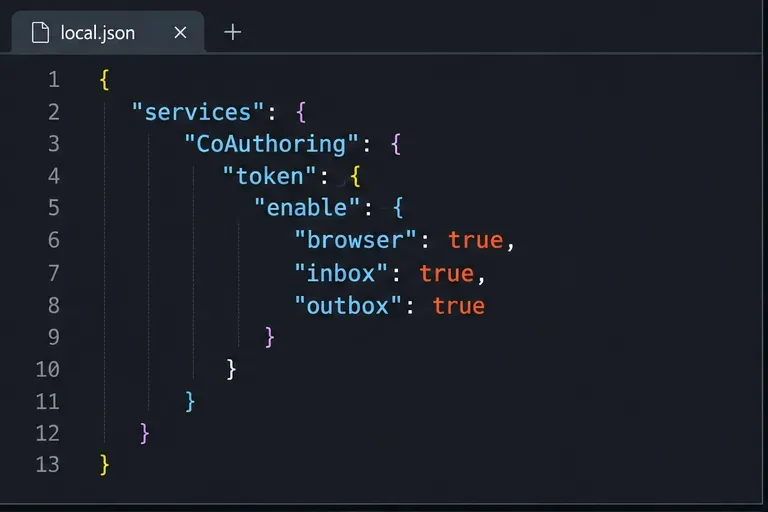
Enable persistent Track Changes for everyone in one ONLYOFFICE document, verify edits are recorded, and understand the limits of this setting.
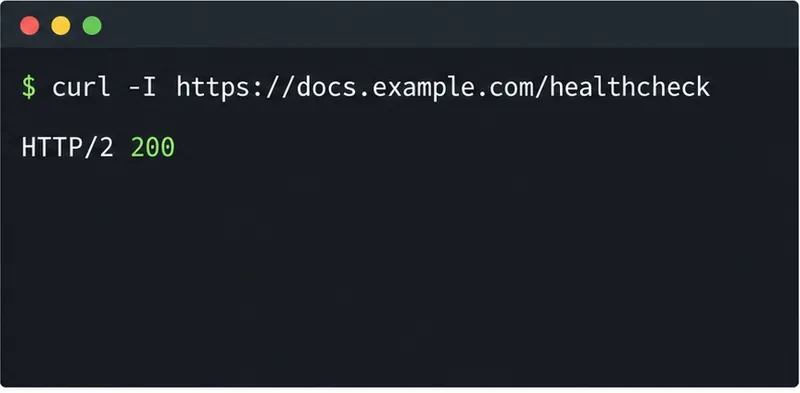
Find whether Nginx, Docker networking, or an internal ONLYOFFICE service is returning 502, then verify the corrected upstream and health check.
Diagnose failed ONLYOFFICE saves by checking the Nextcloud callback route, proxy redirects, and storage logs, then verify the edited file persists.
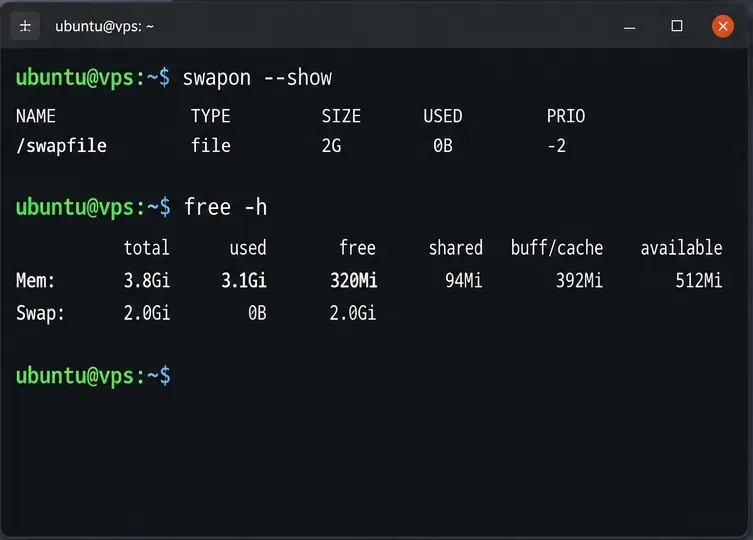
Find the cause of ONLYOFFICE memory crashes, check Docker limits, size VPS RAM correctly, add swap safely, and verify that documents open and save.
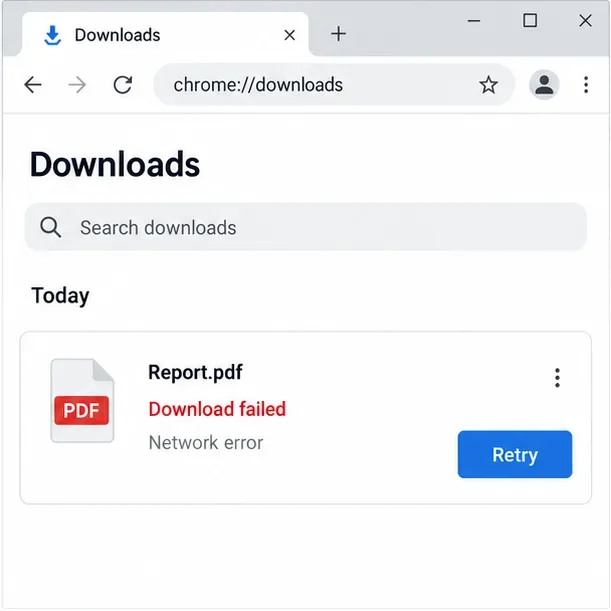
Separate browser download problems from server-side conversion errors and use the right log or access check to get your PDF export working.
Match the JWT secret used by ONLYOFFICE Docs and Nextcloud, apply it safely for Docker or Linux installs, and verify the connection without weakening authentication.
Install ONLYOFFICE Workspace Community on Ubuntu 24.04 with the official Docker script, check server requirements, skip Mail if needed, and verify the portal safely.
Configure matching JWT secrets for ONLYOFFICE Docs and its connector, with safe steps for Linux packages, Docker deployments, and verification.
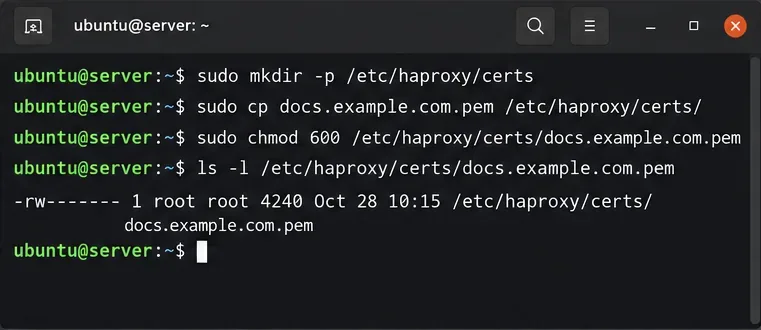
Configure HAProxy HTTPS, forwarding headers, WebSocket timeouts, and health checks for ONLYOFFICE Docs, then verify editing and saves.