Home
» How to
»
Instructions for sending photos that can only be viewed once on Messenger
Instructions for sending photos that can only be viewed once on Messenger
So after Instagram allows viewing photos once , Messenger has also updated the feature of sending photos that can only be viewed once, automatically deleting photos and videos as soon as the other person finishes viewing them. The other person also cannot take screenshots or view photos on Messenger on a computer. So we have another way to send self-destructing messages on Messenger without having to turn on self-destruction for the entire chat. Below are instructions for sending photos that can only be viewed once on Messenger.
How to send photos that can only be viewed once on Messenger
Step 1:
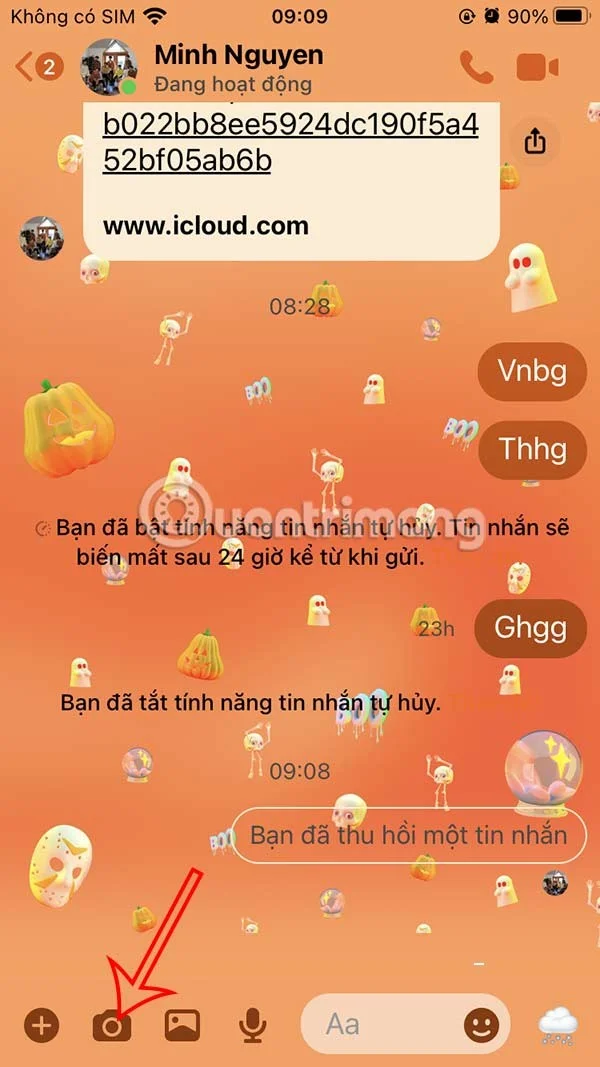
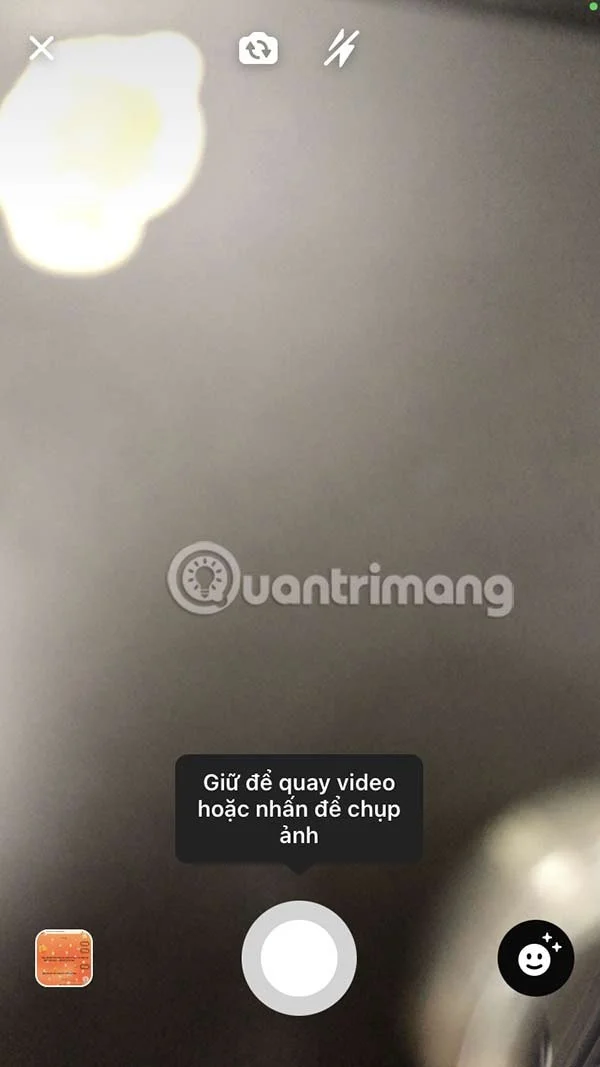
First, open the chat you want to send a photo to view once on Messenger. Then click on the camera icon to take a photo or send a video if you want. Now you can take a photo or record a video as you like.
Step 2:
After recording the video, you will see a notification about the feature of sending photos that can only be viewed once on Messenger . The other person can only view the photo once, and can only view it on the Messenger phone application, not on the computer. Messenger also does not allow forwarding or taking screenshots, click OK to use.
Step 3:
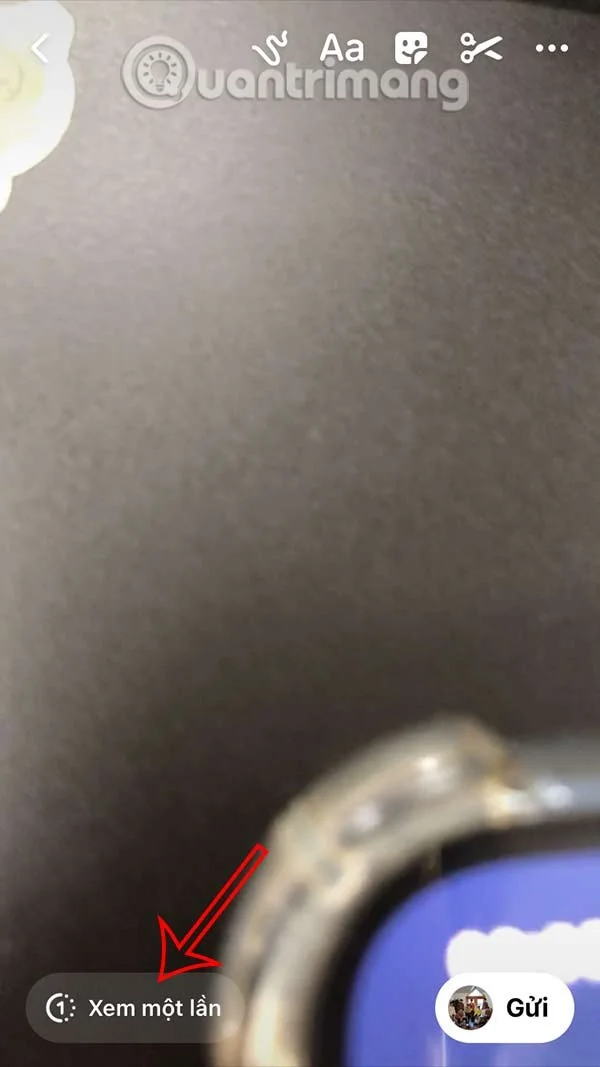
The image is then set to Single View mode and you press Send to send the image.
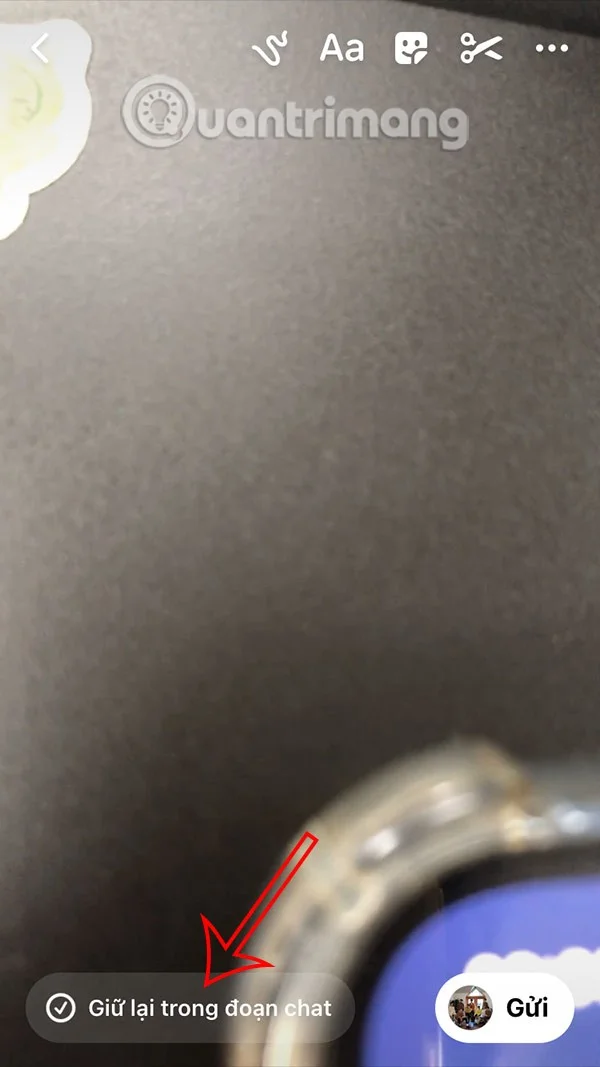
In case we don't want to use this mode anymore, switch to Keep mode in the chat.
Step 4:
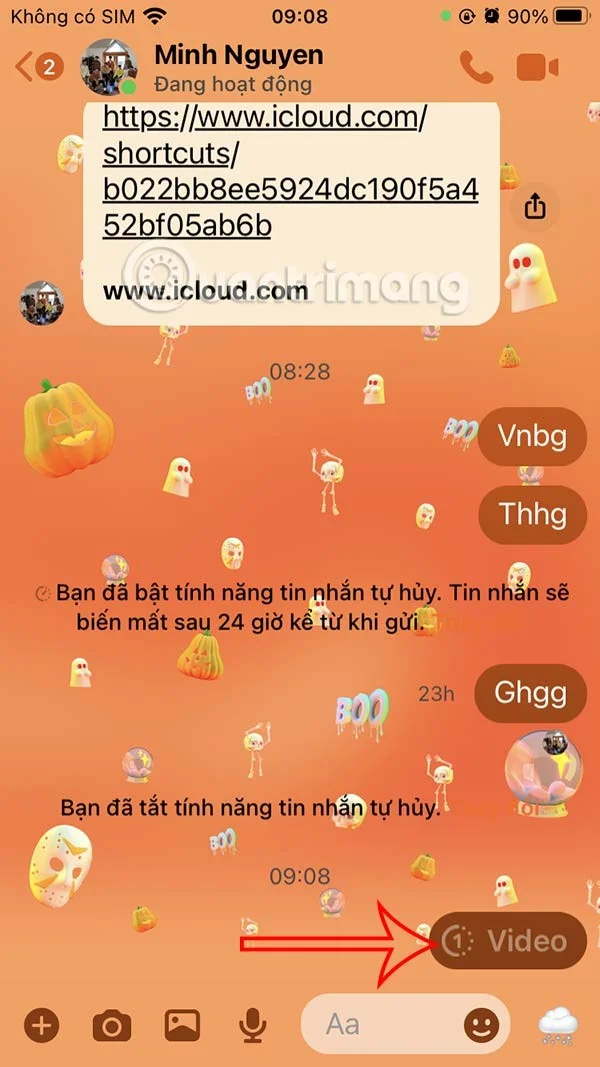
Videos or photos can only be viewed once and displayed in Messenger chat as shown below.
The other person taps on the photo and video to view it in the Messenger app and as soon as they view it, it automatically disappears and cannot be viewed again.
If you take a screenshot, it will display a message Unable to take a screenshot on Android. With Messenger on iPhone, it will display a message like below if you take a screenshot.
Video tutorial on sending photos that can only be viewed once on Messenger