After a period of using the air conditioner, it is necessary to clean it periodically. The following article will show you how to clean the filters of Samsung air conditioners for the best performance and long-term operation.
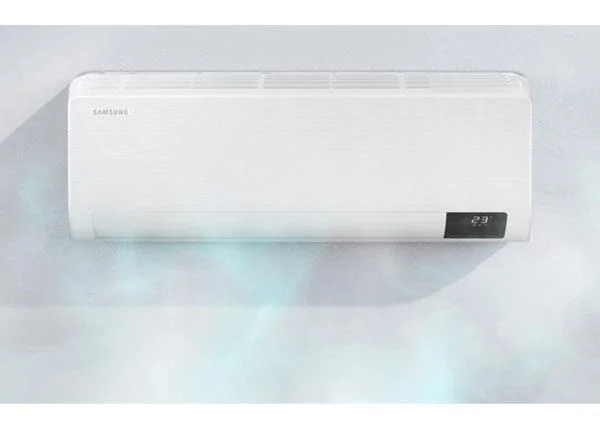
Thick dirt accumulates inside the air-conditioner will reduce the cooling efficiency and consume electricity.
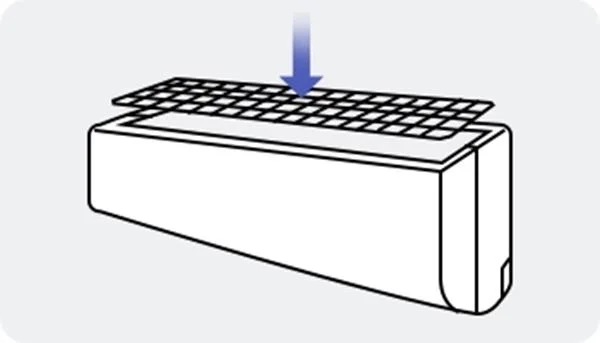
Clean the wall-mounted AC filter
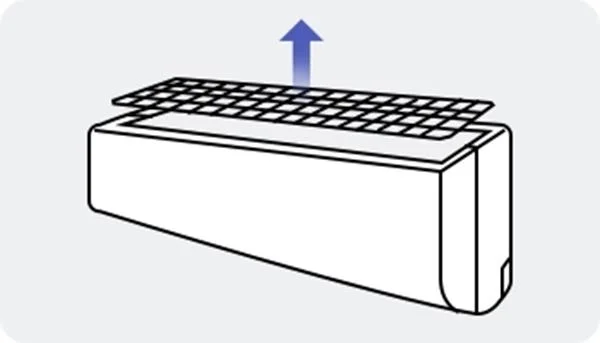
Step 1. Slide the filter out of the device.

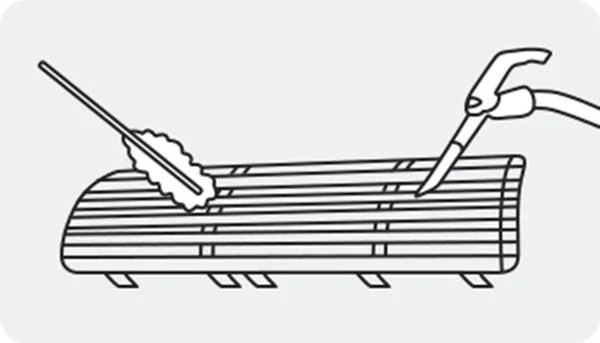
Step 2. Use a soft brush or vacuum cleaner to remove all dust or debris on the filter.

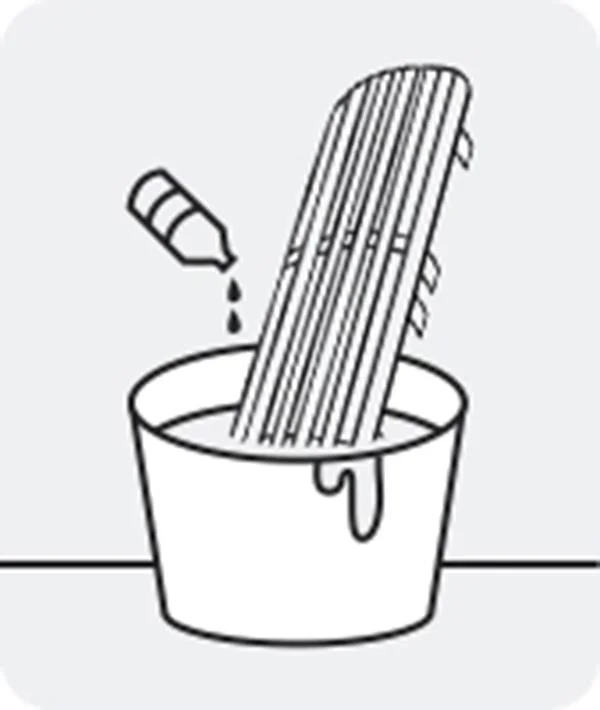
Step 3. If the filter is dusty, soak the filter for about 30 minutes in soapy water and then rinse it off.

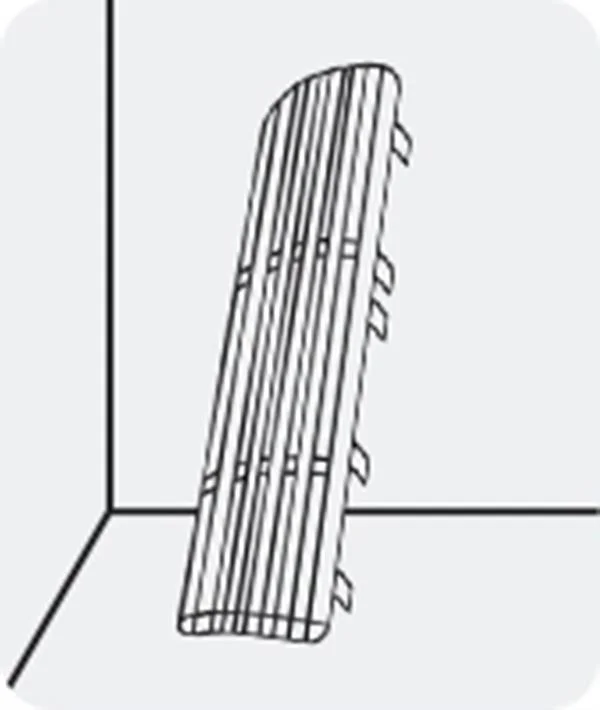
Step 4. After washing the filter, dry it in a well-ventilated place.

Step 5. Reinsert the filter.

Note:
- Do not scrub the air filter with a bristle brush or other rough cleaning tool.
- If the air filter does not dry completely or is dried in an enclosed (or humid) area, a bad odor may occur.
- Do not expose the air filter to direct sunlight during drying.
Clean floor standing air conditioner filter
If your home air conditioner is floor standing type with inverter, check the steps outlined below. Floor standing models with inverters have two types of filters.
Full HD filter: This filter filters out large particulates in the incoming air.
Filter Zero: This filter captures small dust particles in the air. The filter is washable and semi-permanent.
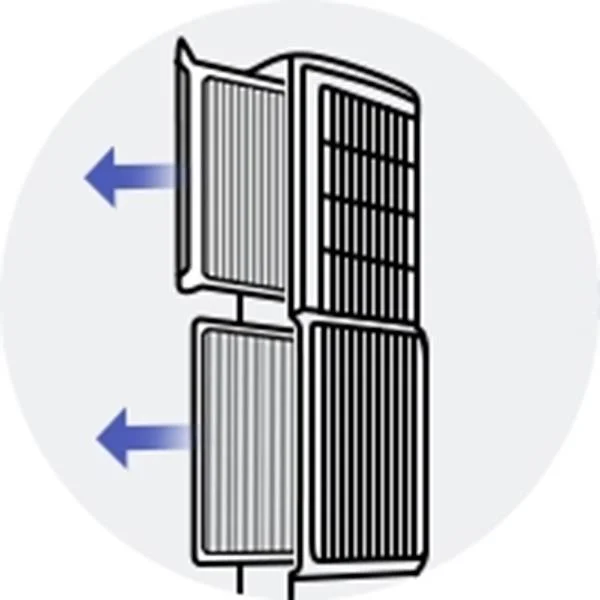
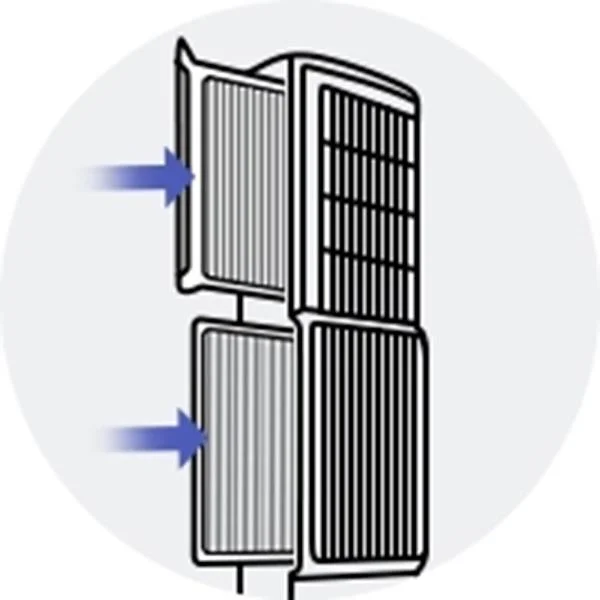
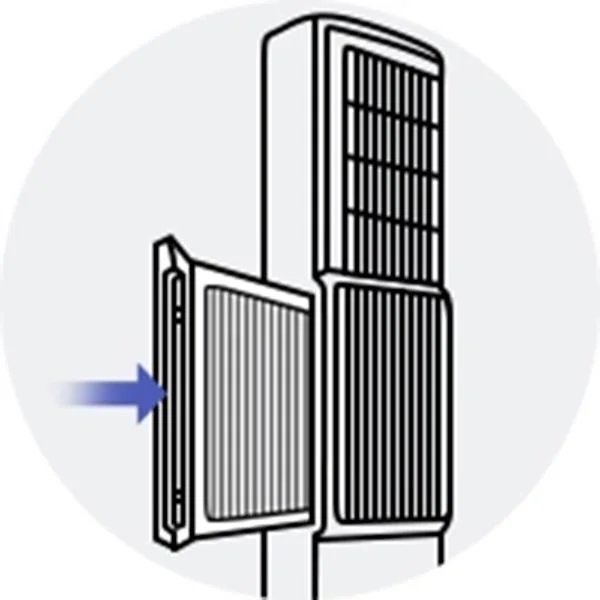
Step 1. Pull out the Full HD filter in the direction of the arrow shown in the image below.

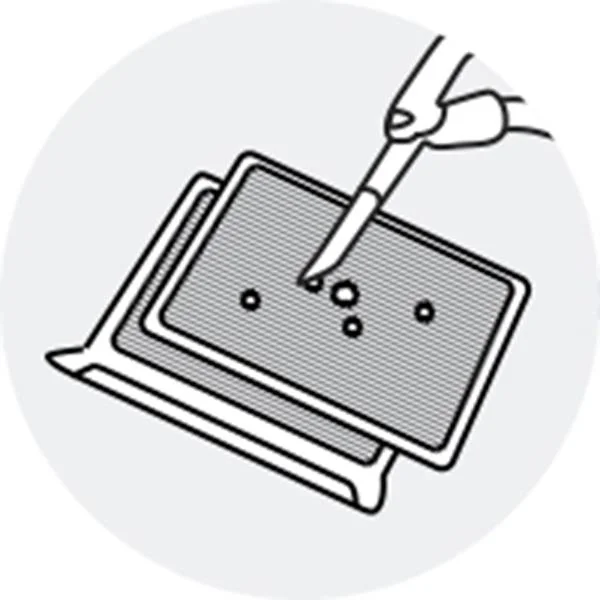
Step 2. Remove dust with a vacuum cleaner or wash it under running water.

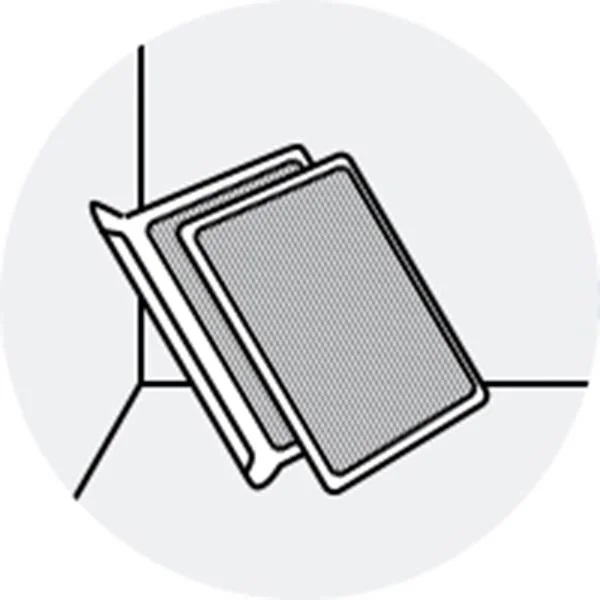
Step 3. Dry the filter completely in a shady area.

Step 4. Push the Full HD Filter to the end in the direction of the arrow so you can fix it completely.

Note:
- Clean the FullHD Filter every 2 weeks.
- Cleaning timeframes may vary depending on usage conditions and environment.
Clean the Zero filter
Be careful with the very sharp rear surface of the Zero filter. You could injure your hand.
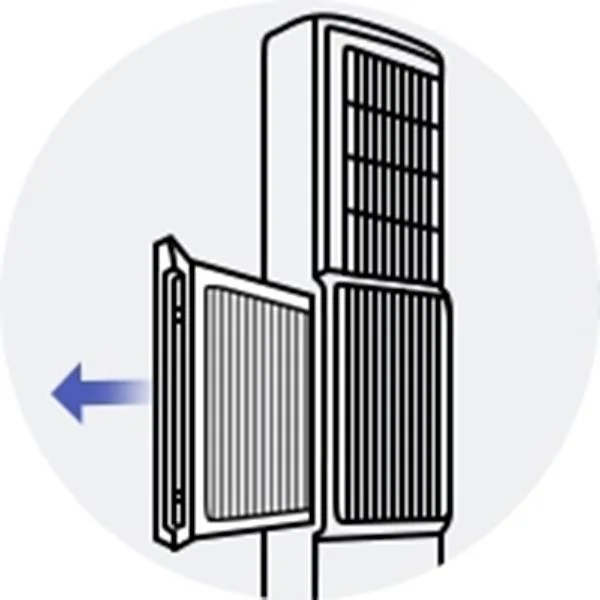
Step 1. Remove the Full HD Filter below. Grasp the handle on the Zero filter and remove the filter by pulling in the direction of the arrow shown in the figure.

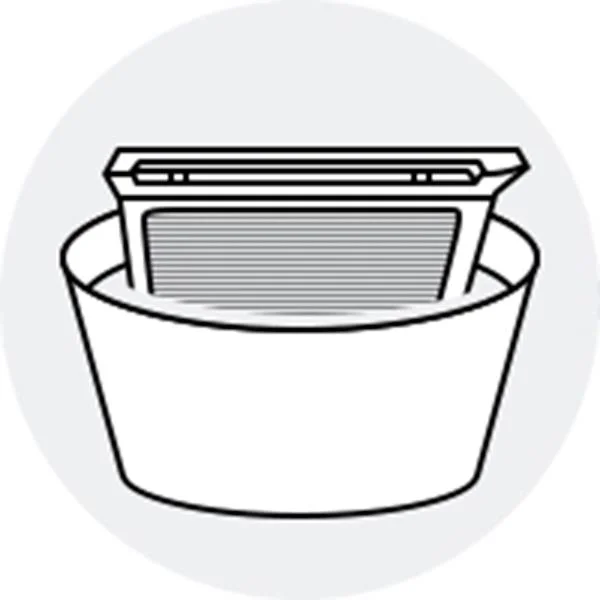
Step 2. Soak the filter in water and shake it up and down a few times.

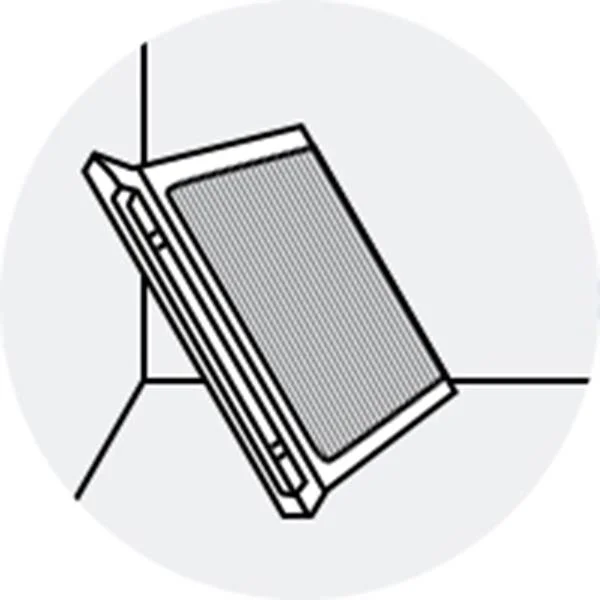
Step 3. Dry the filter in a well-ventilated area.

Step 4. Push the Zero filter in the direction of the arrow and make sure the filter fixes in place. Put the Full HD filter below back.

Note:
- Clean the Zero filter every 3 months. (Based on 8 hour daily usage.)
- Cleaning timeframes may vary depending on usage conditions and environment.
Multi-function air conditioner filter cleaning
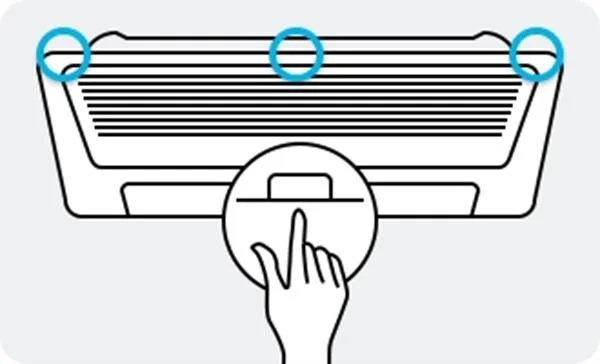
Tips to remove the universal air filter
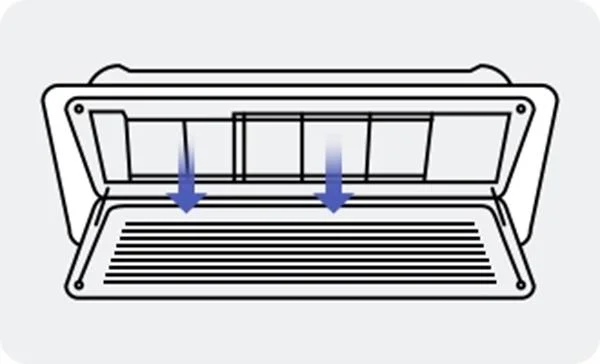
Hold the net with one hand to prevent it from falling off.
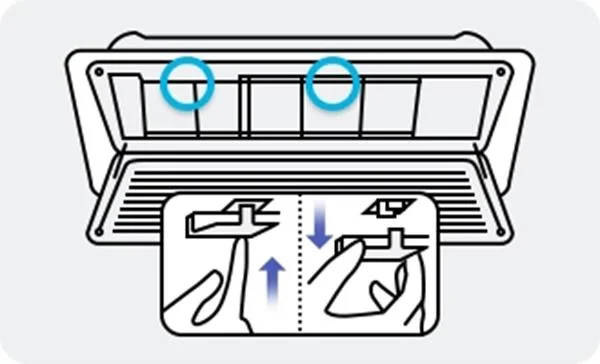
When the mesh is completely removed, remove the safety hooks on both sides of the mesh.


Note:
- The actual design of the air conditioner may differ depending on the model of your model (or in your region).
- Please carefully read the important safety warnings and instructions in the user manual.
- Clean the air filter
Step 1. Drag the air filter to the right side.
Step 2. Remove all dust from the air filter with a vacuum cleaner or brush.
Step 3. Clean the filter with a vacuum cleaner or soft brush. If dust is heavy, rinse it under running water and let dry in a well-ventilated place.
Step 4. Let the cleaned air filter dry in a well-ventilated place.
Step 5. Reinsert the air filter. (Proceed in reverse order from filter removal.) Then, reset the air filter.
How to reset the filter
- For indoor units with wired remote controls, press the Reset Filter button.
- For indoor units with wireless remote controls, press the Option button or Reset filter, then press the SET button.
Hopefully, with the above sharing, you will have more experience in cleaning the air conditioner properly. If you have any questions or need to order a Samsung air conditioner, immediately call WebTech360 hotline for the best consultation and support!