Keep Writer Revisions Visible When Exporting to DOCX
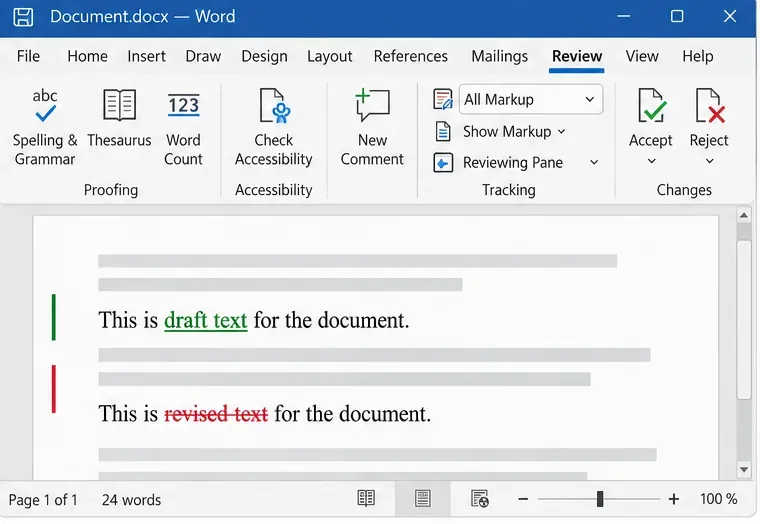
Track edits in Writer, preserve an editable ODT source, and check the exported DOCX in Word before sharing it.
With the strong development of information technology today, operating systems such as Windows, macOS, are always updated and used in the latest versions, so older versions should use it. You must reinstall on your computer, and the solution to this is to install the operating system on virtual machines.
This option is also used when testing new software or operating systems that you do not dare to test directly on your system, installing Windows on a virtual machine will make us more secure when the software If we test or the Windows set fails.
One of the software running virtual machines is VMware, this software will allow you to create and run Windows 7, Windows 8, macOS, Windows 10 or other operating systems on your computer.
You just need to create and run the operating system on your virtual machine and no longer worry about errors appearing on software or operating systems. Your computer will still be safe and no need to back up the data, if an error occurs, we just delete it and reinstall the new one. The following article will guide you how to install and run Windows 7 on a VMware virtual machine. Stay tuned for how to do it.
Advantages:
Defect:
Step 1: Download the VMware Workstation Pro software at the download button above, see how to install it in the article How to install VMware Workstation Pro on your computer to perform the installation.
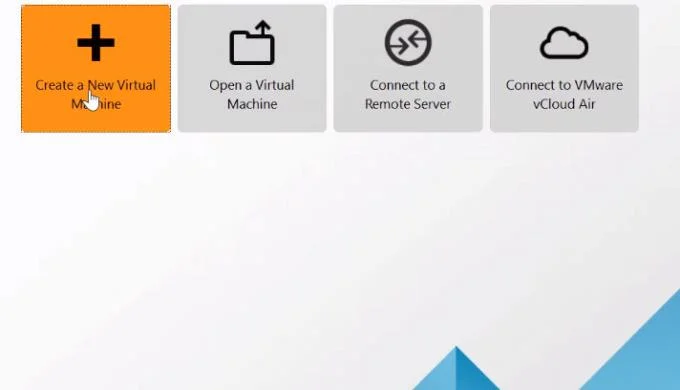
Then boot up VMware, select Create a New Virtual Machine.
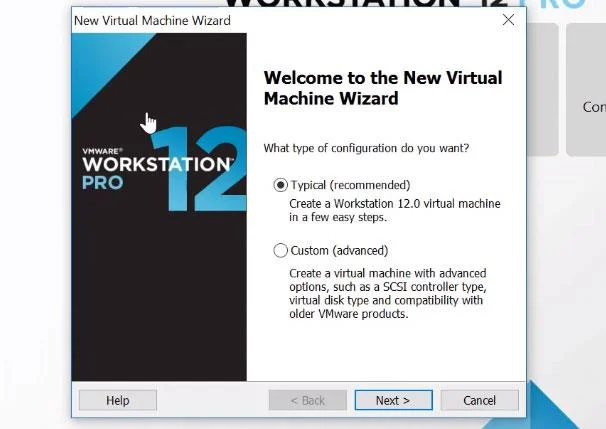
Step 2: Choose Typical or Custom to install, in which:
Choose one of the two installation modes and click Next.
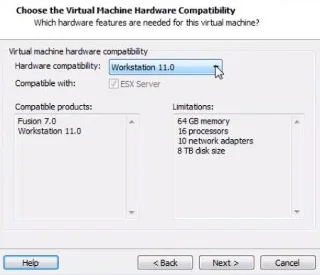
If you select Custom , you can choose the virtual machine version (Workstation). You should choose the latest version, for example your VMware Workstation Pro has version 12, then you should choose Workstation 12.x.
If you select Typical , VMware will automatically choose it for you.
Step 3: Here I select Typical and click Next, you will see a menu like the one shown below, click Browse ... at Installer disc image file (iso): then create a path to the Windows 7 installation file on machine ( .ISO file ).
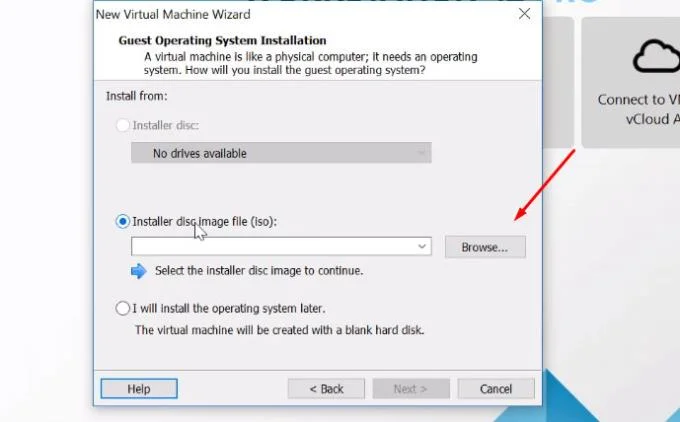
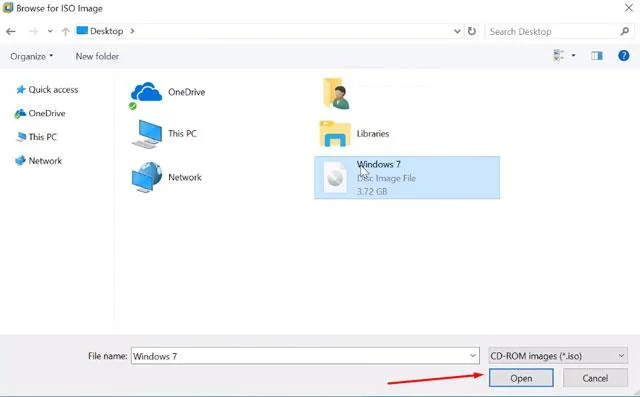
Select the Windows 7 installation file and click Open.
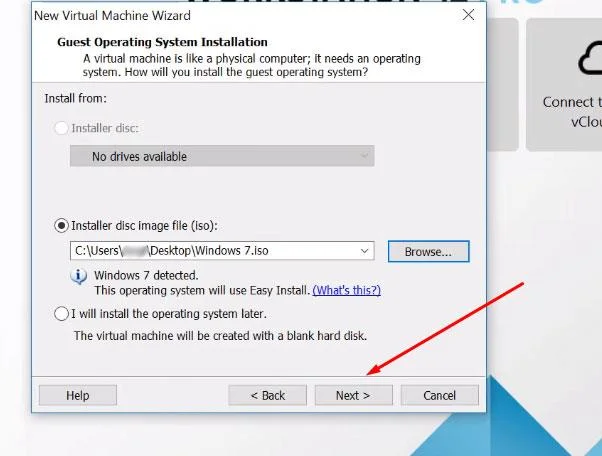
After selecting the Windows 7 installation file, click Next to continue.
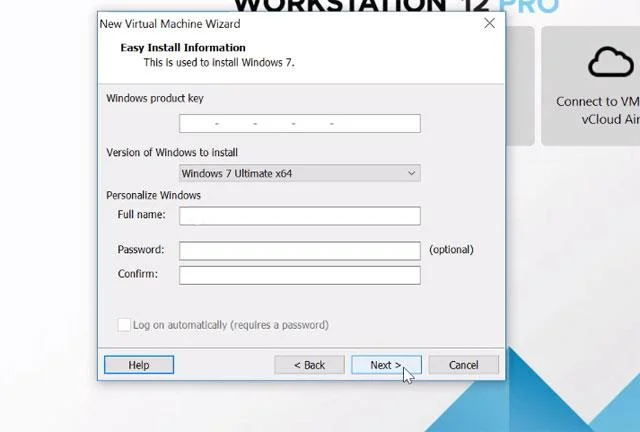
Next, enter the virtual machine user name in Full Name , select the version of Windows 7 you want to install on the virtual machine, and the Password you can set or not, the Windows product key is the license key, this part you do not need to write and click Next.
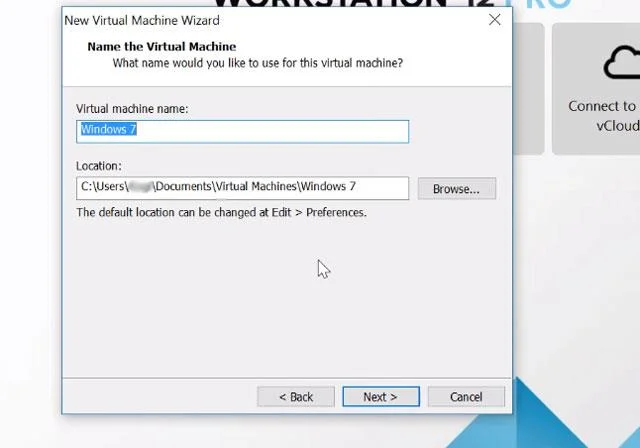
Step 4: This step is a step for you to choose where to save Windows 7 File , click Next to continue.
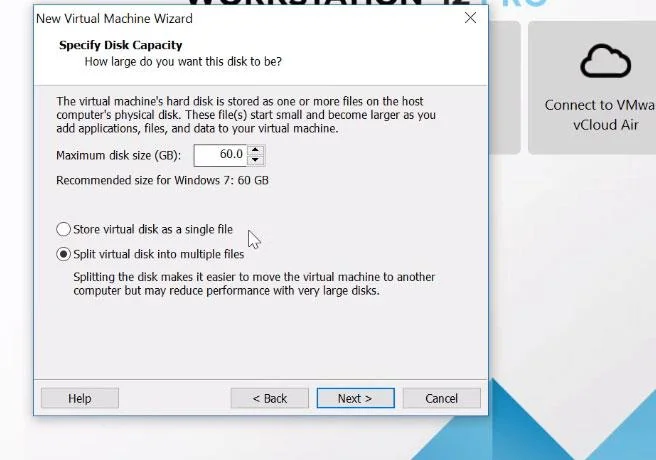
Go to the step of selecting the amount of Windows installation on the virtual machine, you adjust it to suit the needs and the amount of free space on the drive, here is 60.0GB , select Split virtual disk into multiple files and click Next .
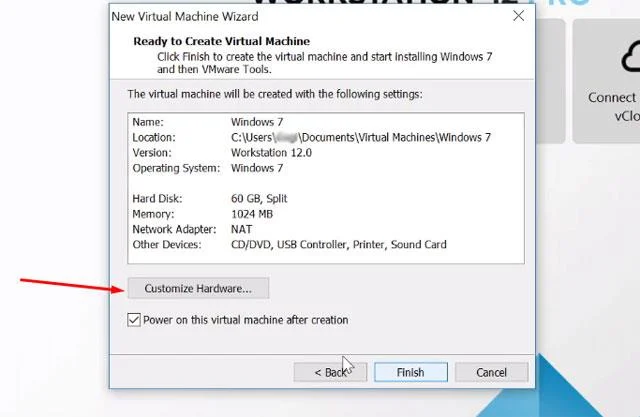
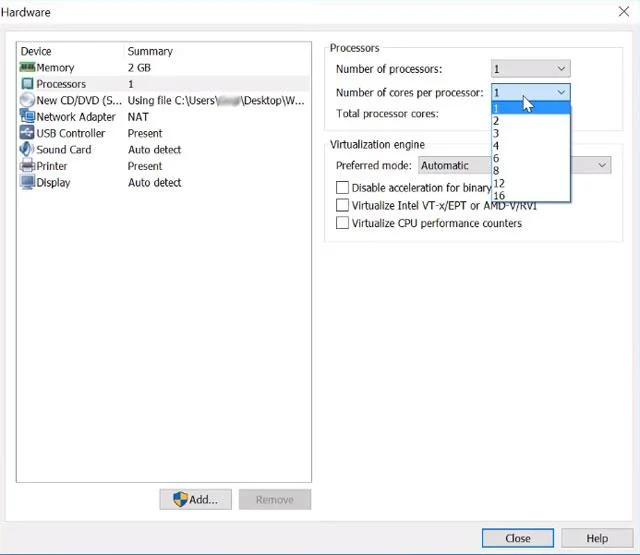
Next is the parameter settings table for the virtual machine, if you want to change some parameters for the virtual machine, click Customize Hardware to edit.
In this table you can change the amount of RAM for the virtual machine, if the amount of RAM of your main machine is high, you can increase the amount of RAM for the virtual machine to make testing the software more convenient.
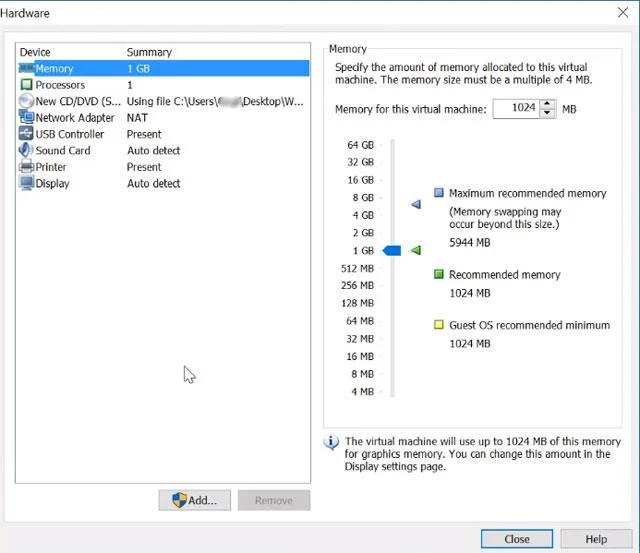
For parameters such as changing the CPU, select the number of cores on the processor for the virtual machine. And the parameters below you can leave and click Close.
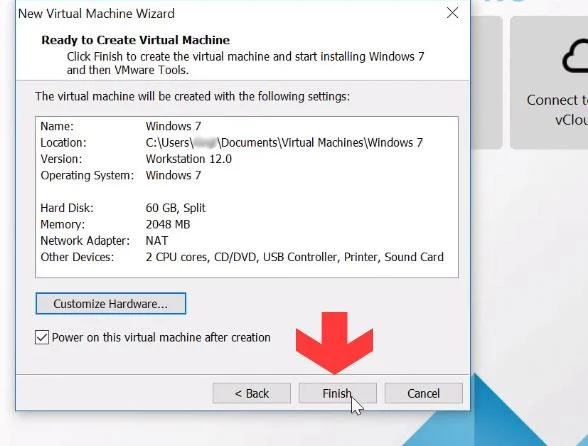
Go out and you will see the machine parameters have been changed from the original, click Finish to proceed with the virtual machine setup
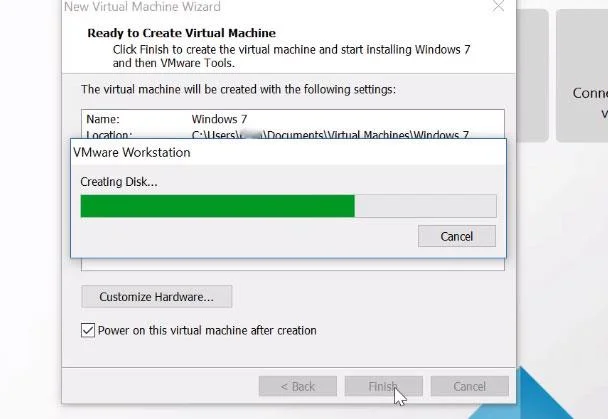
The process of creating the virtual machine will take several minutes.
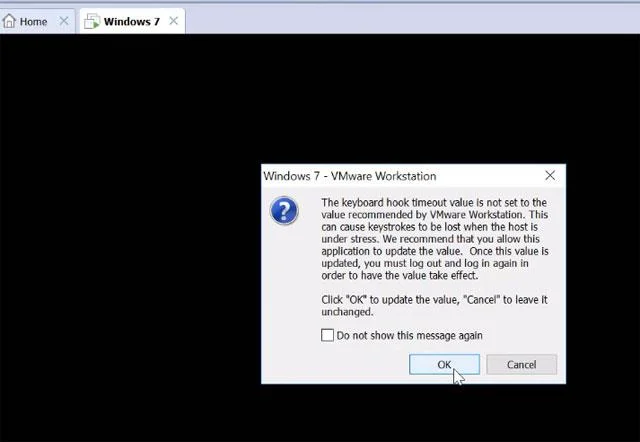
When the virtual machine is created, click OK in the above message, you will see a new tab for the virtual machine appears next to the Home tab .
To expand the virtual machine screen, click the expand icon in the toolbar.
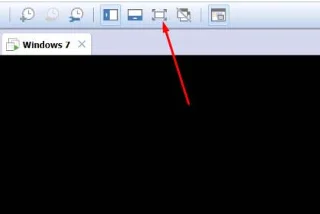
And then the virtual machine will run to install Windows 7.
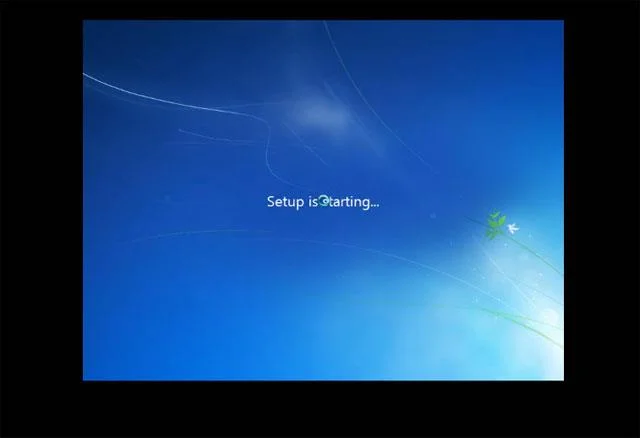
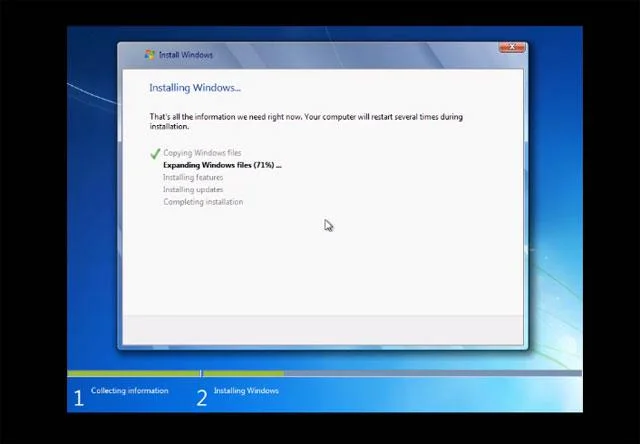
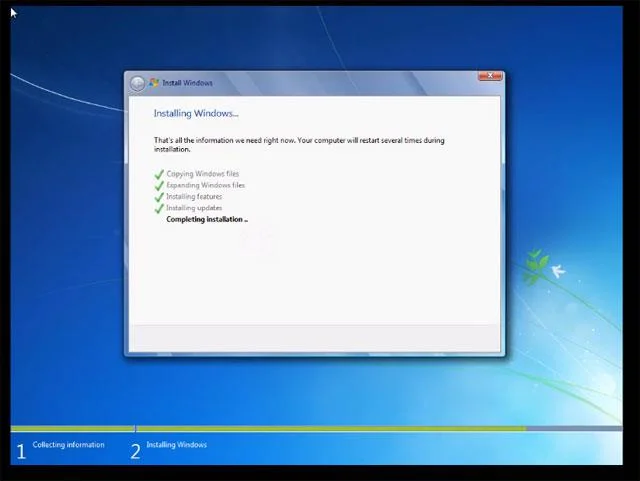
You just need to wait for the virtual machine to expand the Windows files.
Then you have to wait for the virtual machine to reboot, next, the virtual machine will proceed to install Windows 7.
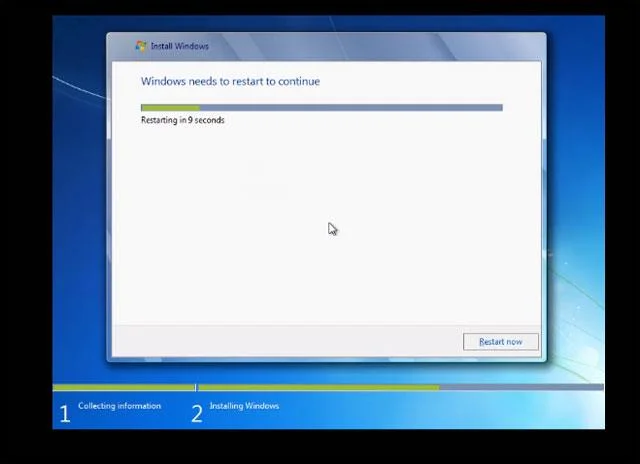
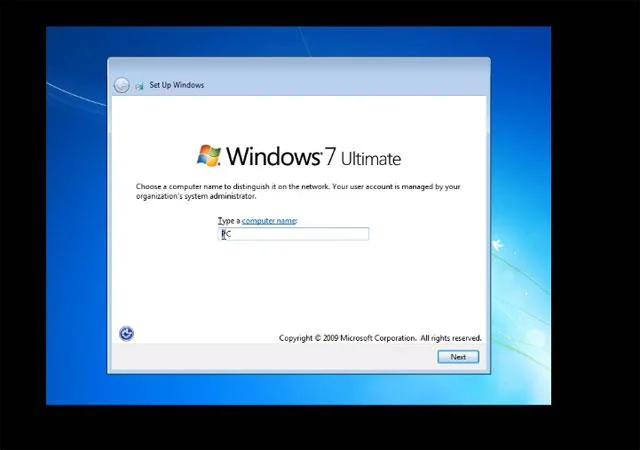
The installation process will be identical when you perform Windows 7 installation on your computer.
Enter a user name for the virtual machine and click Next.
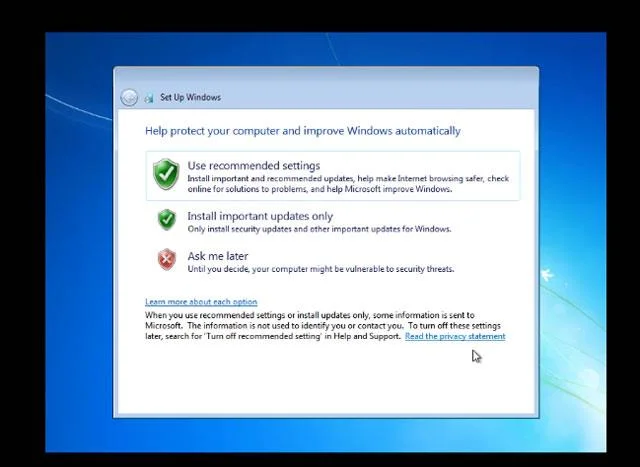
In this part, choose Ask me later.
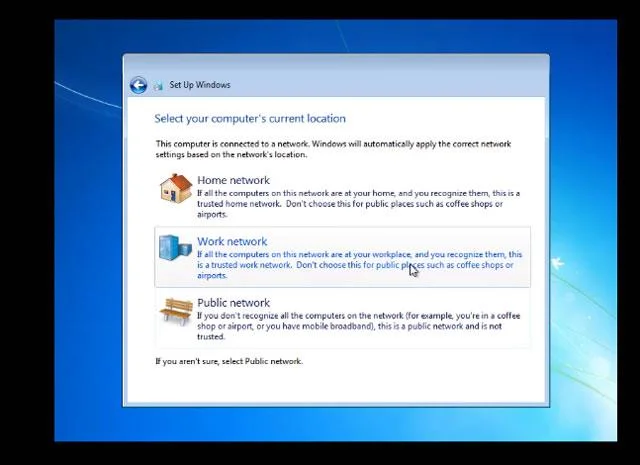
For the network selection section, select the Home Network.
When the Windows operating system appears on the virtual machine, adjust the resolution of the virtual machine, select the resolution so that you see it suits your usage.
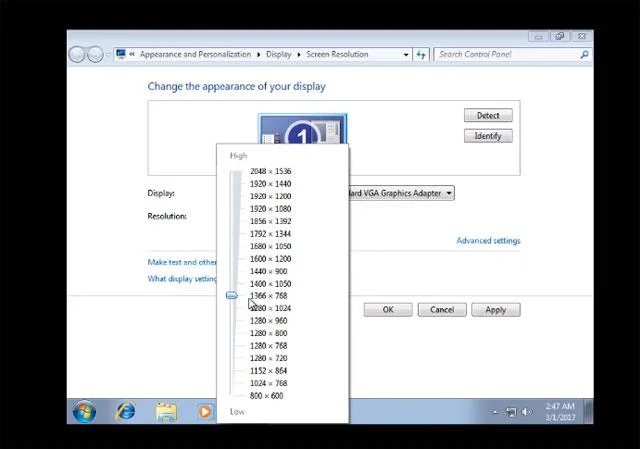
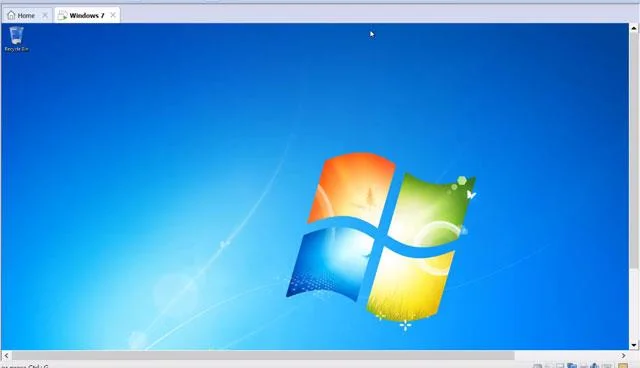
Now you can install and test software and applications on the virtual machine without fear of viruses or malware entering the machine.
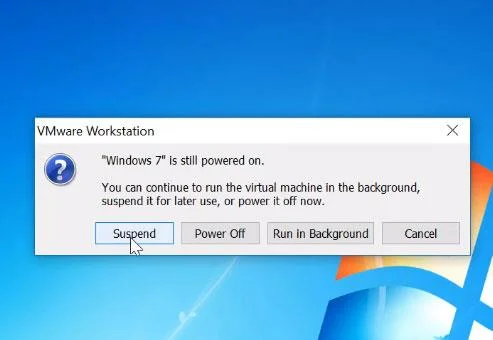
If you turn off the virtual machine, you will see a message like the one shown below, click Suspend to suspend running the virtual machine, Power Off is completely off, Run in Background is running in the background .
Depending on the situation you use, choose for yourself the most appropriate off mode.
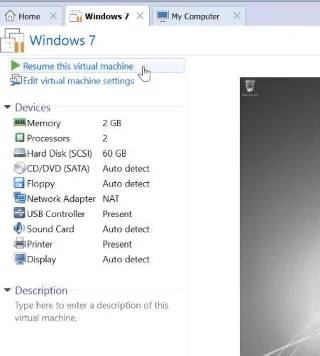
If you select Suspend , the virtual machine will temporarily shut down (gray screen), if you want to use it again, just click Resume this virtual machine to use.
Above is a guide to how to install and run Windows 7 on the latest VMware Workstation virtual machine. Similarly, you can also install other operating systems on the server such as Ubuntu , Linux, macOS , Chrome OS ... To unleash the scratching on the operating systems on the virtual machine.
One of the operating systems that are also heavily tested on virtual machines is Chrome OS, to install and use Chrome OS on virtual machines, you can see in the article Experience Chrome OS on virtual machines and run Windows 10 on VMware virtual machine in the article How to install Windows 10 on a VMware virtual machine .
Track edits in Writer, preserve an editable ODT source, and check the exported DOCX in Word before sharing it.
Follow SUSE’s SP7 procedure to enable FIPS mode, reboot safely, verify the active policy, and check whether your compliance requirement calls for validated modules.
Compare YaST and cryptsetup for a new encrypted SLES data volume, choose LUKS1 or LUKS2, and verify unlock and mount behavior safely.
Create, refine, and verify a least-privilege AppArmor profile on SLES 15 SP7, with a clear note on SLES 16’s SELinux default.
Set up RMT on SLES 15, mirror entitled repositories, and verify HTTPS registration and package access from a test client.
Connect SLES 15 to AD with YaST’s SSSD-based logon management, then verify directory lookup, domain login, and Kerberos tickets.
Set up the right Live Patching path for SLES 16.0 or 15 SP7, apply eligible kernel fixes, and confirm what is active without confusing it with a reboot-required kernel update.
Load a custom SLES 15 kernel module without disabling Secure Boot. Match the running kernel, sign the .ko file, enroll a MOK key, and verify loading.
SLES 15 SP5 can migrate online to SP6, but each node must reboot. Use a tested rolling upgrade or blue-green cutover to keep workloads reachable.
Use SUSE’s supported STIG profile to scan SLES 15, test remediation, review remaining findings, and retain assessment evidence.








