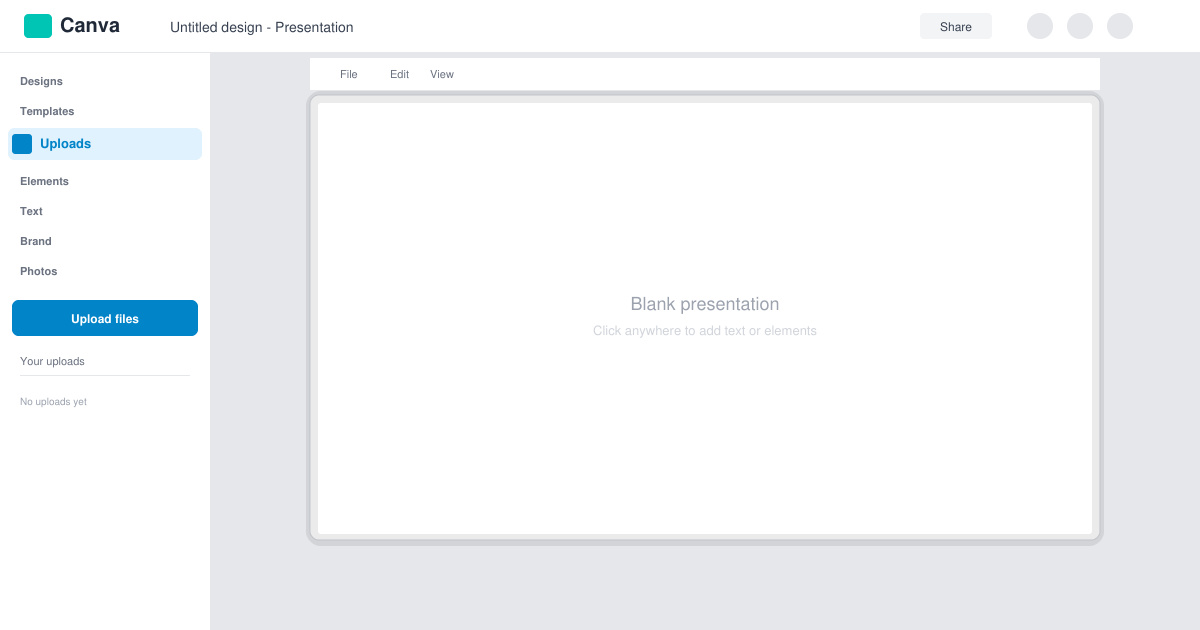
How to Add Font to Canva
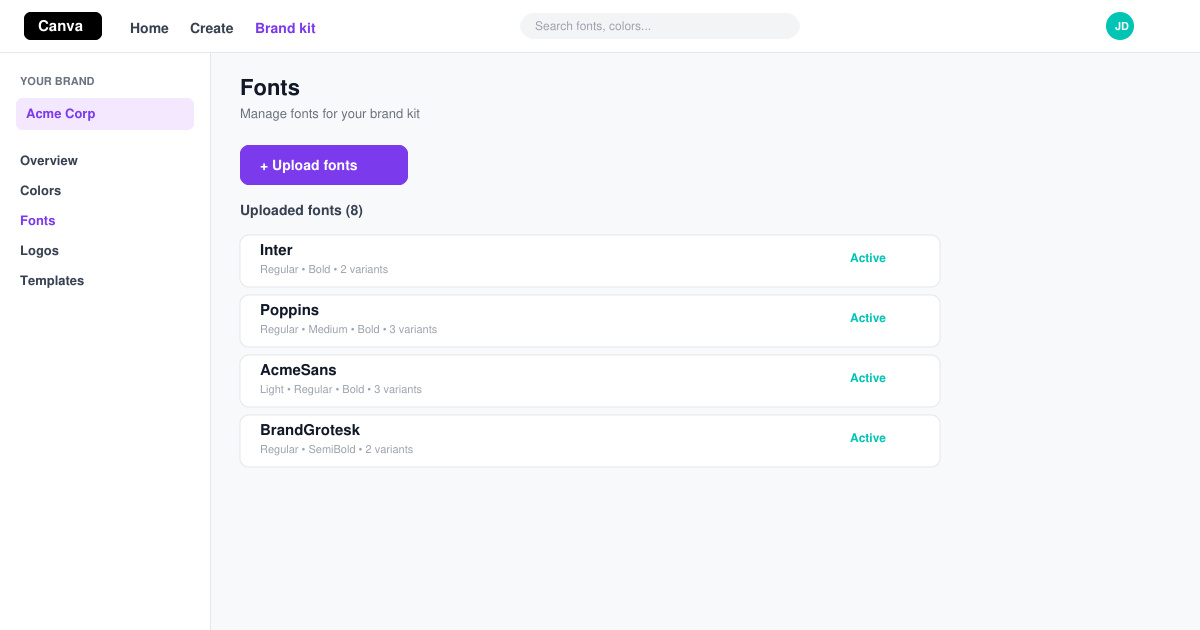
Learn exactly how to add font to Canva with this step-by-step guide. Upload custom fonts through Brand Kit to use them across all your designs in minutes.
The new Sharpen and Denoise tools in Google Photos can help you create better photos. Here's how to sharpen and denoise photos in Google Photos .
How to sharpen and denoise photos in Google Photos
If you use Google Photos on your smartphone, you probably already know that this application has built-in editing tools. Sharpen and Denoise are just an addition to the existing toolset.
With Sharpen , you can make photos clearer. Basically, this tool helps you improve the sharpness of your images. You can adjust the sharpness from 0 to 100.
With Denoise , you will remove noise from the image. It also provides an adjustment range from 0 to 100.
No matter which tool you use, you can experiment with different levels to achieve the best results. Just move the slider until you get the desired result.
Since Sharpen is integrated into Google Photos, you no longer need to rely on third-party apps to sharpen your photos. Just make sure the photo you want to edit is available in Google Photos.
Instructions for using the Sharpen tool in Photos:
1. Open the Google Photos app on the device.
2. Tap the image you want to use with the Sharpen tool .
3. When the photo opens in full screen mode, select Edit in the bar below.
4. Swipe left on the bottom bar and tap Adjust .
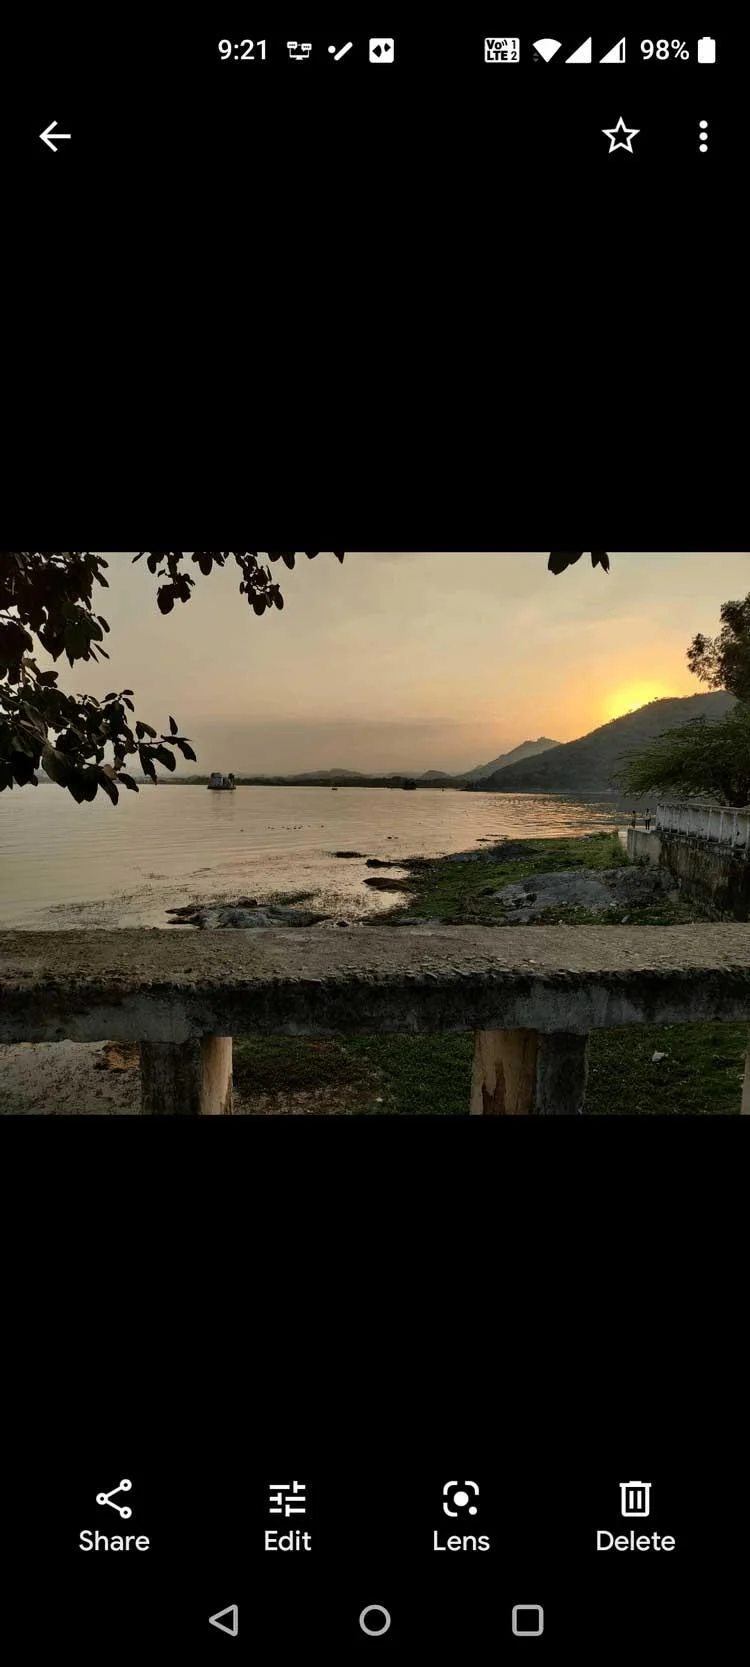
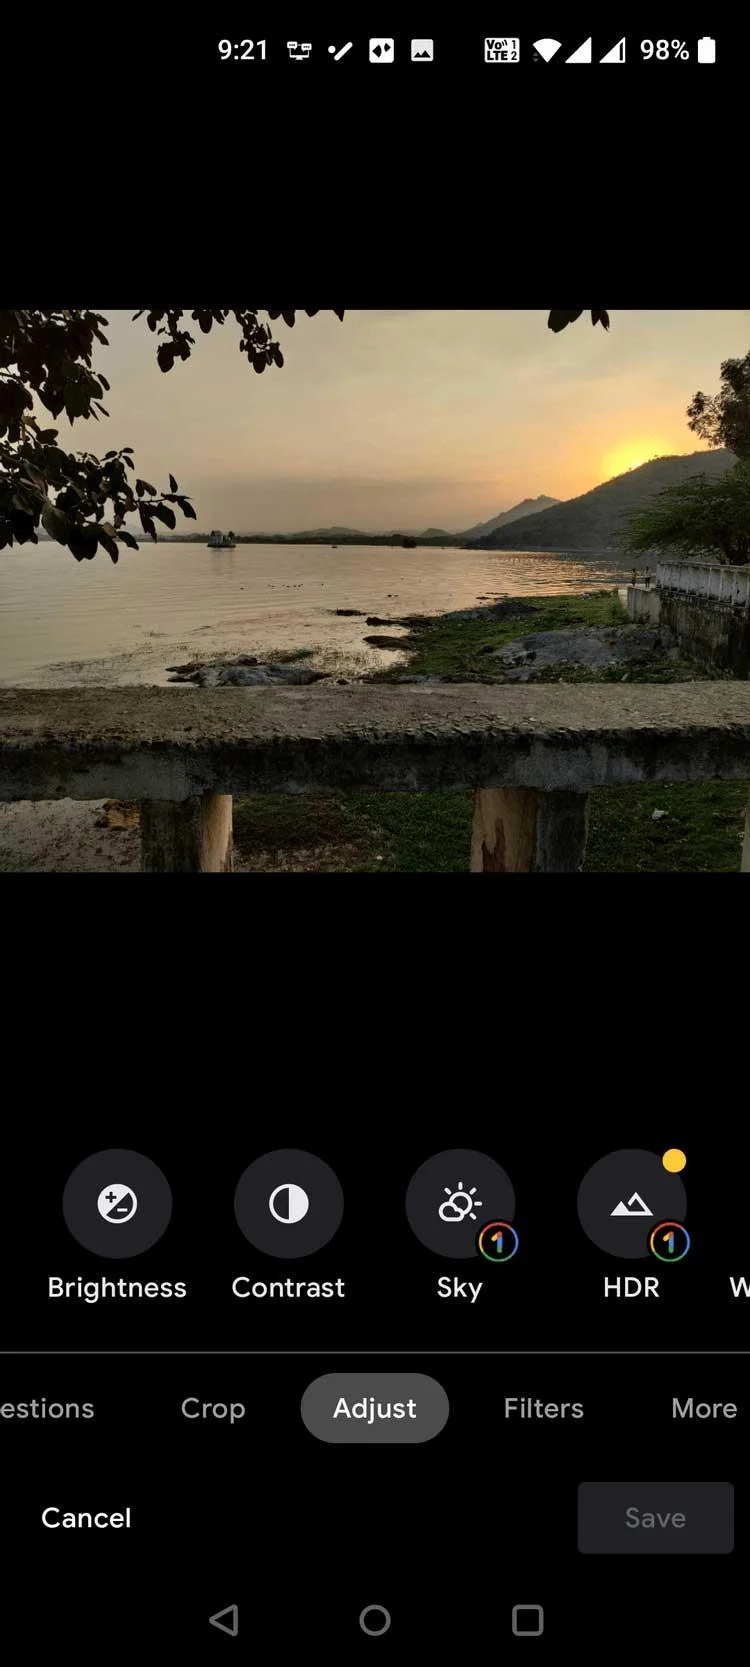
5. Swipe to the left of the tool panel in Adjust , then tap Sharpen .
6. A slider will appear just below Sharpen . Drag this slider to the right to adjust the sharpness levels of the image.
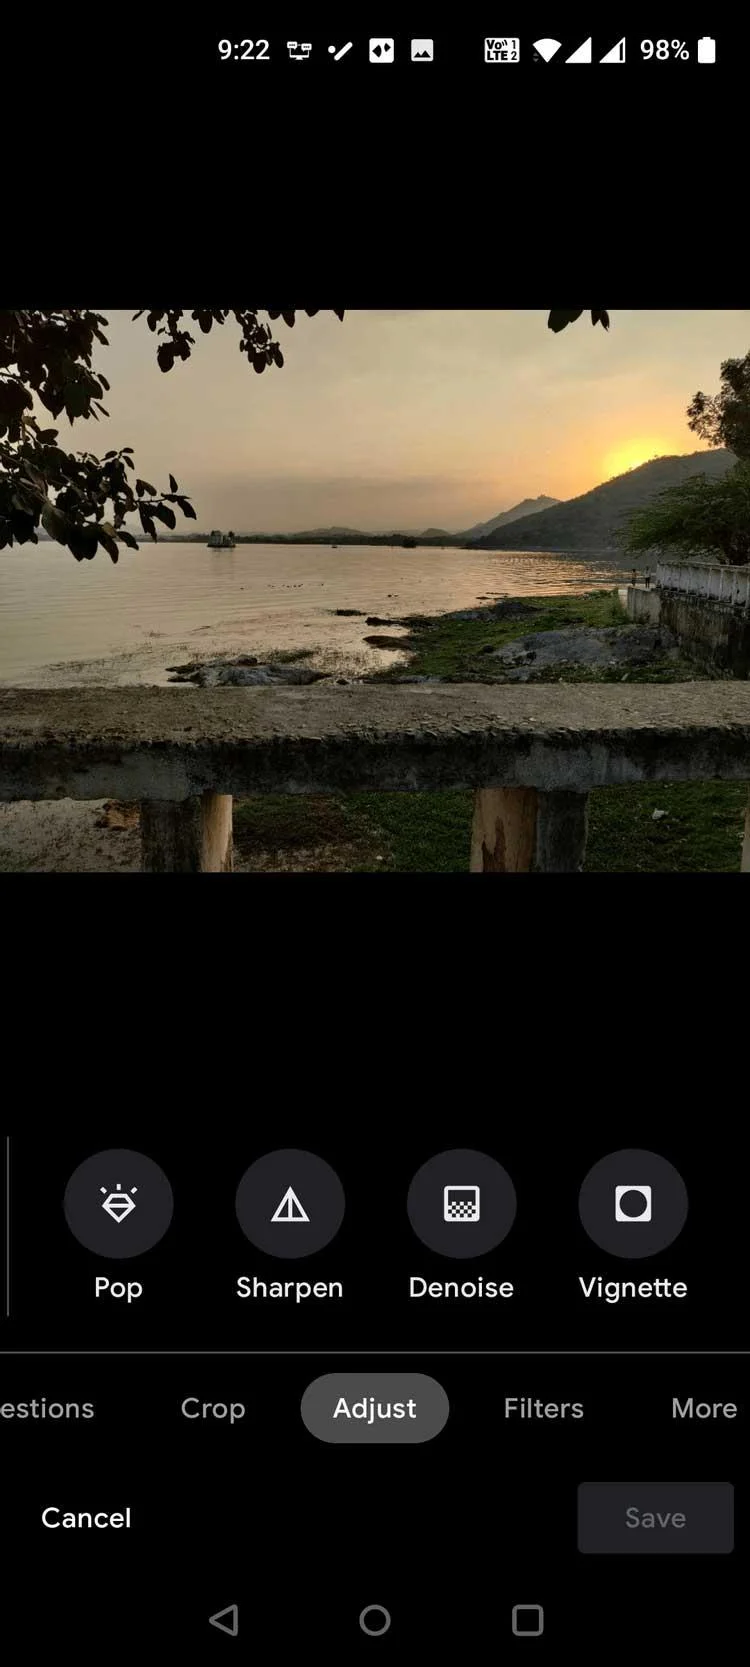
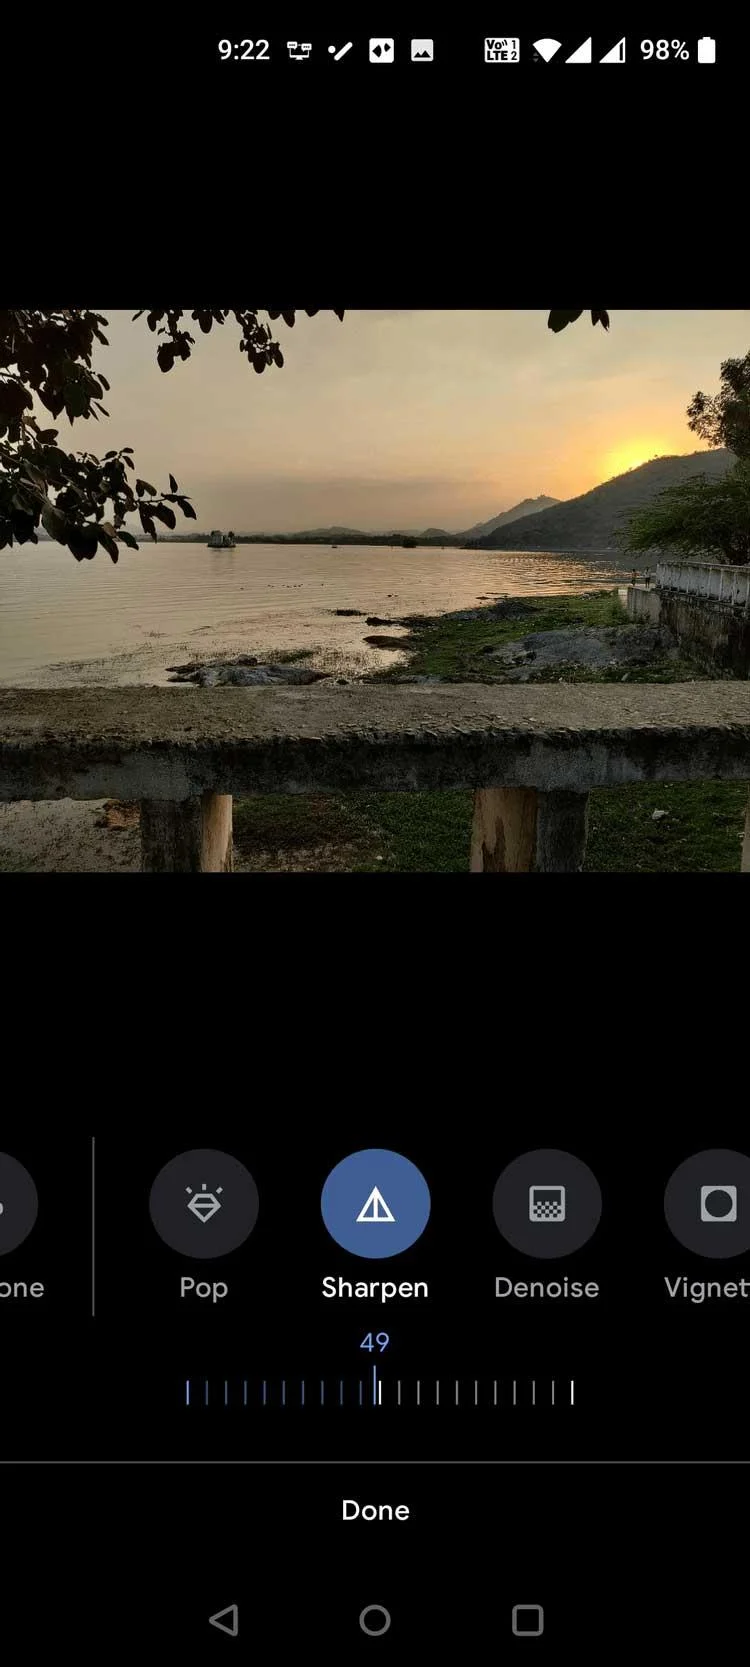
7. When you achieve the desired result, tap Done at the bottom.
8. Tap Save copy in the lower right corner to save the edited photo.
Denoise offers a great option for deleting multiple photos. With levels from 0 to 100, you can customize it as you like.
How to use the Denoise tool in Google Photos:
1. Open the Google Photos app on the device.
2. Select the photo you want to remove noise from.
3. When opening the photo in full screen, tap Edit below.
4. Select Adjust from the options shown below.
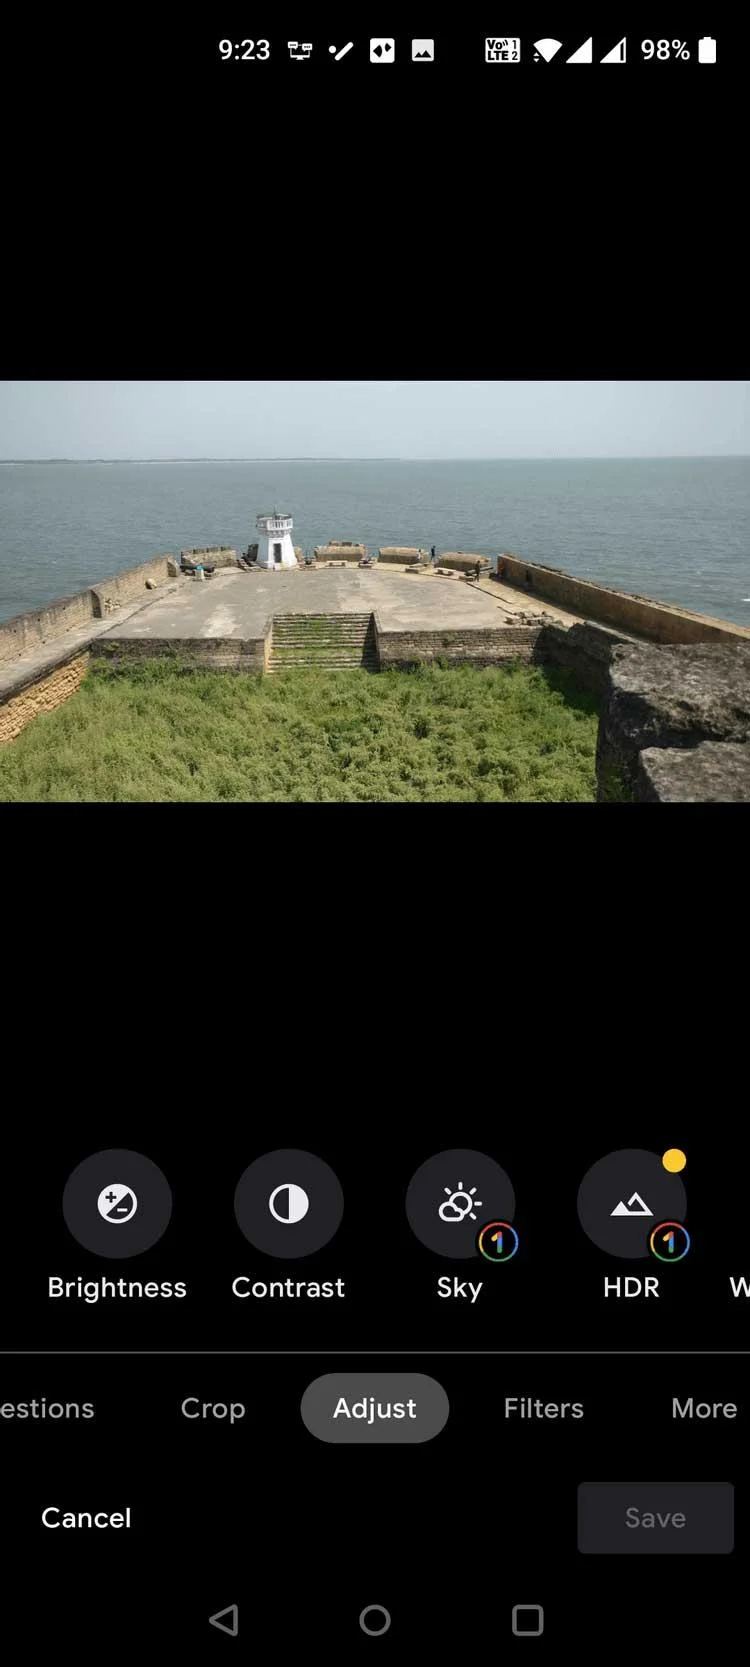
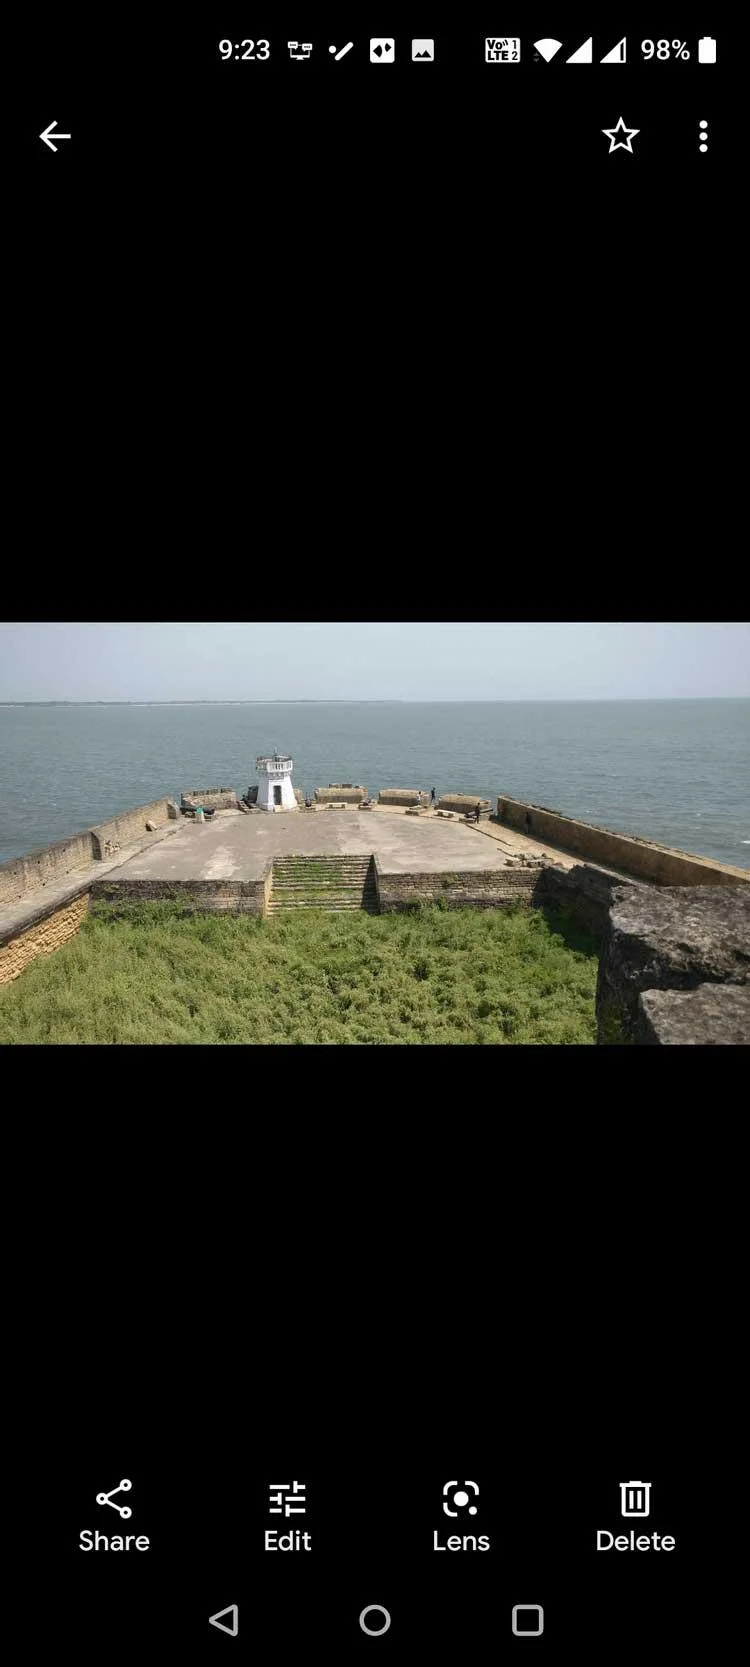
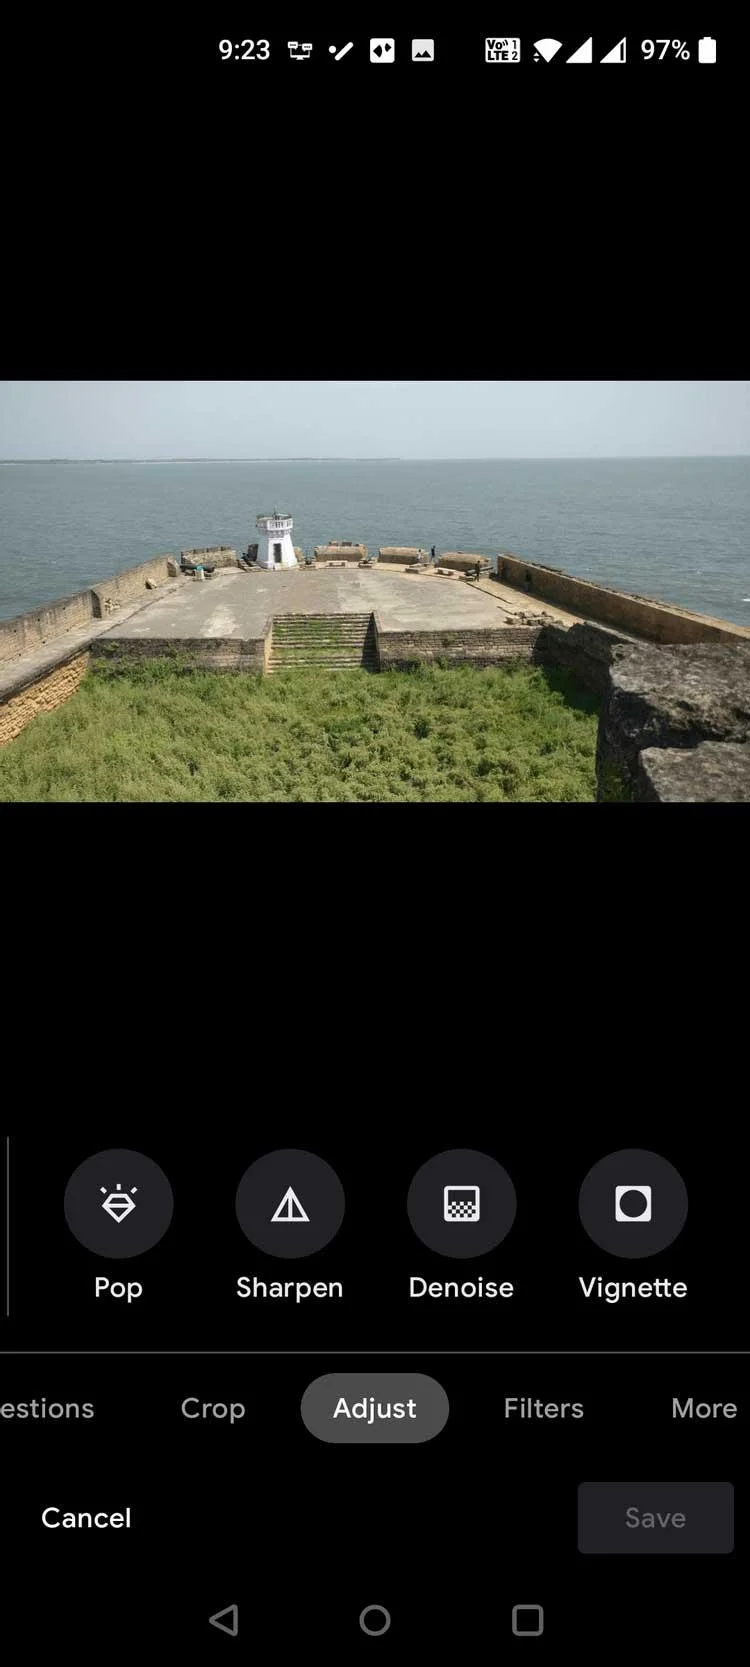
5. In the list of tools in Adjust , scroll right and select Denoise .
6. In Denoise , drag the slider to adjust the level of image denoising.
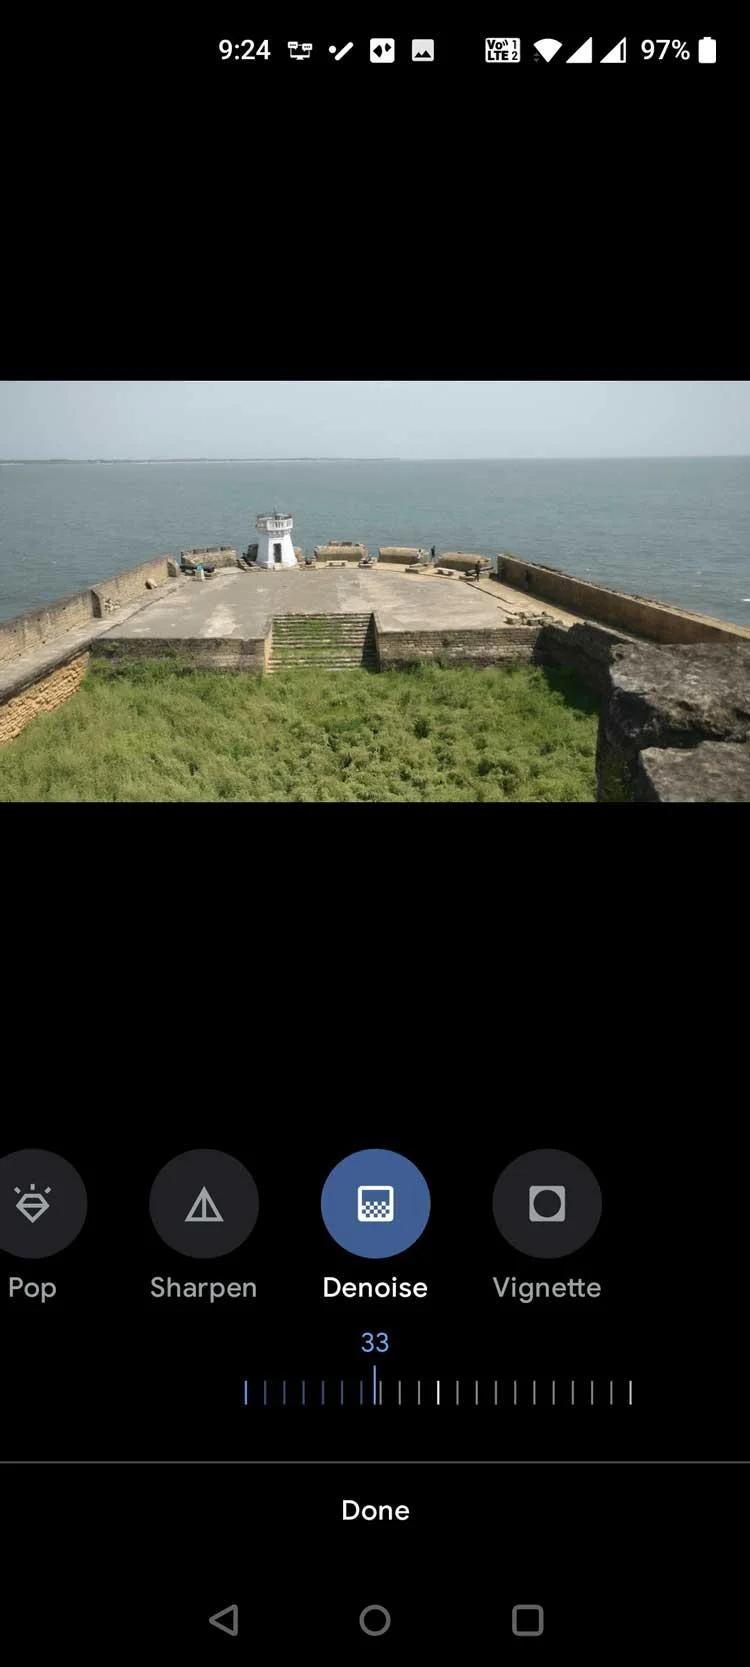
7. Tap Done when you have finished editing the photo.
8. Select Save copy in the lower right corner to save the image.
Above is how to use Sharpen and Denoise tools in Google Photos . Hope the article is useful to you.
Learn exactly how to add font to Canva with this step-by-step guide. Upload custom fonts through Brand Kit to use them across all your designs in minutes.
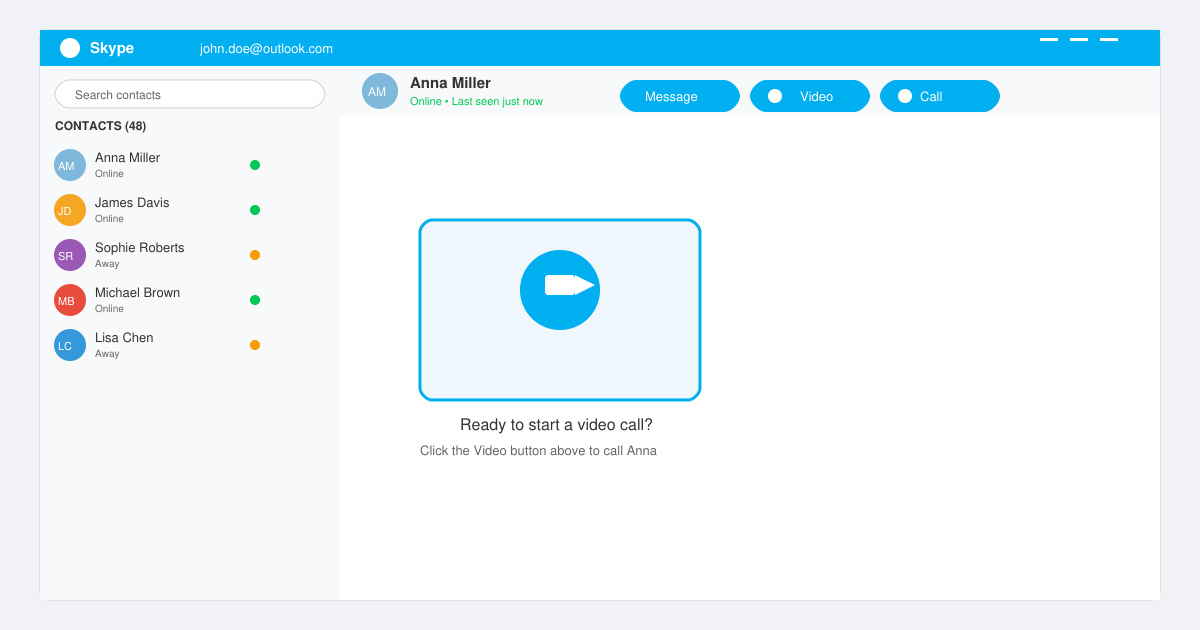
How to Use Skype for free video calls, messaging, and screen sharing. Follow this complete guide to install the app, set up your account, and start communicating in minutes.
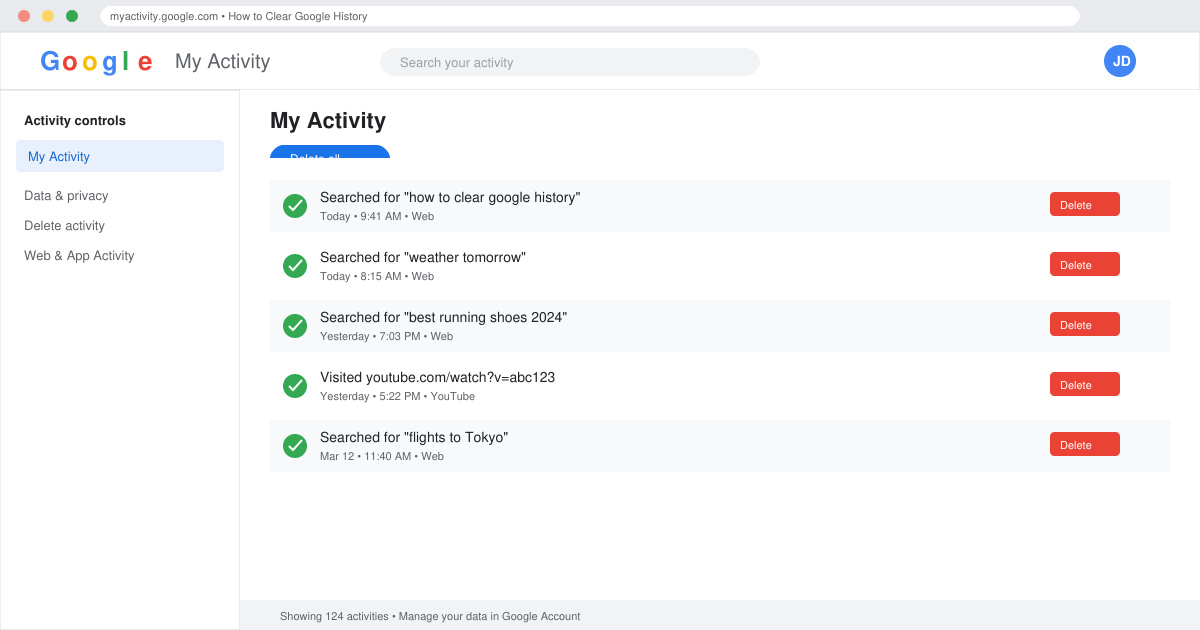
Learn how to clear Google history quickly to protect your privacy. This step-by-step guide shows you how to delete search activity from your Google account on any device.
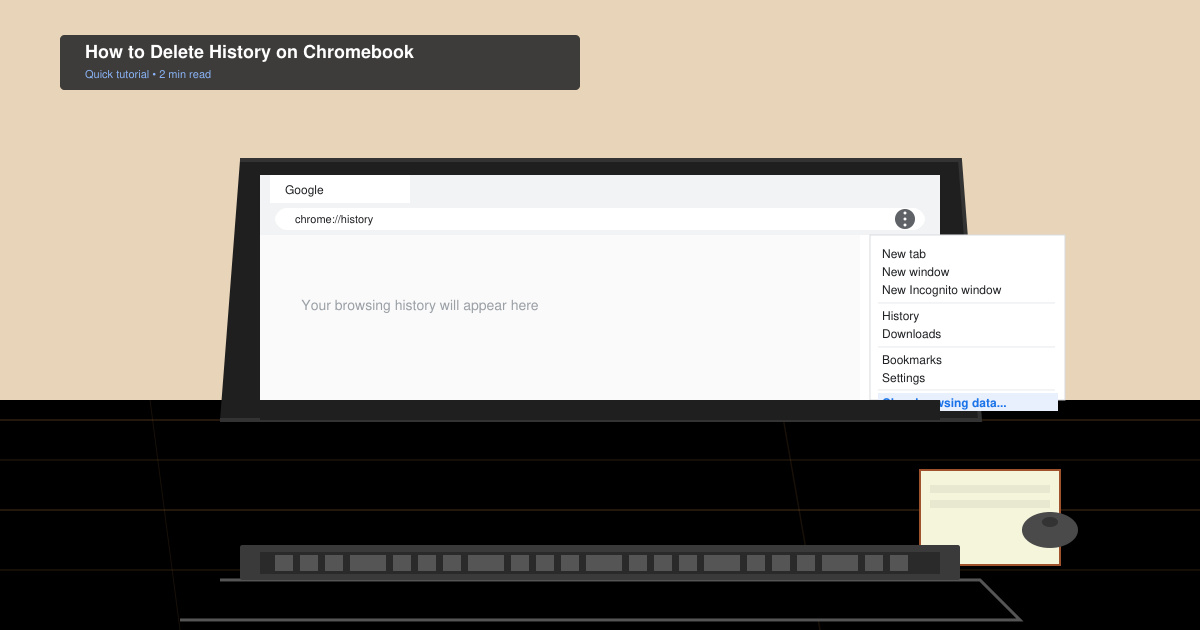
Learn exactly how to delete history on Chromebook to protect your privacy. Follow these precise steps to clear browsing data, cookies, and cached files on your device.
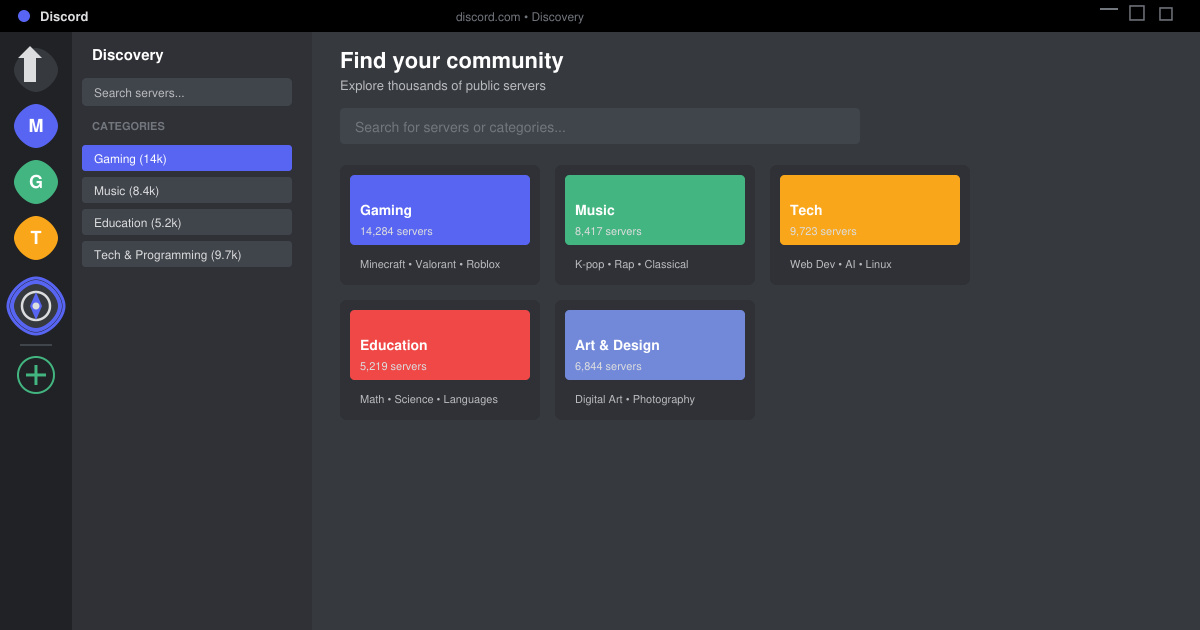
Learn how to find a server on Discord with this clear walkthrough of the built-in Discovery tool and other reliable methods. Join active communities fast.
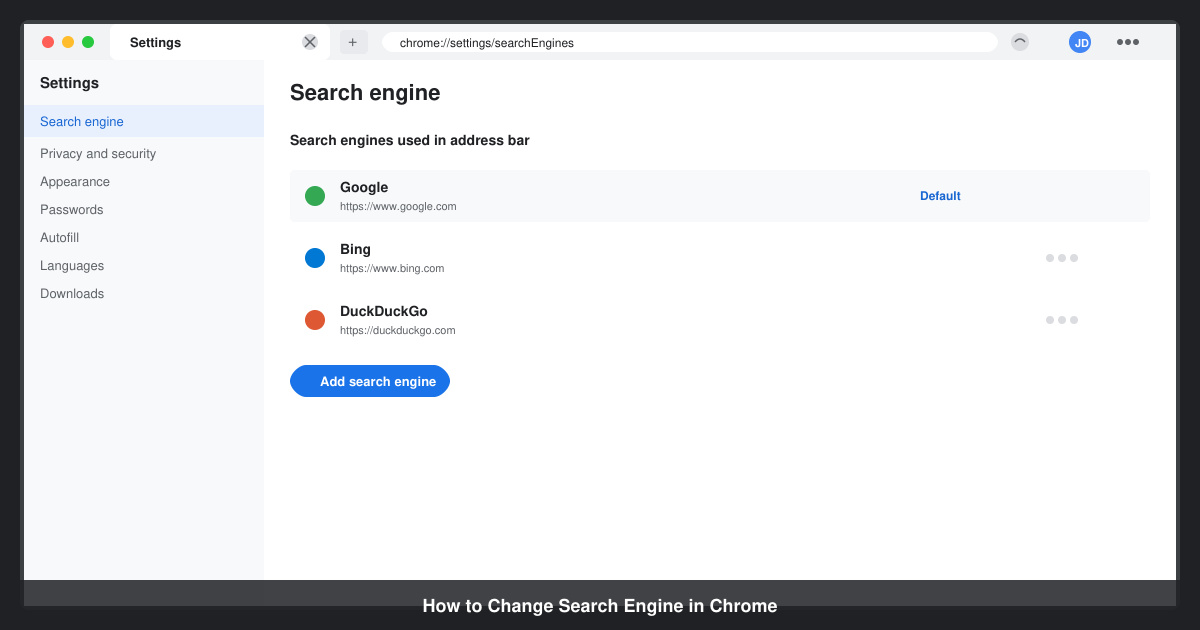
How to Change Search Engine in Chrome takes just a few clicks in Settings. Switch your default provider to Google, Bing, DuckDuckGo or another option and improve search results instantly.
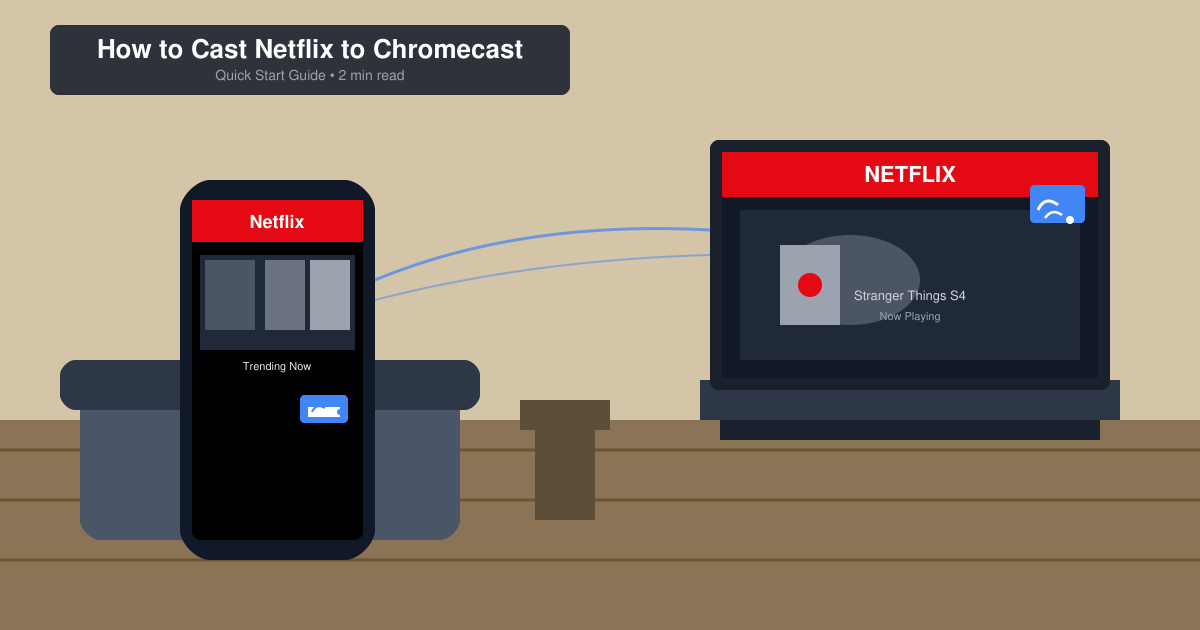
Learn exactly how to cast Netflix to Chromecast from your phone or computer. Follow these steps to stream movies and shows to your TV in minutes.
Learn exactly how to set Google as your homepage on Chrome in under a minute. Follow the precise steps in Chrome Settings to make google.com load when you click the home button.
Learn how to add pictures to Canva in just a few clicks. This guide shows the fastest ways to upload your own photos or use Canva's library for any design project.
How to create a QR code in Canva is simple with the built-in generator. Follow these exact steps to add a working, customizable QR code to any design in under two minutes.