Diagnose a SUSE Server That Hangs at the systemd Shutdown Screen

Use systemd jobs and the previous boot journal to locate a slow service, mount, or storage dependency, then correct it without masking the cause.
The Defragment and Optimize Drives utility from Windows has a long history. It used to be called simply Disk Defragmenter in Windows 7 and Windows 8. Even though it has a new name in Windows 10, Disk Defragmenter is essentially the same, and it performs a critical role in maintaining the health and performance of your hard disk drives. Files get created, changed, and deleted all the time. The result is that the storage space allocated to each file gets messy, and Windows’ Disk Defragmenter is the one app that puts the files in better order to help you find and open them easier the next time you need them. This is how to open the Defragment and Optimize Drives app in Windows:
Contents
NOTE: This guide answers the question “How do I run Disk Defragmenter?” in Windows 10, Windows 7, and Windows 8.1. It’s important to note that you should run Disk Defragmenter to improve disk fragmentation on all your hard disk drives. However, it’s not recommended to do disk defragmentation on solid-state drives, as their life shortens significantly. The good news is that Disk Defragmenter in Windows 10 automatically detects whether you use an SSD and, instead of defragging it, Disk Defragmenter trims it.
1. How to open Disk Defragmenter in Windows 10 and Windows 7 using the Start Menu
Disk Defragmenter in Windows 10 bears the name Defragment and Optimize Drives, and you can open it from the Start Menu. Click or tap on Start, scroll down the list of apps, and open the Windows Administrative Tools folder. There, you find the Defragment and Optimize Drives shortcut.

The shortcut for Defragment and Optimize Drives (Disk Defragmenter) in Windows 10
In Windows 7, open the Start Menu, click All programs and open the System Tools folder where the Disk Defragmenter shortcut is located.

The Disk Defragmenter shortcut in Windows 7
2. How to open Disk Defragmenter using search
You can search for the word “defragment” in Windows 10 and Windows 7, and click or tap the “Defragment and Optimize Drives" search result in Windows 10 or Disk Defragmenter in Windows 7.

Search for Disk Defragmenter in Windows 10
In Windows 8.1, type “defrag” on the Start screen. This activates the search function, and in the results that appear, click or tap “Defragment and optimize your drives.”

Search for defrag in Windows 8.1
3. How to pin Disk Defragmenter to the taskbar, the Start Menu, or the Start screen
If you use Defragment and Optimize Drives to improve disk fragmentation frequently, the convenient places you can pin it for quick access are the taskbar, the Start Menu (in Windows 10 and Windows 7), or the Start Screen (in Windows 8.1).
Find the Defragment and Optimize Drives shortcut in the Windows 10 Start Menu, as shown earlier. Then, right-click or tap and hold the Defragment and Optimize Drives shortcut. In the menu that opens, choose “Pin to Start” or go to More and select “Pin to taskbar.”

Pin Defragment and Optimize Drives to Start or the taskbar in Windows 10
In Windows 7, open the Start Menu, click All programs, open the System Tools folder, and right-click the Disk Defragmenter shortcut. On the menu that appears, choose between “Pin to Start Menu” and “Pin to Taskbar.”

Pin Disk Defragmenter to the Start Menu or the taskbar in Windows 7
In Windows 8.1, use search to look for dfrgui. Then, right-click or press-and-hold the dfrgui search result. In the menu that appears, choose “Pin to Start” or “Pin to taskbar” depending on where you want to pin Disk Defragmenter.

Pin Disk Defragmenter to Start in Windows 8.1
From now on, you can open Disk Defragmenter in Windows 8.1 using the shortcut you’ve pinned.
4. How to open Disk Defragmenter in Windows from File/Windows Explorer
Open File Explorer in Windows 10 or Windows 8.1 or Windows Explorer in Windows 7 and select the drive you want to defragment. To do that, go to This PC or Computer, and right-click or tap and hold on the drive’s name. In the context menu, select Properties.

Open the Properties for a drive in Windows
In the drive’s Properties window, go to the Tools tab. In Windows 10 or Windows 8.1, click or press Optimize.

Open Disk Defragmenter from the properties of a partition
In Windows 7, press the button “Defragment now…” to open Disk Defragmenter.

Open Disk Defragmenter in Windows 7 from the properties of a partition
5. How to open Disk Defragmenter in Windows from the Control Panel
Open Control Panel and search for “defragment.” Click or tap “Defragment and optimize your drives” from the search results in Windows 10 or Windows 8.1. In Windows 7, click “Defragment your hard drive” from the search results.
Search for defragment in the Control Panel from Windows 10
Alternatively, you can go to System and Security. Then, in Windows 10 and Windows 8.1, click or tap the “Defragment and optimize your drives" shortcut from the Administrative Tools section.

Open Defragment and Optimize Drives in the Control Panel from Windows 10
In Windows 7, click or tap the “Defragment your hard drive” shortcut under Administrative tools.

Open the Disk Defragmenter from the Control Panel in Windows 7
6. How to open Disk Defragmenter in Windows 10 using Cortana
If Cortana is enabled on your Windows 10 computer, you can ask her to open Disk Defragmenter for you. Activate Cortana by saying “Hey Cortana” or by clicking or tapping the microphone button in her search box.
Then, say “Open defrag.” Cortana executes the command and displays “Opening Defragment and optimize drives.”

Open Disk Defragmenter in Windows 10 using Cortana
7. How to create a shortcut to the Disk Defragmenter on your desktop or in any folder
If a desktop shortcut is your preferred way to start apps, you can create one for Defragment and Optimize Drives (Windows 10 & Windows 8.1) or Disk Defragmenter (Windows 7). Use the Create Shortcut wizard, and, in the location field, type dfrgui.

Create shortcut for Disk Defragmenter in Windows
8. How to open Disk Defragmenter from the Run window
Press Win + R on the keyboard to open the Run window. In the Open field, type “dfrgui” and either press Enter on the keyboard or click OK.
Open Disk Defragmenter from the Run window
9. How to open Disk Defragmenter from Command Prompt or PowerShell
You can also use Command Prompt or PowerShell to run Disk Defragmenter. In any of these command-line environments, type dfrgui in the command line and press ENTER.

How to open Disk Defragmenter from Command Prompt
10. How to open Disk Defragmenter with Task Manager
You can open the disk defragmentation utility by using the Task Manager. Start the Task Manager (a quick way is by pressing CTRL + SHIFT + ESC). In Windows 8.1 and Windows 10, you can get the compact view of the Task Manager. In this case, click More details in the bottom left corner of the Task Manager. In the File Menu, click or tap “Run new task” in Windows 10 and Windows 8.1 or “New Task (Run…)” in Windows 7. In the window that shows up, type dfrgui in the Open field and press ENTER or click OK.

How to open Disk Defragmenter from the Task Manager
11. How to open Disk Defragmenter from File/Windows Explorer’ address bar
Windows Explorer from Windows 7 or the File Explorer from Windows 10 and Windows 8.1 are convenient ways to start the disk defragmentation utility. Type dfrgui in the address bar and press ENTER on the keyboard.

How to open Disk Defragmenter from File Explorer
12. How to open Disk Defragmenter using its executable file (dfrgui.exe)
The executable file for the disk defragmentation tool is found in the System32 subfolder of the Windows folder. You need to identify the file dfrgui.exe and then double-click or double-tap it.

How to run Disk Defragmenter using dfrgui.exe
How do you prefer to open the Disk Defragmenter in Windows?
We have given you a wide range of options for starting the disk defragmentation utility, so that you can select the best method suitable to your needs. What is your preferred way to start Defragment and Optimize Drives or Disk Defragmenter in Windows? Let us know with a comment below.
Use systemd jobs and the previous boot journal to locate a slow service, mount, or storage dependency, then correct it without masking the cause.
Use firewall-cmd to inspect the active zone, allow HTTP safely, preserve SSH access, and verify that the rule survives a reload on SLES 15.
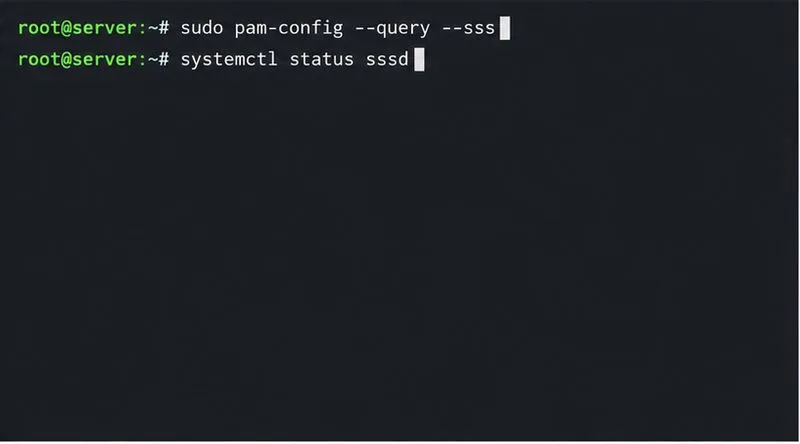
Trace a PAM failure to its service, account policy, or identity provider, then repair the right SLES configuration while preserving a working admin session.
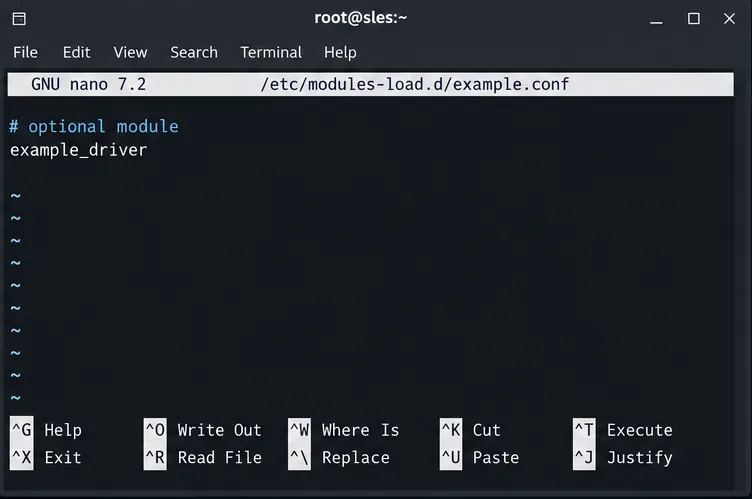
Trace a failed kernel module at SLES startup, correct an obsolete boot entry or repair the required driver, and verify the next boot.
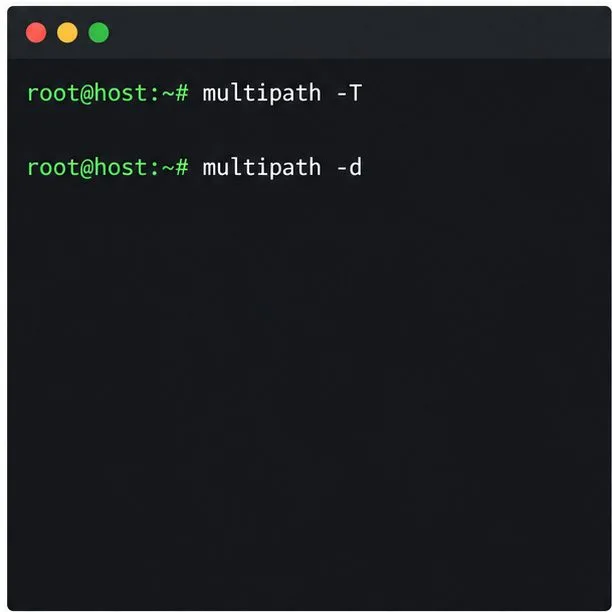
Prepare SCSI SAN paths, enable multipathd, inspect SUSE’s hardware defaults, and verify stable device maps without guessing array settings.
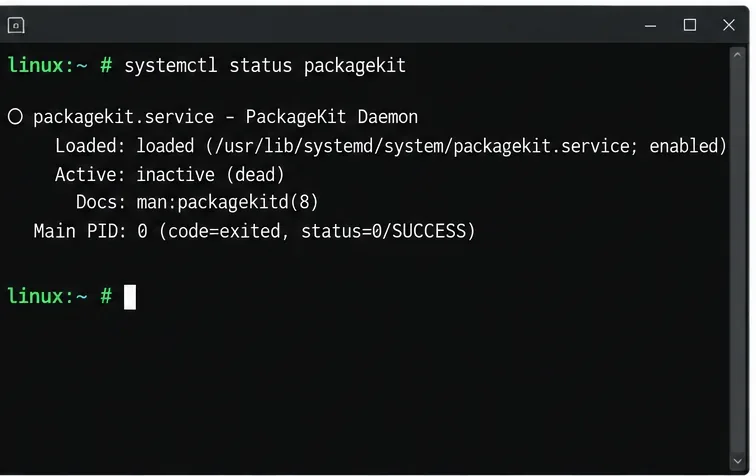
Find the process holding Zypper’s package lock, distinguish process conflicts from package locks, and retry updates without deleting lock files blindly.
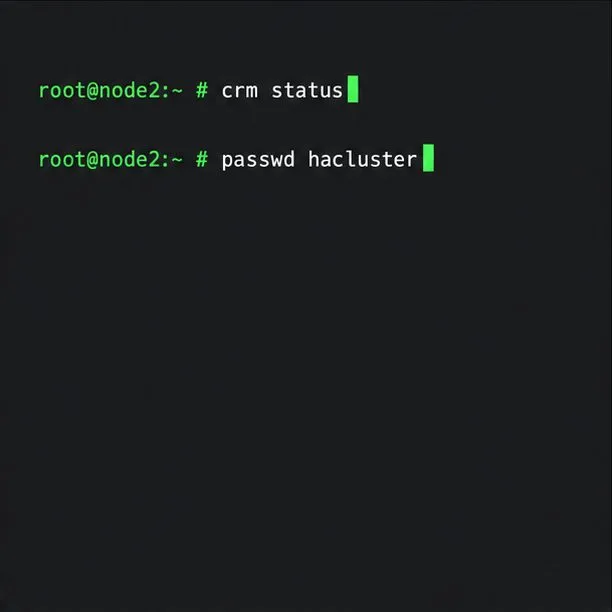
Register SLE HA, bootstrap SLES 15 nodes, then add fencing, quorum, and tested service resources before relying on failover.
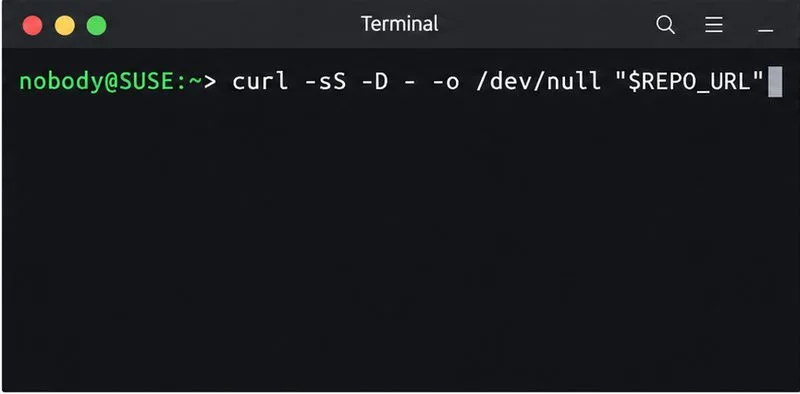
Trace a Zypper refresh error to SUSE, RMT, or a third-party endpoint, then apply the right server-side or cache fix without disabling essential updates.
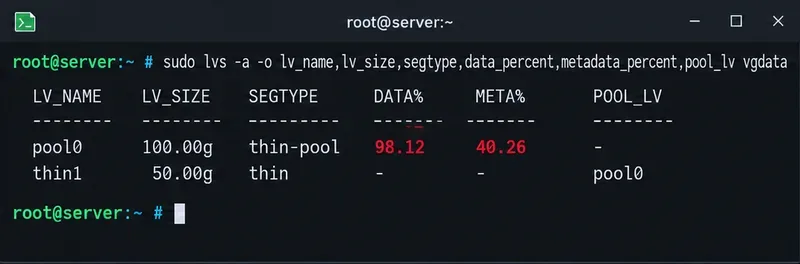
Resolve SUSE LVM thin-pool space errors by checking data and metadata usage, expanding the pool safely, and preventing repeat outages.
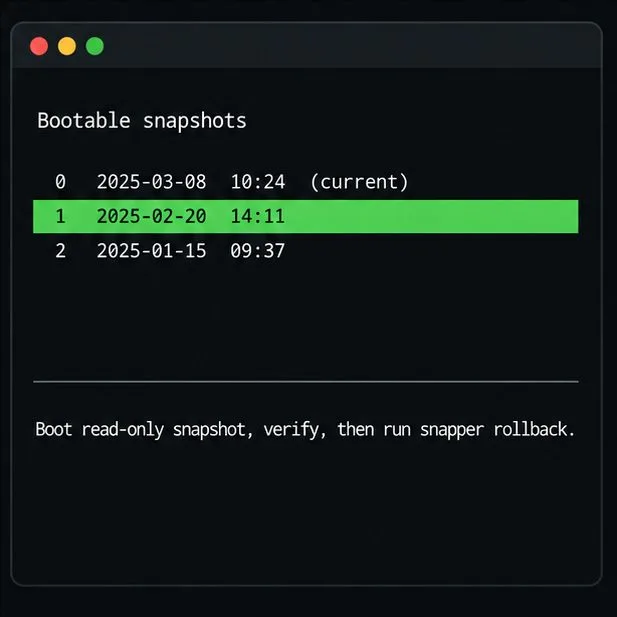
Identify whether Btrfs is intentionally read-only, short on space, or protecting data after errors, then choose a recovery path that fits the cause.