Home
» How to
»
Color smudging of the TV - causes and solutions
Color smudging of the TV - causes and solutions
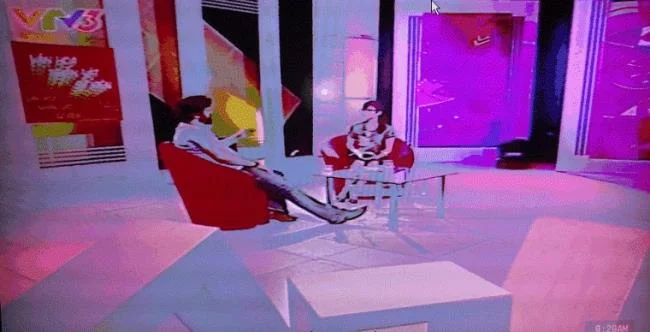
If you are enjoying your favorite programs on TV and experiencing color blurring will be very annoying, this is one of the common errors encountered when using the TV for a while. So when that is the case we must do? WebTech360 will help you to find out the causes of TV blurring and how to fix them.
1. Main causes of TV color blurring
- Due to a damaged demagnetizer.
- Because the connectors such as VGA, HDMI,… cables are loose.
- Because the software version of the digital receiver is old.
- Due to the conflict between the television waves and the signal waves of other electrons.
- Due to stormy weather or wet house, the transmission line will also be wet.
One of the most common causes of a TV blurring in color is a damaged thermistor. Therefore, if the thermistor of your TV is too old or shows signs of failure, you should buy another new one instead (the price range is about 5,000-10,000 VND / item). You can identify this component with the following characteristics: with a black case, square shape, the mounting position of the component with THxxx inscription. And please pay attention to buy the right type as the old one is a thermistor with 2 or 3 pins to fit the machine.
Check connections such as VGA, HDMI ...
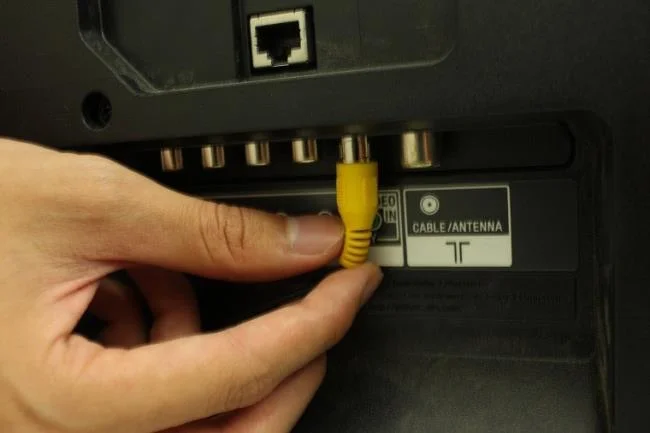
You should check the connections to the TV to see if the port is correct, the line is loose or not. If so, recalibrate and tighten the cable to the connection port on the TV.
Attach the wires connected to the TV tightly
If the cord is accidentally broken or has rusted badly, buy a new cord instead.
Update receiver software
If you are using a digital receiver, you should keep the receiver's software updated to make sure the version you are using is not outdated. If that is not the latest version, please update the software immediately.
Avoid interference
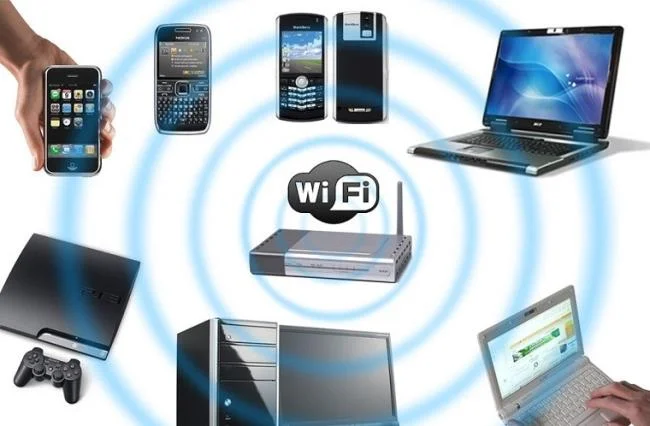
Try moving other electronic devices that may cause interference nearby such as microwave ovens, desk phones, wifi modems, ... away from the TV screen to see the difference. This may be the cause of the interference due to radio waves being collided with various sources nearby or contaminated with magnetic fields.
Electronic devices should not be placed near the TV, which may cause interference
You can also try the next step: turn off the screen and disconnect all sources connected to the peripherals such as cables or satellite receivers and let them rest. After a few minutes you turn on each device slowly. This can effectively eliminate color blurring quite effectively.
Be careful in a rainy, stormy day
On rainy days, you need to take extra care in storing the TV, avoid placing it in a humid place. You need a clean towel to thoroughly clean the jacks, wires and connectors on the TV to remove water and dirt. Another little trick is to unplug the plug and re-plug it many times to increase contact.
Check for other channels
Try to check out other TV channels
To find out if the interference is caused by hardware or not, check the channels that are playing on the TV again. If only some channels are blurred then this is definitely not a TV error. This may be because the TV signal is not good, contact your cable TV provider for the best signal upgrade and repair.
If, after trying all the above methods and still can not fix, it is possible that your TV has a technical fault, now need to call the warranty center for advice and support.