



Configure Reliable Ethernet Failover with SLES 15 Bonding

Create a redundant Ethernet connection on SLES 15 with YaST and Wicked, configure active-backup bonding, and verify both ports and failover.
Safari on iPhone lets you customize website settings for a more comfortable experience. For example, you can change the text size, use Safari's reader mode, use the desktop version of Safari websites, and more for all websites or individual websites. All Safari settings can be synced across devices. Here's how to customize Safari website settings.
How to Adjust Safari Website Settings on iPhone
Step 1:
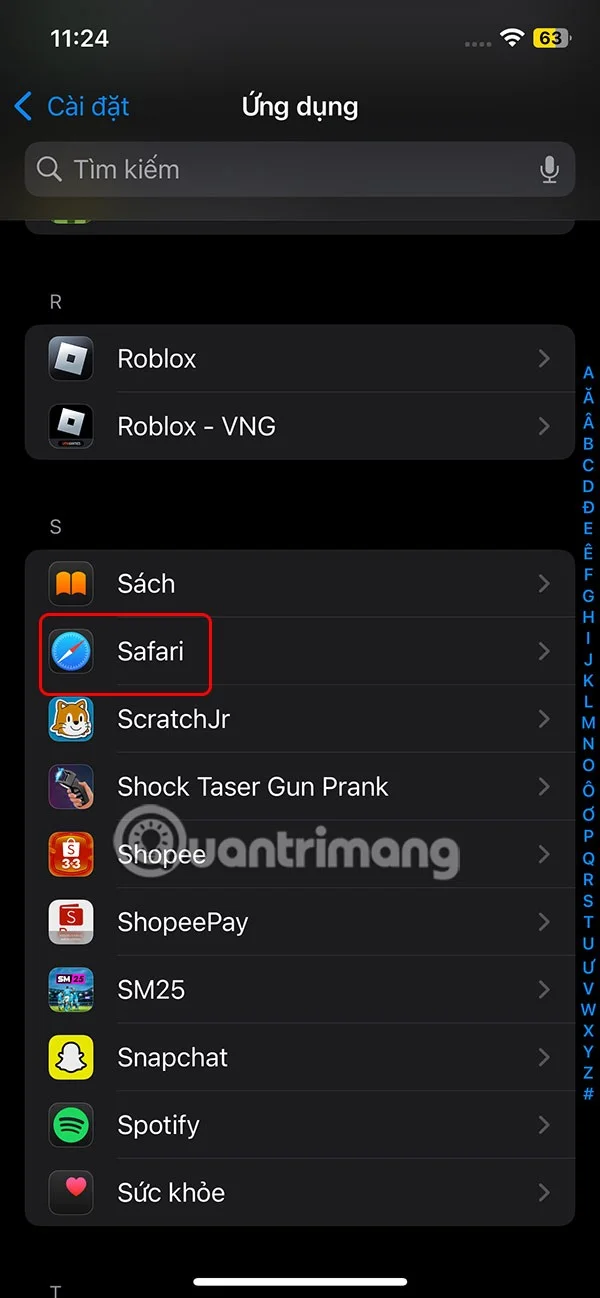
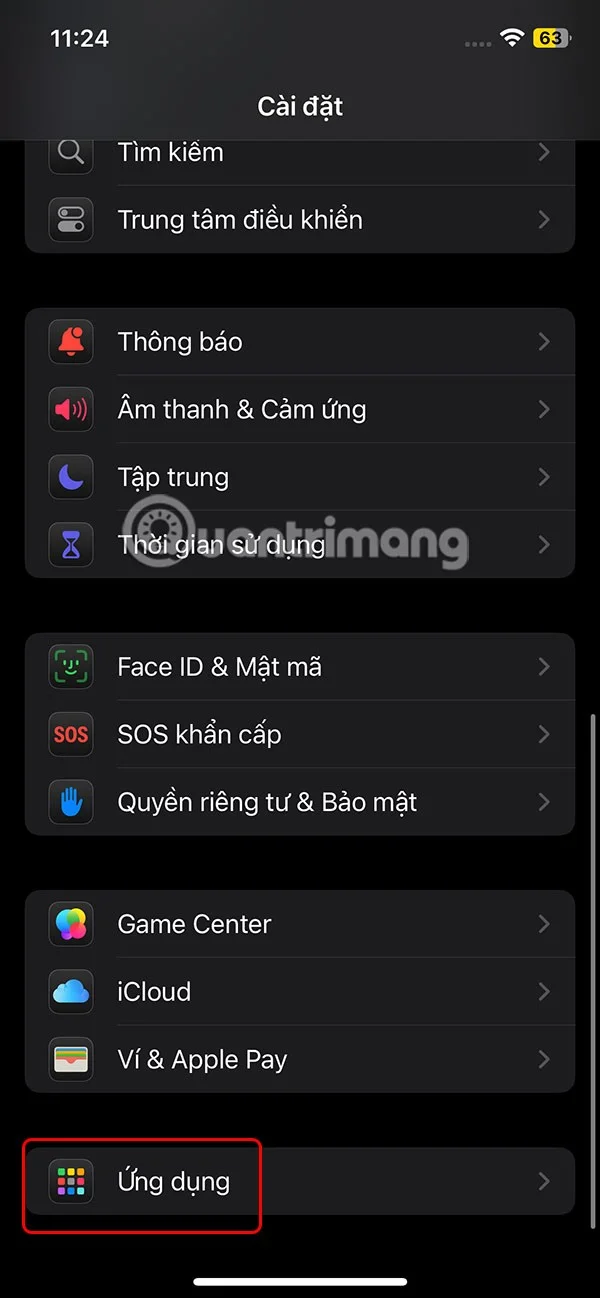
On the iPhone interface, click on Settings then click on Applications at the bottom of the list. Moving to the next interface, the user clicks on the Safari application in the list.
Step 2:
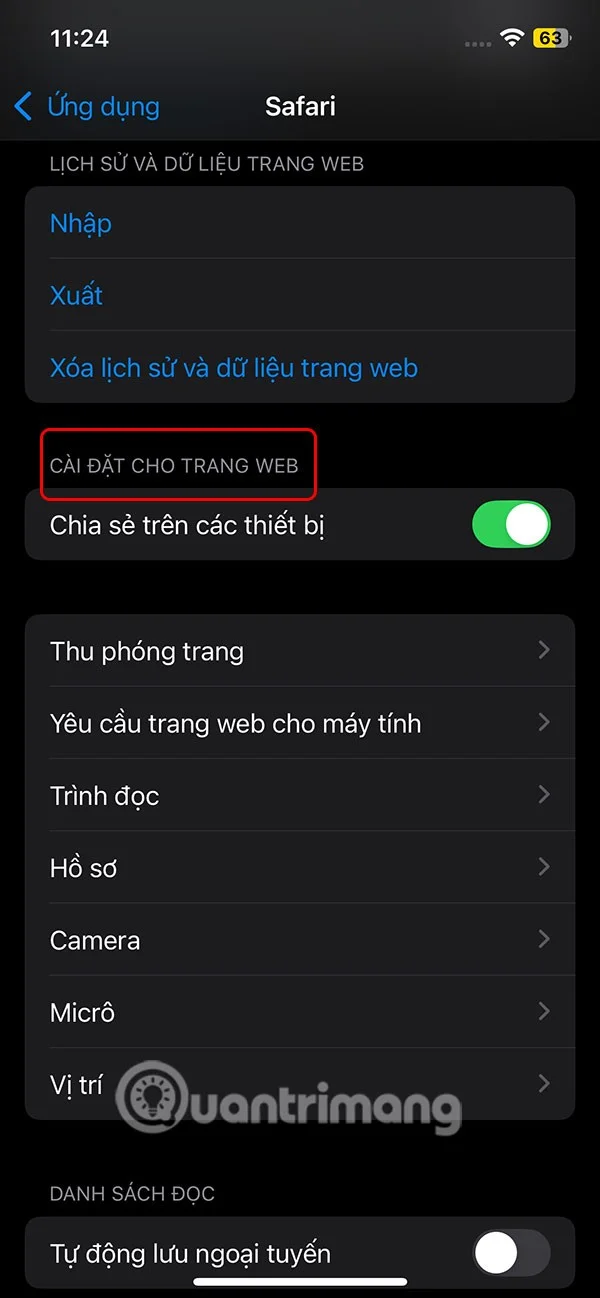
Switch to the settings interface for the Safari application, scroll down and you will see the Website Settings section with general settings for all websites when accessed on the browser.
Step 3:
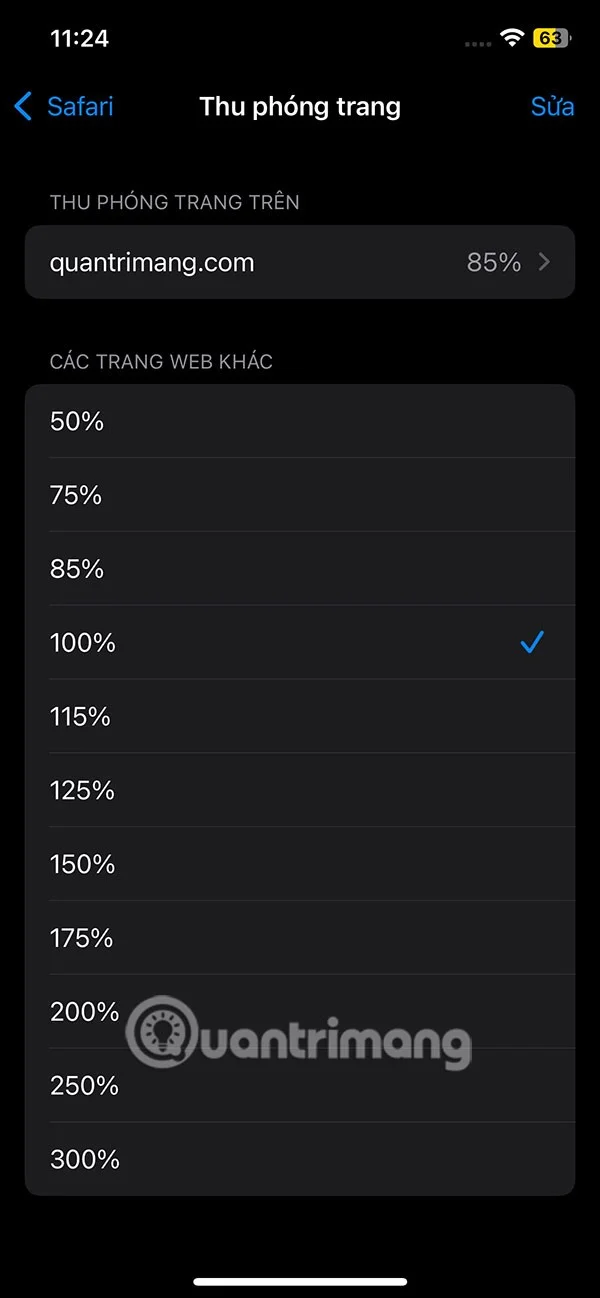
You tap on some items to monitor the content inside, such as zooming on a website. If there are settings for a specific website, you can tap Edit . Then clear the settings that have been set for a certain website, or tap Clear all settings.
You can also edit other settings for websites on Safari.

How to Change Safari Settings for Individual iPhone Websites
Step 1:
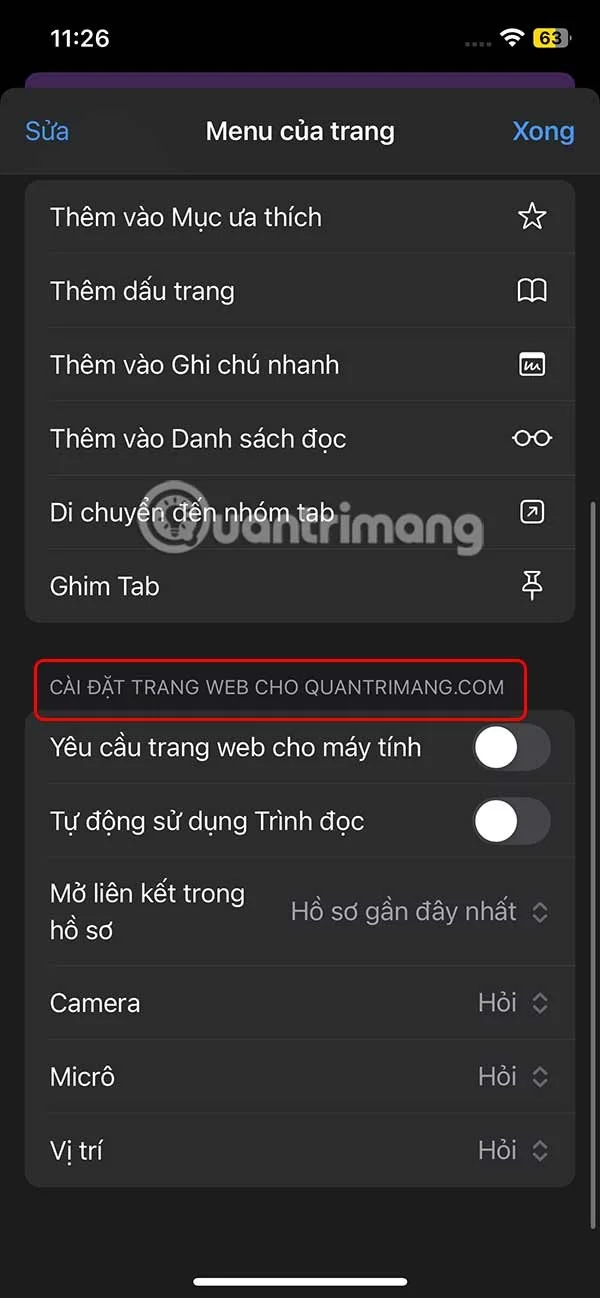
First, you also access the website you want to change settings on Safari. Then click on the menu icon as shown below. Continue to click on the 3 dot icon in the right corner.
Step 2:
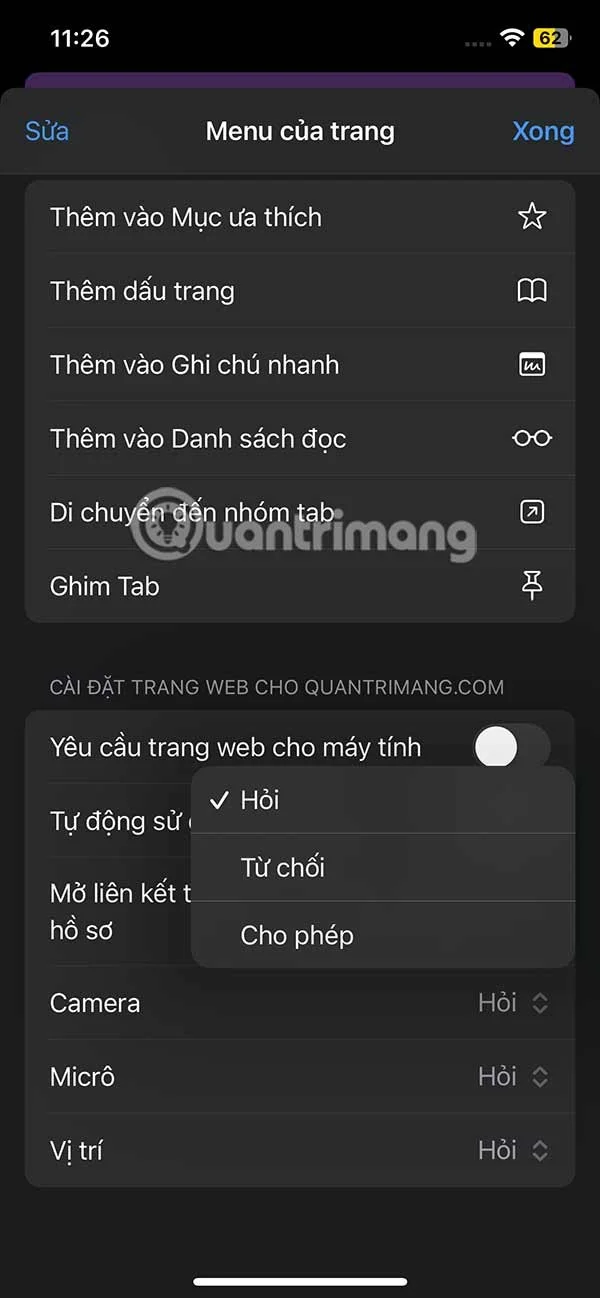
Now displays the settings interface for this website. In Website Settings, you change the Safari settings for this website. We click on each item to change the settings for the website you want.
How to Sync Safari Website Settings Across Apple Devices
You can sync your Safari preferences across all your devices. Just make sure you're signed in to the same Apple account on each device and have iCloud turned on for Safari to sync.
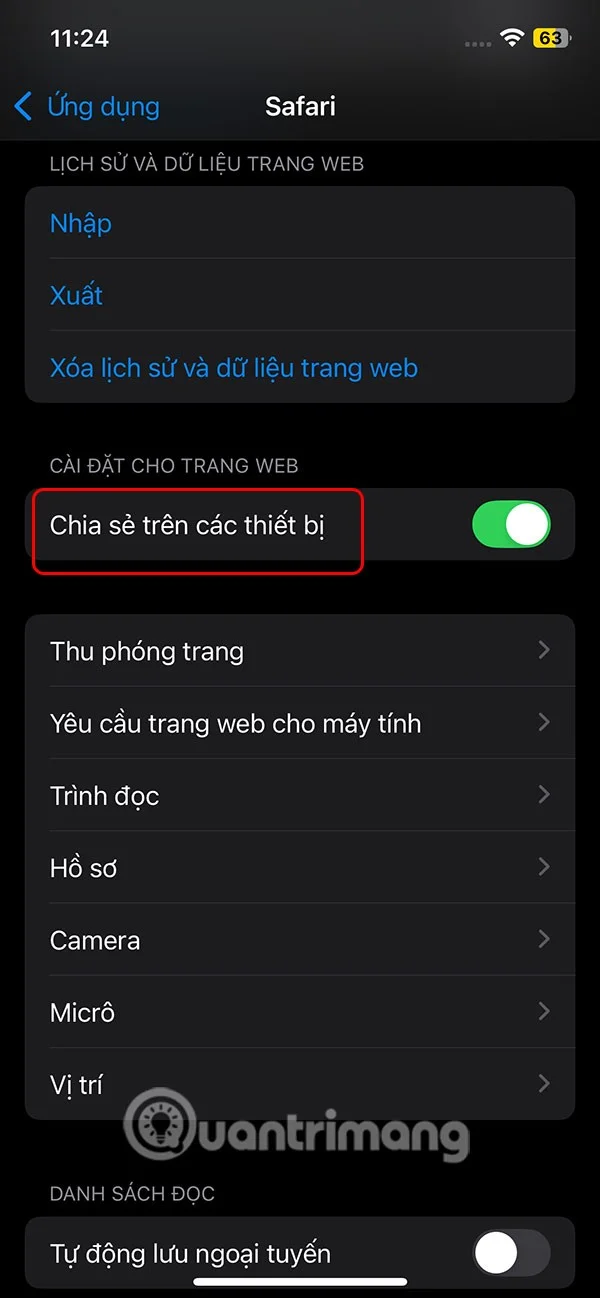
We go to Settings > Apps > Safari and scroll down to the Settings for websites section , turn on Share across devices .
Create a redundant Ethernet connection on SLES 15 with YaST and Wicked, configure active-backup bonding, and verify both ports and failover.
Turn an existing SLES 15 system into a reviewed AutoYaST profile, validate it, and use it to deploy a test server with fewer manual steps.
Install the SLES 15 KVM and libvirt tools, enable the right host service, and configure selected virtual machines to start after a reboot.
Use systemd jobs and the previous boot journal to locate a slow service, mount, or storage dependency, then correct it without masking the cause.
Use firewall-cmd to inspect the active zone, allow HTTP safely, preserve SSH access, and verify that the rule survives a reload on SLES 15.
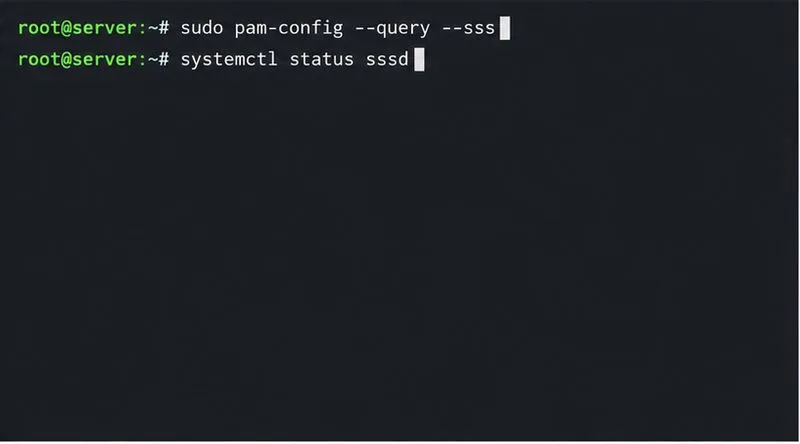
Trace a PAM failure to its service, account policy, or identity provider, then repair the right SLES configuration while preserving a working admin session.
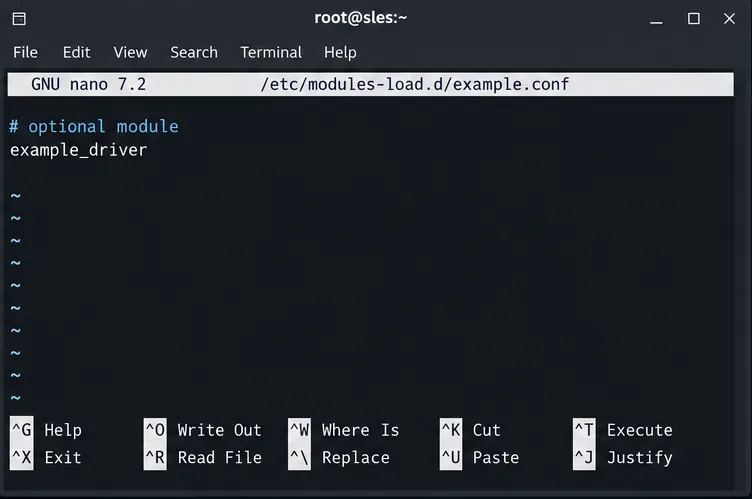
Trace a failed kernel module at SLES startup, correct an obsolete boot entry or repair the required driver, and verify the next boot.
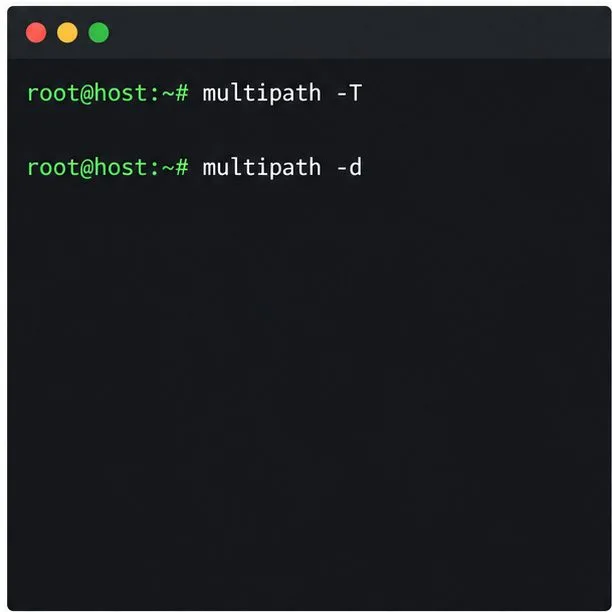
Prepare SCSI SAN paths, enable multipathd, inspect SUSE’s hardware defaults, and verify stable device maps without guessing array settings.
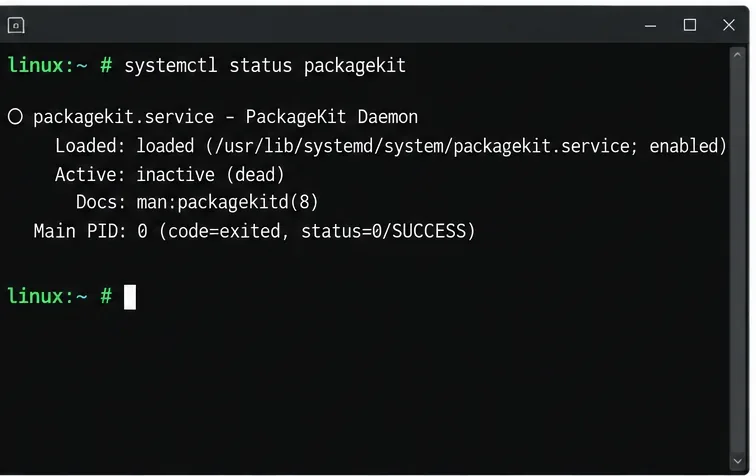
Find the process holding Zypper’s package lock, distinguish process conflicts from package locks, and retry updates without deleting lock files blindly.
Register SLE HA, bootstrap SLES 15 nodes, then add fencing, quorum, and tested service resources before relying on failover.