How to Add Font to Canva
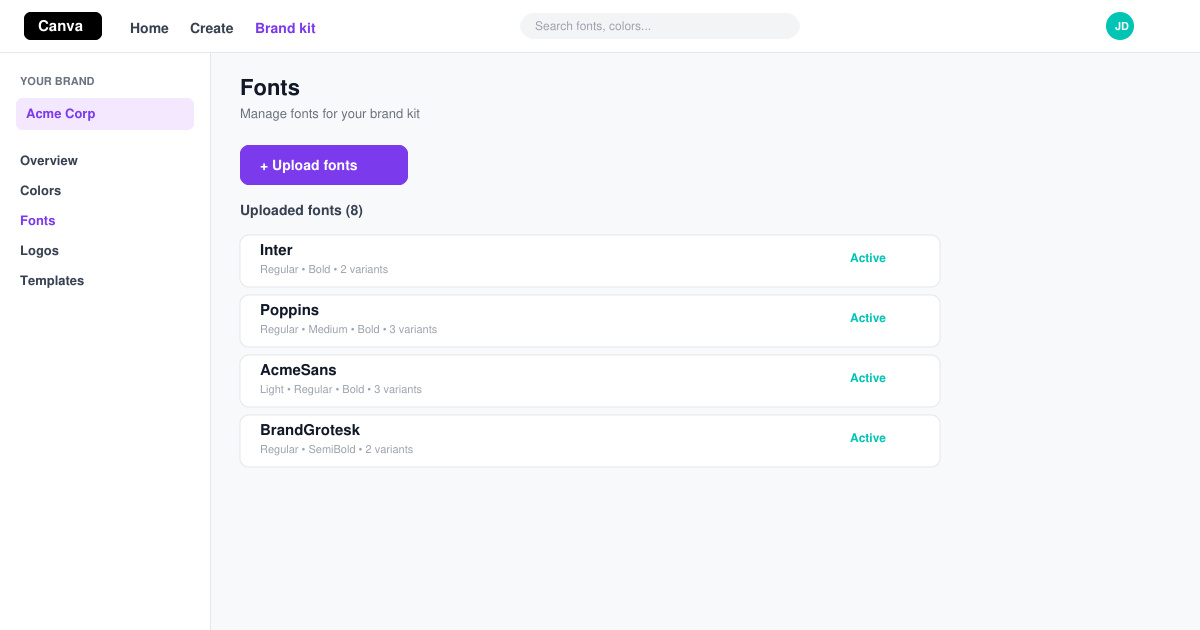
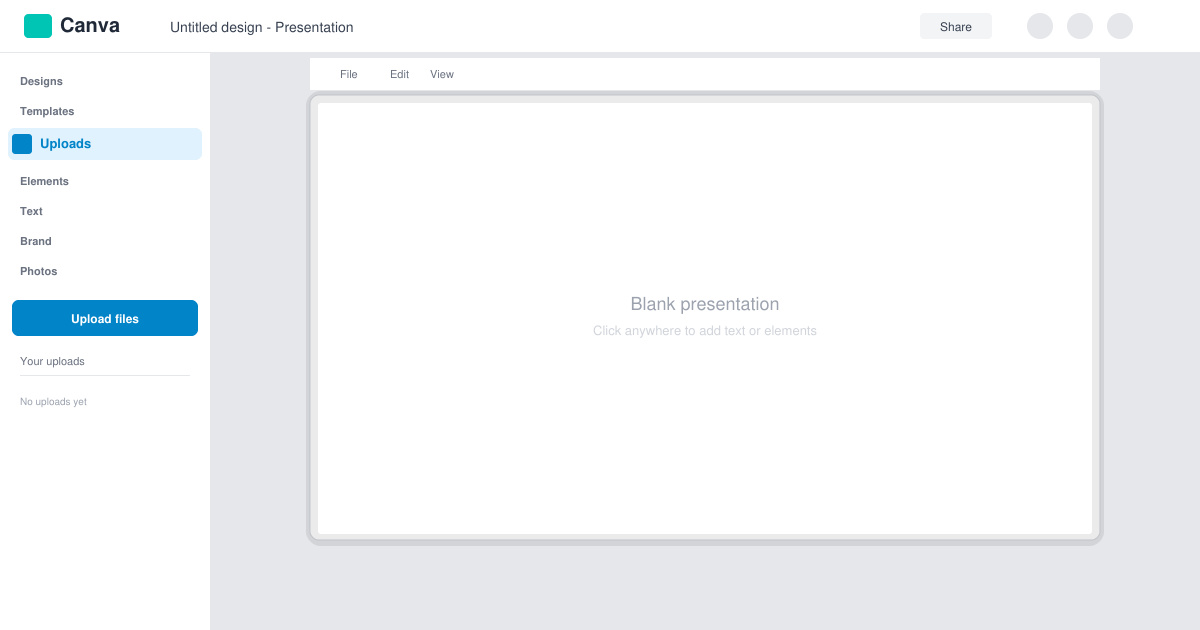
Learn exactly how to add font to Canva with this step-by-step guide. Upload custom fonts through Brand Kit to use them across all your designs in minutes.
Want to replace Google with Bing, DuckDuckGo, or another provider as your main search tool inside Chrome? How to Change Default Search Engine in Chrome is a quick process that works on both desktop and mobile versions. Follow the precise steps below to complete the switch without losing your bookmarks or history.
Chrome lets you pick any search engine that supports OpenSearch. The setting lives in the browser’s main preferences and applies immediately once saved. You only need to perform the change once per device; synced profiles will keep the new default across computers and phones when sync is enabled.
Before starting, make sure Chrome is updated to the latest stable version. Older releases sometimes hide the search engine management page behind extra menus.
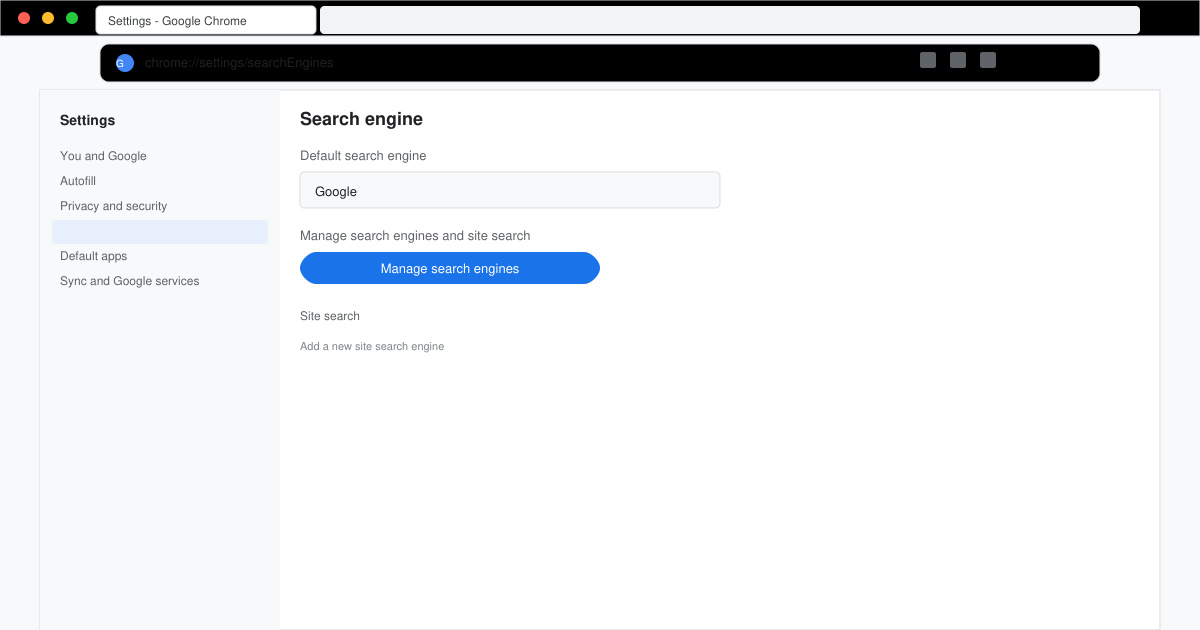
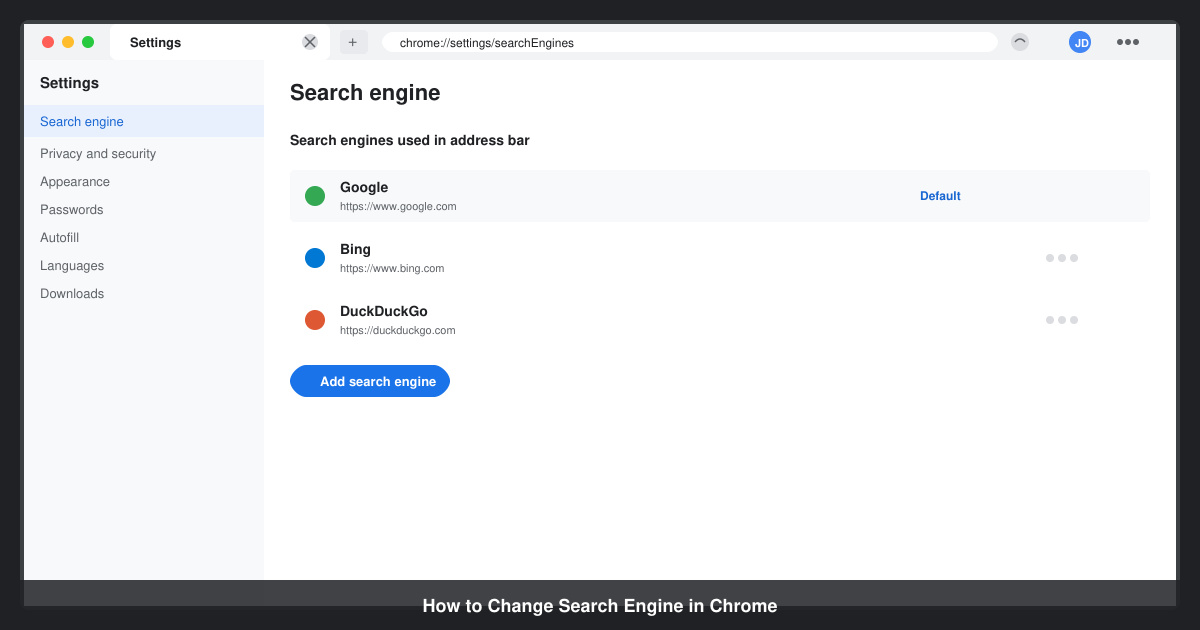
Click the three-dot menu in the top-right corner of Chrome, then select Settings. On the left sidebar, click Search engine.
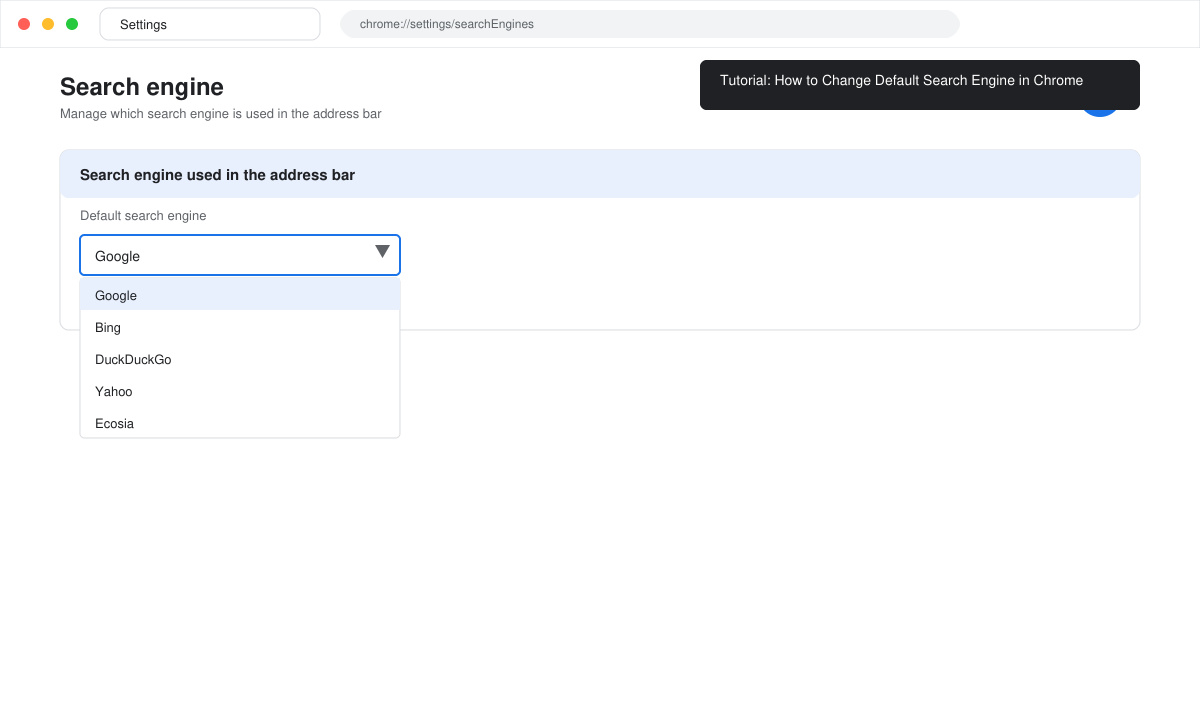
Next to “Search engine used in the address bar,” click the dropdown menu. Select any listed option such as Bing or DuckDuckGo. If the engine you want is missing, proceed to the next step.
Scroll down to the “Manage search engines and site search” section and click it. Press the Add button, enter a name, keyword, and the search URL template (for example, https://duckduckgo.com/?q=%s for DuckDuckGo). Click Add.
Find your newly added engine in the list, click the three-dot menu next to it, and choose “Make default.” The address bar will now use this engine for all searches.
Open Chrome on your phone or tablet and tap the three-dot menu, then tap Settings. Select Search engine from the list.
Tap the current default and choose from the available options. To add an unlisted engine, tap “Manage search engines,” tap the plus icon, and enter the name and search URL.
After selecting or adding the engine, tap the back arrow. The new default activates immediately for address-bar searches and the Chrome home page.
Yes. You can keep several engines installed and switch between them by typing their keyword followed by a space in the address bar, even after you change default search engine in Chrome.
No. The setting only affects where searches are sent; bookmarks, history, and passwords remain untouched.
It does when you are signed in and have Search engine sync enabled in Chrome’s Sync and Google services settings.
Once you complete the steps above, every search performed from the address bar will route through your chosen provider. The process takes less than two minutes on any platform.
Learn exactly how to add font to Canva with this step-by-step guide. Upload custom fonts through Brand Kit to use them across all your designs in minutes.
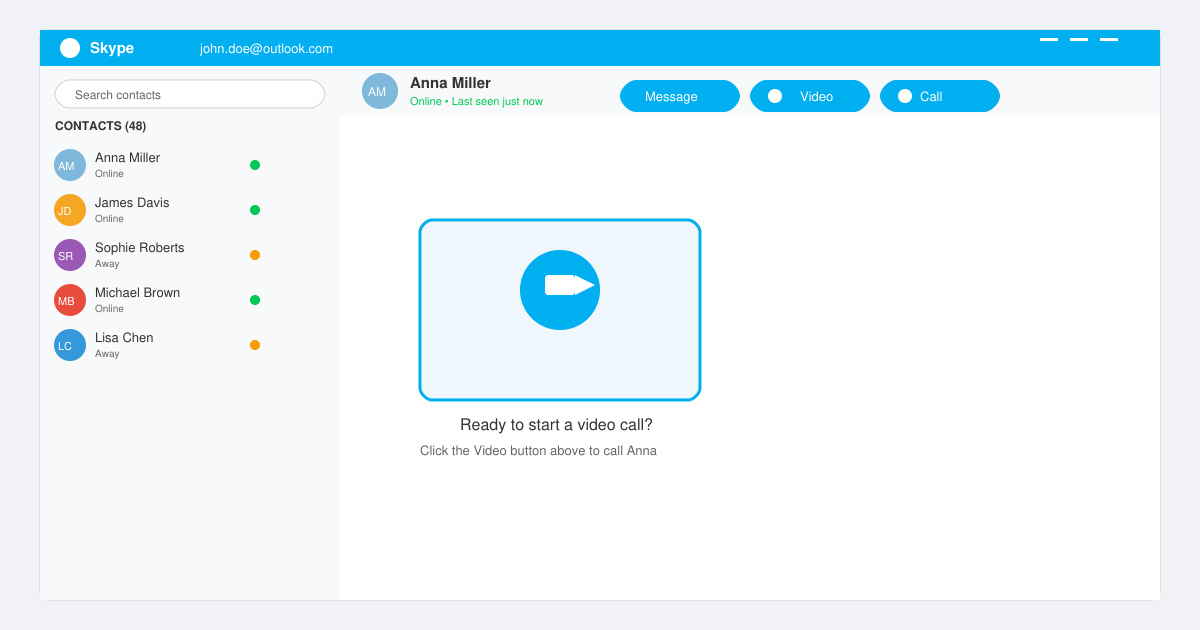
How to Use Skype for free video calls, messaging, and screen sharing. Follow this complete guide to install the app, set up your account, and start communicating in minutes.
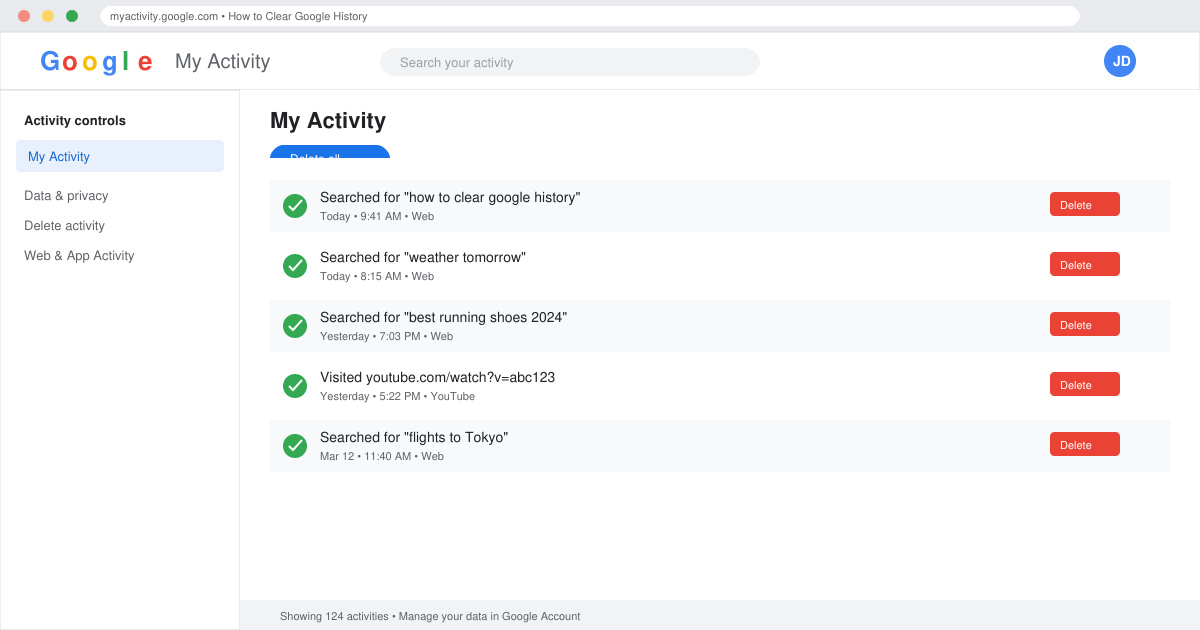
Learn how to clear Google history quickly to protect your privacy. This step-by-step guide shows you how to delete search activity from your Google account on any device.
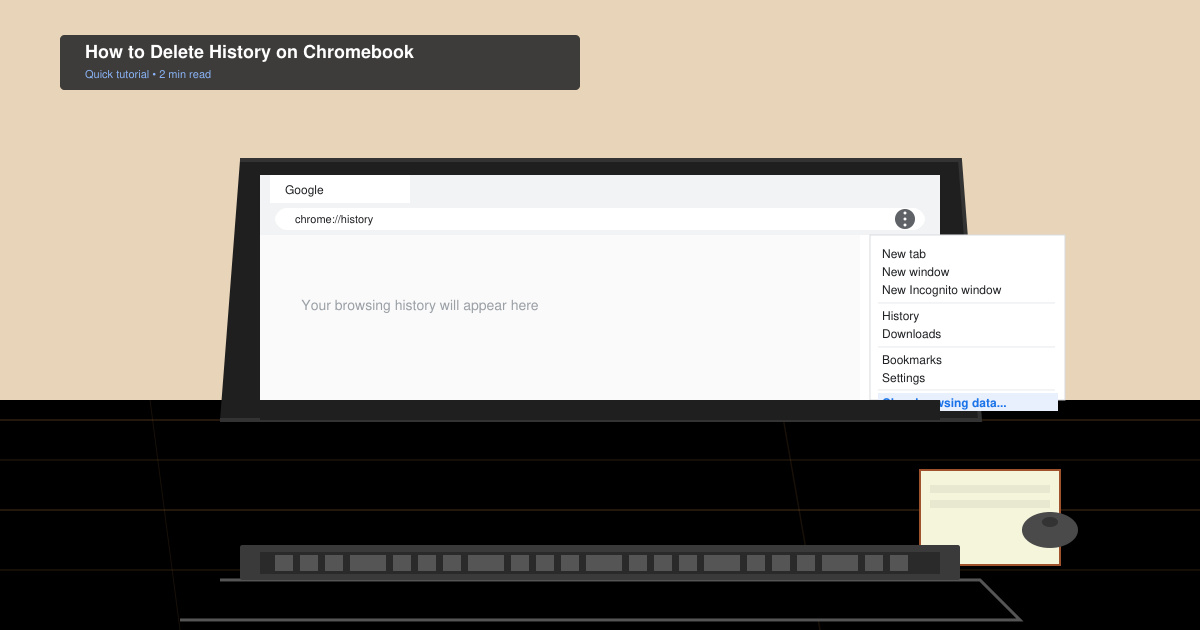
Learn exactly how to delete history on Chromebook to protect your privacy. Follow these precise steps to clear browsing data, cookies, and cached files on your device.
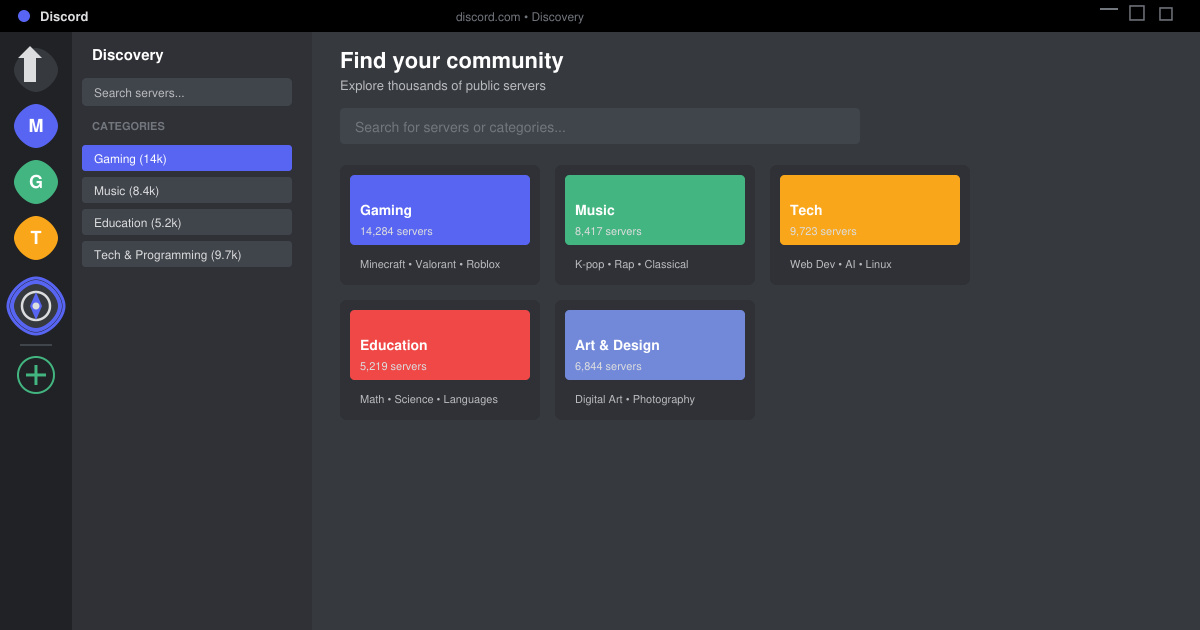
Learn how to find a server on Discord with this clear walkthrough of the built-in Discovery tool and other reliable methods. Join active communities fast.
How to Change Search Engine in Chrome takes just a few clicks in Settings. Switch your default provider to Google, Bing, DuckDuckGo or another option and improve search results instantly.
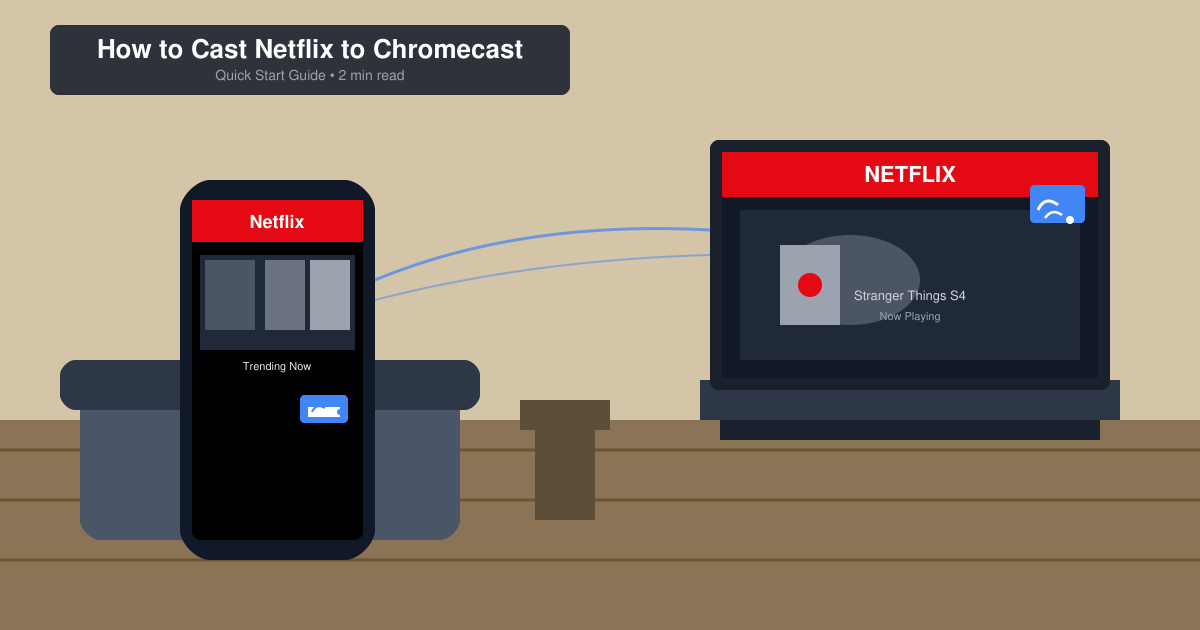
Learn exactly how to cast Netflix to Chromecast from your phone or computer. Follow these steps to stream movies and shows to your TV in minutes.
Learn exactly how to set Google as your homepage on Chrome in under a minute. Follow the precise steps in Chrome Settings to make google.com load when you click the home button.
Learn how to add pictures to Canva in just a few clicks. This guide shows the fastest ways to upload your own photos or use Canva's library for any design project.
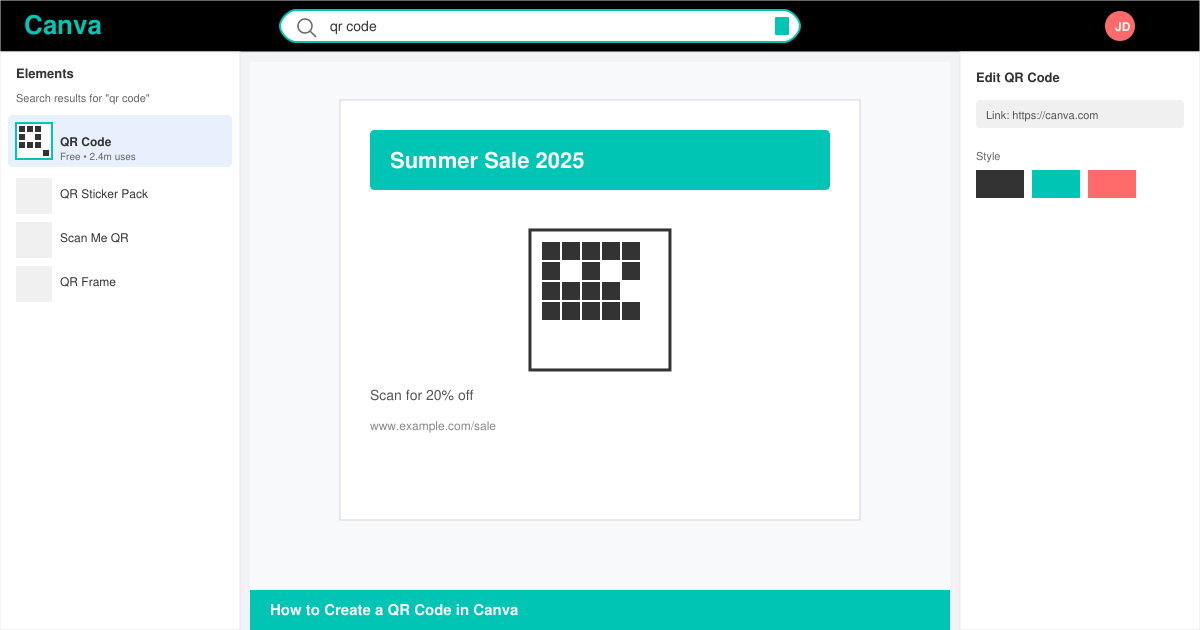
How to create a QR code in Canva is simple with the built-in generator. Follow these exact steps to add a working, customizable QR code to any design in under two minutes.