How to Remove a Sink Drain Stopper Without Damaging the Drain
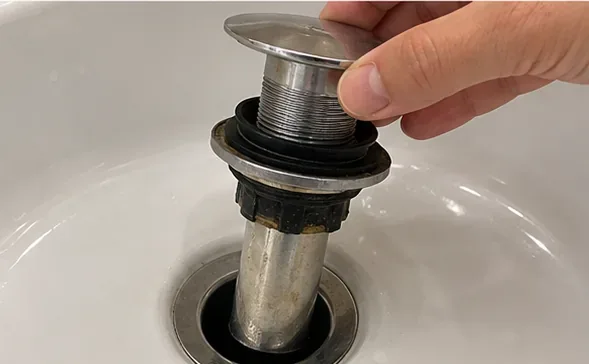
Learn how to remove a bathroom sink drain stopper, release a pop-up pivot rod, check the result, and know when a different method is safer.
The safest beginner method for cleaning a baseball glove is simple: remove loose dirt first, wipe the glove gently with a clean cloth, use only a small amount of moisture when the manufacturer allows it, let the glove dry naturally, and condition dry leather sparingly. Avoid soaking the glove, harsh solvents, ammonia-based cleaners, and heavy coats of conditioner.
That conservative approach matches current guidance from major glove makers. Rawlings says fielding gloves should be cleaned with a dry cloth or soft sponge and/or its Glovolium treatment products, and specifically warns against solvents and ammonia-based products. Wilson recommends cleaning a glove with a damp cloth or rag, letting it dry naturally, and conditioning dry areas without overdoing it. See Rawlings’ official glove care instructions and Wilson’s official glove-care guidance.
A baseball glove is not one uniform piece of material. The pocket is the cupped area where the ball settles. The web is the woven or solid section between the thumb and index finger. The laces are the leather strips that hold the glove together, and the finger stalls are the internal channels where your fingers sit.
Many premium gloves are mostly leather, but some models combine leather with synthetic back materials. Wilson’s SuperSkin, for example, is a lightweight synthetic material used on some A2K and A2000 gloves. Wilson says SuperSkin needs only a damp rag with water and does not require leather conditioner. That means you should identify the materials on your glove before rubbing conditioner over every panel. See Wilson’s SuperSkin care guidance.
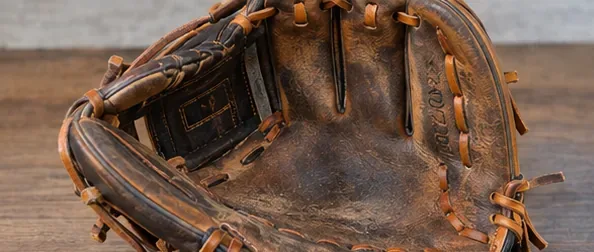
You do not need household solvents, ammonia cleaners, bleach, heavy degreasers, or a bucket for soaking the glove. Rawlings explicitly warns against solvents and ammonia-based products. If your glove came with model-specific care instructions, those instructions should take priority over a generic cleaning routine.
Look at the palm, pocket, web, laces, finger backs, heel, and wrist opening. Check whether the problem is loose dust, dried infield dirt, grass marks, sweat residue, or genuinely dry leather. Also look for cracked laces or stitching problems. Cleaning can improve surface condition, but it cannot repair a torn lace or split leather.
If the glove has a synthetic section such as Wilson SuperSkin, remember that a leather conditioner intended for the palm should not automatically be applied to the synthetic panel.
Gently shake out sand and loose debris. Use a dry cloth, soft sponge, or very soft brush to lift dirt from the palm and around the laces without grinding grit into the leather. Work from the cleaner areas toward the dirtiest areas so you are not spreading dust across the glove.
Rawlings’ care instructions favor a dry cloth or soft sponge for fielding gloves. That makes dry cleaning the right first move even if you plan to use a damp cloth afterward.
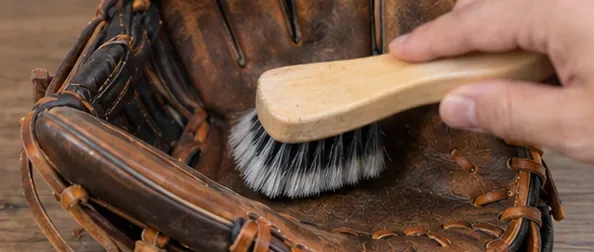
Wilson recommends a damp cloth or rag for cleaning its gloves. “Damp” means the cloth should contain a small amount of water without dripping. Wring it out thoroughly, then wipe a small section of leather at a time. Avoid saturating the finger stalls, padding, or lace holes.
If your glove’s manufacturer specifies dry cleaning only, stay with the dry-cloth or approved glove-treatment method instead. The point is to remove surface grime without soaking the leather.
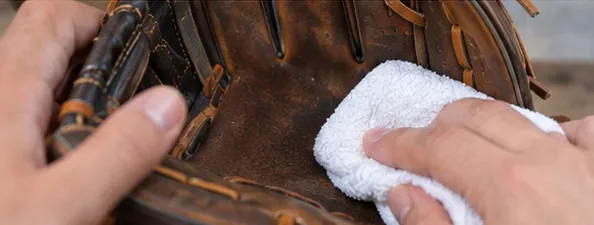
Fold the cloth over one or two fingers and wipe along the pocket crease, between lace runs, and near the web. Do not yank on the laces to reach underneath them. Leather laces can become brittle with age, and unnecessary pulling can turn a cleaning job into a relacing job.
If a stain does not come off after several gentle passes, stop before escalating to a stronger household cleaner. A stubborn mark is usually less harmful than solvent damage or discoloration.
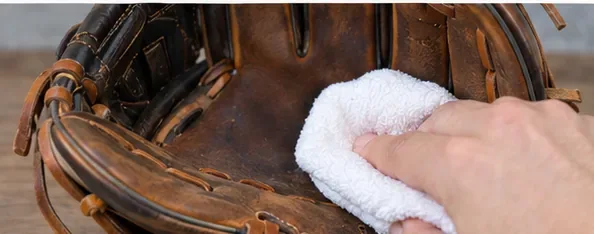
After wiping, use a dry cloth to blot remaining surface moisture. Wilson says to let the glove dry naturally. Rawlings recommends storing gloves in a cool, dry area away from direct sunlight, which is also a sensible environment for drying after light cleaning.
Do not try to speed the process by soaking the glove first and then using intense heat. Let the leather return to a dry, room-temperature feel before conditioning it.
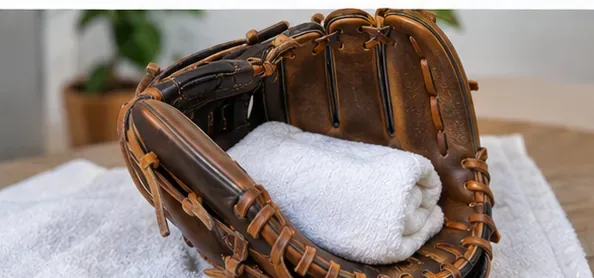
A conditioner is a leather-care product that restores some flexibility and helps prevent dry leather from becoming brittle. More is not better. Wilson specifically advises applying conditioner to dry areas without overdoing it, while Rawlings recommends a light amount of Glovolium treatment after every season or so to maintain leather quality and help prevent brittleness.
Apply a very small amount to a cloth or fingertip, spread it into a thin film, and work it into dry leather. Do not leave thick, greasy deposits in the pocket. Heavy conditioning can add weight, soften the glove more than intended, and collect dirt.
For a Rawlings glove, the company offers products such as Glovolium Glove Rub and Rawlings Glove Conditioner. For other brands, use the conditioner recommended by that manufacturer.
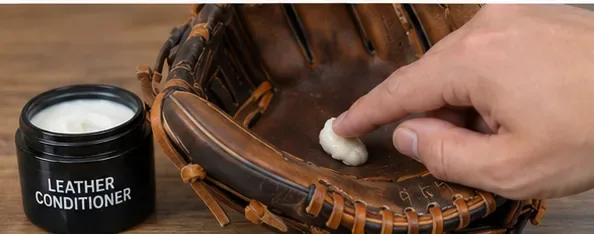
Once the glove is clean and the leather is no longer wet, place a baseball or softball in the pocket. Wilson’s glove team recommends reshaping with an 11-inch softball in the pocket and tying a sock around the glove overnight. Rawlings likewise advises storing a fielding glove with a ball in the pocket.
You do not need to crush the glove closed. The goal is to preserve a natural catching pocket, not flatten the heel or force the fingers into a new shape.
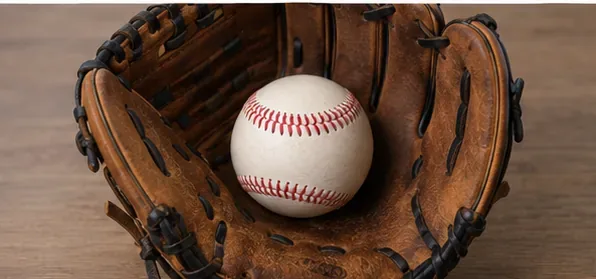
When the glove is completely dry and any conditioner has absorbed, store it away from direct sunlight and excessive heat. Rawlings specifically recommends a cool, dry area and notes that excessive sunlight can cause discoloration. Wilson’s conditioning guidance says to let a conditioned glove sit for 24 hours before using it again.
Keep a ball in the pocket if that works for your glove shape, and do not bury the glove underneath heavy equipment that can flatten the web or finger stalls.
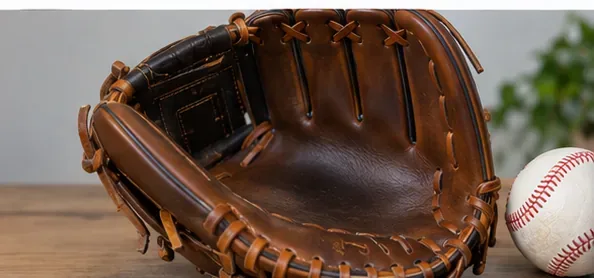
Do not assume every visible surface needs leather conditioner. Wilson says SuperSkin can be maintained with a damp rag and water, followed by drying, and that the material does not require products such as Mink Oil Glove Paste or Pro Stock Glove Conditioner. Clean the leather sections according to leather-care instructions and the SuperSkin section according to its own guidance.
If you are unsure what a panel is made from, check the glove’s product page or contact the manufacturer before conditioning it. A small amount of patience is better than permanently darkening or altering a synthetic finish.
If loose dirt has dried on the surface, remove as much as possible mechanically with a dry cloth, soft sponge, or soft brush before introducing more moisture. If the glove became wet during a game, blot the surface, open the glove so air can circulate, and let it dry naturally. Avoid storing it while damp.
Once dry, evaluate the leather. If it feels noticeably dry or stiff, a light application of a manufacturer-approved conditioner may help. Do not condition a still-wet glove, because you first need to know how the leather feels after natural drying.
A glove contains leather, laces, padding, lining, and sometimes synthetic materials. Full immersion introduces far more moisture than the manufacturers’ routine cleaning guidance calls for. Controlled wiping is easier to manage.
Rawlings explicitly says not to use solvents or ammonia-based products on fielding gloves. Strong household chemicals can strip finishes, discolor leather, or dry it excessively.
Conditioner is for leather, and even then it should be used lightly. Wilson SuperSkin, for example, does not require leather conditioner. Check the material before treating it.
A heavy layer can make a glove feel greasy and overly soft. Wilson says not to overdo conditioning, and Rawlings describes its seasonal treatment as a light application.
Natural drying should happen before storage. Keep the glove in a cool, dry location rather than a sealed bag while moisture remains.
A ball in the pocket is enough for routine shaping. Avoid compressing the glove under heavy gear or tying it so tightly that the web and fingers deform.
There is no useful one-size-fits-all calendar for cleaning because a glove used daily on dusty fields needs attention sooner than one used occasionally. Clean visible dirt as needed, especially before it builds up around the pocket and laces.
Conditioning should be less frequent than simple wiping. Rawlings says a light Glovolium treatment after every season or so can help maintain leather quality and prevent brittleness. Wilson recommends conditioner on dry areas rather than as a heavy routine coating. Let the leather’s condition guide you: dryness is a reason to condition; a glove that still feels supple does not need another thick layer.
Cleaning a baseball glove is mostly about restraint. Remove dirt gently, use very little moisture, let the glove dry naturally, and condition leather only when it needs it. The goal is not to make an old glove look factory-new. It is to remove damaging dirt while preserving the leather, laces, pocket shape, and feel that make the glove work for you.
Learn how to remove a bathroom sink drain stopper, release a pop-up pivot rod, check the result, and know when a different method is safer.
Learn how to clean AirPods Max cushions safely using Apple’s recommended detergent method, proper drying time, and mistakes to avoid.
Learn how to clean a baseball glove safely with gentle wiping, careful drying, light conditioning, and proper storage, plus mistakes that can damage leather.
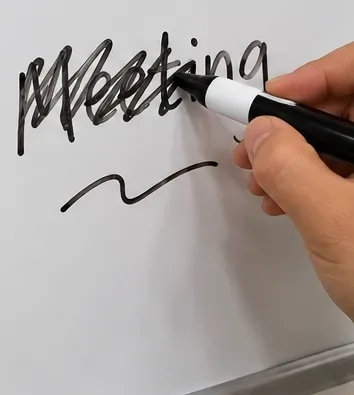
Remove permanent marker from a dry-erase board safely with a fresh dry-erase marker, proper wiping, approved board cleaner, and surface-specific precautions.
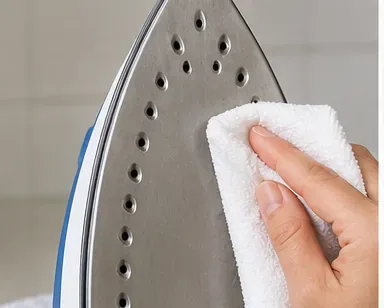
Learn how to clean a burnt iron safely, what to avoid, when household remedies can damage coatings, and how to handle stubborn soleplate residue.
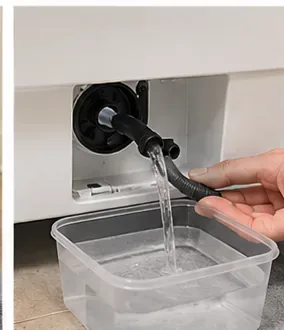
Learn how to clean a washing machine drain-pump filter safely, drain residual water, remove debris, reinstall the filter, and know when your model needs different care.
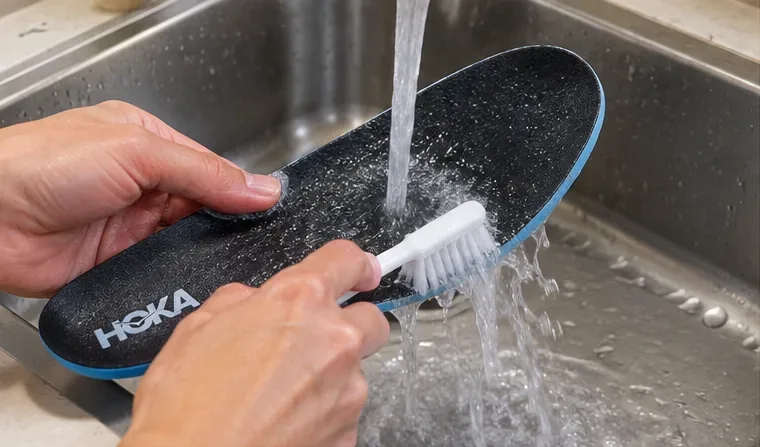
Learn how to wash HOKA sneakers by hand with cold water, mild soap, gentle brushing, and air drying, plus material-specific care and mistakes to avoid.
Learn how to clean a leather jacket safely in 8 steps, from checking the label and patch testing to air-drying and conditioning without damage.
Learn how to clean a faucet aerator safely, identify threaded and recessed types, remove mineral buildup, reassemble parts, and avoid common mistakes.
Learn how to clean a Nespresso Vertuo machine safely, run the rinse cycle, wash removable parts, avoid common mistakes, and know when descaling is needed.