Home
» How to
»
How to Clean a Breville Toaster Oven Safely: An 8-Step Guide
How to Clean a Breville Toaster Oven Safely: An 8-Step Guide
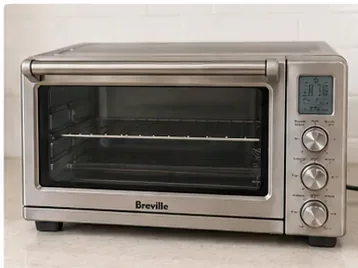
Breville’s current U.S. support guidance, checked September 12, 2026, still centers on a simple cleaning approach: unplug the oven, let it cool completely, use soft non-abrasive tools, apply mild cleaner to the cloth or sponge rather than directly to the appliance, and let every surface dry before reconnecting power. The exact accessories vary by model, so use this guide as the practical baseline and check your model’s manual whenever a removable part looks different.
This method is suitable for common Breville Smart Oven-style countertop ovens, including models with air-fry functions. It is deliberately gentle because the interior walls may have a nonstick coating, the heating elements can be fragile, and abrasive pads can damage stainless steel, glass, or coated surfaces.
What you need before you start
A soft microfiber cloth or soft sponge
Mild dish soap or another non-abrasive liquid cleanser
Warm water
A soft plastic scouring pad for stubborn residue on removable metal parts, if needed
A dry towel or clean cloth for final drying
Glass cleaner only for the glass door, if your model manual permits it
Avoid steel wool, metal scouring pads, harsh abrasives, and standard household oven cleaner. Breville’s BOV900 care instructions specifically warn against standard oven cleaner inside the oven because it can damage the metal surface. The same manual also says never to immerse the oven body, power cord, or plug in water.
How to clean a Breville toaster oven step by step
1. Turn it off, unplug it, and let it cool completely
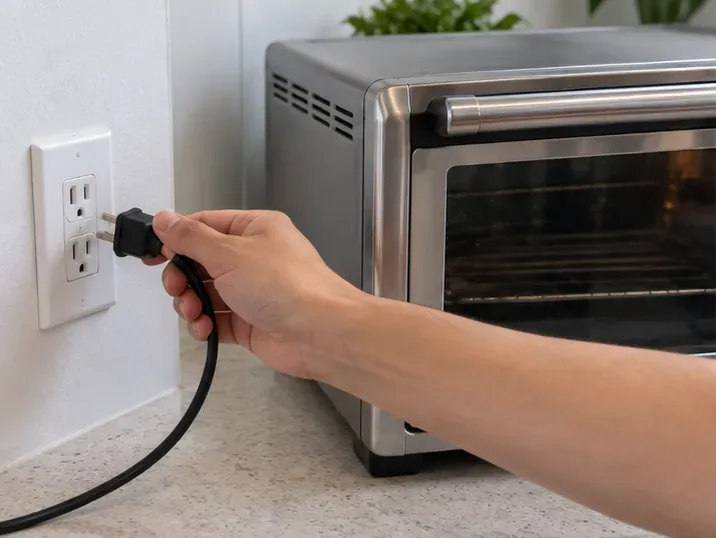
Do not begin while the toaster oven is warm. Switch the unit off, remove the plug from the wall outlet, and wait until the oven, racks, pans, and heating elements are completely cool. This is the most important safety step because you will be working close to electrical parts and hot-resistant surfaces that can retain heat longer than expected.
Unplug the toaster oven and wait until the appliance and all accessories are completely cool before cleaning.
2. Remove the rack, pans, baskets, and other removable accessories
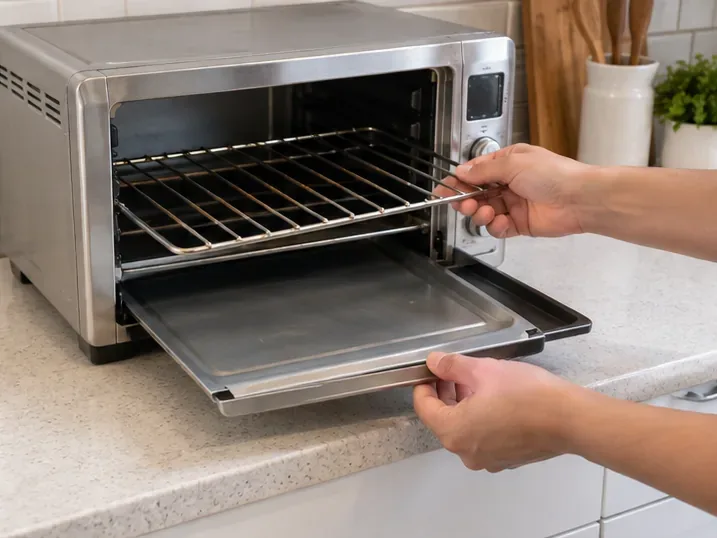
Open the door and take out the wire rack, broil rack, roasting pan, pizza pan, air-fry basket, or other removable accessories supplied with your model. Work slowly so crumbs do not scatter across the counter. If your oven has multiple rack positions, you do not need to remember a universal position; the correct placement depends on the cooking function and model.
Remove the wire rack, pans, and baskets so you can clean the accessories and reach the oven interior without obstruction.
3. Slide out the crumb tray and discard loose debris
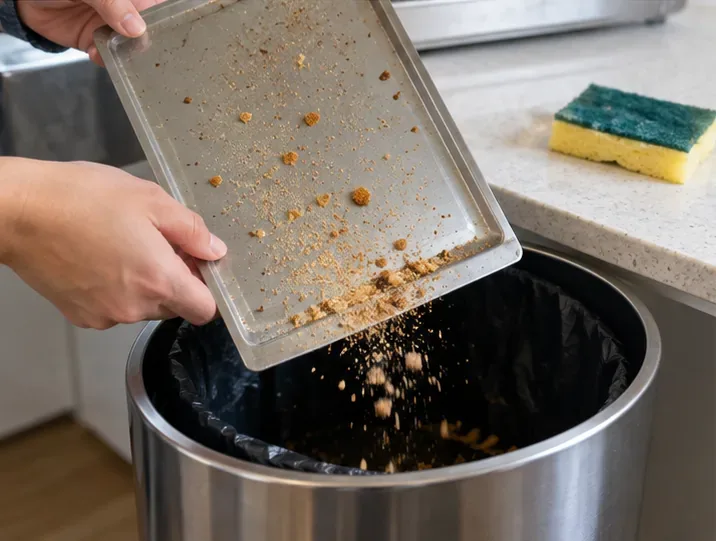
Breville’s Smart Oven Air Fryer Pro manual says to slide out the crumb tray after each use and discard crumbs. Empty it over a trash can, then wipe it with a soft damp sponge. Regular crumb removal matters because food particles become harder to remove after repeated heating and can contribute to unwanted odors or smoke.
Empty loose crumbs before adding water or cleaner; this keeps the next cleaning step quicker and less messy.
4. Soak the crumb tray only if grease is baked on
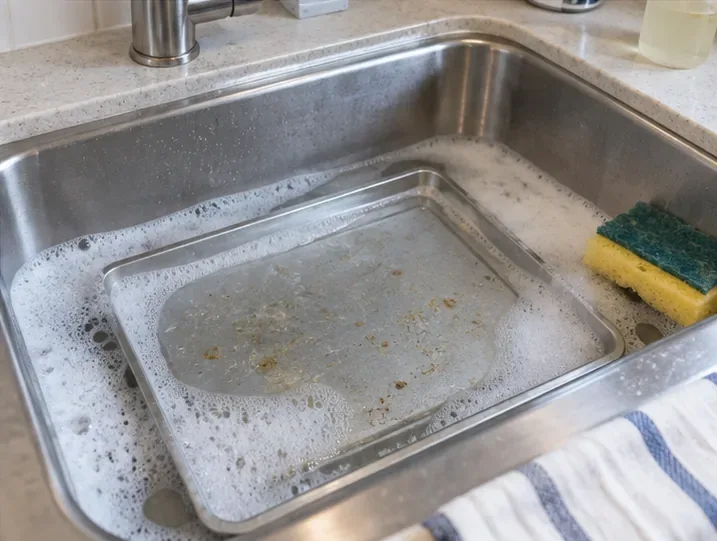
For ordinary crumbs, a damp wipe may be enough. If the tray has baked-on grease, Breville’s manual recommends soaking the removable tray in warm soapy water, then washing it with a soft sponge or soft plastic scouring pad. Rinse it and dry it thoroughly. Do not put a wet tray back into the appliance.
Warm soapy water can loosen baked-on grease on a removable crumb tray without resorting to harsh abrasives.
5. Hand-wash the racks and pans
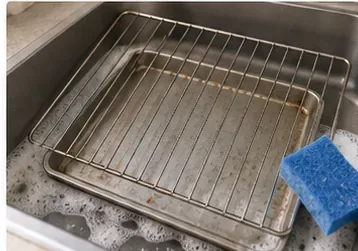
Wash removable racks and pans with warm soapy water and a soft sponge. Breville’s current accessory-cleaning tutorial for the Smart Oven Air Fryer Pro recommends hand washing to maximize accessory life. Unless the manual for your exact model explicitly says a part is dishwasher safe, hand washing is the safer default.
For stubborn food, let the removable part soak briefly and use a soft plastic pad rather than a metal scourer. Metal pads can scratch finishes, and Breville also warns that fragments from metal scouring pads can contact electrical parts if they are used inside the appliance.
Hand-wash racks and pans with mild dish soap and a soft sponge, then rinse and dry them fully.
6. Wipe the interior walls gently
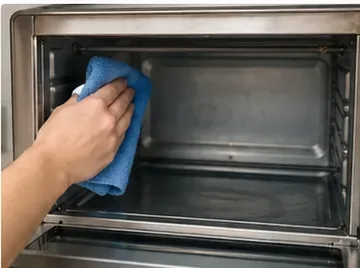
Use a soft damp sponge or cloth on the interior walls. If you need cleaner, put a small amount of non-abrasive liquid cleanser on the sponge or cloth first; do not spray or pour cleaner directly into the oven. Breville notes that the interior walls on the BOV900 have a nonstick coating, so aggressive scrubbing is unnecessary and can shorten the life of the finish.
Work around the heating elements rather than pushing against them. Do not use standard oven cleaner inside. If residue is near a quartz element, remove what you can without bending, twisting, or applying pressure to the element.
Wipe the interior with a soft damp cloth and keep pressure away from the heating elements and coated walls.
7. Clean the glass door, exterior, controls, and display
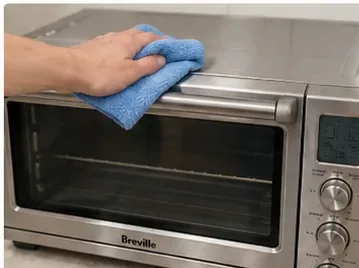
Wipe the stainless-steel exterior with a soft damp sponge or cloth. For the glass door, Breville permits glass cleaner or mild detergent with a soft damp sponge or soft plastic scouring pad on the BOV900. Avoid abrasive cleansers or metal pads because they can scratch the surface.
For an LCD display, use a soft damp cloth. Apply any cleaner to the cloth rather than directly to the screen. Breville specifically cautions that cleaning the display with a dry cloth or abrasive cleaner can scratch it. Keep liquid from running into control gaps, vents, or seams.
Use a soft damp cloth on the exterior and keep cleaner out of vents, seams, controls, and the display.
8. Dry everything thoroughly and reassemble
Let the interior, crumb tray, accessories, glass, exterior, and any area near the heating elements dry thoroughly. Reinsert the crumb tray before plugging the oven back in; Breville’s manual specifically calls for the crumb tray to be in place before operation. Return the dry rack and accessories you normally store in the oven, then reconnect power.
Reassemble only after every cleaned surface and removable part is dry, then reconnect the oven to power.
What about the heating elements?
Heating elements need extra caution. Breville’s BOV900 manual says that, after the oven is unplugged and completely cool, a quartz heating element may be gently rubbed along its length with a soft damp sponge or cloth. It also says not to use any cleanser or cleaning agent on the element. Because element design can differ among Breville ovens, check the manual for your exact model before touching them. If the element looks cracked, loose, deformed, or electrically damaged, stop using the oven and contact Breville support rather than attempting a repair during cleaning.
How often should you clean it?
Area
Practical cleaning schedule
What to watch for
Crumb tray
After each use, following Breville’s BOV900 guidance
Loose crumbs, grease droplets, burnt food
Interior walls
Wipe spills after the oven cools; do a fuller clean as needed
Splatter, grease film, baked-on residue
Racks and pans
After messy or greasy cooking; otherwise as needed
Sticky residue, carbonized food, grease
Glass door and exterior
When fingerprints, grease, or food splashes are visible
Smears, residue near the handle, dull stainless steel
Breville’s general toaster-oven cleaning guidance also suggests that a light cleaning about once a week can help prevent buildup, with deeper cleaning based on use. A household that air-fries fatty foods several times a week will usually need more frequent wiping than one that mostly toasts bread.
Common cleaning mistakes to avoid
Spraying cleaner directly into the oven: apply cleaner to the cloth or sponge instead.
Using standard oven cleaner: Breville warns against it inside the oven.
Scrubbing with steel wool: it can scratch surfaces, and loose metal pieces can create an electrical hazard.
Putting accessories in the dishwasher by default: current Breville guidance favors hand washing for the Smart Oven Air Fryer Pro accessories.
Cleaning while warm: wait for the oven and accessories to cool completely.
Plugging it in while damp: all surfaces and parts should be thoroughly dry first.
Forgetting the crumb tray: clean it regularly and reinstall it before operation.
How to tell when the cleaning job is finished
The oven does not need to look factory-new to be safely cleaned. A good result means loose crumbs are gone, greasy film has been removed from reachable surfaces, the glass is clear enough to see through, racks and pans are free of sticky residue, no cleaner remains pooled in corners or seams, and everything is completely dry. You should not smell cleaning product inside the oven after it dries.
If residue will not come off with the gentle methods above, do not escalate immediately to a harsher chemical. Re-soak removable parts, repeat the mild-cleaner wipe, and consult the specific model manual. Coatings and finishes differ, and the cost of a stubborn stain is usually lower than the cost of damaging a heating element or nonstick surface.