Home
» How to
»
How to Clean a Coffee Maker Without Vinegar: A Practical, Model-Safe Method
How to Clean a Coffee Maker Without Vinegar: A Practical, Model-Safe Method
You do not need vinegar to keep a coffee maker clean, but the right substitute depends on what you are trying to remove. Coffee oils and residue on a carafe or filter basket are a washing problem. Mineral scale inside the water path is a descaling problem. Those jobs use different cleaners, and treating them as the same thing is one of the easiest ways to waste time or use a product your machine manufacturer does not recommend.
The safest general approach is simple: wash removable parts with warm, soapy water; wipe the machine body without immersing it; and, when the internal water system needs descaling, use the descaler specified or approved for your exact model. This matters because manufacturers do not all approve the same acid. For example, Ninja allows a coffee-maker descaling solution as an alternative to vinegar on its DualBrew system, Philips SENSEO specifies citric-acid-based descalers for supported models, and De'Longhi recommends its lactic-acid-based descaler for its coffee makers.
Quick Reference: What to Use Instead of Vinegar
Cleaning job
Practical choice
What to check first
Coffee oils on the carafe, lid, or brew basket
Warm water, mild dish soap, and a soft sponge or brush
Whether the part is removable and whether the manual allows dishwasher cleaning
Mineral scale inside the water path
A manufacturer-approved coffee-machine descaler
The exact descaler type, dilution, clean/descale cycle, and rinse procedure for your model
Citric acid
Use only when the manufacturer specifies a citric-acid product or recipe
Concentration and model compatibility
Plain fresh water
Use for rinsing after cleaning or descaling
The number and type of rinse cycles required by the manual
Baking soda or lemon juice in the internal system
Do not treat either as a universal descaler
Use only if your machine's official instructions explicitly approve it
Before You Start: Identify the Machine and the Cleaning Job
Find the model number before pouring anything into the reservoir. A basic drip brewer, a pod machine, and an automatic espresso machine can have very different valves, tubing, sensors, and cleaning programs. Even within one brand, instructions can vary.
Next, decide whether you are cleaning visible coffee residue or removing limescale. If the carafe is stained, the basket feels oily, or dried grounds are stuck to removable parts, start with ordinary washing. If the machine shows a descale or clean indicator, brews more slowly, produces reduced flow, or your manual says descaling is due, use the model's descaling procedure instead. Ninja specifically notes that a water-only clean cycle does not properly descale its DualBrew system.
Action: Look up the model's care guide before selecting any acid or descaling product. If the guide names a specific product type, follow that rather than substituting a household ingredient.
Step 1: Unplug, Cool, and Remove Washable Parts
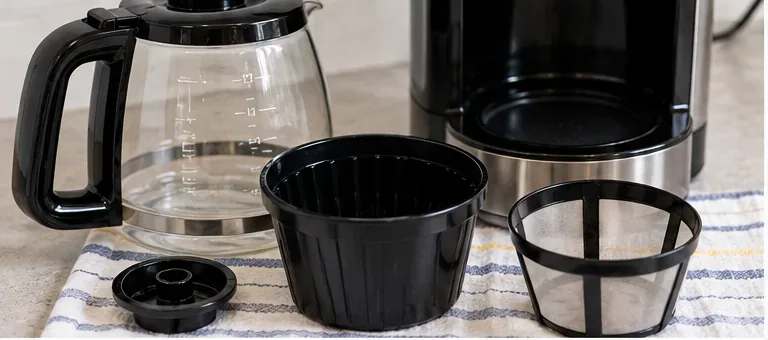
Switch the coffee maker off, unplug it, and allow heated surfaces to cool. Remove the carafe, lid, filter basket, reusable filter, drip tray, pod adapter, or other parts that your manual identifies as removable. Do not immerse the electrical base.
Official care instructions from both Ninja and Mr. Coffee support warm, soapy cleaning for removable coffee-contact parts. Ninja's DualBrew guide says to wash used adapters, the brew basket, carafe, and brew-through lid with soap and warm water. Mr. Coffee likewise directs users of several drip models to unplug and cool the machine before washing removable components with hot water and mild liquid soap. See the Ninja DualBrew owner's guide and Mr. Coffee care instructions.
A drip coffee maker with the carafe, basket, filter, and lid removed so each washable part can be cleaned separately.
Step 2: Wash Coffee Oils and Residue With Mild Dish Soap
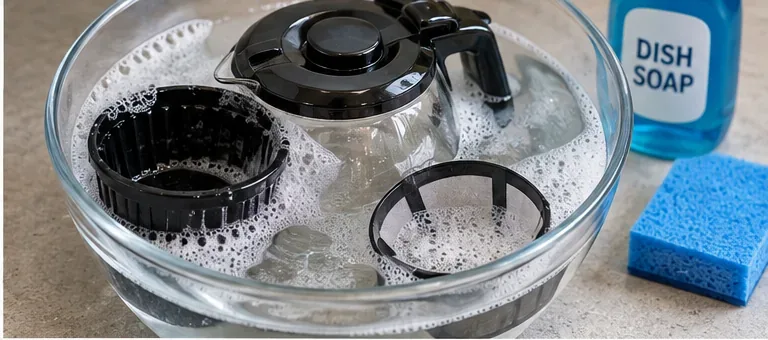
Wash removable, washable parts in warm water with a small amount of mild dish soap. Use a soft sponge, cloth, bottle brush, or other nonabrasive tool that can reach corners without scratching the surface. Rinse until no soap remains.
This step targets coffee oils, grounds, and everyday residue. It is not a substitute for descaling the hidden water pathway. Conversely, an acidic descaler is not necessary every time you wash a carafe or basket. Keeping those jobs separate makes routine maintenance simpler and reduces unnecessary chemical exposure to parts that only need soap and water.
Dishwasher safety is model-specific. Some Ninja reservoirs and removable components can go in the dishwasher under specified conditions, but that should not be generalized to every brewer. A thermal carafe, coated part, gasket, or specialty filter may require hand washing.
Action: Hand-wash when you are unsure. Only use a dishwasher when the manual explicitly identifies that part as dishwasher-safe.
Warm, soapy water loosens coffee oils and residue from removable parts before gentle washing and rinsing.
Step 3: Scrub Gently, Rinse, and Wipe the Machine Body
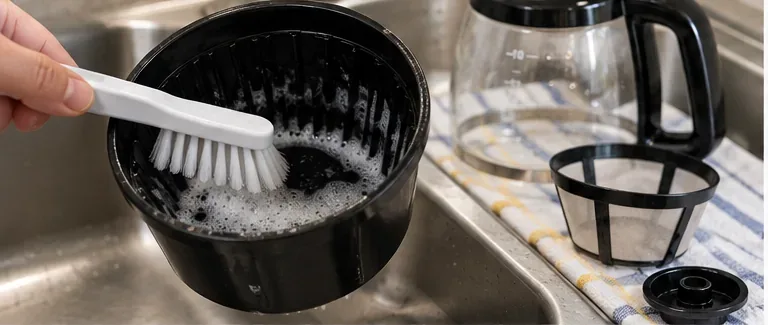
Give areas that trap grounds extra attention: the inside of the brew basket, the carafe lid, reusable filter mesh, and any removable adapter. Use a soft brush rather than a wire brush or aggressive scouring pad. Ninja specifically warns against using a wire brush on its carafe.
For the fixed machine body, use a clean damp cloth unless your manual says otherwise. Keep water away from the power cord, plug, control panel, and openings that are not intended to be flooded. If your brewer has a needle or puncture mechanism for pods, follow the dedicated cleaning procedure for that assembly rather than probing it with an improvised tool.
Action: Rinse washed parts thoroughly and let them drain while you decide whether the internal water system also needs descaling.
A soft brush reaches grooves in the brew basket without the abrasion of a wire brush or harsh scouring pad.
Step 4: Descale Without Vinegar When Scale Is the Problem
If the machine needs descaling, a purpose-made descaler is the most broadly defensible vinegar-free choice, but the formulation still needs to match the manufacturer. Do not assume that every coffee maker accepts the same acid concentration.
Option A: Use the Manufacturer's Descaling Solution
Ninja's DualBrew instructions explicitly allow a descaling solution specifically formulated for coffee-maker cleaning as an alternative to white vinegar. Keurig also sells and recommends its own descaling solution for removing calcium deposits from supported brewers. De'Longhi states that its Decalk Care product is recommended for all De'Longhi coffee makers and identifies its active approach as a lactic-acid-based formula. See De'Longhi Decalk Care.
The concentration, amount of water, pauses, button sequence, and rinse process are not universal. Follow the bottle and the machine manual together. If the machine has a dedicated CLEAN or DESCALE program, use that program rather than improvising a normal brew cycle unless the manual tells you to do so.
Action: Use the exact dose and cycle sequence specified for your model. Do not guess a stronger mixture for heavy scale.
Option B: Use Citric Acid Only When the Manual Approves It
Citric acid is a legitimate vinegar-free descaling chemistry for some machines, but it is not a blanket rule. Philips states that supported SENSEO machines should use citric-acid-based descalers and specifically warns against vinegar and several other acids. Its U.S. support page names compatible SENSEO descalers rather than telling users to substitute whatever acidic ingredient is available at home. See Philips SENSEO descaling-agent guidance.
Some older Philips SENSEO manuals provide a specific citric-acid-to-water recipe for particular models. That is useful evidence that citric acid can be correct when the manufacturer says so; it is not evidence that the same recipe is correct for every drip brewer, capsule machine, or espresso maker.
Action: If your manual gives a citric-acid recipe, follow it exactly. If it does not, use an approved commercial descaler rather than borrowing a formula from another brand.
Step 5: Flush the System With Fresh Water
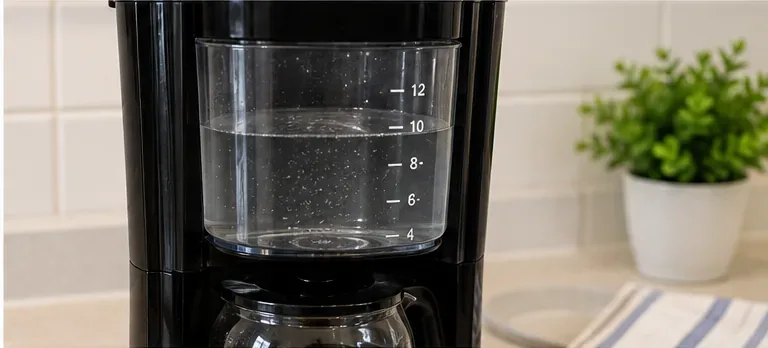
After a descaling cycle, discard the used solution and rinse the reservoir as directed. Refill with fresh water and run the required water-only rinse cycle or cycles. The amount of rinsing varies. For example, Ninja's DualBrew guide instructs the user to wash the reservoir with warm soapy water after the clean cycle, refill it with fresh water, and then run a full-carafe water-only brew to flush the system.
Do not stop rinsing merely because the machine looks clean externally. The goal is to clear the internal water path of descaling solution before brewing coffee again.
Action: Follow the manual's rinse volume or cycle count. If the manufacturer says to repeat rinsing because taste or odor remains, continue with fresh water.
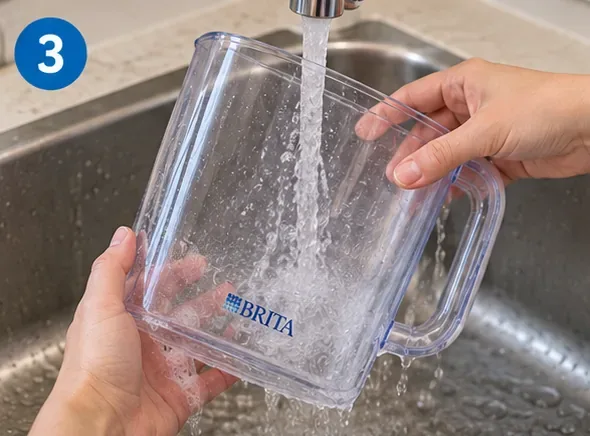
Fresh water in the reservoir is used for the post-cleaning rinse specified by the coffee maker's care instructions.
Common Vinegar-Free Shortcuts to Treat Carefully
Can Baking Soda Descale a Coffee Maker?
Baking soda is often suggested online, but the official manufacturer sources reviewed for this guide do not establish it as a universal internal descaler. Scale is a mineral deposit problem, and major manufacturers commonly specify acidic descaling products or their own formulas instead.
Action: Keep baking soda out of the internal water path unless your exact machine's official instructions approve it.
Can You Use Lemon Juice Instead?
Lemon juice is acidic, but acidity alone does not make a cleaner model-safe. Concentration varies, it can contain sugars and other organic material, and the manufacturers reviewed here do not present household lemon juice as a general replacement for their descaling procedures.
Action: Skip lemon juice unless your manufacturer's care guide specifically names it.
Is Plain Water Enough?
Fresh water is essential for rinsing, but it does not reliably remove established limescale. Ninja explicitly notes that a water-only clean cycle will not descale its brewer properly.
Action: Use water for flushing; use the approved descaler when mineral scale is the issue.
How Often Should You Clean and Descale?
Wash coffee-contact parts regularly enough that oils and grounds do not build up; for many drip systems, the carafe and brew basket benefit from cleaning after use. Descaling frequency is more variable. It depends on the machine, usage, and water hardness. Ninja notes that hard water causes scale to build faster, while Philips recommends a specific interval for supported SENSEO machines and also uses a CALC indicator on some models.
Action: Treat the machine's clean/descale indicator and model manual as the primary schedule. If your water is hard or flow slows noticeably, expect descaling to be needed sooner than in a soft-water household.
Final Checklist
Confirm the model number and read its cleaning/descaling instructions.
Unplug the coffee maker and let hot surfaces cool.
Remove and wash approved removable parts with warm water and mild dish soap.
Use nonabrasive tools; avoid wire brushes unless the manufacturer specifically permits them.
Wipe the fixed body with a damp cloth rather than immersing it.
If mineral scale is present, use the manufacturer-approved descaler or acid type.
Do not assume baking soda, lemon juice, or a citric-acid recipe from another brand is universally safe.
Complete every fresh-water rinse required by the manual.
Let removable parts drain or dry, reassemble the brewer, and brew only after the cleaning solution has been fully flushed.
The most reliable way to clean a coffee maker without vinegar is not to replace vinegar with another kitchen ingredient automatically. Use soap and water where soap and water belong, and use a model-approved descaler where mineral scale is the problem. That keeps the method simple while respecting the materials, sensors, seals, and cleaning program designed into the brewer.