How to Use Google Lens on Chromebook

How to Use Google Lens on Chromebook lets you scan objects, translate text, and solve problems directly from your device. Follow these steps to get started quickly.
A mechanical keyboard can collect crumbs, skin oils, pet hair, dust, and dried residue in places a quick surface wipe never reaches. The safest way to clean it is not to start with the strongest cleaner. Start by deciding how deep the cleaning needs to go, confirm what your keyboard and keycaps can tolerate, and keep liquid away from the electronics.
The instructions below are written for common mechanical keyboards with removable keycaps. They are not a substitute for your model's manual. A waterproof rating, hot-swap sockets, removable switches, special coatings, artisan keycaps, and unusual materials can all change what is safe.
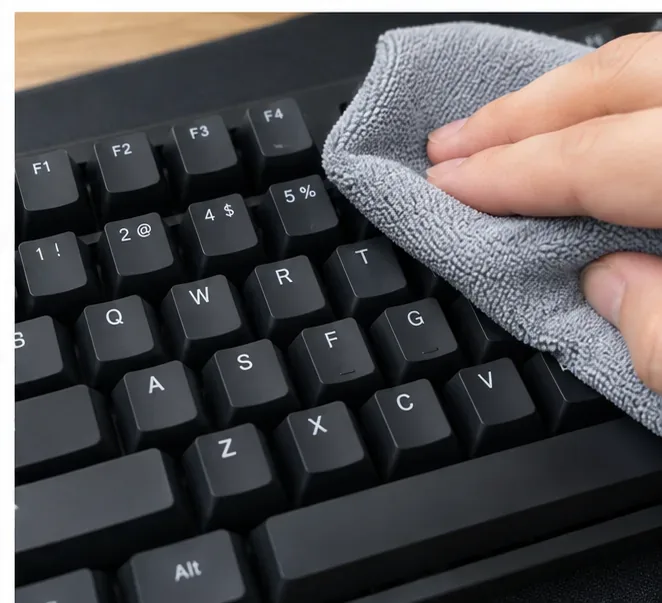
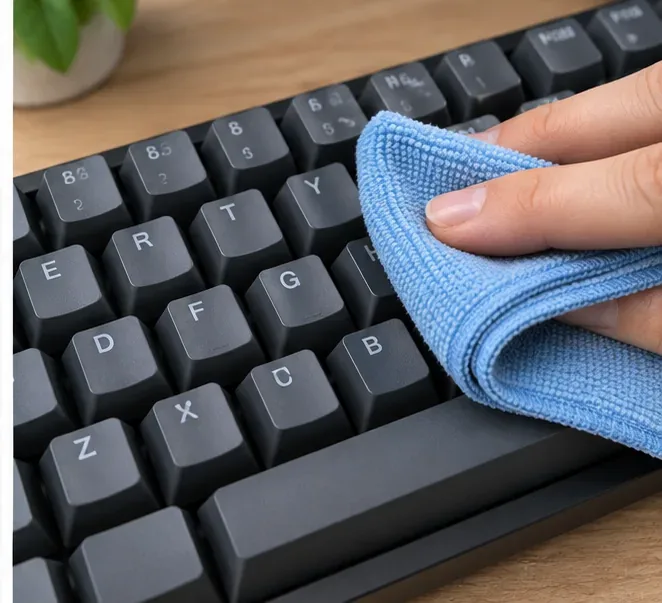
If the keys only have fingerprints and there is a little loose dust between them, a quick clean is usually enough: power the keyboard off, disconnect it, remove loose debris with a soft brush or compressed air if the manufacturer allows it, and wipe the exterior with a barely damp lint-free cloth.
A deep clean makes sense when crumbs are trapped under keycaps, the plate is visibly dusty, several keys feel gritty around the edges, or the caps have accumulated oil that a surface wipe does not remove. Deep cleaning normally means removing the keycaps, cleaning the exposed plate, washing compatible keycaps separately, letting everything dry fully, and reassembling the board.
This distinction matters because manufacturers do not give identical chemical advice. Logitech's current device-cleaning guidance says to unplug a wired device, keep moisture to a minimum, never apply cleaning liquid directly to the device, and use compressed air for loose debris. Corsair's keyboard-cleaning support article, updated May 30, 2024, likewise says to switch off or unplug the keyboard, wait at least five seconds, use isopropyl alcohol on exposed external surfaces, and prevent liquid from dripping inside.
First, make sure the keycaps are actually intended to come off. That is common on mechanical keyboards, but the safest reference is the manual for your exact model. Stabilized keys such as the spacebar, Enter, Shift, and Backspace can use extra wires or stabilizer parts, so do not yank them sideways.
Take a clear photo of the full keyboard before you remove anything. Corsair specifically recommends photographing the layout so you have a reference when reinstalling the caps. Then use a keycap puller and pull straight upward rather than levering against the case.
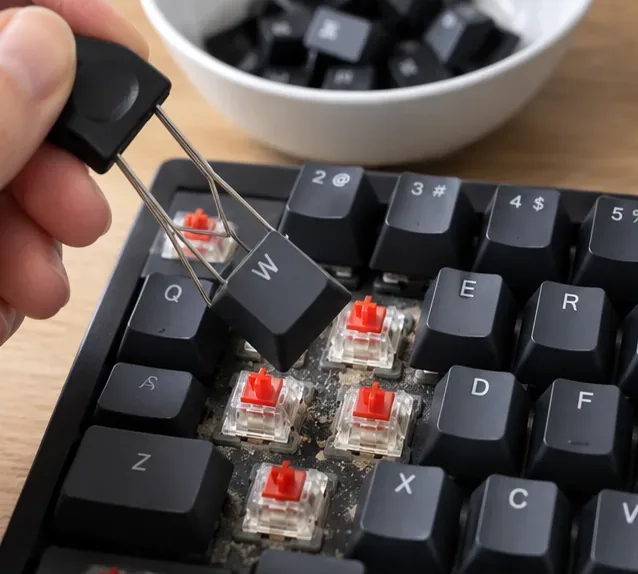
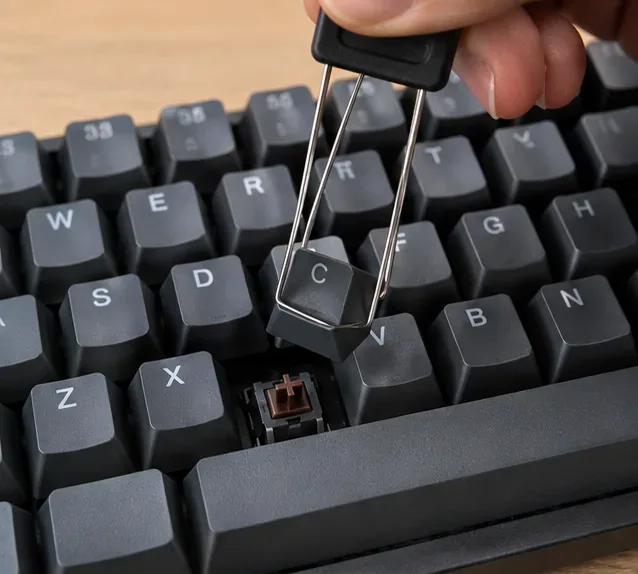
For most routine and deep-clean jobs, you need only a few items: a keycap puller, soft clean brush, lint-free microfiber cloth, cotton swabs, a bowl, mild dish soap, and optionally compressed air or a hand-operated air blower. Keep a clean towel nearby for drying keycaps.
Do not spray cleaner directly onto the keyboard, and do not submerge the keyboard body. Logitech explicitly warns against bleach, acetone or nail-polish remover, strong solvents, and abrasives. Those products can damage coatings, legends, plastics, or other finishes.
Alcohol deserves a model-specific check rather than a blanket rule. Corsair recommends isopropyl alcohol for cleaning its keyboards, while Logitech's general keyboard guidance says alcohol swabs should contain less than 25% alcohol for the products covered by that page. Because those recommendations differ, do not assume that a common 70% or 99% bottle is appropriate for every keyboard surface. If you cannot verify compatibility, a lightly water-dampened lint-free cloth is the more conservative choice for exterior key surfaces, with moisture kept to an absolute minimum.
Unplug a wired keyboard from the computer. For a wireless model, switch it off and disconnect any cable. If it has user-removable batteries, follow the manufacturer's instructions for removing them. Give the keyboard a few seconds before cleaning. This reduces the chance of accidental input and, more importantly, keeps you from cleaning powered electronics.
Photograph the whole board from directly above. Then remove ordinary keycaps with a puller, working in small sections so loose debris does not get spread around. If a large key resists, stop and check how its stabilizer is constructed instead of applying more force.
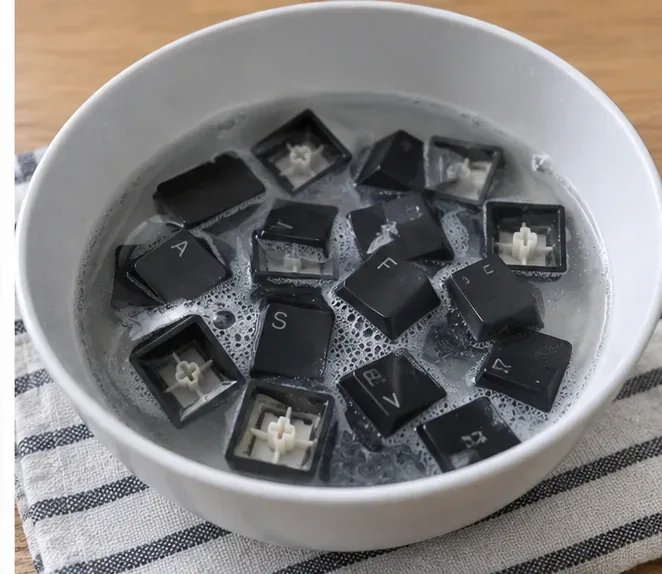
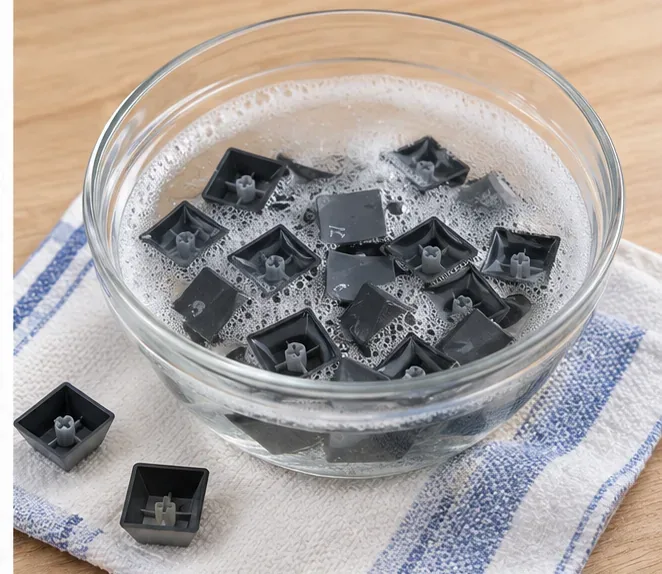
Often yes, but only when the keycap material and manufacturer allow it. Corsair's step-by-step keycap guide says its ABS and PBT keycaps can be placed in hot but not boiling water with normal dish soap. Keychron's July 14, 2025 cleaning guide similarly recommends warm soapy water for removed keycaps, followed by complete drying.
For standard compatible plastic caps, use warm water and a small amount of mild dish soap. Agitate gently rather than scrubbing legends aggressively. If you have artisan resin caps, wooden caps, metal caps, vintage caps, hand-painted legends, or a special coating, skip the soak until you confirm care instructions for that material.
With the keycaps off, hold the keyboard over a clean surface and use a soft brush to sweep out crumbs, hair, and dust. Work around the switch housings rather than forcing bristles into openings. If your manufacturer permits compressed air, use it to move loose debris out of the board instead of deeper into it. Logitech lists compressed air as an acceptable way to clear material from between keys.
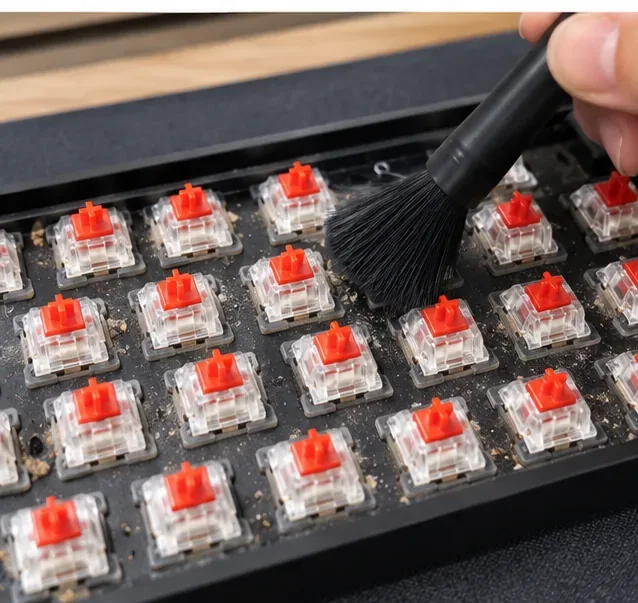
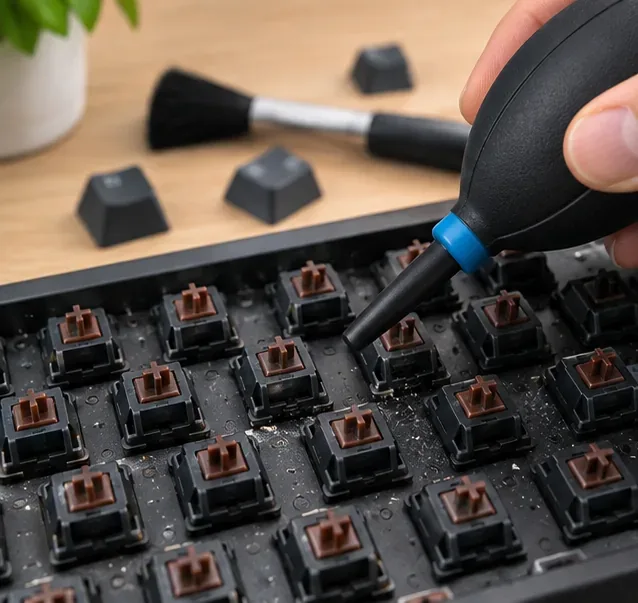
Use a lint-free cloth or cotton swab that is only lightly damp, not wet. Wipe the case, plate edges, and other accessible external surfaces. Never pour or drip liquid between switches. If your manufacturer specifically approves isopropyl alcohol, apply a small amount to the cloth or swab rather than directly to the keyboard.
If a sticky substance has entered a switch and a key still feels wrong after the surrounding area is clean, do not flood the switch with cleaner. That is no longer ordinary surface cleaning. The next step depends on whether the switch is hot-swappable, soldered, optical, magnetic, low-profile, or part of a warranty-covered assembly.
After washing compatible keycaps, rinse away soap residue and spread the caps on a clean absorbent towel. Let them air-dry until there is no moisture in the stems or underside cavities. Do not reinstall damp caps over the keyboard. Corsair and Keychron both emphasize drying the keycaps before reassembly.
Use the photo you took before disassembly. Align each cap over its switch stem and press straight down with moderate, even pressure. Pay extra attention to stabilized keys; if they sit crooked, bind, or feel unusually stiff, remove them gently and check the stabilizer rather than forcing them into place.
Once the board is reassembled and fully dry, give the top surface a final wipe with a clean, nearly dry microfiber cloth. Reconnect the keyboard and test every key, including modifiers and stabilized keys. A key that still sticks, double-registers, or fails after cleaning may have a switch, socket, stabilizer, or electronics problem rather than a dirt problem.
Not for normal cleaning. Removing keycaps exposes enough of the plate for most dust and crumb removal. Switch removal is appropriate only when the keyboard is designed for it and there is a reason to go deeper.
Do not confuse removable keycaps with removable switches. Keychron's current mechanical-keyboard information describes hot-swappable boards as models whose switches can be pulled and replaced without soldering. A soldered keyboard does not gain that capability simply because the switch looks similar from above. If you are unsure, check the exact model specification before using a switch puller.
A spill is different from routine grime. Disconnect the keyboard promptly and do not keep pressing keys to see whether it still works while liquid may be inside. Blot accessible exterior liquid instead of shaking it deeper into the case. Then follow the manufacturer's spill or service instructions for your exact model.
If the spill reached the PCB, battery, USB daughterboard, or switch interiors, surface cleaning may not be enough. Sugary drinks can leave conductive or sticky residue after the visible liquid is gone. Opening the case can also affect a warranty on some products, so check support documentation before disassembly.
There is no single schedule that fits every desk. A keyboard in a clean home office may need only occasional debris removal, while one used around food, pets, workshops, or shared desks will need attention more often. Logitech recommends regular cleaning and, on one of its keyboard-care pages, suggests weekly cleaning to prevent harder-to-remove stains.
A practical rule is to clean based on visible condition rather than the calendar alone. Wipe oily key surfaces when they become noticeable, brush out loose debris before it packs underneath caps, and reserve full keycap removal for when the material under the keys actually justifies the extra work. Preventive habits matter too: keep drinks away from the board, avoid eating directly over it, and wash or dry your hands before long typing sessions.
A good result is not simply a keyboard that looks glossy. The plate should be free of loose debris, the keycaps should be fully dry and seated evenly, stabilized keys should move smoothly, and every key should register normally after reconnection. There should be no dampness, cleaner odor trapped inside the board, or residue around switch openings.
If a problem remains after the keyboard is clean and dry, stop escalating the cleaning chemistry. Persistent chatter, missed presses, grinding stabilizers, or a sticky switch may need a switch replacement, stabilizer service, PCB repair, or manufacturer support. Cleaning can remove contamination; it cannot repair a worn contact, cracked socket, bent stabilizer, or damaged circuit.
This guide was cross-checked against current manufacturer guidance available in September 2026, including Logitech device-cleaning recommendations, Corsair keyboard and keycap cleaning support, Corsair's detailed keycap-cleaning guide, and Keychron's mechanical-keyboard cleaning guide.
How to Use Google Lens on Chromebook lets you scan objects, translate text, and solve problems directly from your device. Follow these steps to get started quickly.
Learn how to clean a lululemon yoga mat using current care guidance: wipe gently, avoid soaking and bleach, dry fully, and store out of sunlight.
Learn how to remove hot glue from fabric using cooling, gentle scraping, and cautious alcohol treatment, with fabric-safety checks for delicate materials.
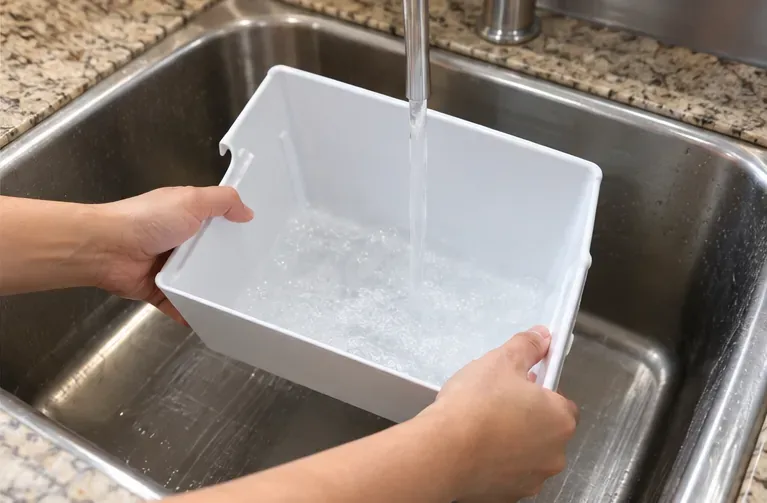
Learn how to clean a freezer ice maker safely, remove stale ice and residue, wash and dry the bin, and know when deeper cleaning or service is needed.
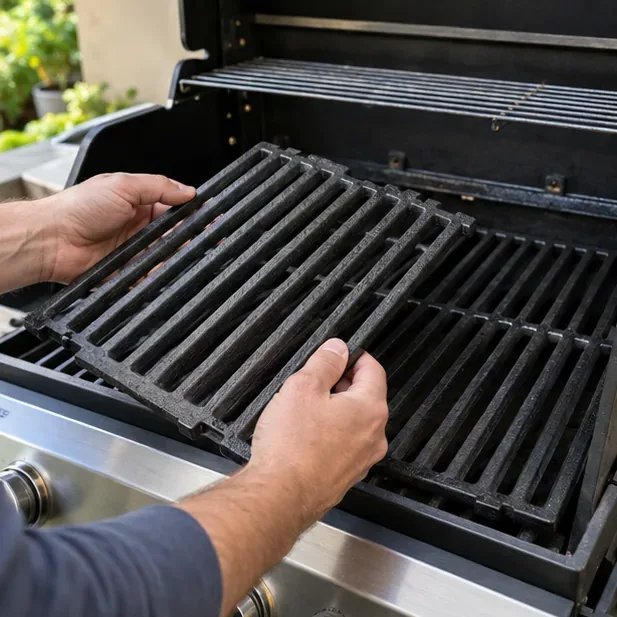
Learn how to season gas grill grates safely, when seasoning is actually needed, and how cast iron, stainless, and porcelain grates differ.
Learn how to clean fabric blinds safely: identify the material, remove dust, spot-clean stains, avoid damage, air-dry correctly, and know when to call a pro.
Learn how to clean an Ooni pizza stone safely with dry brushing, high-heat burn-off, and flipping—plus what to avoid and how to know it is clean enough.
Learn how to clean a mechanical keyboard safely, from removing keycaps and dust to washing compatible caps, drying, reassembly, and testing.
Learn how to remove hardened wax from clothes safely: harden, scrape, transfer with low heat, pretreat residue, wash by the care label, and air-dry.
Clean a removable retainer at least daily, rinse it whenever you remove it, and use a deeper manufacturer-approved clean about weekly. Learn what changes the schedule.