How to Get Dry-Erase Marker Off a Wall Without Ruining the Paint
Learn how to remove dry-erase marker from a painted wall safely, from water and mild soap to careful rubbing-alcohol spot treatment.
When a printer suddenly produces faded text, missing colors, white streaks, or a “cartridge not recognized” message, it is tempting to pull the cartridge out and start wiping it. That is not always the right first move. On many inkjet printers, the safest fix is to run the printer’s built-in nozzle check or cartridge-cleaning routine before touching the cartridge at all. Manual cleaning is mainly useful for visible contamination or electrical-contact problems, and the exact method depends on the cartridge design.
The most important distinction is whether you have an inkjet cartridge or a laser toner cartridge. This guide focuses on inkjet cartridges, because those are the cartridges users most often mean when they ask how to clean a printer cartridge. Laser toner systems require different handling; liquids should not be used casually on toner cartridges, drums, or high-voltage components.
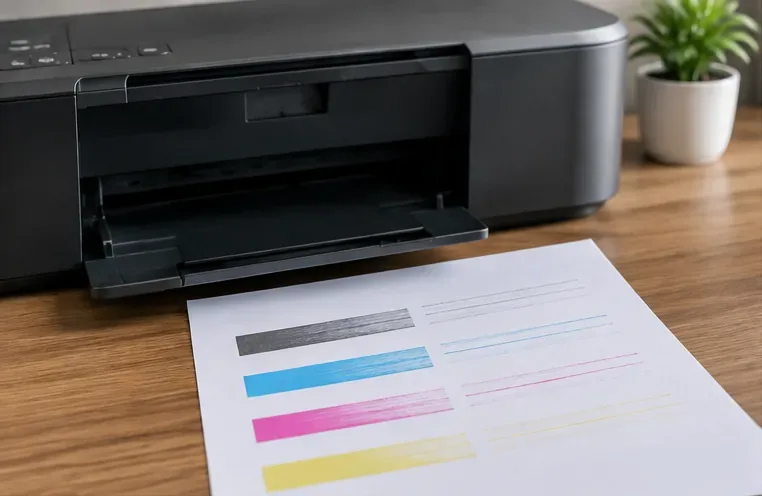
A cartridge can seem “dirty” when the real cause is something else. Low ink, a clogged printhead, dried nozzles, dirty electrical contacts, an improperly seated cartridge, alignment errors, or a failing cartridge can all produce similar symptoms. The first useful action is to match the symptom to the likely cause.
| Symptom | Most useful first action | When manual cartridge cleaning may help |
|---|---|---|
| Faded print, white lines, missing colors | Run a nozzle check or built-in printhead/cartridge cleaning cycle | Only if the model’s manual specifically calls for cartridge cleaning after automated cleaning fails |
| Cartridge not recognized or missing | Reseat the cartridge and check for protective tape or installation errors | Dirty electrical contacts can be a cause on some models |
| Ink smears or streaks | Use the printer’s smear-cleaning or maintenance routine if available | Manual wiping may not address ink elsewhere in the paper path |
| Blank page with an empty or nearly empty cartridge | Replace or refill only as supported by the printer | Cleaning cannot restore ink that is not there |
| Laser printer has vertical streaks | Follow the model-specific toner/drum maintenance procedure | Do not apply the inkjet steps below to a toner cartridge |
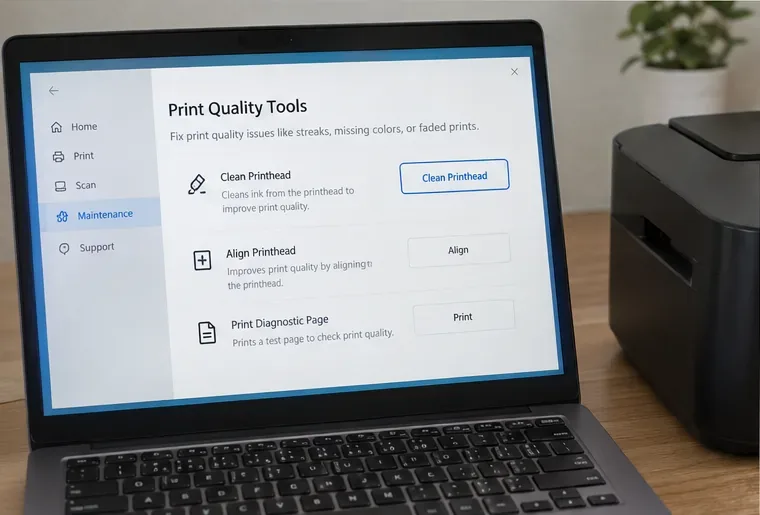
HP’s current troubleshooting guidance for many DeskJet, ENVY, and OfficeJet models starts with an automated cartridge or printhead cleaning routine and then checks a print-quality diagnostic page. Epson similarly recommends a nozzle check before printhead cleaning and notes that cleaning consumes ink. Review the exact maintenance steps for your model on the HP print-quality troubleshooting page or the Epson printhead maintenance guidance.
For faded output, banding, or missing colors, use the printer’s own maintenance feature before manually cleaning a cartridge. Depending on the model, the menu may be called Clean Cartridges, Clean Printhead, Head Cleaning, Maintenance, or something similar. Print a nozzle-check or diagnostic page before and after the cycle so you can see whether the pattern improves.
This matters because many modern inkjet cartridges are only ink reservoirs; the permanent printhead is inside the printer. On other models, the printhead is built into the cartridge. A generic “wipe the cartridge nozzle” instruction can therefore be wrong for the printer in front of you.
Do this next: If the diagnostic pattern improves after one cleaning cycle, stop and print normally. Repeated cleaning uses ink, and Epson explicitly advises cleaning only when print quality has declined. Some HP models allow additional cleaning levels when the first cycle is not enough.
Manual cleaning is most appropriate when the printer reports a cartridge-detection problem or when the manufacturer specifically instructs you to clean the cartridge contacts. HP, for example, tells users with certain ink-cartridge recognition errors to clean copper-colored electrical contacts with a lint-free cloth lightly dampened with distilled water. HP also warns not to touch the ink nozzles or the copper contact strip with your fingers.
Canon takes a more restrictive approach on many FINE-cartridge models: its manuals explicitly tell users not to touch the electrical contacts or printhead nozzle. For those printers, do not borrow a manual-cleaning method from a different brand or model. Follow the exact Canon maintenance or replacement procedure instead. See Canon’s FINE cartridge handling guidance.
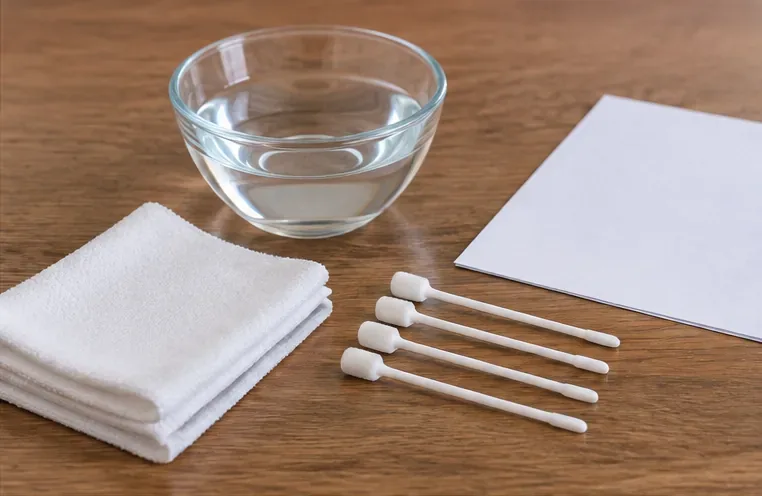
Avoid improvising with household solvents. An older but still published HP support procedure specifically warns not to use alcohol or platen cleaner on cartridge contacts. The safer rule is to use only the fluid named by the manufacturer for your exact printer.
Open the cartridge-access area and wait until the carriage stops moving. Follow the printer’s instructions for power state: some procedures require the printer to be on long enough for the carriage to move into position, then require the power cord to be disconnected before contact cleaning. Do not force the carriage by hand unless your manufacturer explicitly says to do so.
Release the problem cartridge using its latch or press-to-release mechanism. Hold the cartridge by its plastic sides. Avoid touching copper-colored contacts, the nozzle plate, ink outlets, chips, or other exposed functional surfaces with your fingers.
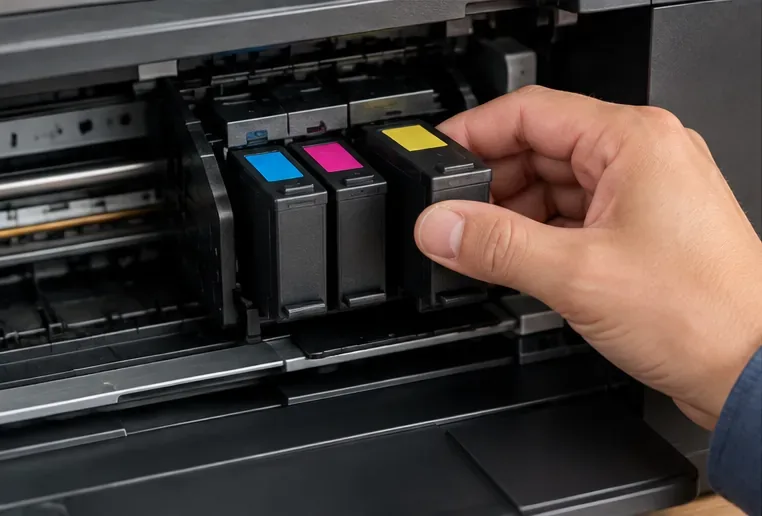
Do this next: Before cleaning anything, check for obvious problems such as protective tape left on a new cartridge, a cartridge seated in the wrong slot, cracked plastic, damaged contacts, or an empty cartridge. If the issue is mechanical damage or no remaining ink, cleaning is unlikely to help.
For HP models whose support instructions call for electrical-contact cleaning, lightly dampen a lint-free cloth or swab with distilled water. It should be damp, not dripping. Gently wipe the copper-colored electrical contacts, then clean the matching carriage contacts if the model instructions direct you to do so. Let the cleaned surfaces dry for the specified time before reinstalling the cartridge; current HP cartridge-error guidance commonly specifies about 10 minutes.
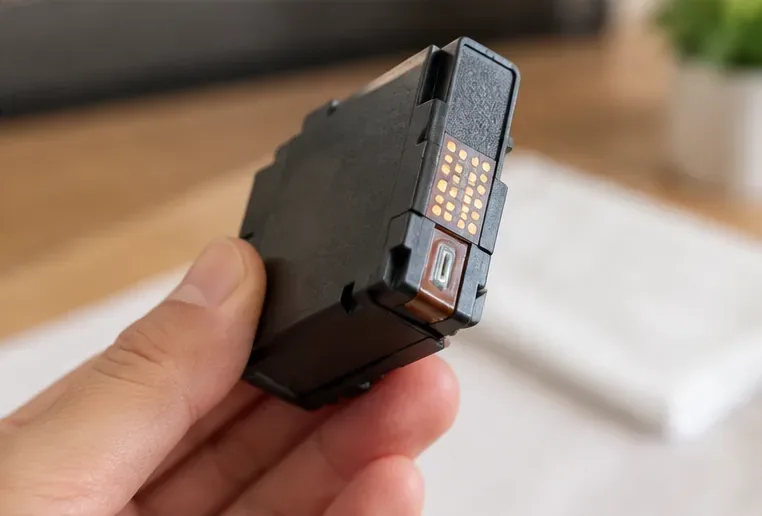
This is where generic online advice often becomes risky. Some cartridges have the printhead integrated into the cartridge, while others do not. Canon tells users not to touch the printhead nozzle on FINE cartridges. HP also warns against touching nozzles during contact cleaning, and some HP procedures say to clean only the area around a nozzle rather than the nozzle plate itself.
Do this next: If your printer manual does not explicitly instruct you to wipe a nozzle plate, do not do it. Use the built-in cleaning function instead.
Once the cartridge and contacts are fully dry, reinstall the cartridge in the correct slot until it locks or clicks into place. Reconnect power if you unplugged the printer, close the access door, and allow the printer to complete any startup servicing. If the printer prompts you to align the cartridges or printhead, follow that procedure.
Print a nozzle-check pattern, print-quality diagnostic page, or a simple document containing black text plus color blocks. Compare the result with the page you printed before cleaning.
HP recommends replacing a cartridge when troubleshooting indicates that the cartridge itself is defective. Epson notes that an expended cartridge must be replaced before printhead cleaning can run on many models. Cleaning cannot repair a physically damaged cartridge or restore consumed ink.
Do not apply the wet-cleaning method above to a laser toner cartridge. Laser printers use toner powder, a drum or imaging unit, corona or charging components, and heated fuser parts. The maintenance procedure can be completely different.
For example, Brother’s official guidance for several laser models instructs users to remove the toner-and-drum assembly, place it on a clean disposable surface, avoid touching specified electrodes, and clean the corona wire by sliding its green tab. Brother also warns that internal parts can be extremely hot after use. See the Brother corona-wire cleaning procedure.
Do this next: Search the manufacturer’s support site for your exact printer model plus “clean toner,” “clean drum,” or “clean corona wire.” Do not wash a toner cartridge, drum, or roller unless the manufacturer explicitly tells you to.
Use this short checklist before declaring the cartridge fixed:
If those checks pass, normal printing can resume. If the same defect remains, stop cleaning and move to cartridge replacement, printhead troubleshooting, or manufacturer support. That is usually more productive than increasingly aggressive manual cleaning.
Learn how to remove dry-erase marker from a painted wall safely, from water and mild soap to careful rubbing-alcohol spot treatment.
Learn when bathtub cleaning is safe for blinds, which materials should never be soaked, and how to wash, rinse, dry, and rehang approved blinds without damage.
Learn how to clean a printer cartridge safely, when to use built-in cleaning, how to handle inkjet contacts, what to avoid, and how to verify print quality.
Learn how to clean a guitar fretboard safely, choose the right method for finished or unfinished wood, avoid common myths, and condition only when needed.
Learn how to clean a stained dry-erase board safely, remove ghosting and stubborn ink, handle permanent marker, and avoid common cleaning mistakes.
Clean PS5 cooling vents without opening the console using PlayStation’s recommended low-powered vacuum method, plus airflow and noise checks.
Learn how to clean an HP printer head safely using diagnostic pages, built-in cleaning tools, alignment checks, and model-specific manual care.
Clean a microwave grease filter safely, know when a charcoal filter must be replaced, and use a quick checklist for model-specific care.
Learn how to disinfect a hairbrush without damaging it, with material-specific steps, CDC head-lice guidance, and a clear cleaning-vs-disinfection decision.
Learn how to clean an air fryer heating element safely, remove grease and stuck food, avoid damaging the coating, and know when to stop and check the manual.