How to Wash Suede Safely: What to Do Instead of Soaking It
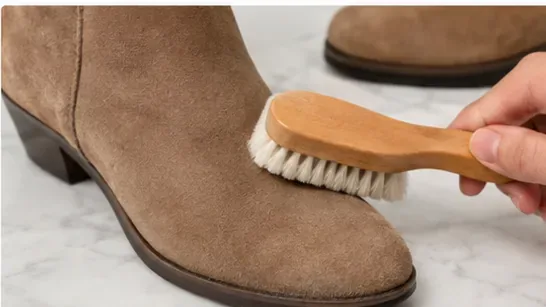
Learn how to clean suede safely without machine washing or soaking it, including brushing, stain removal, air-drying, and suede protection.
A refrigerator water dispenser is usually safest to clean from the outside in: wash the removable drip tray, wipe the dispenser cavity and lever with mild soap and water, gently clean the accessible nozzle area, remove mineral scale only with a cleaner approved for your finish, then rinse, dry, and test the dispenser. The important limit is the internal water tube. Do not assume it needs a routine vinegar or bleach flush. GE Appliances specifically says the dispenser water tube does not require routine cleaning and recommends service if the tube itself needs cleaning.
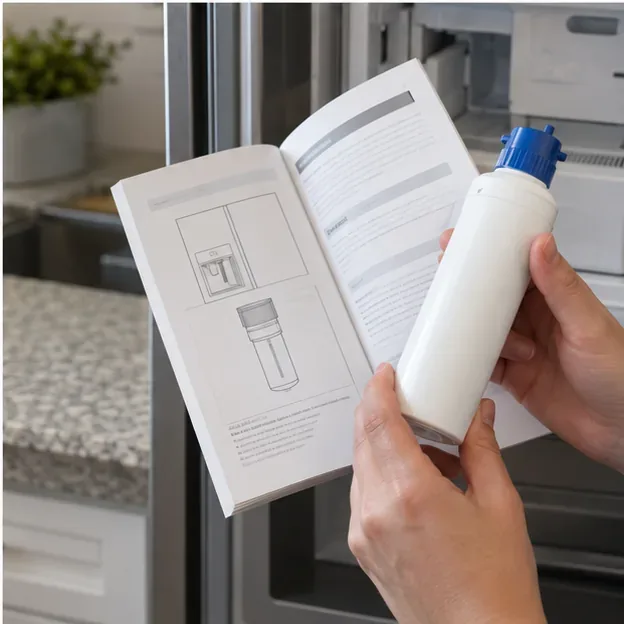
This guide focuses on the parts a homeowner can normally reach without disassembling the water system. Refrigerator designs vary, so your owner's manual takes priority whenever it gives model-specific cleaning or filter instructions.
| Item | Use | Notes |
|---|---|---|
| Two clean microfiber cloths | Washing and drying | A soft cloth is less likely to scratch coated or stainless surfaces than abrasive pads. |
| Mild dish soap or mild detergent | General cleaning | Whirlpool and LG both recommend mild soap or detergent for dispenser-area cleaning. |
| Warm water | Diluting soap and rinsing | Keep water away from electronic controls; apply liquid to the cloth instead of spraying the panel. |
| Cotton swabs or a small, soft toothbrush | Accessible nozzle details | Use gently around the visible outlet; do not force tools deep into the water tube. |
| White vinegar, only if your finish allows it | Mineral deposits | GE allows undiluted vinegar on dispenser deposits, but the owner's manual should decide what is safe for your model. |
Verified: that is not a universal manufacturer recommendation. GE Appliances' dispenser-cleaning guidance says the water tube does not require routine maintenance or cleaning and recommends service if the tube needs cleaning. Action: clean the reachable dispenser parts unless your exact owner's manual gives a specific internal sanitation procedure.
Sometimes false: evaporated water can leave mineral residue. LG's dispenser support page explains that minerals such as calcium and magnesium can dry into white deposits around the outlet. That does not prove every white deposit is harmless, because appearance alone cannot identify every residue. Action: wipe away dry scale and recheck the area. If material is slimy, fuzzy, colored, keeps returning rapidly, or is inside an inaccessible water path, stop guessing and consult the manufacturer or a service technician.
Verified: several manufacturers steer users toward mild cleaners and warn about harsh chemicals or direct spraying. Whirlpool recommends warm water with mild soap or detergent for the dispenser exterior, while Samsung warns that harsh chemicals can damage refrigerator finishes. Action: start with mild soap and water; use a stronger product only when your refrigerator's care instructions explicitly allow it.
Depends on the cause: taste or odor can also be related to the filter, a new installation, trapped air after filter service, or the household water supply. Samsung's dispenser troubleshooting guidance tells users to flush a newly installed system and to check or replace the filter when taste changes. Action: clean the dispenser, but also check the filter status and compare the refrigerator water with the household cold-water supply if the problem remains.
Look up the refrigerator model number and confirm whether the drip tray, dispenser pad, or nozzle cover is designed to come off. If the dispenser has a control lock, activate it before cleaning. On some models, opening the refrigerator or freezer door also prevents dispensing; on others it does not. If your manual calls for disconnecting power before a particular service step, follow it.
For routine exterior cleaning, you normally do not need to disconnect the household water line. Avoid unnecessary plumbing work because fittings, valves, and model layouts vary.
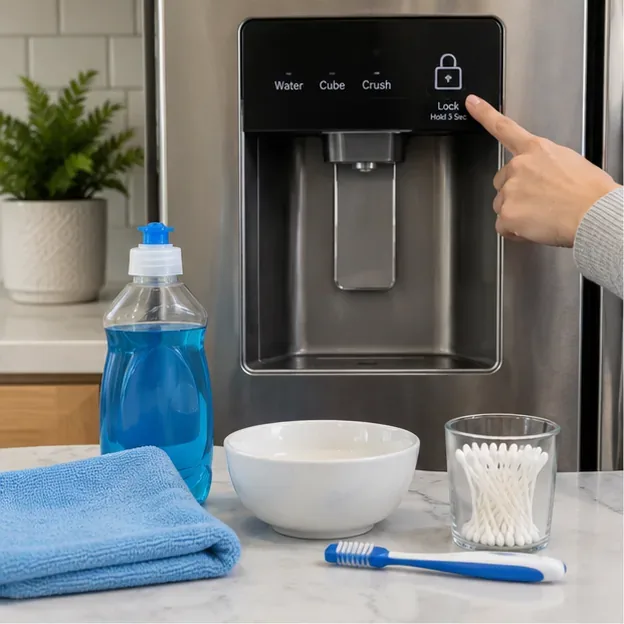
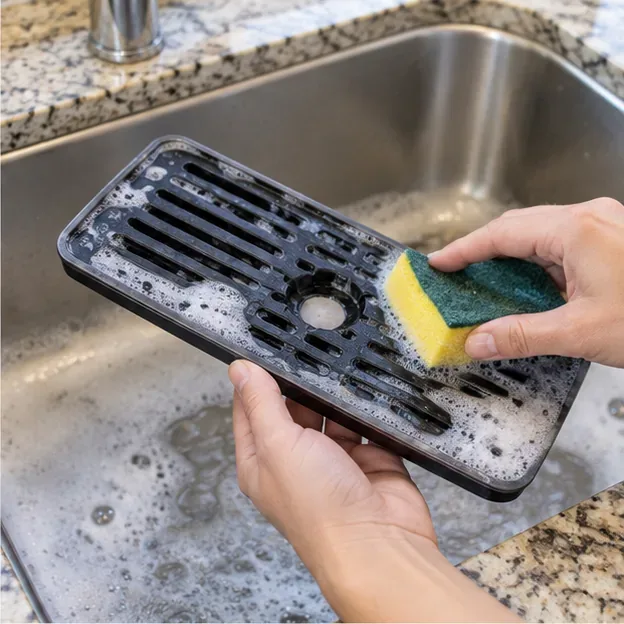
Lift or slide out the removable tray according to the manual. Wash it with warm water and a small amount of mild dish soap, using a soft cloth or the nonabrasive side of a sponge. Rinse thoroughly. Do not force a tray that does not release easily; some models use clips or a fixed shelf.
Water left on the spill shelf can dry into mineral spots. GE recommends wiping spills promptly for that reason.
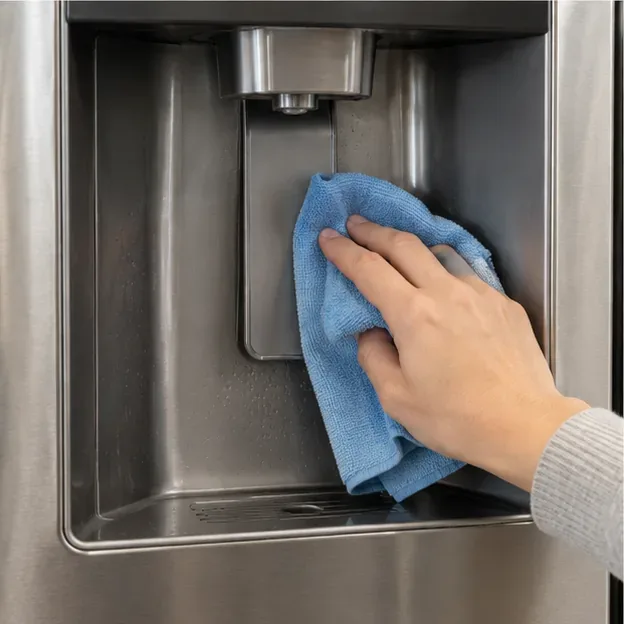
Dampen a microfiber cloth with warm water and a little mild detergent. Wring it out so it is damp rather than dripping, then wipe the sides and back of the dispenser cavity, the glass or cup lever, and any removable pad your manual says can be washed.
Do not spray cleaner directly at the control panel. LG's support guidance recommends a soft towel with water and mild detergent for residue around the dispenser lever and says not to wipe water over the control panel. Samsung likewise advises applying cleaner to a cloth rather than spraying the appliance surface directly.
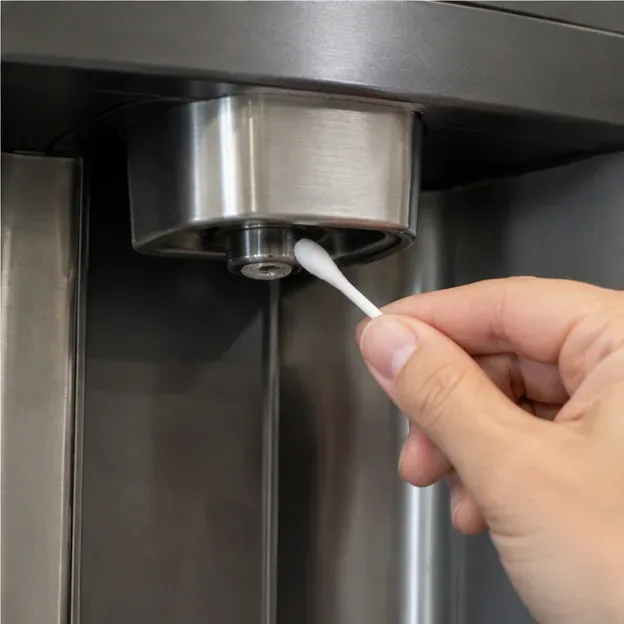
Use a damp cotton swab or a small, clean, soft toothbrush to loosen residue around the outside of the nozzle and the immediately accessible opening. LG's 2026 refrigerator maintenance guidance specifically mentions a small brush or cotton swab for cleaning the inside and outside of the dispenser nozzle.
Keep the distinction clear: cleaning the reachable nozzle is not the same as pushing a brush, wire, vinegar, or sanitizer deep into the internal water tube. If residue appears to extend beyond what you can safely reach, service is the safer next step.
If hard water has left a chalky ring or crust on the spill shelf, first try a damp microfiber cloth. For stubborn deposits, GE Appliances says undiluted vinegar can be left on dispenser deposits until they loosen, with about 30 minutes commonly sufficient in its guidance. GE also warns that its citric-acid mixture should not be used on stainless-steel dispensers.
This is model- and finish-dependent, not a blanket rule for every refrigerator. If your manual prohibits vinegar or specifies a proprietary cleaner, follow the manual. Never mix vinegar with chlorine bleach.
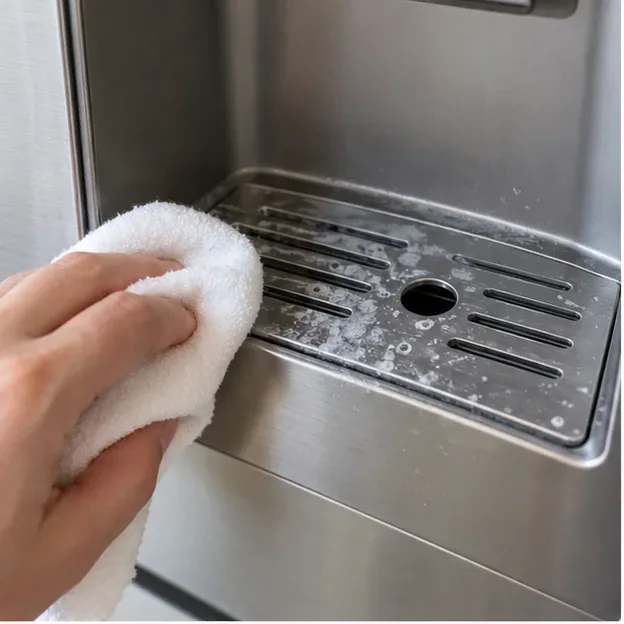
Wipe the cleaned surfaces with a second cloth dampened with plain water, then dry with a clean microfiber cloth. Drying matters around ice chutes and spill shelves: GE notes that a wet ice chute can encourage ice buildup that obstructs ice flow.
Whirlpool recommends a clean microfiber or soft cloth for drying the dispenser exterior and cautions that paper towels may scratch or dull some coatings. If you are unsure how delicate the finish is, microfiber is the conservative choice.
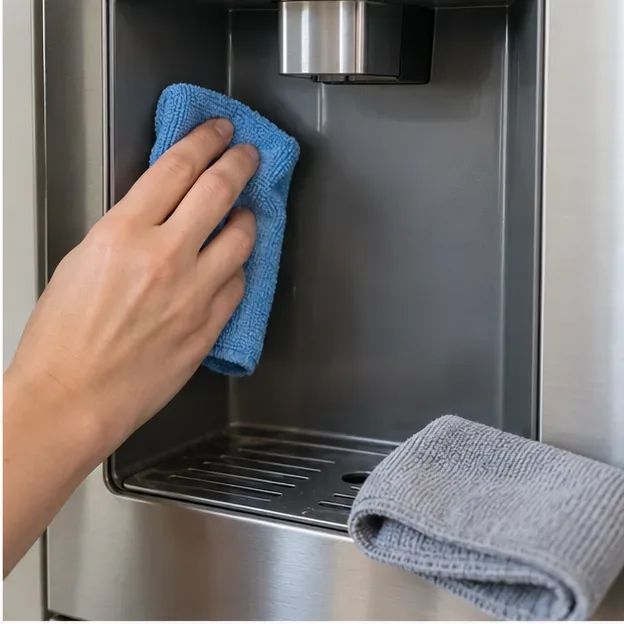
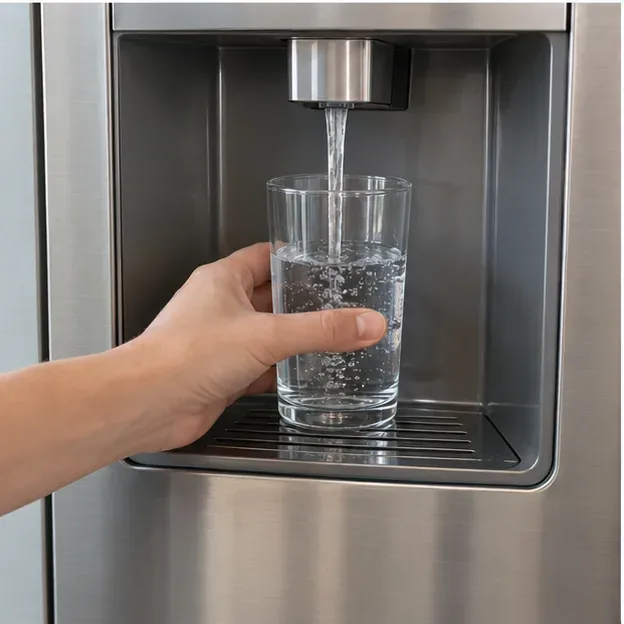
Reinstall any tray, grille, or pad only after it is dry. Unlock the dispenser, place a clean glass under the outlet, and dispense water. Check that the lever releases normally, the stream is steady, and there is no unexpected drip caused by a sticky paddle or a poorly seated component.
Routine surface cleaning does not automatically require flushing gallons of water. Large-volume flushing is usually tied to installation or filter replacement and should follow the model's instructions.
A clean nozzle cannot fix every water-quality or flow complaint. Check the filter indicator, installation date, and model instructions. Many manufacturers use a roughly six-month replacement interval, but capacity and timing vary. For example, Samsung's current U.S. filter guidance recommends replacement every six months and flushing several gallons after installation, while GE Appliances lists six months or a model-dependent gallon capacity.
If bad taste remains after the correct filter is installed and flushed, compare the refrigerator water with cold tap water. A problem affecting both may come from the household supply rather than the refrigerator. If you see contamination inside inaccessible tubing, repeated leakage, a stuck dispenser, or persistent low flow after basic checks, use the manufacturer's service path rather than dismantling the water system.
There is no single verified cleaning interval that applies to every refrigerator. GE says to clean the dispenser often and to wipe spills promptly; Whirlpool and Samsung provide cleaning methods without establishing one universal schedule for all models. A practical rule is to wipe drips when they occur and clean the dispenser whenever you see residue, mineral spotting, stickiness, or debris. Follow your owner's manual if it gives a specific schedule.
Stop at the point where cleaning turns into plumbing or appliance repair. Service is appropriate when the internal water tube appears contaminated, the lever continues dispensing after release, water leaks from inside the dispenser assembly, flow stays abnormally low after the filter and supply have been checked, or a component must be disassembled beyond the maintenance steps in the manual.
The boundary matters because a dispenser combines drinking-water tubing, valves, electrical controls, and finish-specific materials. Surface cleaning is simple; internal sanitation procedures are model-specific and should not be improvised.
References checked in September 2026. Model-specific owner's manuals should override general guidance when instructions differ.
Learn how to clean suede safely without machine washing or soaking it, including brushing, stain removal, air-drying, and suede protection.
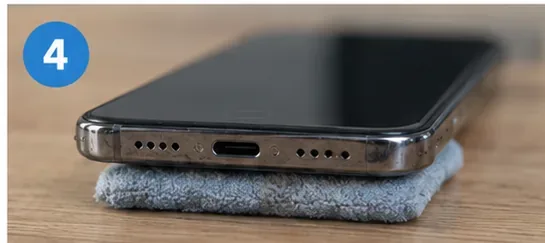
Learn how to dry a wet phone charger port safely, compare air-drying, wireless charging, emergency overrides, and service, and avoid heat, rice, and objects.
Clean a refrigerator water dispenser safely with mild soap, careful nozzle cleaning, mineral-scale removal, drying, and filter checks.
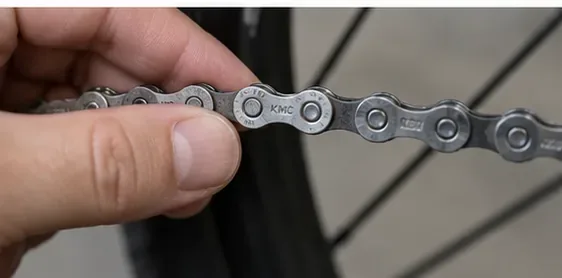
Learn how to take a bike chain off safely, whether it uses a quick link or rivet, plus which tools to use and when a connector must be replaced.
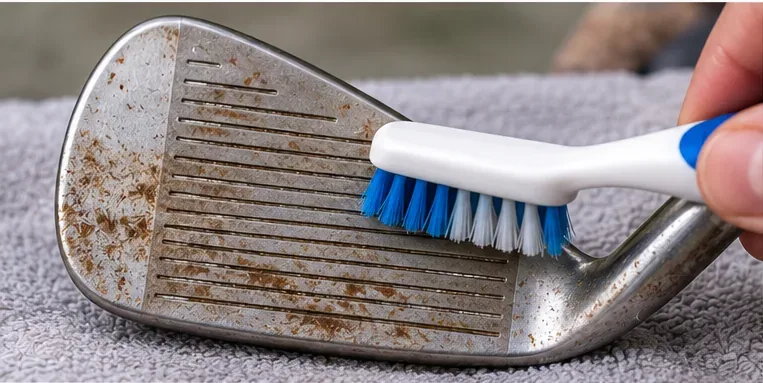
Learn how to remove rust from golf clubs safely, starting with soap and a soft brush, when to stop, and how raw wedges differ from plated irons.
How to Use Google Lens on Chromebook lets you scan objects, translate text, and solve problems directly from your device. Follow these steps to get started quickly.
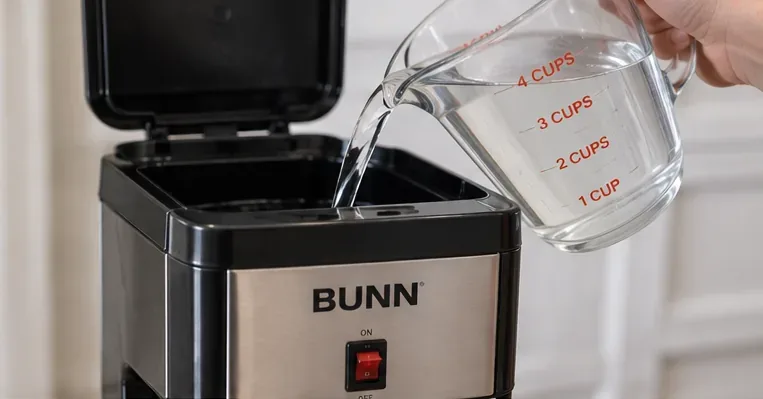
Clean a BUNN coffee maker with vinegar safely using the verified Heat N Brew method, plus model checks, sprayhead care, flushing steps, and mistakes to avoid.
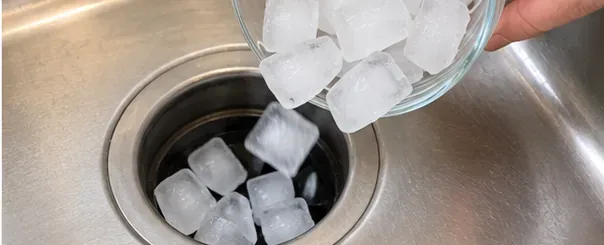
Learn how to clean a garbage disposal with ice, compare cold-water, citrus, and deeper-clean options, and know when ice is not enough.
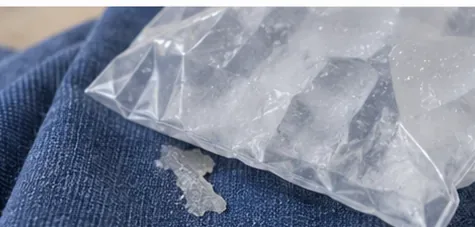
Learn how to remove school glue, super glue, hot glue, and adhesive residue from clothes safely, with fabric-specific steps and solvent cautions.
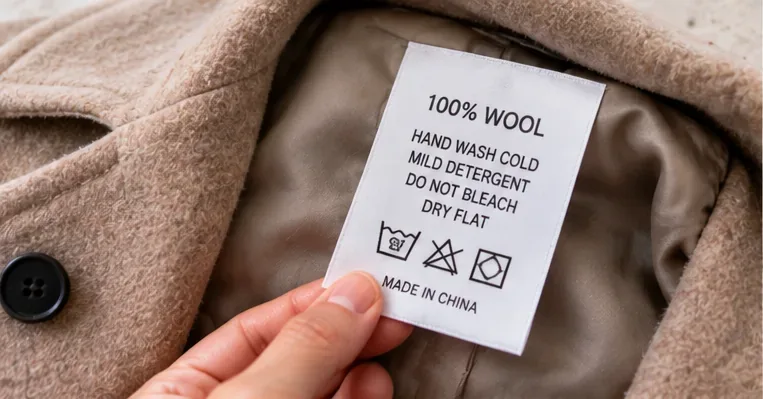
Learn how to wash a wool coat safely by following its care label, choosing a wool-safe detergent, washing gently, and drying without shrinking or distortion.