How to Get Dry-Erase Marker Off a Wall Without Ruining the Paint
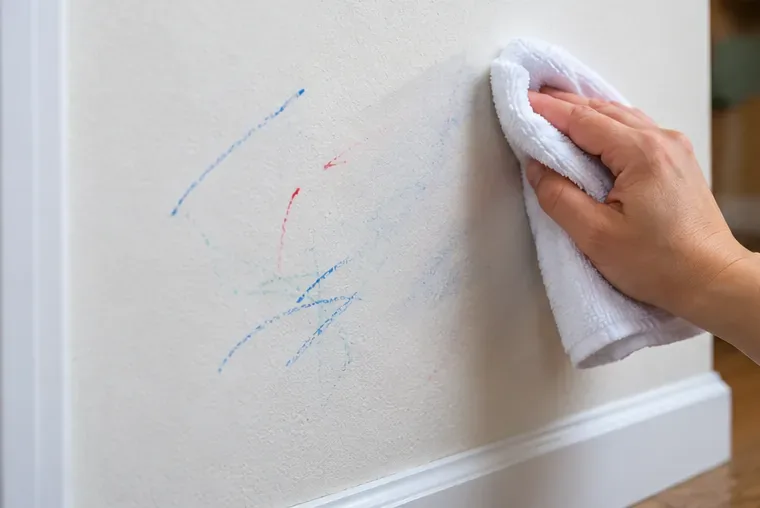
Learn how to remove dry-erase marker from a painted wall safely, from water and mild soap to careful rubbing-alcohol spot treatment.
A stained dry-erase board can look permanently ruined when ordinary erasing leaves gray shadows, colored streaks, or old marker outlines behind. In many cases, though, the board needs a more thorough cleaning rather than replacement. The safest approach is to start with the least aggressive method, use a cleaner intended for the board surface, dry it completely, and only then try a targeted treatment for residue that remains.
This guide follows current manufacturer guidance from Quartet and EXPO, checked September 13, 2026. Because dry-erase boards are made with different surfaces—including melamine, painted steel, porcelain, and glass—the board manufacturer's care instructions should take priority whenever they differ from general advice.
Before cleaning, it helps to distinguish ordinary residue from actual surface damage. Ghosting means faint ink shadows remain visible after you erase the writing. Quartet explains that ink particles can become trapped in the pores of some whiteboard surfaces, especially more porous board materials. A dirty eraser can also spread old ink dust back across the board instead of removing it.

A true stain may be more persistent. Quartet notes that some marks cannot be removed, particularly when ink has been left on the board for an excessive period; results also depend on the board surface. If the finish itself is scratched, worn, peeling, or chemically damaged, cleaning cannot restore the original coating.
| What you see | Best first move | If it remains |
|---|---|---|
| Fresh dry-erase ink | Erase completely with a clean eraser | Use board cleaner and a soft cloth |
| Gray or colored ghosting | Board cleaner, then dry thoroughly | Use a small amount of rubbing alcohol only if the board maker allows it |
| Permanent marker | Try covering it with fresh dry-erase marker | Wipe after a few minutes and repeat cautiously if needed |
| Scratches or worn coating | Stop aggressive cleaning | Check the manufacturer's repair or replacement guidance |
For most routine stain removal, gather a clean dry-erase eraser, a whiteboard cleaner approved for your surface, and two clean, soft towels or microfiber cloths. Quartet's official maintenance routine specifically recommends an eraser, board cleaner, and two dry towels. Keeping a second dry cloth matters because leftover cleaner can mix with marker ink the next time you write, making future erasing more difficult.
For stubborn ghosting, EXPO says that after using its whiteboard cleaning spray or wipes, you can try a small amount of rubbing alcohol on a clean, soft towel if staining remains. Treat this as a targeted fallback rather than the default cleaning method, and check your own board manufacturer's instructions first.
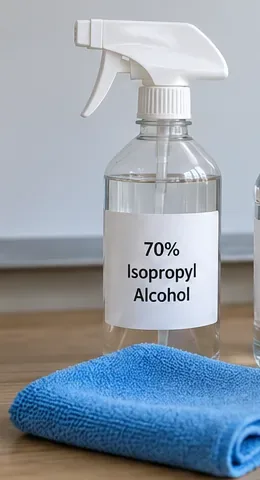
Avoid treating every whiteboard like glass. Quartet specifically recommends a glass-board cleaner for its glass boards rather than the standard cleaner it recommends for whiteboards. It also advises against general household cleaners on its whiteboards and glass boards. The safest rule is simple: match the cleaner to the surface.
Start dry. Use a clean whiteboard eraser to remove as much marker ink and loose ink dust as possible. Work across the whole board rather than only the darkest stain. This keeps loosened residue from being dragged back over an area you have already cleaned.
If the eraser is visibly dirty or leaves gray smears, stop and clean or replace it. Quartet says a residue-loaded eraser can spread ink dust across the surface; washable microfiber eraser cloths can be rinsed with water and allowed to dry before reuse.
Apply the manufacturer-recommended dry-erase board cleaner evenly over the stained area. Follow the product directions for how much to use. Then wipe the cleaner away with a clean, soft towel or microfiber cloth. Do not scrub with abrasive pads or rough materials that can scratch or dull the writing surface.
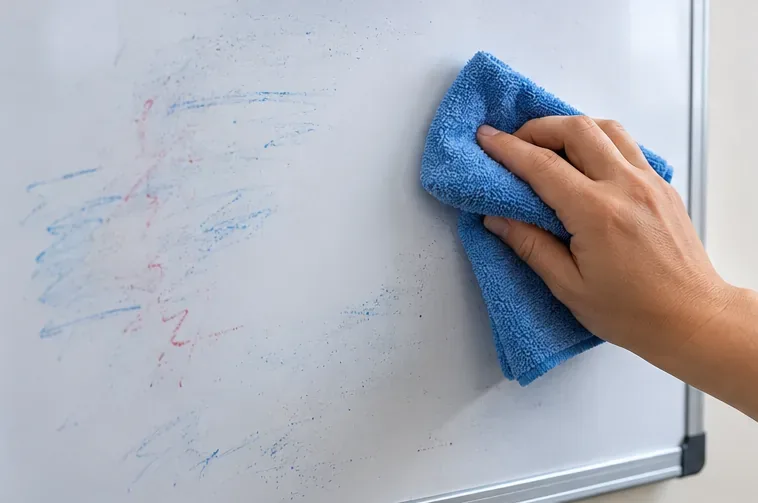
Quartet's board-care guidance describes the basic process as erase, clean, and dry. Its whiteboard cleaners are intended to lift dry-ink dust and dirt from the surface. For its standard whiteboards, Quartet lists porcelain, melamine, and painted steel among the compatible surface types for its whiteboard cleaner.
If faint marker shadows remain after the board has been cleaned, use a more targeted approach instead of immediately reaching for a stronger household chemical. EXPO's official FAQ says a small amount of rubbing alcohol on a clean, soft towel can be used when ghosting or staining remains after its whiteboard cleaner.
Dampen the cloth lightly rather than soaking the board. Wipe only the affected area, then remove any remaining residue with a clean cloth. Because whiteboard coatings vary, do not assume alcohol is appropriate for every model; stop if the surface becomes tacky, dull, discolored, or otherwise changes appearance.
Use the first dry towel to remove the cleaner, then go over the surface again with a second clean, dry towel. The board should feel dry before you write on it again. Quartet emphasizes this final drying step because residual cleaner can mix with marker ink and make later erasing harder.
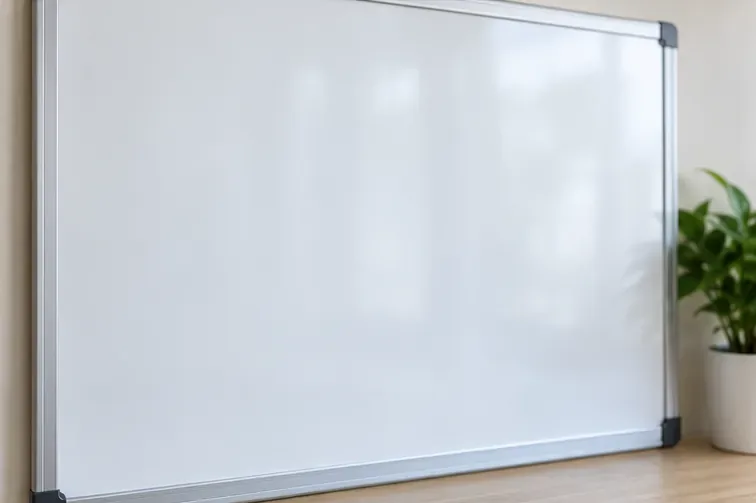
Once dry, make a small test mark with a normal dry-erase marker in a corner or other low-visibility area. Let it sit briefly, then erase it. If it wipes off cleanly and the surface looks unchanged, the board is ready for normal use.
Permanent marker requires a different first move. Quartet does not recommend using permanent markers on its dry-erase boards, but its product FAQ gives a recovery method for accidental marks: trace over the permanent ink with a fresh dry-erase marker, wait a few minutes, and wipe the ink away. Quartet describes this as something that may help, not a guaranteed fix.
The method works best as a controlled spot treatment. Cover only the permanent mark, allow the fresh dry-erase ink to contact it, and wipe with a clean eraser or soft cloth. If a shadow remains, return to the board-cleaner process rather than repeatedly scrubbing the coating.
Kitchen, bathroom, and multipurpose cleaners are not automatically safe for marker-board coatings. Quartet explicitly says it does not recommend general household cleaners for its whiteboards or glass boards. Strong chemicals may leave residue or affect the finish, so use a board-specific cleaner or the exact care method recommended by the manufacturer.
A rough sponge, abrasive pad, or gritty cleaner may remove a mark while also changing the surface that makes dry-erase ink easy to erase. Once the writing surface is scratched or worn, future ink can become harder to remove. Use soft towels, microfiber cloths, or the cleaning material specified by the board maker.
More cleaner is not necessarily better. If solution remains on the surface, it can interact with marker ink during later use. Wipe the board until no wet film remains, then finish with a second dry cloth.
An eraser can look harmless while holding a large amount of dry ink dust. If every pass creates a darker haze, clean the eraser pad if it is washable or replace it. This is often easier than repeatedly deep-cleaning the board.
Some old stains are permanent. Quartet notes that ink left on a board for too long may become impossible to remove, depending on the surface. If repeated manufacturer-approved cleaning does not improve the mark, more aggressive chemicals may create surface damage without solving the problem.
Regular maintenance is easier than restoring a heavily ghosted board. Erase writing after use instead of leaving it for long periods. Keep marker caps tightly closed so the ink stays fresh; Quartet notes that fresh marker ink is easier to erase. Clean the board periodically with the correct surface-specific cleaner, and keep the eraser free of accumulated ink dust.
For frequently used classroom or office boards, a simple routine works well: erase after each session, inspect the eraser when it starts smearing, and schedule a full cleaner-and-dry wipe before visible ghosting builds up. Glass boards need the same attention to ink dust but may require a different cleaning formula than conventional whiteboards.
Stop experimenting if the surface is visibly scratched, peeling, bubbling, permanently dull, or no longer releases dry-erase ink after approved cleaning. Those symptoms point to coating wear or damage rather than ordinary marker residue. Also stop if a cleaner changes the finish or creates tackiness.
If you know the board brand or model, check its warranty and care instructions before using any stronger treatment. For reference, see Quartet's official dry-erase board care and maintenance guide, Quartet's official product FAQ, and EXPO's official whiteboard cleaning FAQ.
The practical order is worth remembering: erase loose ink, use the correct board cleaner, dry thoroughly, then use a targeted stain-removal method only if residue remains. That sequence gives a stained dry-erase board the best chance of coming clean without turning a cosmetic problem into surface damage.
Learn how to remove dry-erase marker from a painted wall safely, from water and mild soap to careful rubbing-alcohol spot treatment.
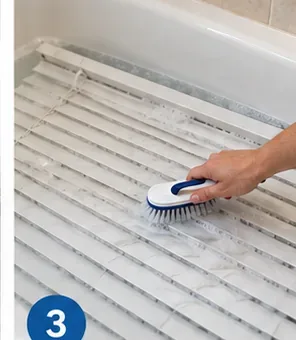
Learn when bathtub cleaning is safe for blinds, which materials should never be soaked, and how to wash, rinse, dry, and rehang approved blinds without damage.
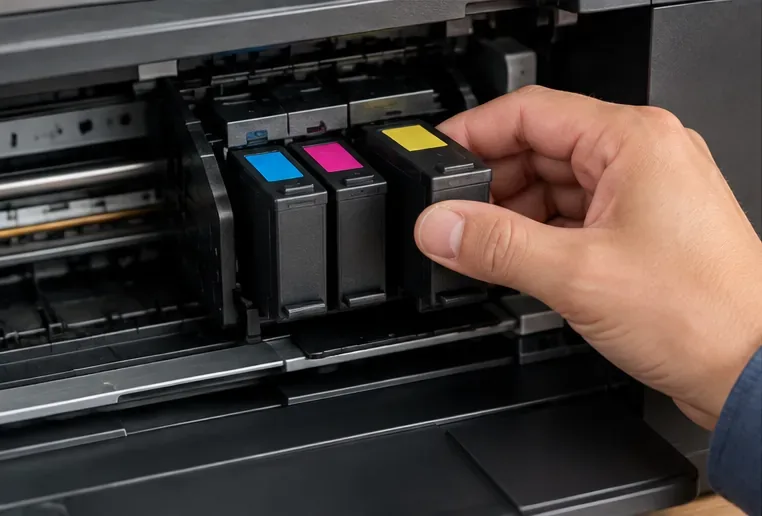
Learn how to clean a printer cartridge safely, when to use built-in cleaning, how to handle inkjet contacts, what to avoid, and how to verify print quality.
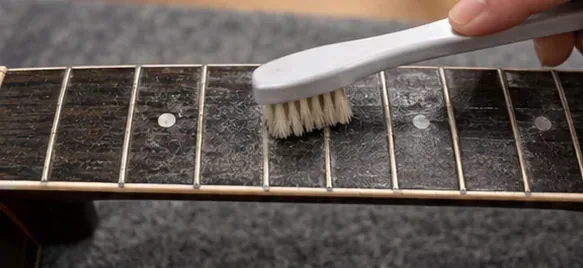
Learn how to clean a guitar fretboard safely, choose the right method for finished or unfinished wood, avoid common myths, and condition only when needed.
Learn how to clean a stained dry-erase board safely, remove ghosting and stubborn ink, handle permanent marker, and avoid common cleaning mistakes.
Clean PS5 cooling vents without opening the console using PlayStation’s recommended low-powered vacuum method, plus airflow and noise checks.
Learn how to clean an HP printer head safely using diagnostic pages, built-in cleaning tools, alignment checks, and model-specific manual care.
Clean a microwave grease filter safely, know when a charcoal filter must be replaced, and use a quick checklist for model-specific care.
Learn how to disinfect a hairbrush without damaging it, with material-specific steps, CDC head-lice guidance, and a clear cleaning-vs-disinfection decision.
Learn how to clean an air fryer heating element safely, remove grease and stuck food, avoid damaging the coating, and know when to stop and check the manual.