Home
» How to
»
How to Clean a Vacuum Filter Without Damaging It: A Beginner’s Guide
How to Clean a Vacuum Filter Without Damaging It: A Beginner’s Guide
The first rule of vacuum-filter cleaning is simple: do not put a filter under water until you have confirmed that the manufacturer says it is washable. Vacuum filters can look similar while requiring very different care. Some foam, felt, pleated, and HEPA filters can be rinsed; others must stay dry and be replaced when they are spent.
For a first-time cleaning, the safest process is to identify the exact vacuum model, find the filter-care instructions, power the machine off, remove loose dust first, wash only the filters that are explicitly washable, let any wet filter dry completely, and reinstall every part in the correct position. This guide walks through that process and explains what the common filter terms mean along the way.
Manufacturer guidance in this article was checked in September 2026. Your vacuum’s owner’s manual or official support page takes priority over generic advice.
What should you know before cleaning a vacuum filter?
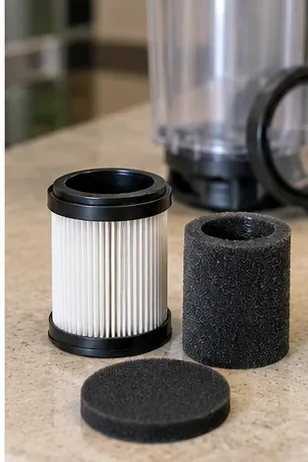
A vacuum may use more than one filter, and each filter can have a different job. A pre-motor filter sits before the motor in the airflow path and helps keep dust away from the motor. A post-motor filter, also called an exhaust filter, sits after the motor and filters air before it leaves the machine. These names describe location, not whether the filter is washable.
HEPA stands for high-efficiency particulate air. It describes a high-efficiency filtration category, not a cleaning method. A HEPA filter may be washable on one vacuum and non-washable on another. Likewise, pleated simply means the filter material is folded into many narrow pleats to create more surface area; the word “pleated” does not tell you whether water is safe.
Term you may see
What it means
What it does not tell you
Pre-motor filter
A filter located before the motor
Whether it is foam, felt, pleated, HEPA, washable, or disposable
Post-motor / exhaust filter
A filter located after the motor
Whether it can be rinsed
HEPA filter
A high-efficiency particulate air filter category
Whether the filter is washable
Foam, felt, or pleated
The filter material or construction
A universal cleaning method
Why checking the exact model matters
Official instructions show why appearance alone is not enough. BISSELL’s Inner/Outer Circular Filter Assembly 2037593 uses a washable outer foam filter, but its inner pleated filter is explicitly not washable. BISSELL says the foam can be hand-washed in warm water and even allows mild detergent if desired for that specific part. See the BISSELL filter assembly care instructions.
By contrast, Shark’s IX140/IZ140 Rocket Cordless manual tells owners to rinse its filters with water only, use no soap, and let them air-dry completely for at least 24 hours before reinstalling. It also gives different maintenance intervals for pre-motor and post-motor filters. See the Shark IX140/IZ140 Series manual.
Dyson’s current cordless-filter guidance says to remove loose dust, rinse the filter with cold tap water without detergent, and let it dry for at least 24 hours with good airflow. Dyson also warns against a tumble dryer, microwave, or naked flame. See the Dyson vacuum filter care guide.
These examples are not interchangeable instructions. They show the larger rule: the model-specific manual decides whether you use water, what water temperature is appropriate, whether detergent is allowed, and how long the filter must dry.
What you need before you start
Your vacuum’s model number and official owner’s manual or support page
A trash can or bag for loose dust
A clean sink or basin, but only if the filter is confirmed washable
A clean towel or drying surface for washable filters
Enough drying time before you need to use the vacuum again
Optional: a spare genuine or manufacturer-approved filter if your model supports swapping filters while one dries
You generally do not need a stiff brush, chemical cleaner, disinfectant, or compressed air for the manufacturer cleaning methods cited above. Adding an aggressive cleaning method can create a new problem when simple tapping or rinsing was all the filter required.
How to clean a vacuum filter step by step
1. Identify every filter and confirm which ones are washable
Find the model number on the vacuum, then use the official manual or manufacturer support page to locate the filter section. Check each filter separately. A vacuum may have a foam pre-filter and a pleated exhaust filter with completely different instructions.
If the manual says “replace,” “do not wash,” or gives dry-cleaning instructions only, keep that filter away from water. If the manual says the filter is washable, note whether it specifies cold or warm water, water only, a particular detergent, or a minimum drying time.
Different filter materials can sit in the same vacuum system. Material and shape alone do not prove that a filter is washable.
2. Power the vacuum off and disconnect it from power
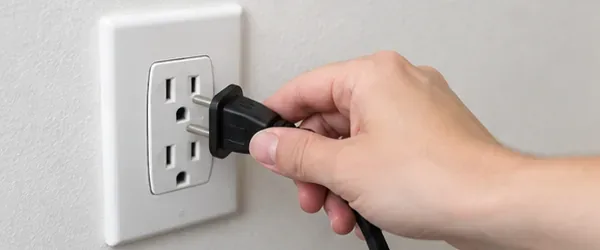
For a corded vacuum, switch it off and unplug it before opening the filter compartment. For a cordless model, turn it off and follow the manual’s instructions for battery removal if the battery is designed to be removed for maintenance. The goal is to make sure the machine cannot start while your hands are near the filter housing or airflow path.
Disconnect power before opening the vacuum or removing filters.
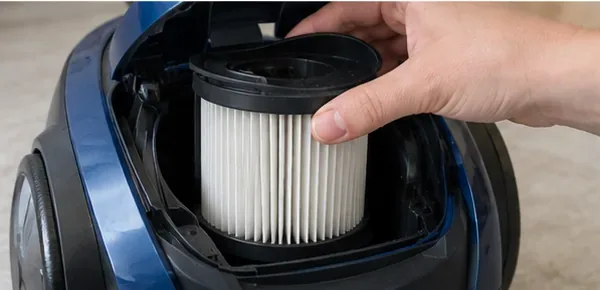
3. Remove the filter carefully and remember its orientation
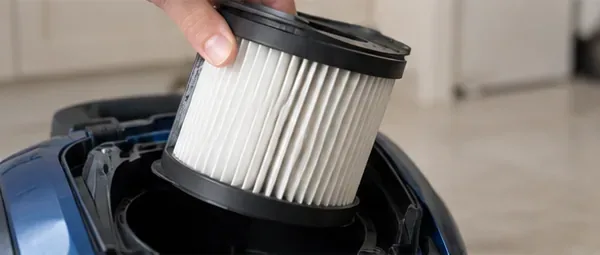
Open the dust-bin or filter compartment as the manual describes. Remove the filter by its tab, frame, or handle rather than pulling on delicate filter media. If there are several layers, note their order before taking them apart. A quick phone photo can help you remember which side faces the motor or exhaust.
Check seals and frames while the filter is out. A torn gasket, cracked frame, or filter media that is separating from its frame is a replacement issue rather than a cleaning issue.
Remove the filter by its rigid frame when possible, and note how it sits in the compartment before cleaning.
4. Remove loose dust before using water
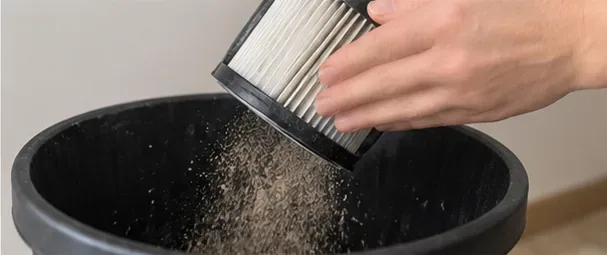
If the manufacturer permits it, lightly tap the filter over a trash can to release loose dust. Dyson specifically recommends lightly tapping its cordless filters before rinsing. Dry debris is easier to remove before it turns into muddy residue.
Do not beat the filter against a hard edge or scrape the pleats with a sharp tool. The objective is to dislodge loose dust without crushing foam, tearing felt, or deforming pleats.
Light tapping can remove loose dust before washing when the manufacturer allows it.
5. Wash the filter only if the manufacturer says it is washable
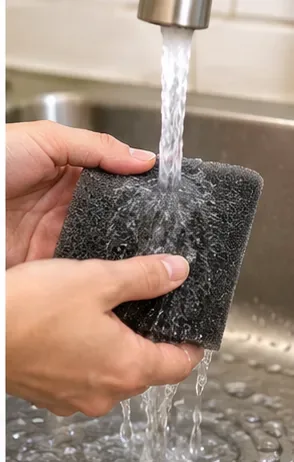
For a confirmed washable filter, rinse it exactly as directed. Some brands specify cool or cold water and no detergent. Some specific foam filters allow warm water and mild detergent. There is no safe universal rule that says “always use soap” or “never use soap” for every vacuum filter.
For foam, gentle squeezing may be appropriate if the manual allows it. For pleated media, do not scrub, twist, or wring the pleats unless the manufacturer explicitly tells you to do so. Continue rinsing according to the product instructions, then remove excess water without deforming the filter.
Rinse only a filter that the manual identifies as washable; the permitted water temperature and use of detergent are model-specific.
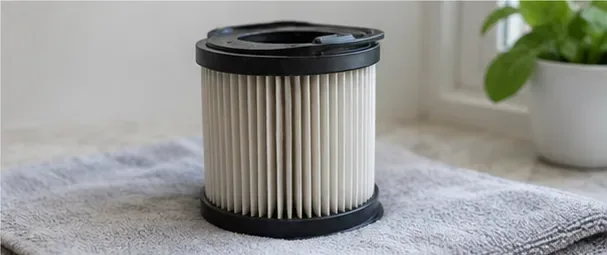
6. Let a washed filter dry completely
This step is not optional. A filter that feels dry on the outside can still hold moisture inside thick foam or deep pleats. Place the washed filter in a well-ventilated area and wait the full minimum time in the manual. Dyson and the cited Shark manual both specify at least 24 hours for their applicable filters.
Do not shorten drying time with a tumble dryer, microwave, or open flame; Dyson explicitly warns against those methods. Before reinstalling, check the filter by touch and make sure no damp areas remain.
Allow a washable filter to air-dry completely for the manufacturer’s required time before it goes back into the vacuum.
7. Reinstall every filter in the correct position
Put each dry filter back in the same orientation and order in which it was removed. Seat frames, tabs, covers, and seals fully. Do not force a filter that does not sit flat; remove it and check the alignment instead.
Do not intentionally operate the vacuum with a required filter missing. Shark’s manual, for example, says all filters must be installed before use and notes that the applicable vacuum will not have suction if its post-motor HEPA filter is missing.
Reinstall the completely dry filter in its original orientation and close the housing securely.
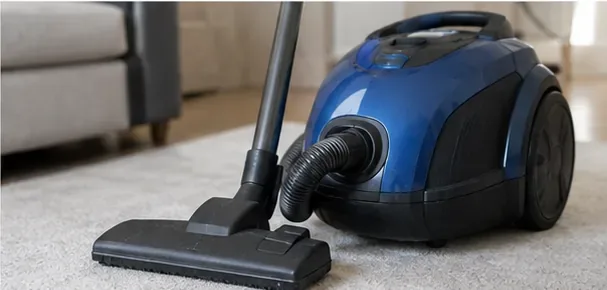
8. Test the vacuum and check for normal airflow
Reconnect power and run the vacuum briefly on a normal surface. Listen for unusual sounds and check whether suction feels normal. If performance is still poor, do not assume the filter needs another wash. A full dust bin, blocked hose, clogged floor head, incorrectly seated filter, or another filter you missed can also restrict airflow.
If the machine displays a filter warning or airflow alert, use the model-specific troubleshooting guide. Repeatedly washing a filter that is already damaged or at the end of its service life will not restore it.
After reassembly, test the vacuum briefly and confirm normal suction, airflow, and fit of the filter housing.
Can you wash a vacuum filter with water?
Only if the manufacturer identifies that exact filter as washable. This is the most important distinction in the whole process. A filter’s color, shape, pleats, or HEPA label does not answer the question.
The BISSELL example above demonstrates the risk of guessing: its outer foam component is washable, while the inner pleated component in the same assembly is not. Meanwhile, the cited Shark cordless manual directs users to rinse its filters in water. Both instructions are correct for their respective products.
How often should you clean a vacuum filter?
There is no single schedule that applies to every vacuum or every filter. Follow the manual first, then clean more often if the manufacturer allows it and your use conditions demand it. Heavy pet hair, fine dust, frequent vacuuming, and a visibly loaded filter can all make a filter reach its maintenance point sooner.
As model-specific examples, Dyson recommends washing its cordless vacuum filters at least once a month. The cited Shark IX140/IZ140 manual says to clean pre-motor filters at least monthly and the post-motor filter at least annually, with more frequent cleaning sometimes needed under heavy use. Those intervals should not be copied to a different vacuum unless its own manual gives the same guidance.
Common mistakes that can damage a filter or reduce suction
Washing a non-washable filter. Water can damage filter media that was designed for dry cleaning or replacement only.
Assuming every HEPA or pleated filter uses the same method. HEPA describes filtration performance, not washability.
Adding soap automatically. Shark and Dyson specify no detergent for the filters cited here, while BISSELL allows mild detergent on one specific foam filter. Check your model.
Reinstalling a damp filter. Manufacturer instructions require complete drying before reassembly; moisture can be drawn into parts that are not intended to get wet.
Using heat to rush drying. Follow the approved air-drying method instead of improvising with high heat.
Scrubbing or wringing delicate media. Pleats, felt, foam cells, and seals can be damaged by aggressive handling.
Forgetting a second filter. Many vacuums have both pre-motor and post-motor filtration.
Blaming every suction problem on the filter. Also check the bin, hose, wand, floor head, and air passages using the manufacturer’s troubleshooting procedure.
When should you replace the filter instead of cleaning it?
Replace a filter when the manual calls it disposable or specifies a replacement interval, or when the media is torn, cracked, permanently deformed, separating from its frame, or no longer seats correctly. Replacement is also reasonable when correct cleaning no longer restores airflow and you have ruled out other blockages.
Use the exact filter part specified for the vacuum. Fit and sealing matter: a filter that looks close enough but does not seal as designed can change airflow and filtration performance.
Beginner’s quick checklist
Find the exact vacuum model and official filter instructions.
Confirm which filter is washable and which is not.
Disconnect power before opening the machine.
Remove loose dust gently first.
Use water, detergent, and water temperature only as the manual directs.
Air-dry washable filters for the full required time until completely dry.
Reinstall every filter in the correct order and orientation.
Test suction, then troubleshoot other blockages if performance is still low.
Once you know whether your particular filter is washable, the rest of the job is straightforward. The biggest beginner mistake is treating all vacuum filters alike. Model-specific care is what keeps the cleaning process simple without turning routine maintenance into an avoidable filter or motor problem.