How to Use Google Lens on Chromebook

How to Use Google Lens on Chromebook lets you scan objects, translate text, and solve problems directly from your device. Follow these steps to get started quickly.
If your freezer ice suddenly tastes stale, smells like food, clumps together, or leaves cloudy residue in the bin, the ice maker may not be the only problem. Old ice can absorb odors, melted droplets can refreeze into clumps, and residue can collect in the storage bin or dispenser chute. The good news is that routine cleaning is usually simple: turn the ice maker off, remove and wash the bin, wipe accessible surfaces, dry everything thoroughly, and then make fresh ice.
The exact removal method and cleaning limits vary by refrigerator model, so your owner's manual should always take priority. For example, a current Whirlpool refrigerator manual instructs owners to turn the ice maker off before removing the storage bin, wash the bin with mild soap and warm water, and dry it thoroughly. It also warns against using sharp objects to break up ice. See the Whirlpool refrigerator owner's manual for a model-specific example.
Ice is food, not just frozen water. The U.S. Food and Drug Administration treats packaged ice as a food and emphasizes clean equipment, sanitary handling, and safe water in ice production. That principle matters at home too: anything that contacts stored ice can affect its cleanliness and flavor. The FDA's overview is available on its packaged ice safety page.
Several ordinary conditions can make a freezer ice maker seem dirty even when the mechanism itself is still working:
LG's September 2026 refrigerator support guidance lists infrequent use, a dirty ice bin, unsealed food, water quality, filters, and supply-line issues among possible causes of unusual taste or odor. It also recommends comparing tap water with refrigerator water to help separate an appliance problem from a household water problem. See LG's current taste and odor troubleshooting guidance.
Avoid harsh abrasives, steel wool, and sharp tools. Do not spray cleaner or water into electrical parts, motors, wiring connectors, control panels, or internal mechanisms. If the manual requires unplugging the refrigerator before a particular cleaning procedure, follow that instruction. If it only tells you to switch the ice maker off before removing the bin, do that instead. Model-specific instructions control because freezer ice-maker designs differ substantially.
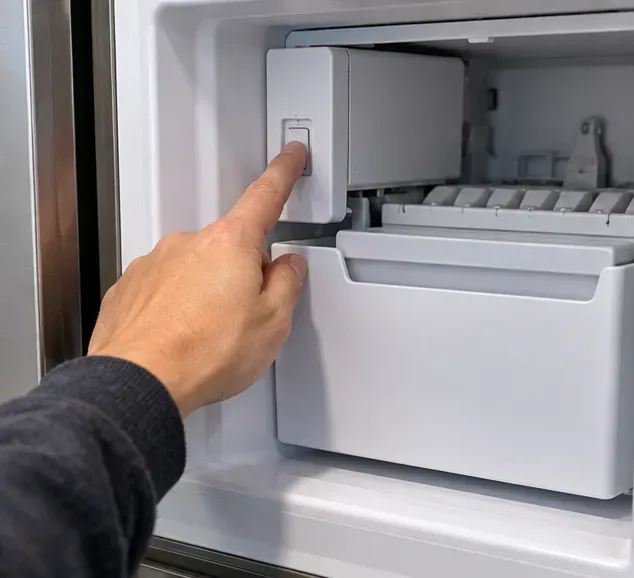
Start with the easiest safety step: stop ice production before you pull the storage bin out. Depending on the refrigerator, this may mean lifting a shutoff arm, moving an ice-maker switch, or using a control-panel setting. Do not force a shutoff arm. If you cannot identify the correct control, check the model manual before continuing.
If you plan to clean beyond the removable bin and easily reachable plastic surfaces, the manual may tell you to disconnect power. LG's general refrigerator cleaning guidance, for example, says to unplug or disconnect power before cleaning the appliance interior. See LG's refrigerator clean-and-care guidance.
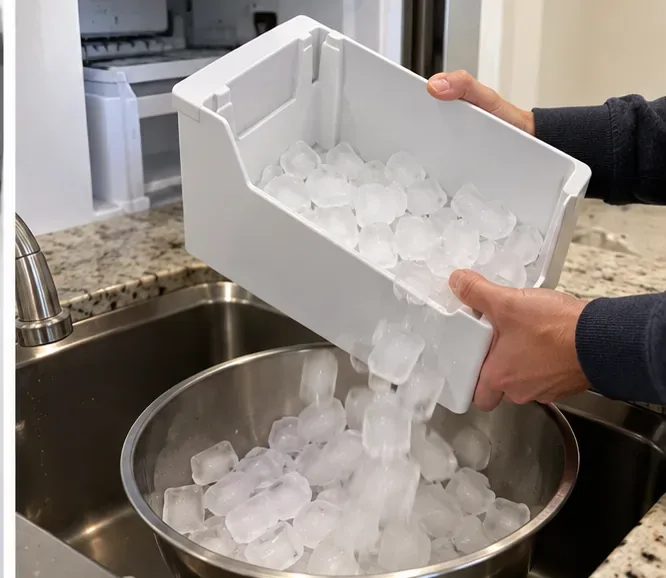
Pull the ice storage bin out using the release method specified for your refrigerator. Some bins lift and pull forward; others use a latch or lever. Empty the cubes into the sink or another container and discard them rather than washing and returning them. Old ice is exactly what you are trying to replace.
If the bin will not move, do not pry it loose. Check for a latch, frozen contact point, or ice jam first. Forcing a plastic bin can crack it or damage the dispenser drive mechanism.
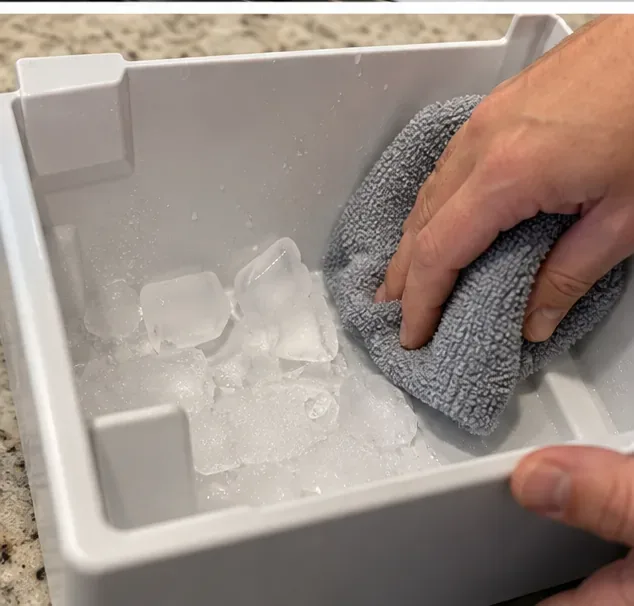
Ice welded to the bottom or corners of the bin can usually be loosened with warm water and a cloth. Give it a little time to melt. Avoid knives, screwdrivers, picks, or other sharp objects. Whirlpool specifically warns that sharp tools can damage the ice bin and dispenser mechanism.
If the bin is extremely cold, let it warm slightly before exposing it to much warmer water. LG advises allowing cold removable refrigerator parts to warm toward room temperature before washing them so sudden temperature change does not crack or deform the material.
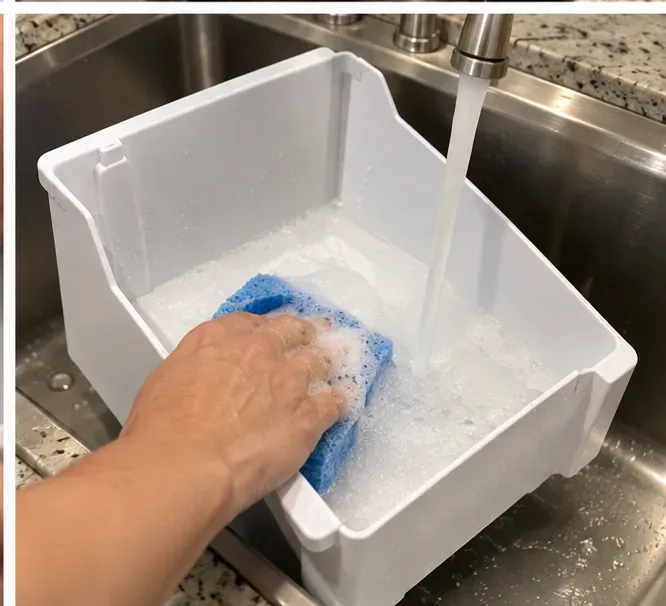
Wash the bin with warm water, mild dish detergent, and a soft sponge or cloth. Concentrate on corners, seams, the bottom of the bin, and the ice exit area where residue can collect. Rinse your sponge frequently rather than smearing loosened debris around the bin.
Do not assume the ice bin is dishwasher-safe. Manufacturer guidance varies, and some plastic refrigerator parts can warp in dishwasher heat. Whirlpool's ice-maker product guidance explicitly says some plastic parts should not be placed in a dishwasher. If your own manual says the bin is dishwasher-safe, follow that model-specific direction; otherwise, hand-washing is the safer default.
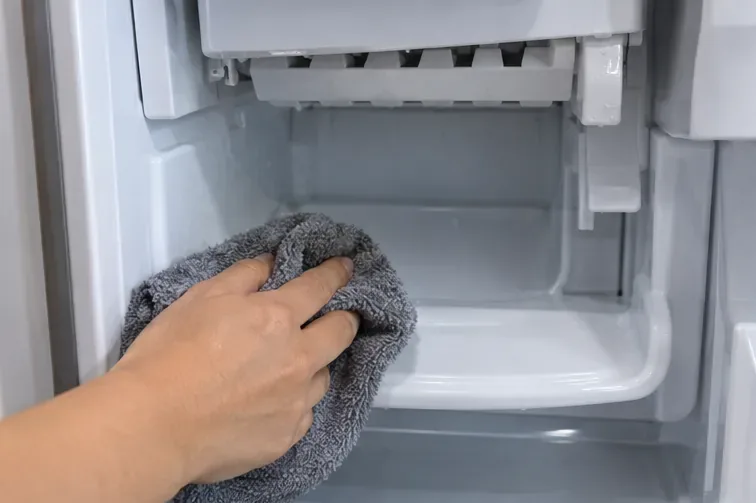
With the bin removed, wipe the shelf or cavity beneath it and any accessible ice-delivery chute with a warm, damp cloth. This is a surface-cleaning step, not an invitation to disassemble the ice-making mechanism. Do not remove hoses, covers, wiring, motors, or sensors unless the manufacturer's procedure specifically tells you to do so.
For frost or ice particles in a dispenser chute, use gentle warmth from the cloth and patience. Samsung's refrigerator support guidance recommends clearing ice from an ice-bucket opening with warm water and stresses that the bucket should be completely dry before it goes back into the refrigerator. See Samsung's ice-dispenser troubleshooting guidance.
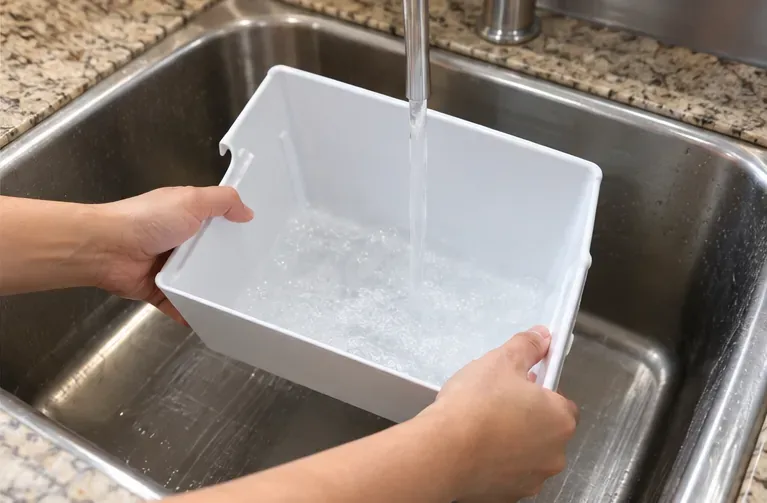
Rinse the storage bin thoroughly with clean water. Soap residue can create an off taste, so keep rinsing until the surface no longer feels slippery and no suds remain. Use clean water only; do not add fragrance products, multipurpose spray, glass cleaner, or other household chemicals that are not approved for food-contact surfaces.
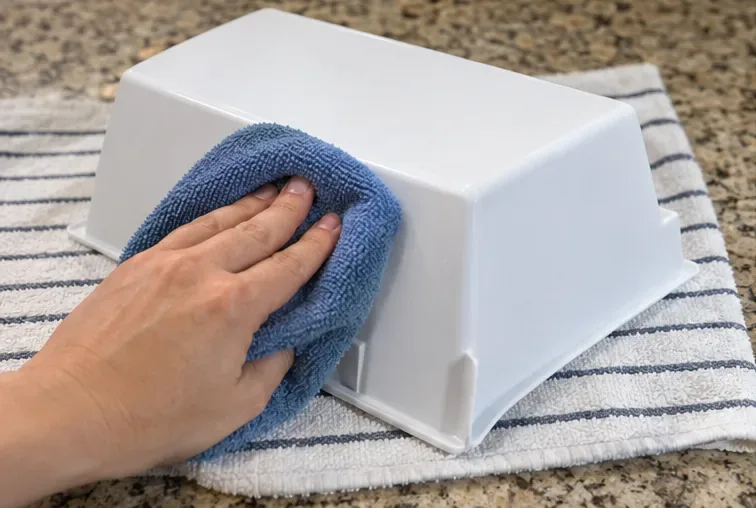
Dry the bin with a clean towel and then let any remaining moisture evaporate before reinstalling it. This step matters more than it may seem. Water left in the bin can freeze into sheets or bridges that make cubes clump together and can interfere with dispensing.
Run a clean finger along corners and the ice exit area. If you still feel water droplets, keep drying. The finished bin should be clean, odor-free, and fully dry.
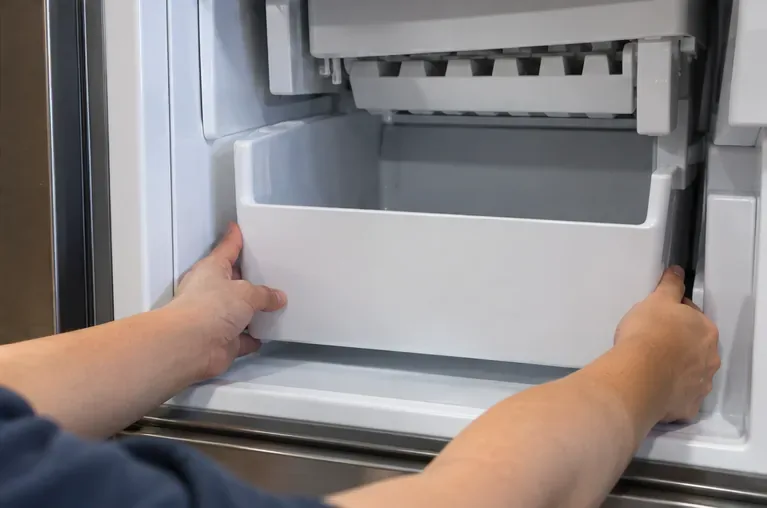
Slide the bin back into its correct position and make sure it seats fully. A poorly seated bin can prevent some dispenser drive systems from engaging. Restore the ice maker to its normal operating setting and close the freezer.
After ordinary bin cleaning, let the refrigerator make fresh ice and check the first new cubes for odor, visible debris, and normal dispensing. Whirlpool's cleaning guidance for refrigerator ice makers advises running and discarding a few cycles after cleaning to make sure cleaning solution is removed from the system. If your procedure used only soap on a removable bin, follow your own manual's restart instructions and discard enough new ice to feel confident that the bin and chute are producing clean, fresh-tasting cubes.
Move to a deeper response only when there is a reason. Visible slime, recurring mold-like growth, repeated bad taste after the bin is cleaned, debris coming from the water path, or an ice maker that still does not function normally can indicate a problem outside the removable storage bin.
At that point, check the water filter status, household water quality, supply line, and model-specific cleaning procedure. Some stand-alone or specialty ice makers have dedicated cleaning cycles and approved descaling products; do not pour an ice-machine cleaner into a refrigerator ice maker unless the manufacturer specifically instructs you to do so.
If the refrigerator or household water system has been affected by flooding or another contamination event, routine soap-and-water cleaning is not enough. FDA emergency guidance says to discard ice, clean and sanitize ice-machine interior surfaces, replace relevant filters, flush water lines, and discard ice through multiple cycles. Those instructions are for post-disaster contamination, not everyday maintenance. See the FDA's post-flood equipment guidance and follow local water advisories.
There is no universal interval that fits every freezer ice maker. Usage, water quality, freezer humidity, food odors, and model design all matter. A practical schedule is to clean the bin whenever you notice old or clumped ice, an odor, visible residue, a sticky chute, or debris. Include the bin and surrounding area whenever you perform routine refrigerator cleaning.
Some manufacturer manuals give more specific timing for certain models. One 2025 Whirlpool manual notes that if ice is not dispensed regularly, the storage bin, delivery chute, and area beneath the bin may need cleaning every two weeks. Treat that as model-specific guidance, not a rule for every refrigerator. Your own manual is the correct maintenance schedule for your appliance.
Finish by checking the result instead of assuming the job is done. A successful routine cleaning should leave you with a completely dry bin, no visible soap film or debris, no obvious odor inside the bin, normal cube movement, and normal dispensing once fresh ice is produced.
If the ice maker still leaks, jams repeatedly, produces contaminated-looking ice, or fails to make ice after correct reassembly, stop escalating the cleaning process and use the manufacturer's troubleshooting or service instructions. Cleaning can fix residue and stale ice, but it cannot repair a failed inlet valve, motor, sensor, control board, damaged bin, or unsafe household water supply.
How to Use Google Lens on Chromebook lets you scan objects, translate text, and solve problems directly from your device. Follow these steps to get started quickly.
Learn how to clean a lululemon yoga mat using current care guidance: wipe gently, avoid soaking and bleach, dry fully, and store out of sunlight.
Learn how to remove hot glue from fabric using cooling, gentle scraping, and cautious alcohol treatment, with fabric-safety checks for delicate materials.
Learn how to clean a freezer ice maker safely, remove stale ice and residue, wash and dry the bin, and know when deeper cleaning or service is needed.
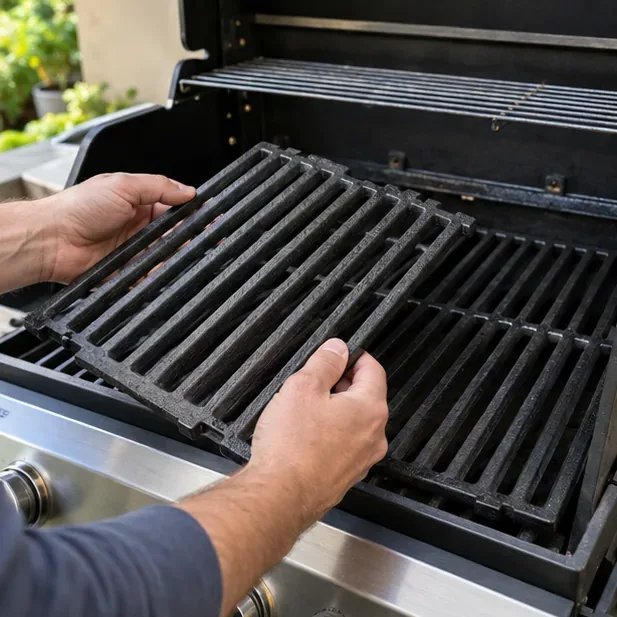
Learn how to season gas grill grates safely, when seasoning is actually needed, and how cast iron, stainless, and porcelain grates differ.
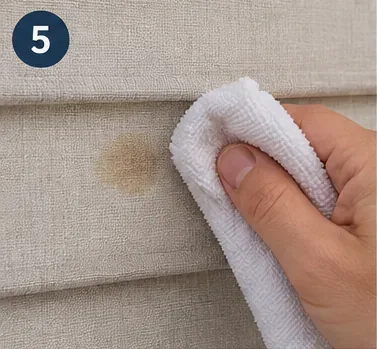
Learn how to clean fabric blinds safely: identify the material, remove dust, spot-clean stains, avoid damage, air-dry correctly, and know when to call a pro.
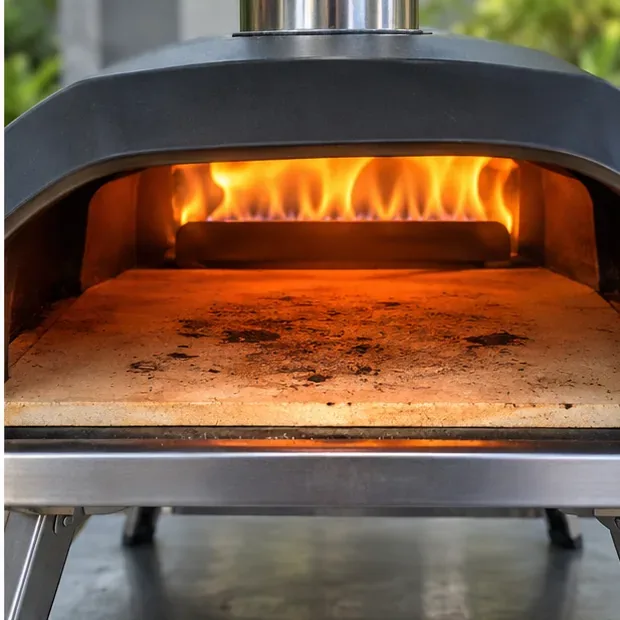
Learn how to clean an Ooni pizza stone safely with dry brushing, high-heat burn-off, and flipping—plus what to avoid and how to know it is clean enough.
Learn how to clean a mechanical keyboard safely, from removing keycaps and dust to washing compatible caps, drying, reassembly, and testing.
Learn how to remove hardened wax from clothes safely: harden, scrape, transfer with low heat, pretreat residue, wash by the care label, and air-dry.
Clean a removable retainer at least daily, rinse it whenever you remove it, and use a deeper manufacturer-approved clean about weekly. Learn what changes the schedule.