Home
» How to
»
How to Disinfect a Hairbrush Safely: Clean First, Then Choose the Right Method
How to Disinfect a Hairbrush Safely: Clean First, Then Choose the Right Method
In the official sources reviewed for this article, there is no newly issued household rule devoted specifically to disinfecting hairbrushes. The most useful current framework is broader: the CDC’s household guidance, updated June 3, 2025, says that cleaning with soap and water removes most germs in ordinary situations, while disinfection is more appropriate when someone is sick or when a specific exposure calls for it. That distinction matters because a hairbrush can be easy to clean but surprisingly easy to damage if you soak, heat, or chemically treat the wrong material.
Illustrative example: imagine Alex is cleaning three brushes in a shared bathroom: a molded-plastic detangling brush, a cushioned paddle brush with an air hole, and a wooden brush with mixed bristles. A family member has recently had head lice. This is a hypothetical example used only to show how the decision process works; it is not a product test, testimonial, or report of a real outcome.
First decide whether you need cleaning or true disinfection
For routine maintenance, start with cleaning. Hair, skin oil, styling products, dust, and lint form a physical layer that should be removed before any disinfectant is expected to work well. The CDC explicitly recommends cleaning before sanitizing or disinfecting because visible soil and residue can interfere with the chemical reaching the surface. See the CDC cleaning and disinfecting guidance.
True disinfection is a separate step. If someone in the household is sick, if the brush has been shared during an infectious illness, or if a clinician has given specific infection-control instructions, use a disinfectant only when its label allows the brush’s surface. For a hard, nonporous plastic brush, that may mean an EPA-registered surface disinfectant used exactly as directed, including the stated wet contact time. Do not assume that vinegar, essential oils, or a quick alcohol wipe automatically provide a validated disinfection step.
Match the method to the brush
Brush type
Usually suitable approach
Main tradeoff
Molded plastic or synthetic detangling brush
Remove hair, wash with warm soapy water, rinse, then disinfect only if the product label allows the material.
Easy to wash, but some plastics can deform with heat.
Cushioned or vented paddle brush
Clean the pins and surface while limiting water entry into the cushion or air hole.
Immersion may trap water inside the pad. Denman specifically warns about liquid entering an air hole.
Wooden or mixed natural-bristle brush
Use the manufacturer’s care directions; favor controlled surface cleaning over prolonged soaking unless the maker permits immersion.
Porous, bonded, or natural materials may not tolerate the same chemistry or soaking as molded plastic.
Heated or electrical brush
Unplug, cool, wipe as directed by the manufacturer, and never immerse the appliance.
Water immersion can damage the tool and create an electrical hazard.
Tangle Teezer, for example, tells users to remove loose hair and scrub between the teeth and base with soap in warm water, then rinse and air-dry. Denman likewise recommends warm soapy water and a soft brush for many of its brushes, while warning users to keep water out of an air hole when submerged. Current manufacturer guidance is available from Tangle Teezer and Denman.
How to disinfect a hairbrush step by step
1. Remove every strand of trapped hair
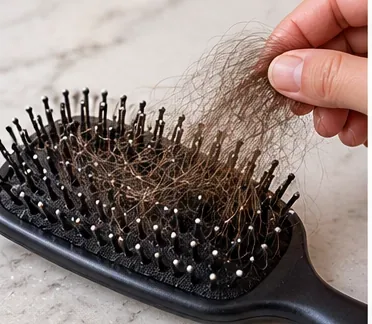
Work from the edges toward the center and lift out hair with your fingers, a tail comb, tweezers, or a dedicated brush-cleaning tool. If hair is tightly wrapped around the base of the bristles, cut only the hair with small scissors while keeping the blades away from the cushion and bristle anchors.
Start by removing hair from around the bristles and base. Disinfectant cannot reach a surface that is still covered by strands and product buildup.
In the hypothetical example, Alex can do this for all three brushes. This step is material-neutral and makes every later step more effective.
2. Prepare a mild cleaning solution
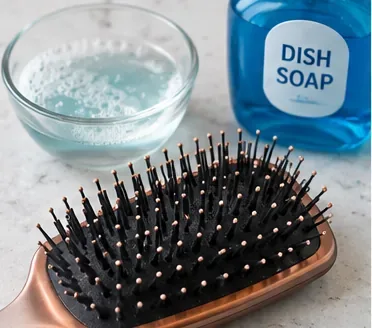
For a fully washable brush, use warm water with a small amount of mild soap, shampoo, or gentle detergent. Both Tangle Teezer and ghd describe warm soapy cleaning as the basic way to remove oils and styling residue. Avoid making the solution stronger than necessary; cleaning is about lifting soil, not exposing the brush to harsh chemistry.
Warm water with a small amount of mild soap is a practical cleaning solution for a brush that the manufacturer says is washable.
3. Immerse only a brush that is designed to be washable
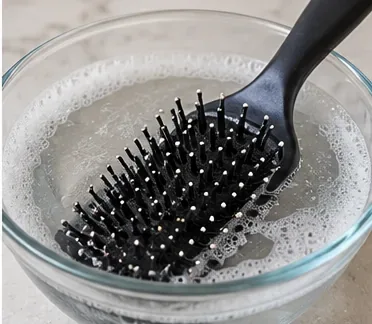
If the brush is a one-piece molded plastic design and the maker allows immersion, briefly place the working end in the soapy water to loosen residue. Do not automatically soak cushioned, wooden, glued, natural-bristle, or electrical designs. The goal is to wet the surfaces that need cleaning without pushing water into places where it may remain trapped.
Immersion is appropriate only for a fully washable brush. Check the manufacturer’s care instructions before soaking cushioned, wooden, or bonded constructions.
For Alex’s cushioned brush, the safer choice is to scrub the pins and visible pad while keeping the air hole from flooding. For the wooden brush, Alex should follow its manufacturer’s care instructions instead of copying the plastic-brush method.
4. Scrub between bristles and around the base
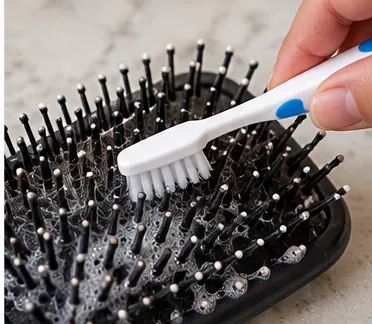
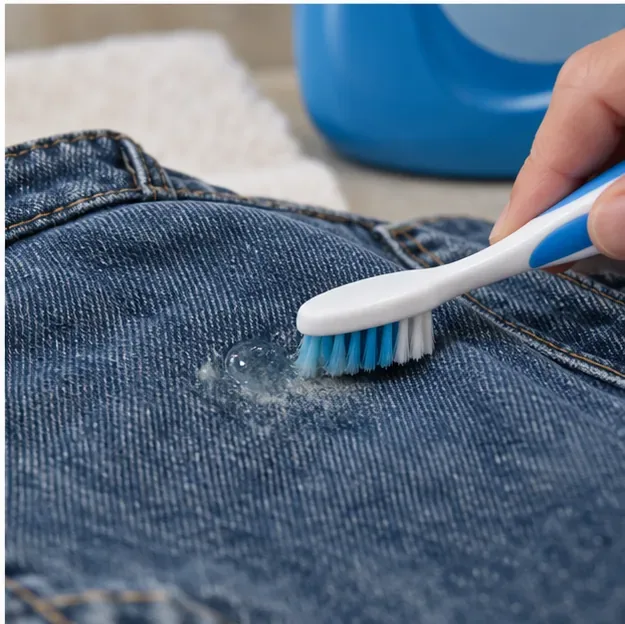
Use a soft toothbrush or small cleaning brush to work through the rows of pins, around the bristle bases, and over the handle where styling products collect. Ghd recommends gentle agitation rather than aggressive scrubbing, which can bend bristles or damage the pad.
Use a soft toothbrush to loosen oil and styling residue between bristles and around the base without forcing the pins sideways.
5. Rinse or wipe away the cleaner
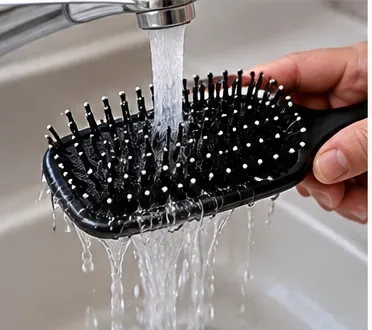
For a washable plastic brush, rinse with clean lukewarm water until no soap remains. For a water-sensitive brush, remove cleaning solution with a clean damp cloth instead of running the entire brush under the faucet. Ghd’s current cleaning guide also emphasizes rinsing after washing and allowing the tool to dry completely.
Rinse a fully washable brush until the water runs clear. Use a damp-cloth method instead when the brush construction should not be flooded.
6. Disinfect only when the situation calls for it
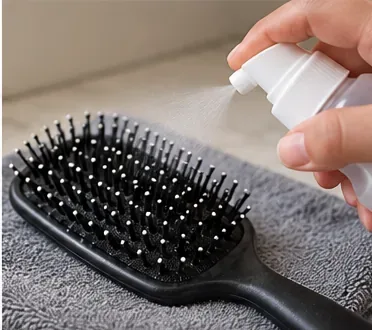
After cleaning, decide whether disinfection adds value. The CDC says routine household disinfection is generally unnecessary unless someone is sick or recently visited while sick. When disinfection is appropriate, choose a product whose label allows use on the brush’s surface. Keep the surface visibly wet for the full contact time stated on the label; wiping it dry immediately can defeat the labeled process. Never mix disinfectants or mix them with bleach, vinegar, ammonia, or other cleaners.
The CDC home disinfection guidance explains contact time and safe use, while the EPA explains that surface type and label directions determine whether a disinfectant is suitable.
If disinfection is warranted, use only a product compatible with the brush surface and follow its label for application and wet contact time.
7. Use the special CDC method after head lice exposure when the brush can tolerate it
Head lice are a separate case. The CDC currently instructs people to soak combs and brushes used by an infested person in hot water at least 130°F (about 54°C) for 5–10 minutes. See the CDC head lice treatment guidance.
That does not mean every modern brush should be exposed to heat without checking its care instructions. Tangle Teezer warns that heat can damage some of its teeth. In Alex’s example, the inexpensive heat-tolerant comb can follow the CDC hot-water step, while the heat-sensitive plastic detangler should be checked against its manufacturer’s instructions first. If the brush cannot safely tolerate the recommended process and was directly used by the person with lice, replacing it can be simpler than improvising an unvalidated chemical treatment.
8. Dry completely before use or storage
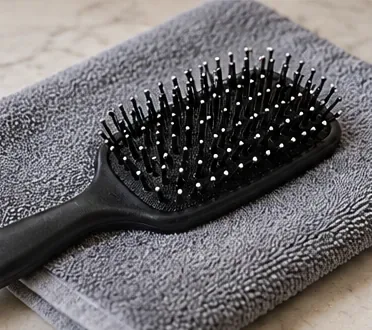
Set the brush in a well-ventilated area and let it dry fully. A damp interior, cushion, or wooden joint is a reason to wait. Aveda notes that its wooden paddle brush includes a drainage/ventilation hole specifically to help water escape after washing, while ghd tells users to let hairbrushes dry completely before use.
Let the brush dry completely before using or storing it. Position it so water can drain away from cushions, seams, and bristle bases.
How the illustrative example changes by brush type
Alex’s molded-plastic brush is the simplest: remove hair, wash, rinse, and—because there was a specific lice exposure—compare the maker’s heat limits with the CDC hot-water instruction. The cushioned paddle brush needs more restraint around the vent or air hole. The wooden mixed-bristle brush is the least suitable for a generic immersion-and-disinfect routine; its material-specific care instructions should control the process.
This is why a single “soak every brush in alcohol” recipe is not a good universal answer. It may be unnecessarily harsh for routine cleaning, may conflict with a product’s materials, and still does not replace the labeled contact time required for a disinfectant claim.
How often should you clean a hairbrush?
There is no universal medical schedule for every household hairbrush. Frequency depends on hair shedding, styling-product use, scalp oil, and whether the brush is shared. Ghd suggests cleaning hairbrushes at least weekly as a general maintenance rule. If you use little product and the brush remains visibly clean, your practical interval may differ; if hairspray, dry shampoo, or sebum builds up quickly, clean sooner.
The important distinction is that “clean more often” does not mean “disinfect more often.” Routine cleaning is the default. Reserve stronger disinfection for a reason: illness, a relevant exposure, shared professional use, or specific instructions from a health professional.
When should you replace the brush instead?
Replace a brush if the cushion is cracked, split, or holding water that will not drain.
Replace it if bristle anchors are loose or corrosion is visible on metal parts.
Replace or stop using it if the manufacturer’s instructions prohibit the cleaning method required for a known contamination event.
For electrical or heated brushes, stop using the tool if water has entered the housing; follow the manufacturer’s service guidance rather than trying to dry and reuse it casually.
Common mistakes to avoid
Disinfecting before cleaning: hair and residue can block the chemical from reaching the surface.
Assuming vinegar is a registered disinfectant: it may be useful as a household cleaner in some contexts, but do not treat it as a validated substitute for a labeled disinfectant.
Using bleach without checking compatibility: the CDC says to follow bleach label directions and never mix chemicals. A brush’s materials may also be damaged by bleach.
Ignoring contact time: a quick spray-and-wipe is not equivalent to the product’s labeled disinfection process.
Soaking every brush: air-cushioned, wooden, natural-bristle, bonded, and electrical designs can require different care.
What a properly cleaned brush should look and feel like
When the job is finished, there should be no visible hair at the bristle roots, no gummy styling residue, no soap film, and no trapped moisture. The bristles or pins should move as designed, and the cushion should not squish out water. If a disinfectant was used, the label’s required contact time and any rinse instructions should have been completed.
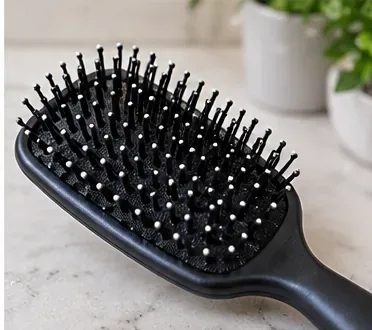
The finished brush should be free of trapped hair and visible residue, completely dry, and ready to store in a clean, dry location.
No household method can guarantee that an unknown brush material will tolerate every disinfectant or heat treatment. When the manufacturer’s care directions conflict with a generic cleaning recipe, follow the manufacturer for the brush and the public-health guidance for the exposure; if both cannot be satisfied safely, replacement is often the lower-risk choice.