Ultrasurf is a software that allows access to blocked websites, hide IP addresses, bypass firewalls easily. In particular, without requiring too much installation, we can easily use UltraSurf on our computer.
How to install and use Ultrasurf on the computer
UltraSurf
Step 1: You access the button to download Ultrasurf , then select Download .

Step 2: The interface as below appears, choose the left mouse button or click directly on the Download button .

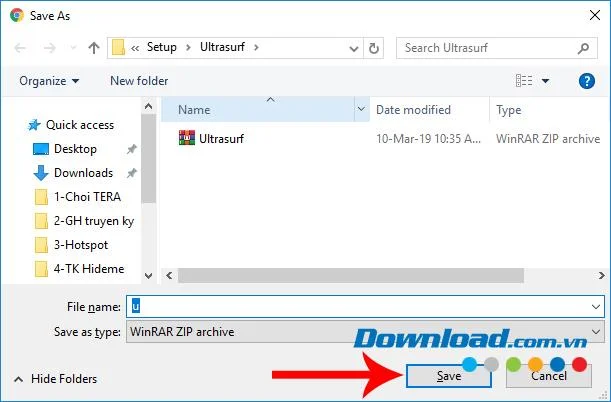
Step 3: A Windows window appears, select the location to save the file on the computer and then Save again.

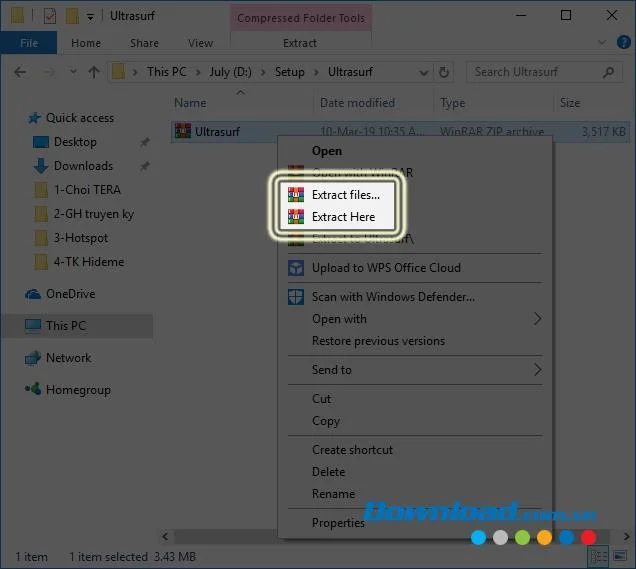
Step 4: In the folder containing the downloaded compressed file, you use some decompression software to extract. As in this article, the writer uses WinRAR , by left-clicking on the file, then right-clicking again and selecting Extract Here to extract it at this location.
If you want to extract to another folder, select Extract Files ... and then find a new location.

Extract UltraSurf installation file
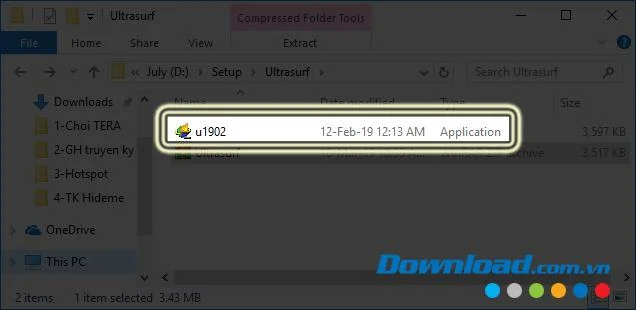
Step 5: Unzip the file will have a u1902 file appears as below, you just need to double click on the file to launch this VPN software on your computer.

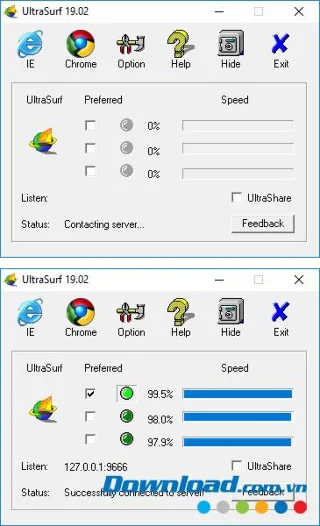
This is the interface of Ultrasurf VPN .

Simple operation interface of UltraSurf
When used, UltraSurf will automatically search and select the connection with the highest speed server available. The check box and the green color indicate that the server is currently in use ( Preferred ). However, we can also select a different server (if desired) by selecting another checkbox if the current server is not working properly or not working as expected.
Video on downloading and installing UltraSurf on PC
In addition to the version Ultrasurf for computers and Ultrasurf for Android, UltraReach also developed an add-on on Chrome to help computer users have private and highly secure web access. Ultrasurf Chrome Extension is an extremely useful extension on Google Chrome , helping you to surf safely and leave no cache, cookies or browser history. You can download these 2 versions here:
Ultrasurf VPN for Android Ultrasurf for Chrome