Change ONLYOFFICE Workspace’s Default Storage Location
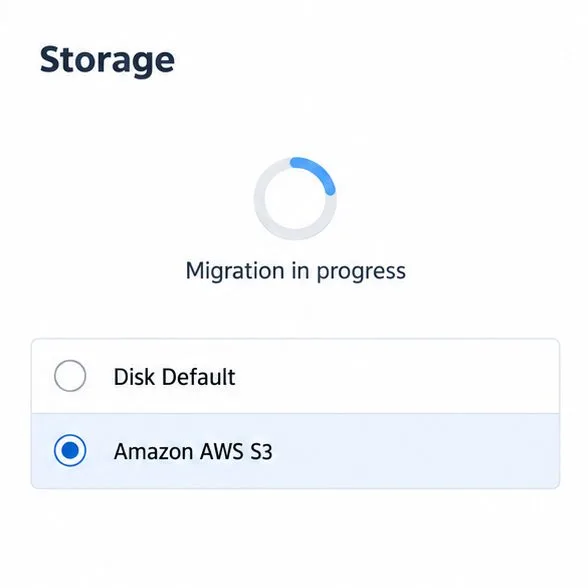
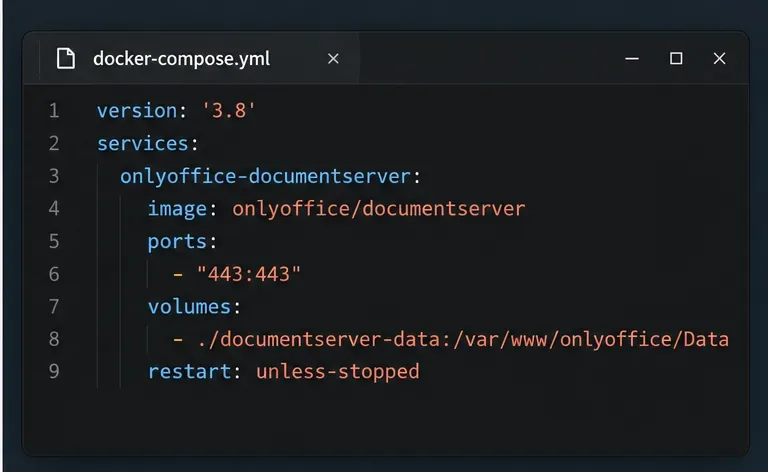
Move portal data from Disk Default to a supported cloud storage provider, or relocate Docker data safely by changing its host volume mapping.
Here's how to make sure your audience can see the main keyword or keyword phrase in your PowerPoint presentation .
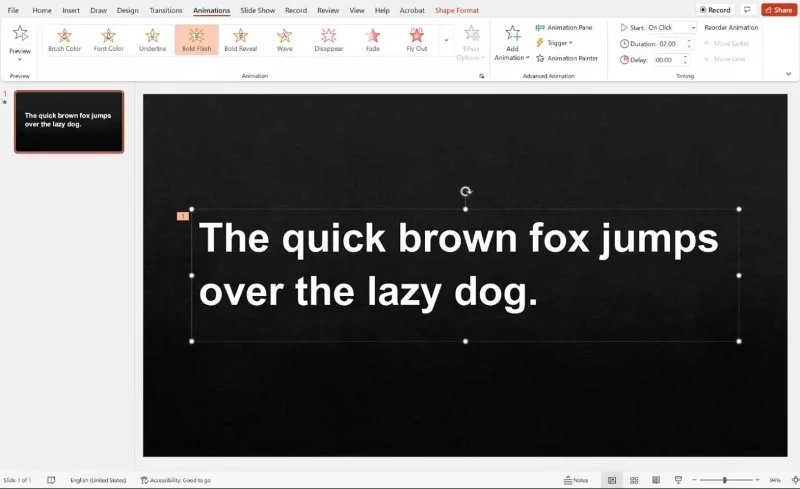
Highlighting a paragraph in PowerPoint is quite simple. But have you ever wanted to emphasize just one word or phrase? This is a bit complicated because PowerPoint's animation tools don't give you this option. However, you have an easy solution to handle the key elements of the paragraph on the slide.
PowerPoint has a number of tools that allow you to emphasize a block of text, including underlining, font coloring, bolding, etc. If you've ever used the effects panel in PowerPoint, you probably know that one of the things The drawback when using animations is that they cannot be added to a single word or sentence within a larger block of text.
For example, if you write "The quick brown fox jumps over the lazy dog" in a block of text but just want to emphasize the word "jumps" in bold, you can't do that because PowerPoint's equivalent tool will print Bold the entire sentence.
How to emphasize a word in a PowerPoint presentation
Line up text
First, create a slide as usual, add all the text and images. Then, select the text box containing the keywords and phrases you want to emphasize and copy the text box.
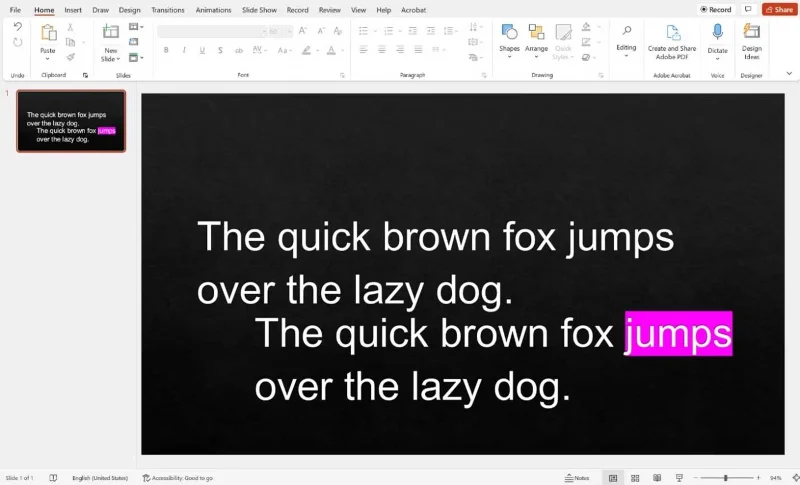
From here, you have two ways to emphasize text. In the first option, emphasize the keyword or phrase in the copied text box, then arrange it exactly like the original text box.
The article uses the previous example. You will have 2 text boxes with the sentence “The quick brown fox jumps over the lazy dog” but the second text box will highlight the word “jump”.
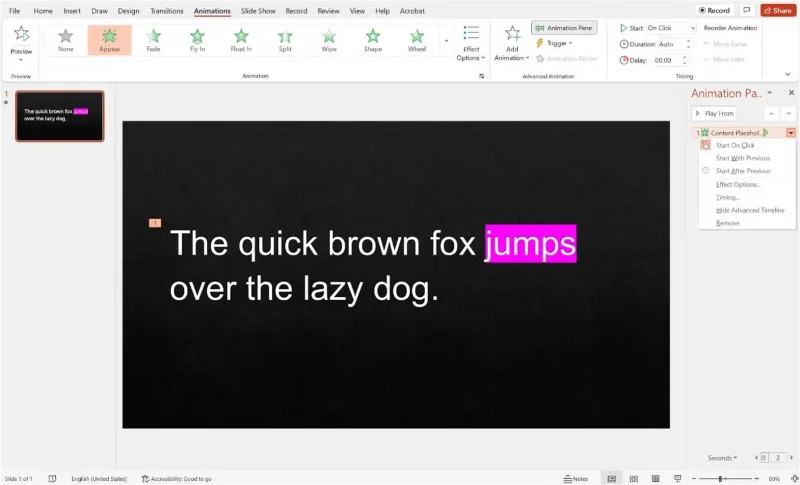
After arranging the text boxes, select the highlight text box (should be at the top) and add the appear effect. Then, go to the Animation panel in PowerPoint , click the down arrow next to the effect and make sure Start on Click is selected .
Now when presenting, the highlighted text will appear when you click.
Make text disappear
Here's an alternative if you can't do it the above way.
Create two text boxes as instructed above but do not line them up. Instead, take the first text box and add a disappear effect. Next, add the appear animation to the second text box.
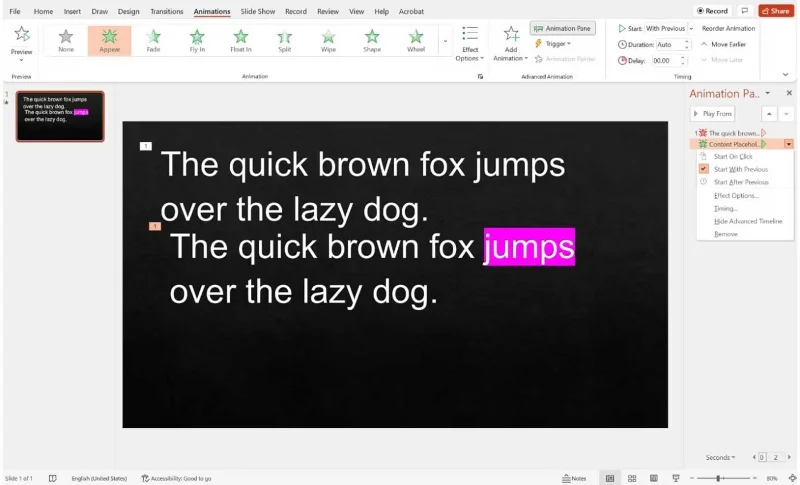
After adding both effects, go to the Animation panel.
For the disappearing effect (with a red star next to it), click the disappearing effect, then click the down arrow and select start on click . For the appearance effect (green star next to it), click the appearance effect, then the down arrow and select start with previous .
After the slide appears in the presentation, the unemphasized text will appear. When you click, the highlighted text will appear at the same time, the remaining text will disappear, making it look like you're just highlighting part of the first paragraph.
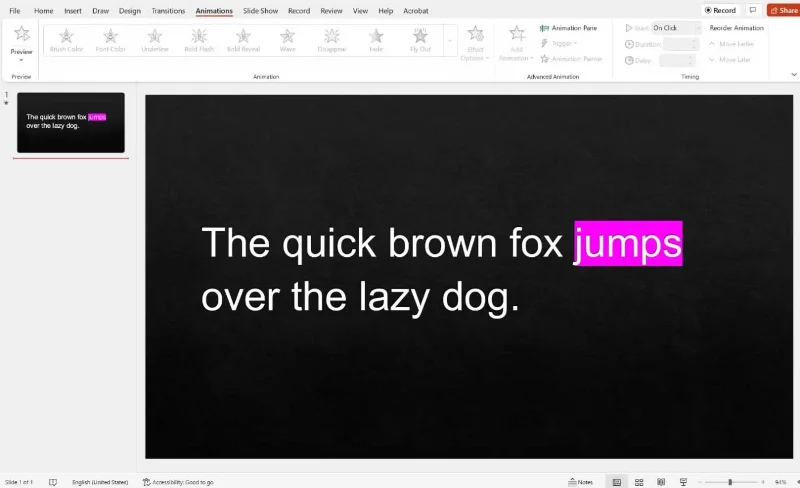
In other words, there will be no messy transition between the first text block disappearing and the second text box appearing.
Above is how to emphasize a piece of information in a larger paragraph when making a PowerPoint presentation . This will highlight the main ideas in an effective speech and help the audience grasp the content better.
Hope the article is useful to you.
Move portal data from Disk Default to a supported cloud storage provider, or relocate Docker data safely by changing its host volume mapping.
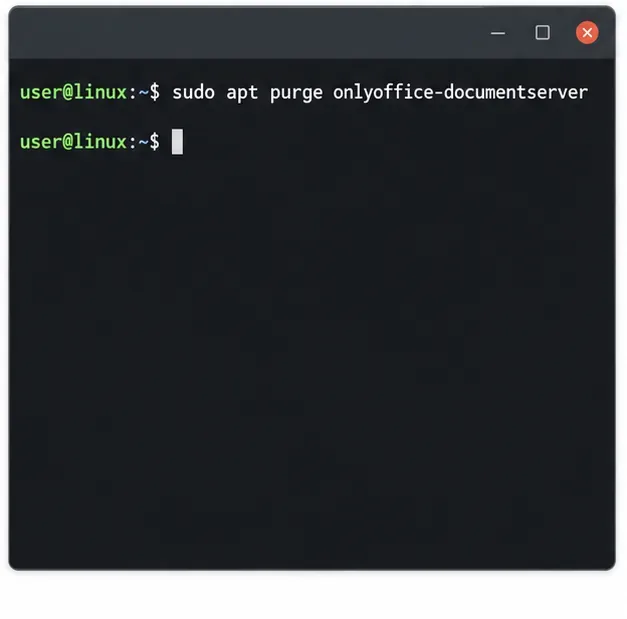
Identify whether Document Server uses a Linux package or Docker, remove only its components, and check remaining data without deleting shared services by mistake.
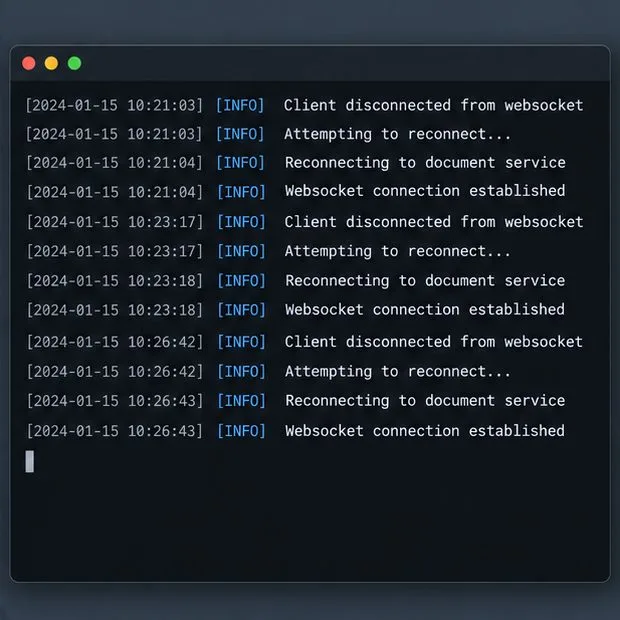
Trace slow collaborative editing to Docker resource pressure, proxy connections, or document load, then choose the fix that matches your measurements.
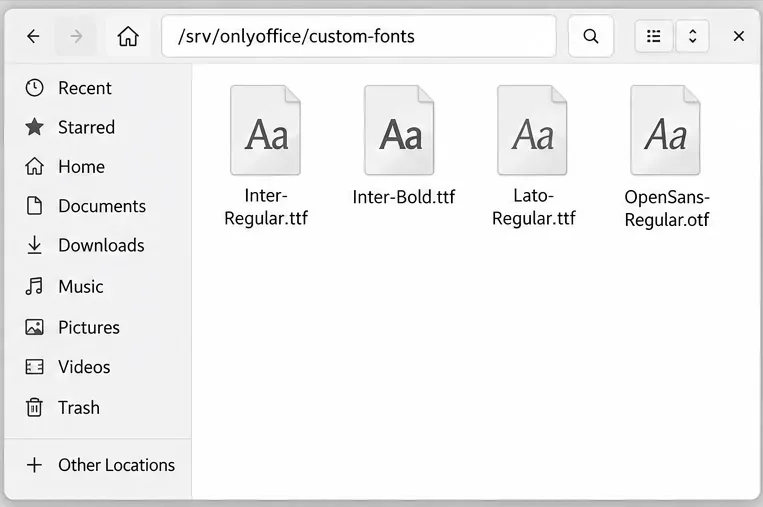
Install custom fonts in ONLYOFFICE Document Server, compare persistent Docker mounts with direct copies, rebuild the font list, and verify the result.
Choose where TLS should terminate, mount a trusted certificate and private key safely, and verify HTTPS access to a Dockerized ONLYOFFICE Docs server.
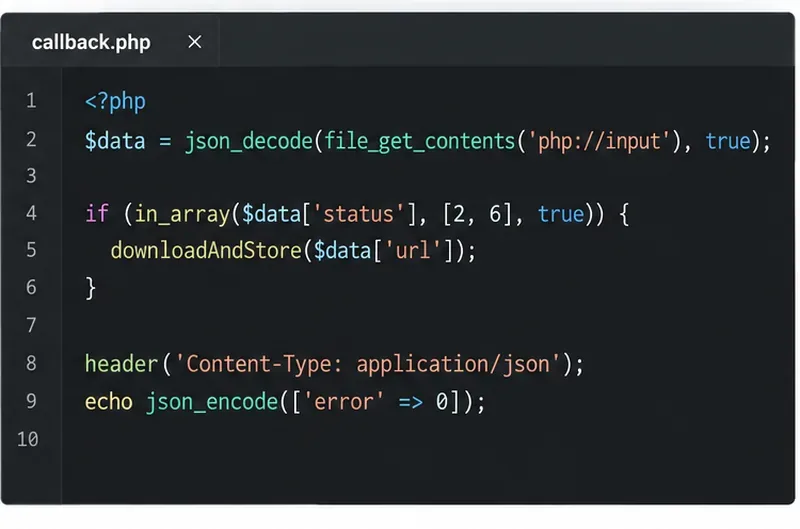
Embed the ONLYOFFICE editor in your PHP app, sign its configuration with JWT, and save edited files through a secure callback.
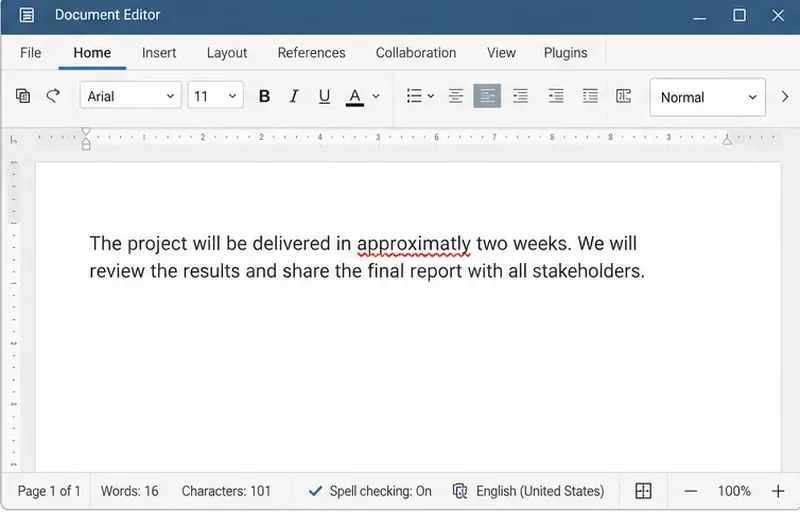
Set the proofing language for the whole document or selected text, confirm spell checking is active, and identify when a server dictionary is missing.
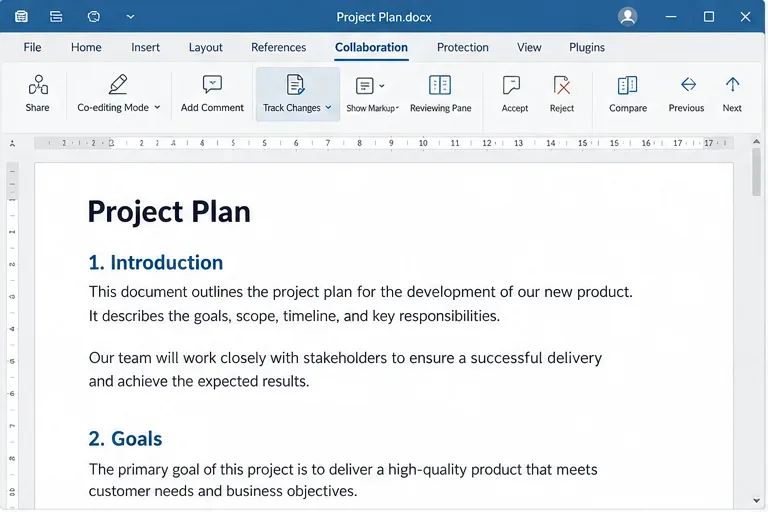
Enable persistent Track Changes for everyone in one ONLYOFFICE document, verify edits are recorded, and understand the limits of this setting.
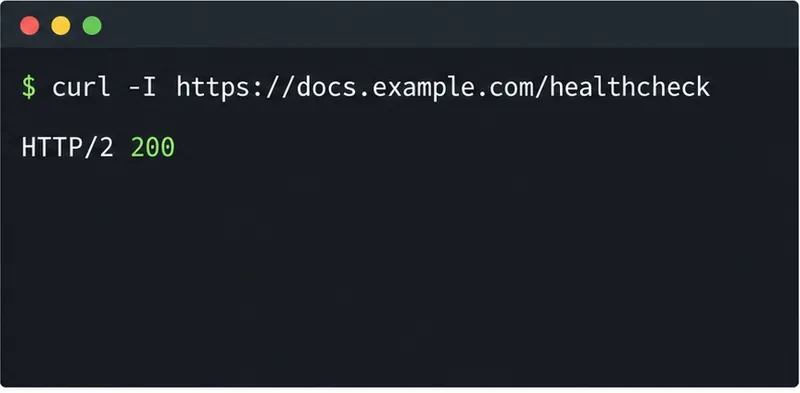
Find whether Nginx, Docker networking, or an internal ONLYOFFICE service is returning 502, then verify the corrected upstream and health check.
Diagnose failed ONLYOFFICE saves by checking the Nextcloud callback route, proxy redirects, and storage logs, then verify the edited file persists.