How to Get Dry-Erase Marker Off a Wall Without Ruining the Paint
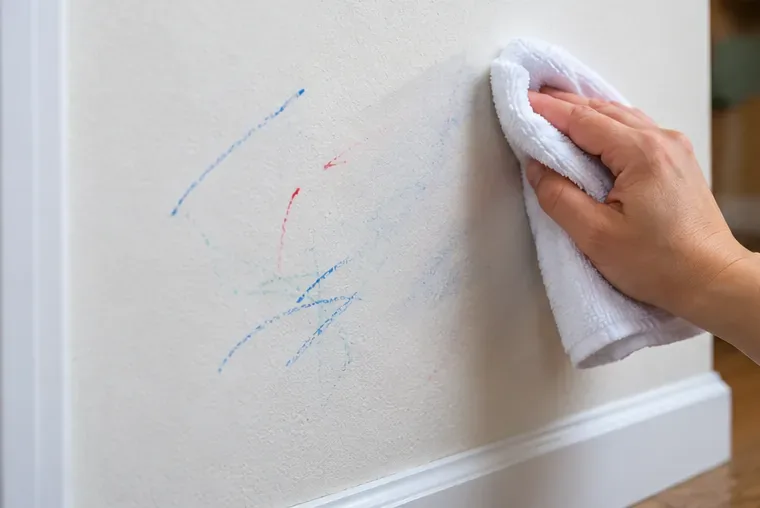
Learn how to remove dry-erase marker from a painted wall safely, from water and mild soap to careful rubbing-alcohol spot treatment.
Dry-erase marker is designed for slick, nonporous writing surfaces such as whiteboards, glass, and acrylic—not ordinary painted drywall. On a wall, the ink can settle into the paint texture and leave colored shadows even after the surface looks dry. The safest way to remove it is to work from the gentlest method to a more targeted one, checking the paint after each attempt.
This guide was checked against current manufacturer guidance on September 13, 2026. The key sources are Crayola's stain-removal instructions for washable dry-erase marker on painted walls and painted-wall cleaning guidance from Sherwin-Williams and Benjamin Moore. Paint formulas, sheens, wall age, and marker formulas vary, so no method can guarantee complete removal without affecting every finish.
Start with a clean, damp sponge or microfiber cloth and plain water. If the mark remains, move to a small amount of mild dish soap in warm water, then rinse the spot with a clean damp cloth and dry it. Only if the stain persists should you consider a small, controlled rubbing-alcohol treatment—and only after testing it in an inconspicuous location.
That order matters. Sherwin-Williams recommends mild soap and warm water for routine painted-wall cleaning and warns that harsh chemicals and abrasive scrubbing can scratch or dull paint. It also notes that flat and matte finishes are less durable than satin or semi-gloss finishes. Crayola's guidance for its washable dry-erase markers starts with a damp sponge and, for remaining stain, includes rubbing alcohol as a later step.
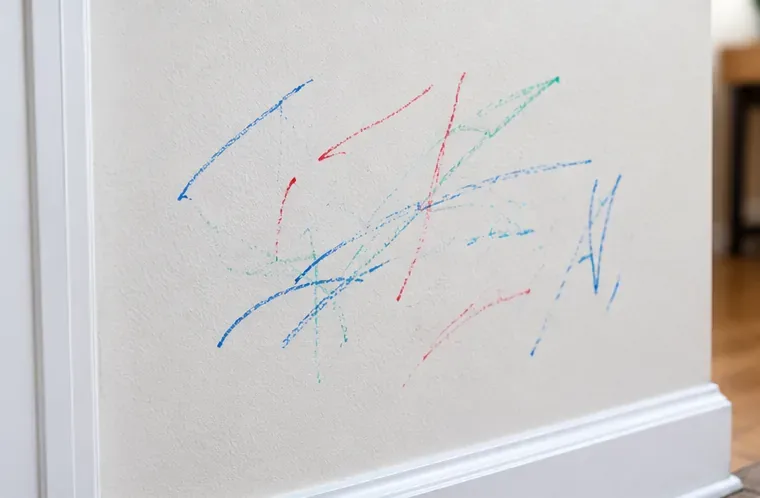
Two details change how cautious you should be: the wall finish and the exact marker type.
| Situation | Cleaning approach | Main risk |
|---|---|---|
| Flat or matte wall paint | Use very light pressure and minimal moisture | Burnishing, shiny patches, or paint removal |
| Eggshell, satin, or semi-gloss | Usually tolerates gentle washing better | Color or sheen change if over-scrubbed |
| Freshly painted wall | Check the paint maker's cure time before wet cleaning | Softening or altering an uncured finish |
| Washable dry-erase marker | Follow the marker maker's stain guidance | Results still vary by wall finish |
| Standard dry-erase marker | Use the same least-aggressive-first sequence, but test carefully | Ink may be harder to remove from porous paint |
If the wall was painted recently, be especially conservative. Sherwin-Williams advises waiting at least two weeks before cleaning freshly painted walls with soap and water. Benjamin Moore gives a longer general recommendation for its freshly painted walls and cabinets: wait until the coating is fully cured, at minimum about 30 days, before normal cleaning. Because cure times differ by product, the paint can or manufacturer's technical guidance is the best source for your wall.
Avoid starting with a magic eraser, scouring pad, abrasive powder, nail-polish remover, or strong household solvent. Even when one of these products can lift ink, it may also polish, dull, soften, or remove the wall coating. The goal is not simply to make the marker disappear; it is to remove the ink while leaving the paint looking unchanged.
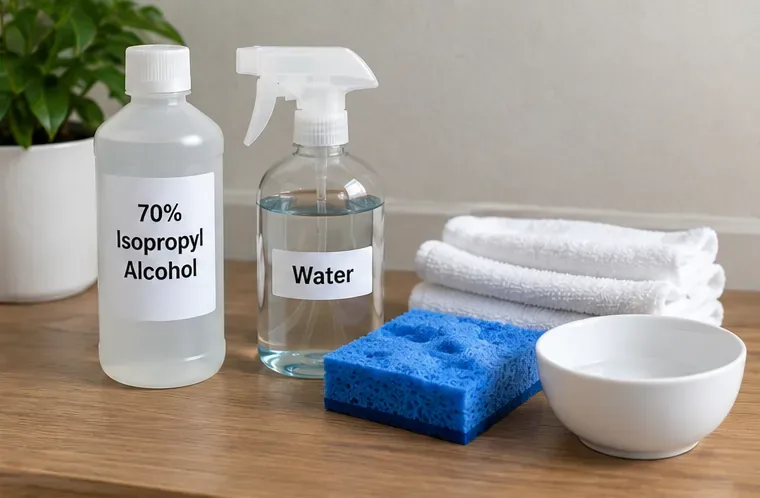
Before touching the visible mark, dampen a clean cloth with the solution you plan to use and test a small area behind furniture, near a baseboard, or in another inconspicuous place. Let it dry completely. Check for paint transfer on the cloth, a lighter or darker patch, loss of sheen, or a newly shiny spot.
Sherwin-Williams specifically recommends testing cleaning solutions and techniques in an inconspicuous area before proceeding. This is particularly important with flat or matte paint, which the company describes as less durable than higher-sheen finishes.
If plain water changes the appearance, stop. The safest next step may be a paint touch-up rather than stronger cleaning.
Wet a soft sponge or microfiber cloth with clean water, then wring it out thoroughly. The material should be damp, not dripping. Gently blot and wipe the dry-erase mark with light pressure. Work from the outside of the mark toward the center so you do not spread loosened pigment over a larger area.
Crayola's official stain guidance for washable dry-erase marker on painted walls begins with a damp sponge. Sherwin-Williams similarly cautions against soaking painted walls because too much water can hurt the finish.
Rinse your cloth or sponge as it picks up color. Do not keep rubbing with an ink-loaded cloth, or you may simply move the stain around.
If water alone leaves a colored shadow, mix a few drops of mild dish soap into warm water. Dampen a clean cloth or nonabrasive sponge, wring it well, and gently wipe the affected area. Sherwin-Williams calls mild soap and warm water its preferred general cleaning solution for painted walls.
Next, wipe the spot with a separate cloth dampened with plain water to remove soap residue and let the area dry. If the stain is gone, stop there.
If a stubborn trace remains, the marker manufacturer's guidance may justify a more focused treatment. Crayola's instructions for its washable dry-erase markers say that remaining stain on painted walls can be blotted with a cotton ball saturated with rubbing alcohol, followed by rinsing. Because that advice is specific to Crayola's washable product and paint finishes vary, do not treat it as universally safe for every wall. Patch-test first, use the smallest amount needed, and blot instead of scrubbing.
If color from the wall appears on the cotton, the sheen changes, or the surface feels tacky, stop immediately and rinse gently with a clean damp cloth.
After any soap or alcohol treatment, wipe the area lightly with a clean cloth dampened only with water. Then pat it dry with a soft towel. Do not judge the result while the wall is still wet; moisture can temporarily darken paint and hide sheen changes.
Once dry, look at the wall both straight on and from the side in natural or room light. A stain can be gone while over-cleaning has left a glossy patch, especially on matte paint. If the marker is no longer visible and the finish matches the surrounding wall, you are done.
| Method | When to use it | What to know |
|---|---|---|
| Damp cloth or sponge | Always try first | Lowest-risk starting point; keep the wall only lightly damp |
| Mild dish soap + warm water | When water leaves residue | Recommended by a major paint manufacturer for general wall cleaning |
| Rubbing alcohol on cotton | Only for stubborn marker residue after a patch test | Supported by Crayola for its washable dry-erase marker, but not guaranteed safe for every paint |
| Abrasive cleaner | Only when both the marker and paint/surface guidance permit it | Higher risk of dulling or burnishing the finish |
| Touch-up paint | When cleaning damages the finish or a stain will not release | Often safer than repeated chemical or abrasive cleaning |
Not as the default. Melamine foam products and mild abrasive cleaners can remove stubborn marks by adding mechanical abrasion, which is exactly why they can also change a painted wall's sheen. Paint manufacturers emphasize nonabrasive cloths or sponges and gentle pressure, particularly on flat and matte walls.
There is an important nuance in the source guidance: Crayola's stain page for its washable dry-erase markers lists a mild abrasive cleanser as an intermediate option for painted walls. That does not mean abrasive cleaner is safe for every paint system. If your wall paint manufacturer prohibits abrasive cleaning—or if you do not know what coating is on the wall—skip that step. A tiny paint touch-up is usually easier to correct than a large shiny patch created by over-scrubbing.
Rubbing alcohol is best viewed as a targeted fallback, not the first cleaner to pour onto the wall. Use it only on a cotton ball or small soft cloth, keep the treatment confined to the ink, and stop as soon as the stain lifts. Then wipe with plain water and dry.
Never assume that because alcohol works on a whiteboard it will behave the same way on painted drywall. A whiteboard is a hard, nonporous writing surface; wall paint may be more porous and can have a delicate sheen. The same solvent that helps release marker ink can also affect certain finishes.
Stop cleaning if the wall surface becomes shiny, lighter, darker, tacky, rough, or visibly thin. Also stop if multiple gentle attempts do not improve the stain. At that point, repeated solvent or abrasive treatment may cause more visible damage than the original marker.
If you have the original paint, a small touch-up can be the cleaner solution. Sherwin-Williams recommends using the same paint color and sheen and, when possible, the same application method used originally—roller for a rolled wall or brush for a brushed area—to help the repair blend.
For marker-specific stain instructions, see Crayola's official washable dry-erase marker stain guide. For general painted-wall care, see Sherwin-Williams' official painted-wall cleaning guide and Benjamin Moore's freshly painted wall care guidance.
The practical rule is simple: water first, mild soap second, and a carefully tested spot treatment only when the first two methods fail. If the paint begins to change before the marker disappears, stop cleaning and consider a touch-up instead.
Learn how to remove dry-erase marker from a painted wall safely, from water and mild soap to careful rubbing-alcohol spot treatment.
Learn when bathtub cleaning is safe for blinds, which materials should never be soaked, and how to wash, rinse, dry, and rehang approved blinds without damage.
Learn how to clean a printer cartridge safely, when to use built-in cleaning, how to handle inkjet contacts, what to avoid, and how to verify print quality.
Learn how to clean a guitar fretboard safely, choose the right method for finished or unfinished wood, avoid common myths, and condition only when needed.
Learn how to clean a stained dry-erase board safely, remove ghosting and stubborn ink, handle permanent marker, and avoid common cleaning mistakes.
Clean PS5 cooling vents without opening the console using PlayStation’s recommended low-powered vacuum method, plus airflow and noise checks.
Learn how to clean an HP printer head safely using diagnostic pages, built-in cleaning tools, alignment checks, and model-specific manual care.
Clean a microwave grease filter safely, know when a charcoal filter must be replaced, and use a quick checklist for model-specific care.
Learn how to disinfect a hairbrush without damaging it, with material-specific steps, CDC head-lice guidance, and a clear cleaning-vs-disinfection decision.
Learn how to clean an air fryer heating element safely, remove grease and stuck food, avoid damaging the coating, and know when to stop and check the manual.