How to Use Google Lens on Chromebook

How to Use Google Lens on Chromebook lets you scan objects, translate text, and solve problems directly from your device. Follow these steps to get started quickly.
Hard wax on clothing is easier to deal with after it has fully cooled. The basic strategy is to remove the solid wax first, transfer what remains into absorbent paper with controlled heat only when the fabric allows it, then treat any oily or colored residue before laundering. The most important safety check is the garment’s care label: a stain-removal trick is not worth damaging the fabric.
Illustrative example: imagine Maya is using a strip-free hard wax at home and a small amount lands on the front of a white cotton-blend shirt. She notices it after the wax has started to harden. This is a hypothetical example used only to show how the method applies in practice; it is not a report of a real test or guaranteed result.
There is one important limitation. The American Cleaning Institute and Whirlpool publish direct textile guidance for candle wax. Hair-removal hard wax can be formulated differently, so the same sequence is best treated as a cautious starting point for a solid wax deposit on a washable, heat-tolerant garment—not proof that every depilatory wax will behave exactly like candle wax. If you know the product brand, also check its cleanup directions.
The American Cleaning Institute stain-removal guide recommends scraping off surface candle wax, transferring remaining wax to paper towels with a warm iron, treating the remaining stain, and laundering. Whirlpool gives a similar sequence and repeatedly advises following the garment’s care label. The FTC Care Labeling Rule explains why those instructions matter: care labels are meant to tell consumers which regular washing, drying, ironing, bleaching, and dry-cleaning procedures are safe for the garment.
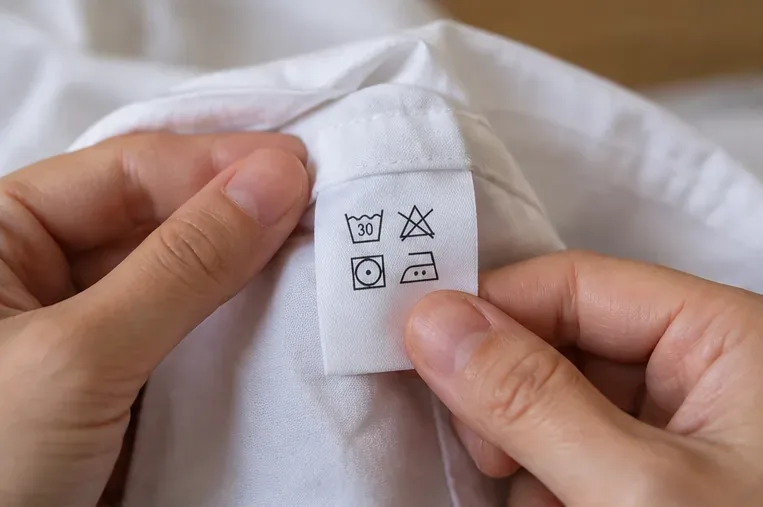
Start with the label, not the stain. Look for the permitted wash temperature and ironing instructions. If the item says “Dry Clean Only,” “Do Not Iron,” or otherwise rules out the treatment you were planning, do not improvise with a hotter iron or a stronger chemical. A professional cleaner is the safer choice.
In the Maya example, suppose the shirt’s label allows machine washing and low-temperature ironing. That would make the following heat-transfer method a reasonable option. If the label prohibited ironing, Maya would skip the iron entirely rather than trying to “melt the wax faster.”
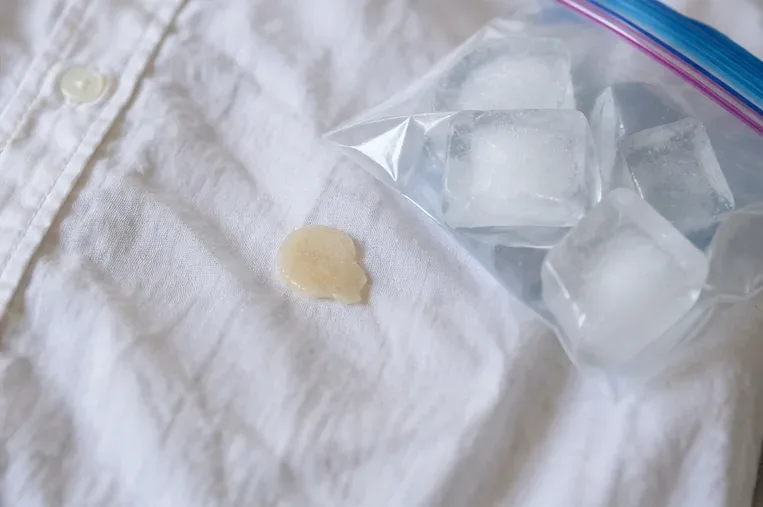
Do not rub warm wax deeper into the fibers. Whirlpool specifically advises allowing wax to dry and notes that freezing the garment can help harden it. If the wax is still pliable, place ice in a sealed bag and hold it near the spot until the deposit is firm. Keep melting ice water off the fabric unless the garment can safely get wet.
For the hypothetical shirt, the goal is simply to turn the spill into a brittle layer that can be lifted mechanically. This first step reduces the amount of wax that must be handled with heat later.
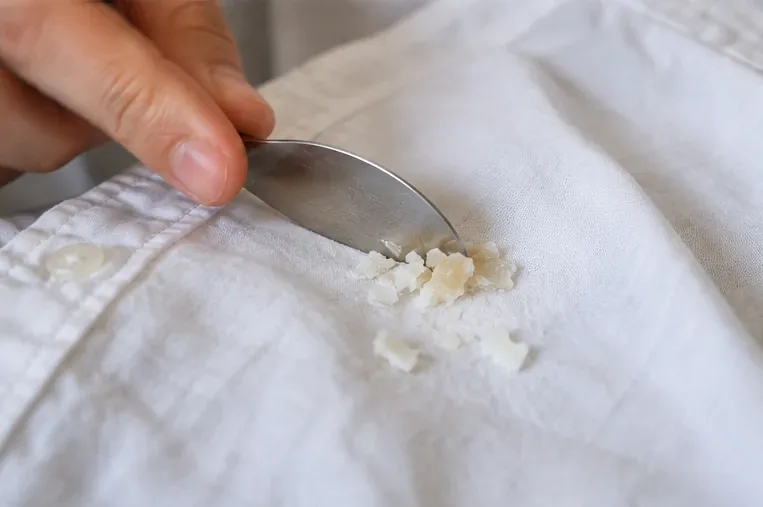
Place the garment on a flat surface. With a dull spoon or butter knife, gently lift off the thick wax sitting above the weave. Work in small passes and stop if the tool catches threads. Both the American Cleaning Institute and Whirlpool recommend removing as much surface wax as possible before laundering.
In our illustrative example, Maya would not try to scrape the fabric perfectly clean. A thin translucent patch can remain after the brittle top layer is gone; the next step is meant to draw that embedded wax out.
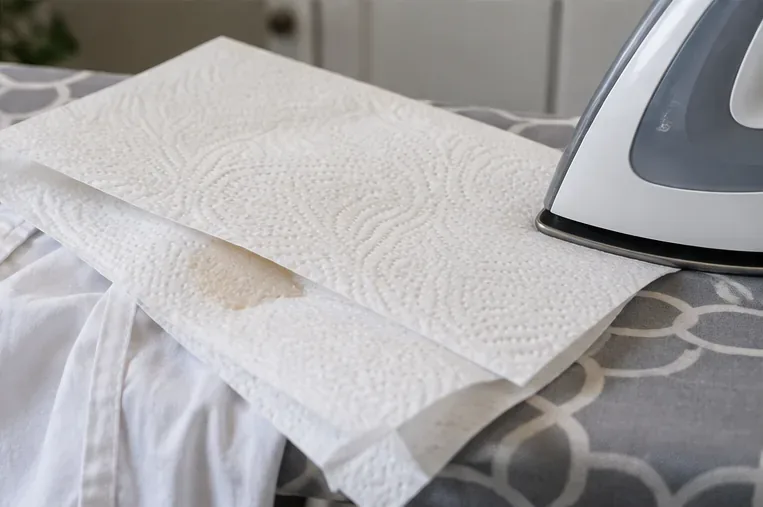
Put a clean white paper towel beneath the stained area and another on top. This creates an absorbent layer on both sides. The American Cleaning Institute describes placing the stain between clean paper towels before applying a warm iron. Whirlpool likewise recommends paper towels and a low iron setting.
Use plain, clean absorbent paper so you can see whether wax is transferring. Avoid printed paper that could introduce ink or dye when warmed.
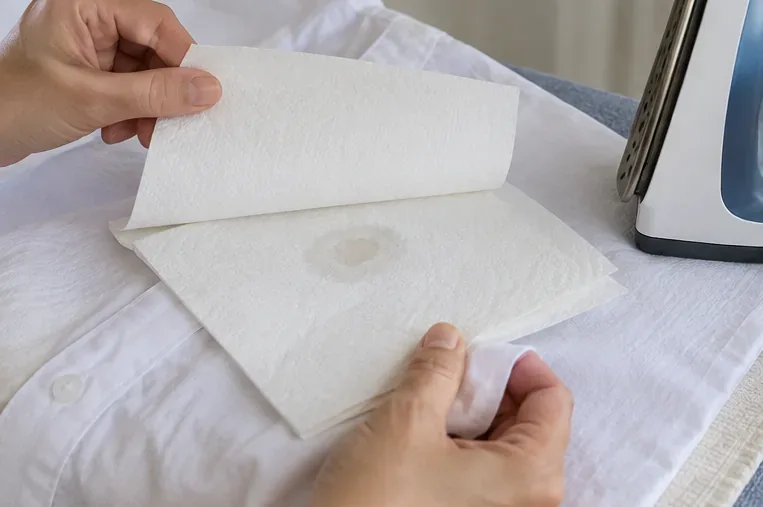
Set the iron no hotter than the garment label permits. Use a dry iron rather than steam. Press the covered area briefly, then lift the paper and check for wax transfer. Move to fresh paper and repeat only while wax is still transferring. The Whirlpool wax-removal guide recommends a low setting and replacing waxy paper towels with clean ones until transfer stops.
Do not assume more heat is better. Excess heat can damage heat-sensitive fibers and may spread softened wax beyond the original spot. If the fabric develops shine, distortion, or any other heat-related change, stop immediately.
For Maya’s hypothetical cotton-blend shirt, she would stay within the label’s ironing limit and stop once a fresh paper towel no longer picks up visible wax.
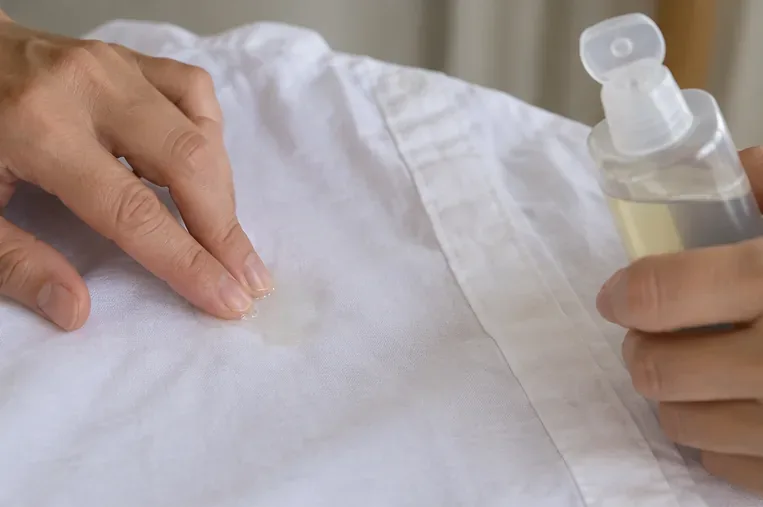
Removing the solid wax does not always remove everything that traveled with it. Fragrance, colorants, oils, or resins can leave a faint mark. Apply a liquid laundry detergent or prewash stain remover according to its label. Test unfamiliar products on a hidden area first when colorfastness is uncertain.
The American Cleaning Institute recommends treating the remaining candle-wax stain before laundering and notes that bleach may be considered only when it is safe for the fabric. That “if safe” condition matters. Never treat chlorine bleach as a default solution for a colored or delicate garment.
Hair-removal hard wax deserves extra caution here. Some hard-wax manufacturers describe resin-based wax as oil-soluble for cleanup on skin. That does not mean pouring oil on clothing is a good textile treatment; oil itself can create a new greasy stain. If you know the wax brand, follow any fabric-specific instruction from that manufacturer. If not, stick with a laundry pretreatment intended for washable textiles.
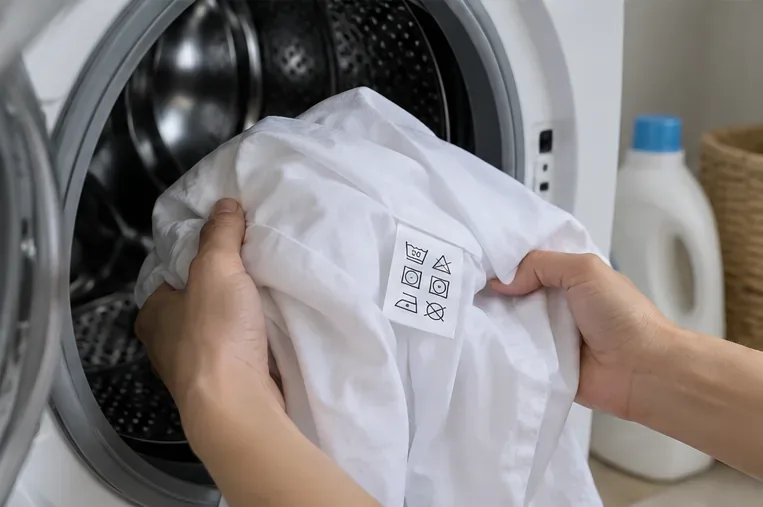
Once the wax no longer feels thick or crusty, wash the garment with your normal laundry detergent. Choose the hottest water that is still permitted by the garment label; do not exceed the label in an attempt to dissolve the stain. Whirlpool specifically directs users to select water temperature according to the care label.
If a colored residue remains and the garment permits an oxygen bleach, you can consider it according to the bleach product’s directions. If the label says not to bleach, skip it.
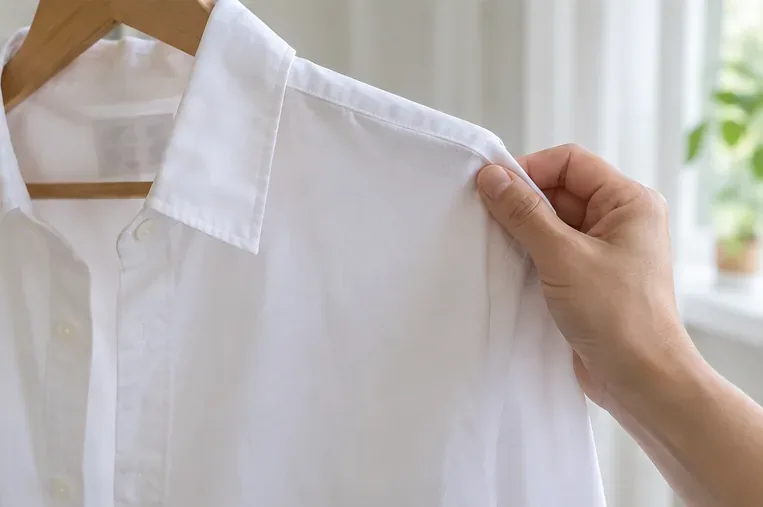
Air-dry the garment after washing and inspect the area once the fabric is fully dry. Whirlpool recommends hanging the item to dry so you can check whether the stain is truly gone. If you can still see or feel residue, repeat the pretreatment and laundering steps instead of moving straight to a hot dryer cycle.
In the hypothetical example, Maya would consider the process finished only if the shirt is dry, the area no longer feels waxy, and there is no visible oily ring or color patch. If any of those signs remain, she would repeat the non-destructive steps rather than escalating to stronger heat.
Not every hair-removal product behaves like hard wax. Sugar wax is typically water-soluble, while strip-free hard wax is often resin-based. For example, Parissa distinguishes sugar wax from its hot/hard wax products and describes sugar wax as water-soluble. If you know the spill came from a sugar-wax formula, check the manufacturer’s cleanup directions before reaching for an iron; water-based cleanup may be more appropriate.
Manufacturer information can help identify the formula, but use it carefully: instructions for removing product from skin are not automatically instructions for fabric. The safest order is garment care label first, wax-product instructions second, then the least aggressive textile treatment that fits both.
| Situation | Safer next move |
|---|---|
| Dry-clean-only garment | Leave the wax hardened and take the item to a professional cleaner. |
| Care label prohibits ironing | Skip the heat-transfer step; use professional cleaning if residue remains. |
| Delicate, coated, embellished, or unknown fabric | Avoid aggressive scraping, solvents, and heat until a professional can assess it. |
| Large wax spill soaked through several layers | Remove loose wax only and consider professional cleaning. |
| Color or texture changes during treatment | Stop immediately rather than increasing heat or chemical strength. |
If the wax is solid and the garment can safely be ironed, use the sequence harden → scrape → absorb with low heat → pretreat → wash → air-dry and inspect. If the garment cannot be ironed, or the wax formula is unusual or unknown, stop after gentle mechanical removal and use a fabric-specific product instruction or professional cleaner rather than experimenting with stronger heat or solvents.
This guide uses the current guidance available at the time of writing from the American Cleaning Institute, Whirlpool’s wax-removal guide, and the Federal Trade Commission’s Care Labeling Rule. These sources directly support the care-label-first, scrape, absorb-with-controlled-heat, pretreat, launder, and air-dry approach for textile wax stains. Because depilatory hard-wax formulas vary and the textile-specific sources focus mainly on candle wax, results can depend on the exact wax chemistry and the garment construction.
How to Use Google Lens on Chromebook lets you scan objects, translate text, and solve problems directly from your device. Follow these steps to get started quickly.
Learn how to clean a lululemon yoga mat using current care guidance: wipe gently, avoid soaking and bleach, dry fully, and store out of sunlight.
Learn how to remove hot glue from fabric using cooling, gentle scraping, and cautious alcohol treatment, with fabric-safety checks for delicate materials.
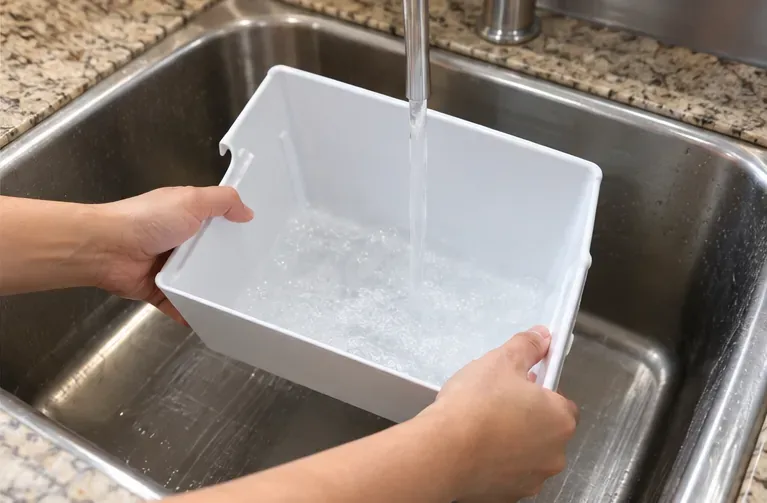
Learn how to clean a freezer ice maker safely, remove stale ice and residue, wash and dry the bin, and know when deeper cleaning or service is needed.
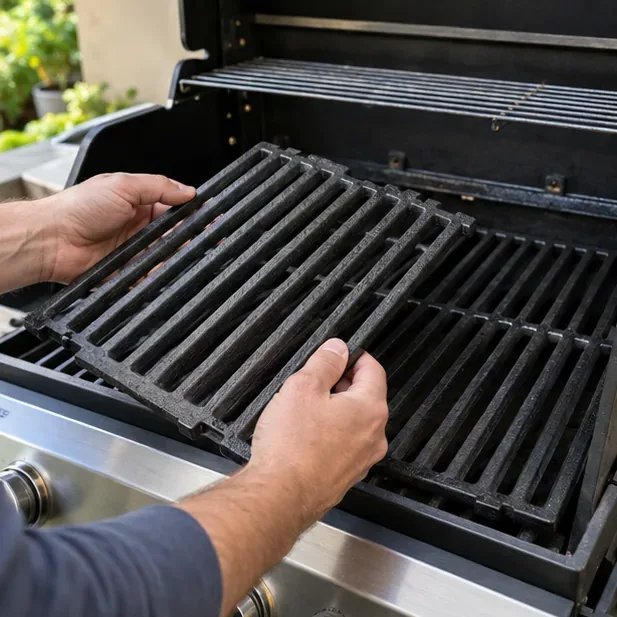
Learn how to season gas grill grates safely, when seasoning is actually needed, and how cast iron, stainless, and porcelain grates differ.
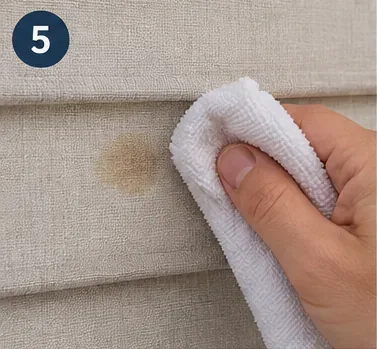
Learn how to clean fabric blinds safely: identify the material, remove dust, spot-clean stains, avoid damage, air-dry correctly, and know when to call a pro.
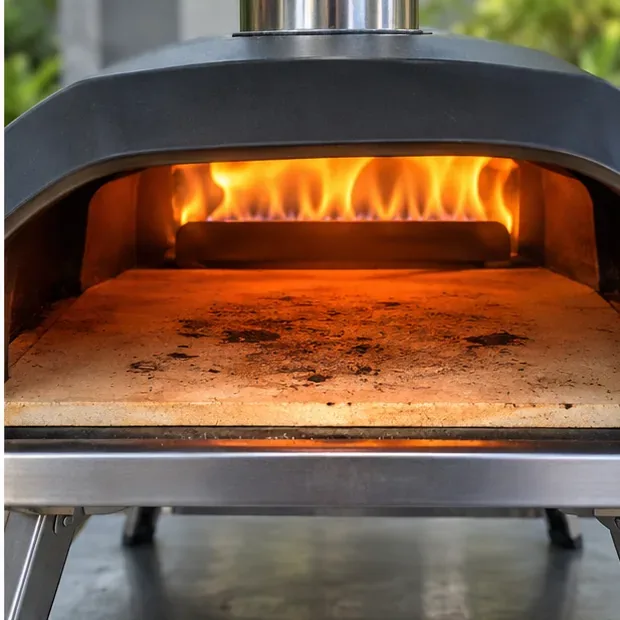
Learn how to clean an Ooni pizza stone safely with dry brushing, high-heat burn-off, and flipping—plus what to avoid and how to know it is clean enough.
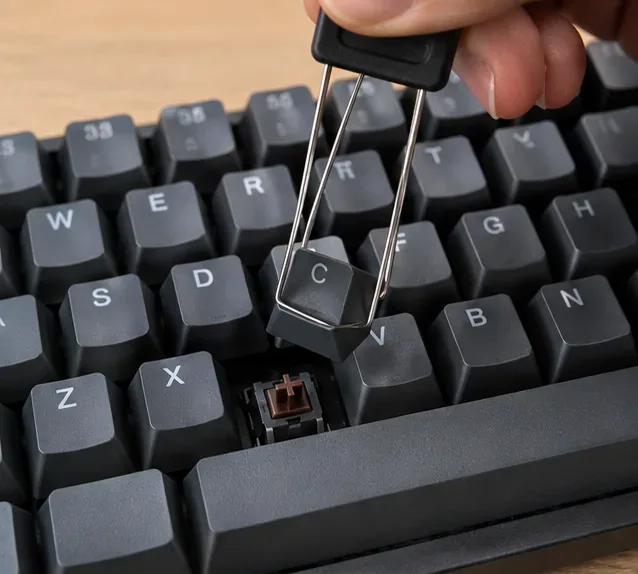
Learn how to clean a mechanical keyboard safely, from removing keycaps and dust to washing compatible caps, drying, reassembly, and testing.
Learn how to remove hardened wax from clothes safely: harden, scrape, transfer with low heat, pretreat residue, wash by the care label, and air-dry.
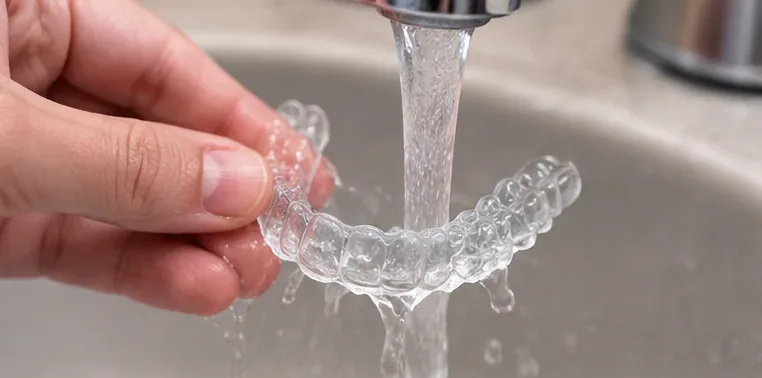
Clean a removable retainer at least daily, rinse it whenever you remove it, and use a deeper manufacturer-approved clean about weekly. Learn what changes the schedule.