How to Make Makeup Brushes Dry Faster Without Damaging Them
Speed up makeup brush drying safely: blot out water, reshape bristles, improve airflow, and avoid heat that can damage fibers, ferrules, and glue.
If you need clean makeup brushes ready sooner, the safest way to speed drying is simple: remove as much water as you can with a clean absorbent towel, reshape the bristles, spread the brushes apart, and let cool moving air reach the brush heads. Avoid hot air, radiators, direct sun, and storing wet brushes in a closed container. Those shortcuts may feel faster, but they can damage bristles or the parts that hold a brush together.
This approach also lines up with current guidance from dermatologists and major brush manufacturers. The American Academy of Dermatology advises squeezing out excess moisture and laying brushes flat with the tips hanging over the edge of a counter. Brands such as Morphe, EcoTools, and Sigma Beauty likewise emphasize removing excess water, reshaping bristles, and air-drying rather than using damaging heat.
For most conventional makeup brushes, these four actions make the biggest practical difference. They reduce the amount of water trapped in the bristles and expose more of the brush head to surrounding air without cooking or stressing the fibers.
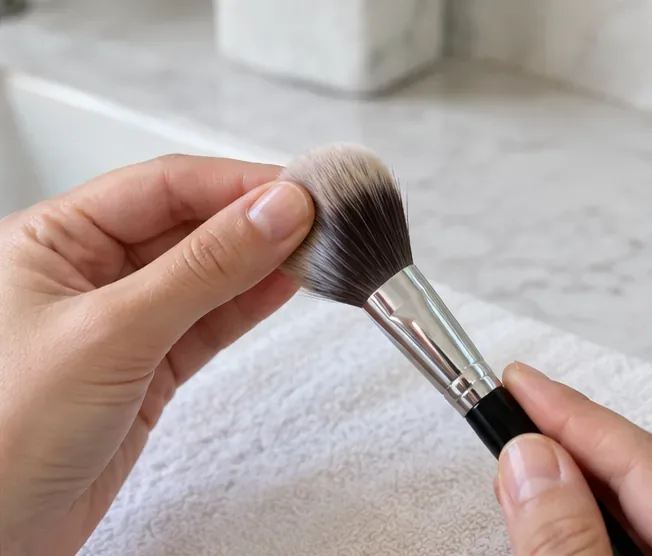
After the final rinse, hold the brush so water is not running toward the ferrule, the metal section between the bristles and handle. Wrap the bristles in a clean microfiber towel, cotton towel, or paper towel and gently press. Squeeze from near the base of the bristles toward the tip without twisting, wringing, or pulling.
This is the most important speed-up step because a towel can remove a large amount of free water before evaporation even begins. The AAD specifically recommends squeezing out excess moisture with a clean, dry paper towel, while e.l.f. recommends a gentle squeeze followed by blotting on a clean towel.
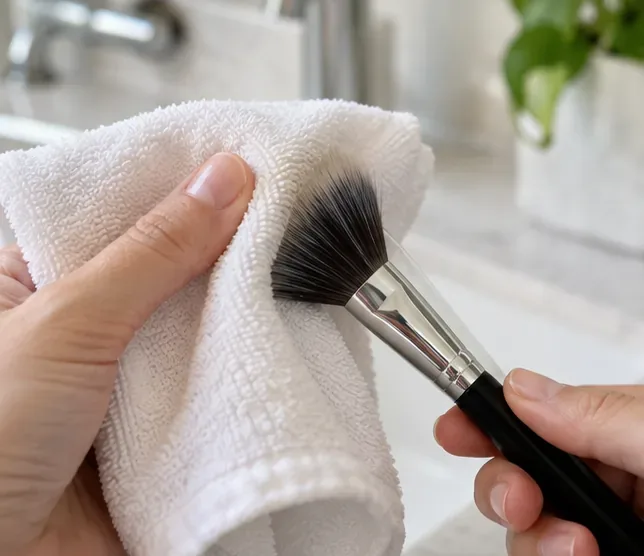
Use clean fingertips to return the brush head to its normal profile. A fluffy powder brush should look rounded again; a flat foundation brush should lie smooth and even; an angled brush should keep its slanted edge. Do not tug individual hairs into place.
Reshaping does not just preserve performance. It also prevents wet fibers from drying in dense, folded clumps that trap moisture. For ordinary glued brushes, keep unnecessary water away from the ferrule. Morphe warns against wetting ferrules or submerging brushes because doing so can compromise construction, and EcoTools similarly tells users to avoid soaking the ferrule and handle.
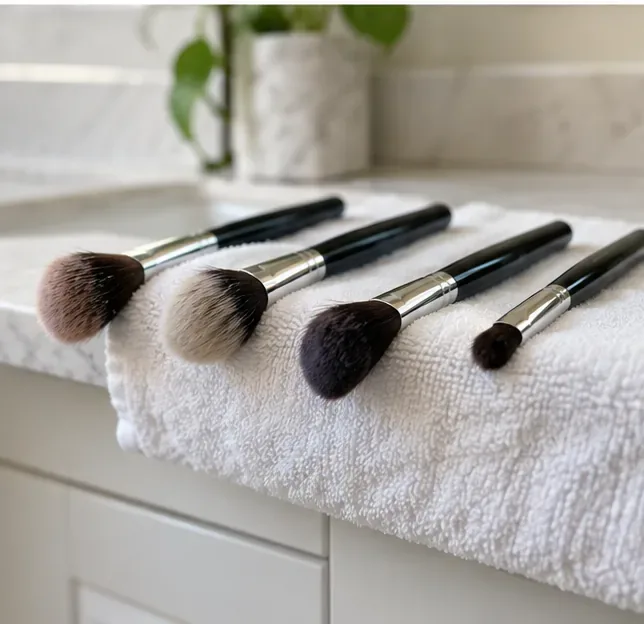
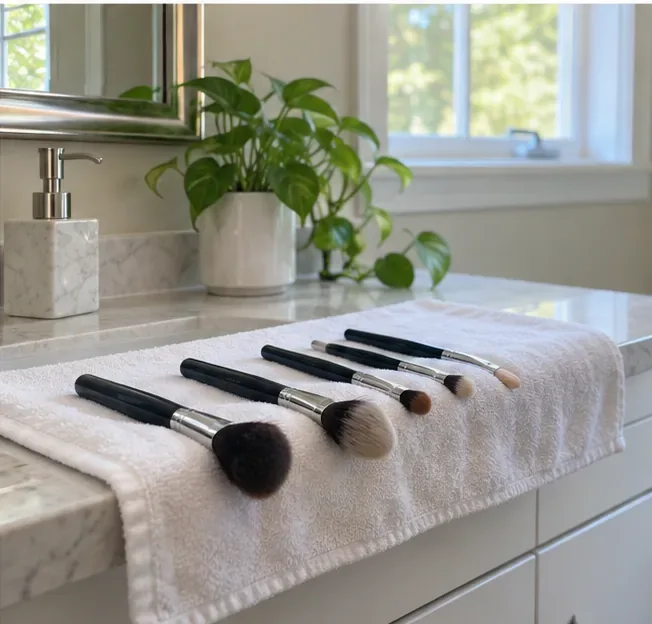
Do not heap ten wet brushes together on one soaked towel. Put them in a single layer with a little space between each handle and brush head. If your brush maker recommends flat drying, place the handles on a dry towel and let the bristles extend beyond the counter edge so air can reach more of the head.
Replace a towel that becomes saturated. A wet towel pressed against the underside of a brush keeps supplying moisture to the same area, which works against faster drying. If you are cleaning a large collection, use two towels or split the batch between separate surfaces rather than crowding everything together.
A dry room with natural air movement is better than a steamy bathroom. You can place the brushes in a well-ventilated room or use a room fan on a low setting to move cool air through the area. Treat the fan as a practical airflow aid rather than a manufacturer-prescribed requirement: the major guidance reviewed consistently supports air-drying, but it does not specify a universal fan distance or speed.
Do not point hot air at the brushes. e.l.f. explicitly says not to use a hair dryer or heat tools, and Hakuhodo USA warns that dryers and direct sunlight can damage brush hair. If you are tempted to use heat because you need a brush immediately, it is safer to switch to a clean spare brush.
There is no single drying time for every brush. Dense foundation brushes hold much more water than small liner or detail brushes, and room humidity changes how quickly moisture evaporates. The drying position and brush construction matter too.
As a manufacturer-specific reference, e.l.f. publishes approximate drying ranges of 4–6 hours for small eye brushes, 6–8 hours for medium face brushes, 8–12 hours for dense foundation brushes, and 12–24 hours for large powder brushes. Treat those as rough guidelines, not promises for every brand or climate.
| Brush type | What usually slows it down | Best way to help |
|---|---|---|
| Small eye or liner brush | Water trapped near a compact tip | Blot carefully and keep it separated from larger brushes |
| Medium blush or contour brush | Moderately dense bristle bundle | Reshape, then dry with the head fully exposed |
| Dense foundation brush | Water held deep inside tightly packed fibers | Spend extra time towel-pressing before air-drying |
| Large powder brush | Large volume of bristles | Use a fresh dry towel and maximize space around the head |
For the typical glued makeup brush, flat drying is the safest general default. The AAD says to lay brushes flat with the tips hanging off the counter, and both Morphe and EcoTools recommend flat drying rather than leaving wet brushes standing upright. Sigma says its brushes can dry flat or at a slight downward angle.
However, brush construction is not identical across brands. Hakuhodo, which makes many traditional natural-hair brushes, gives different instructions for its own products and says to dry them standing in a cup, away from heat. That is why the most precise rule is: use the maker’s care instructions when you have them. If you do not, flat drying with the head exposed and water kept out of the ferrule is a conservative choice for conventional glued brushes.
Check more than the outer tips. Gently part the bristles on a dense brush and feel near the center of the bundle. The brush should feel light and fluffy rather than cool, clammy, or compacted. e.l.f. lists free-moving bristles, no cool sensation, restored shape, and no musty smell among signs of proper drying.
If the outside feels dry but the center still feels cool or damp, give it more time. Using a partially wet brush can change the way powder or complexion products apply, and putting it into closed storage while damp defeats the point of cleaning it.
The easiest way to avoid emergency drying is to wash brushes after your last makeup application of the day rather than immediately before you need them. Clean the most-used brushes first, use a second clean set while the first dries, and avoid washing a full collection at once if you have limited counter space.
Regular cleaning also prevents heavy product buildup that takes longer to rinse out. The AAD recommends washing makeup brushes every 7 to 10 days to help remove product residue, dirt, oil, and bacteria. That schedule is a useful hygiene baseline, although professionals, shared tools, or brushes used with certain products may need different routines.
To make makeup brushes dry faster, focus on water removal and airflow rather than heat. Blot thoroughly, reshape the bristles, spread brushes apart, and air-dry them in an open, dry room. For most conventional brushes, a flat position with the head exposed is a sound default. If the manufacturer gives different care instructions for a specialty brush, follow those instead.
For additional reference, see the American Academy of Dermatology brush-cleaning guidance, the Sigma Beauty brush-care guide, the Morphe cleaning guide, and the FDA overview of microbiological safety and cosmetics.
Speed up makeup brush drying safely: blot out water, reshape bristles, improve airflow, and avoid heat that can damage fibers, ferrules, and glue.
Learn which stuffed animals can go in the washer, how to protect them, choose a gentle cycle, dry them safely, and know when hand washing is better.
Learn how to clean AirPods Pro ear tips with Apple’s current method: remove, rinse with water, dry completely, reattach, and avoid soap.
Learn how to remove dry-erase marker from a painted wall safely, from water and mild soap to careful rubbing-alcohol spot treatment.
Learn when bathtub cleaning is safe for blinds, which materials should never be soaked, and how to wash, rinse, dry, and rehang approved blinds without damage.
Learn how to clean a printer cartridge safely, when to use built-in cleaning, how to handle inkjet contacts, what to avoid, and how to verify print quality.
Learn how to clean a guitar fretboard safely, choose the right method for finished or unfinished wood, avoid common myths, and condition only when needed.
Learn how to clean a stained dry-erase board safely, remove ghosting and stubborn ink, handle permanent marker, and avoid common cleaning mistakes.
Clean PS5 cooling vents without opening the console using PlayStation’s recommended low-powered vacuum method, plus airflow and noise checks.
Learn how to clean an HP printer head safely using diagnostic pages, built-in cleaning tools, alignment checks, and model-specific manual care.