
Keep Debian 12 Security Updates Running on a Headless Server
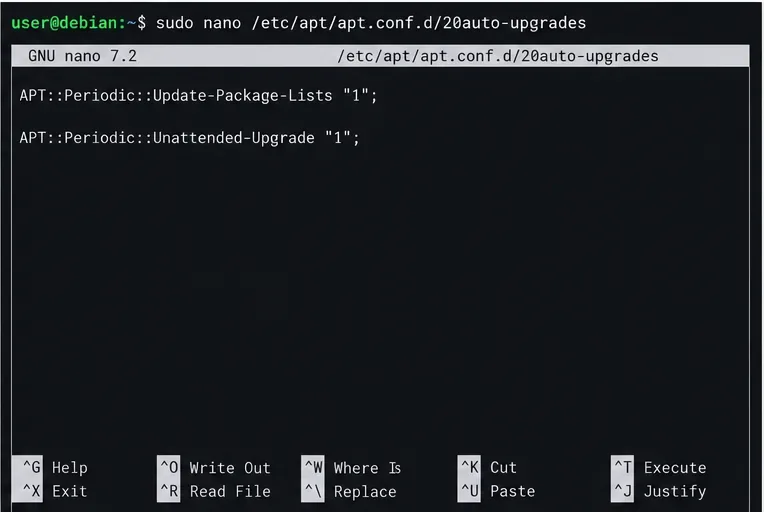
Enable Debian’s unattended security updates over SSH, keep the default package sources, and verify scheduled runs through systemd and APT logs.
There are times when you will need to recover deleted messages on your iPhone because you accidentally deleted them. The reason is because your storage is full because you need to free up your storage. However, there will be times when you will need to retrieve deleted messages because you need the information from that message.
Don't worry, we will have a few options to recover deleted iPhone messages, below are some ways that can help you recover deleted messages on iPhone.
Table of Contents
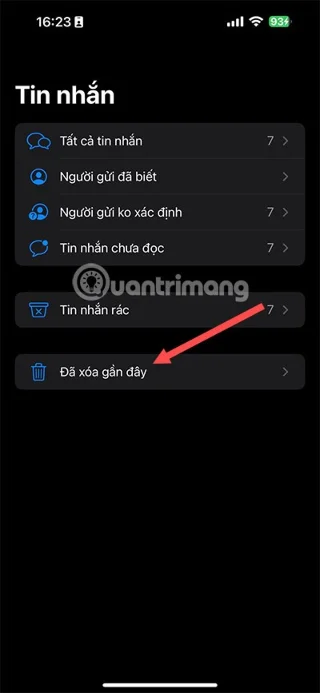
You can immediately retrieve the message you just deleted with the message recovery feature right in the Messages app. On condition that your device must be updated to iOS 16 to be able to retrieve deleted messages. Follow the instructions below to retrieve messages in the easiest way on iPhone.
Step 1: Select Filter in the list of messages you have.
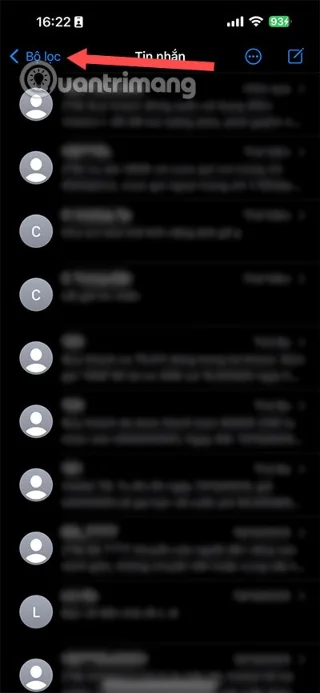
Step 2: In the filter list, select Recently Deleted . Above you also have options such as:
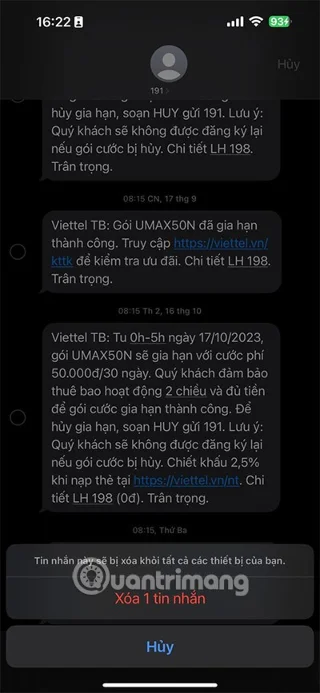
You can choose to Restore All or select individual messages by clicking the circle button next to the message you want to restore. Then select Restore Messages to retrieve the selected messages.
The messages you restore will appear in the same conversation or call center that you deleted. In case you delete the entire conversation, you will have to restore the entire conversation.
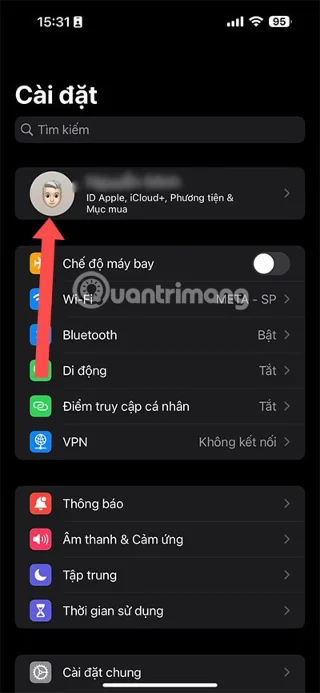
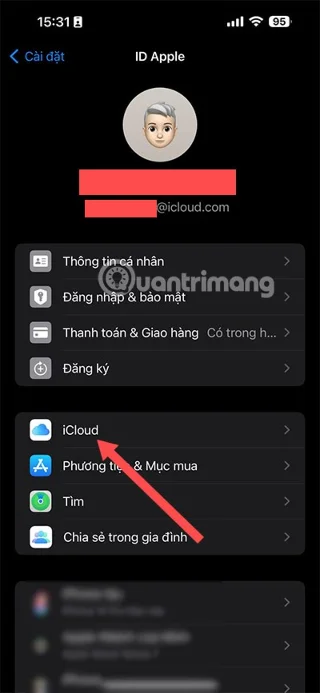
Step 1: This is the way that will take you some time to erase all the data on the device using iCloud. However, before that, you must enable the Messages backup on iCloud. By selecting iCloud in Settings.
Step 2: Select iCloud.
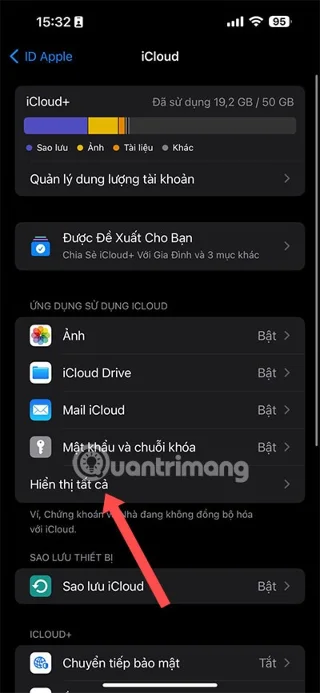
Step 3: Select Show all.
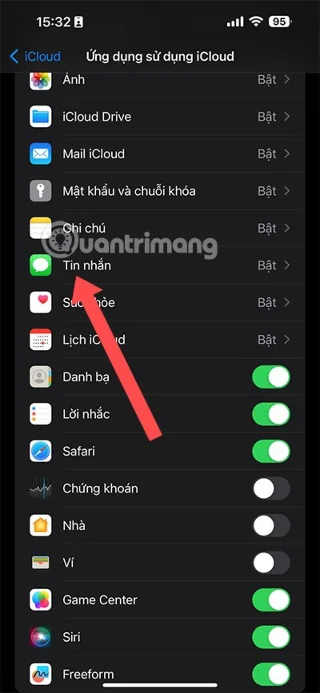
Step 4: Next, you must make sure that Messages backup to iCloud is enabled in the list of apps that backup to iCloud. Select Messages to enable iCloud backup if it is not already enabled.
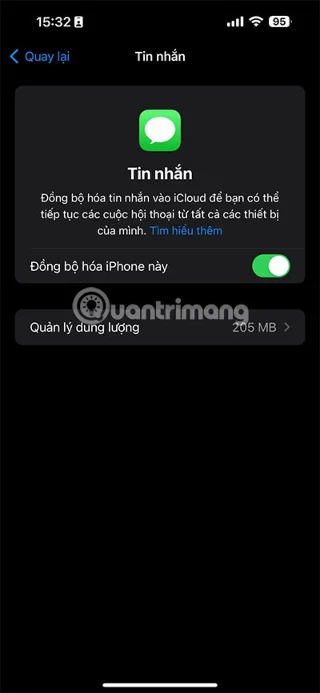
Step 5: Select Sync this iPhone .
Now, iCloud will automatically backup your messages every day, and if you can't use the above method to restore messages, use this method. Erase all settings and content, and when the device comes back on, restore using the iCloud that you backed up before.
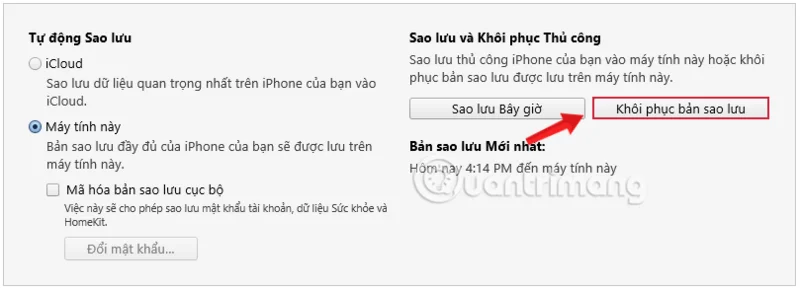
If you don't store data on iCloud but have synced with iTunes, you can completely restore deleted messages using iTunes.
Note : This method only works if you have synced and backed up your phone data with iTunes before deleting the messages.
All the data you synced with iTunes will be restored to your iPhone in a few minutes. See also: How to restore data with iTunes .
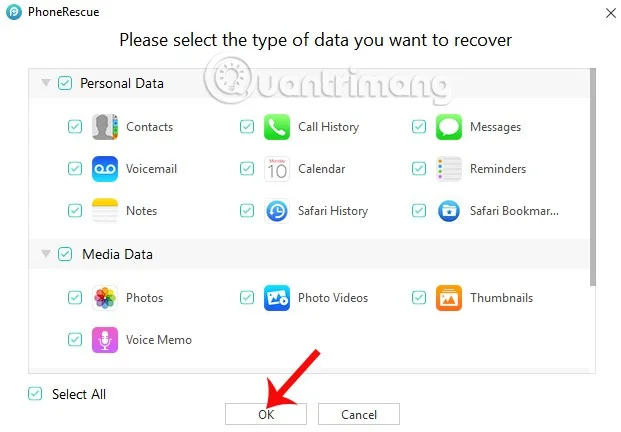
If both of the above methods do not work for you, try using a third-party application to restore deleted messages on iPhone. Here, Quantrimang would like to introduce to readers the PhoneRescue tool .
PhoneRescue application works effectively and quickly to recover deleted data on the device. PhoneRescue supports searching from images, videos, call logs, contacts and even messages you need.
Quantrimang.com has detailed instructions on how to use this tool, you can refer to it here: How to recover deleted iPhone data using PhoneRescue .
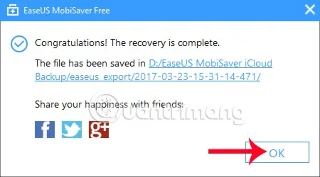
Another tool that is also commonly used to restore iPhone messages that you can use is EaseUS MobiSaver . The tool helps users find and restore deleted data on iOS devices, or retrieve data from backup files in iTunes such as photos, contacts, messages, calls, and browser bookmarks.
Users just need to install EaseUS MobiSaver on the computer, wait for the data scanning process on iPhone/iPad to complete, then you can select the data to restore.
To learn how to use EaseUS MobiSaver, see the article: How to recover deleted data on iPhone using EaseUS MobiSaver
Step 1 : Visit the software's homepage to download and install.
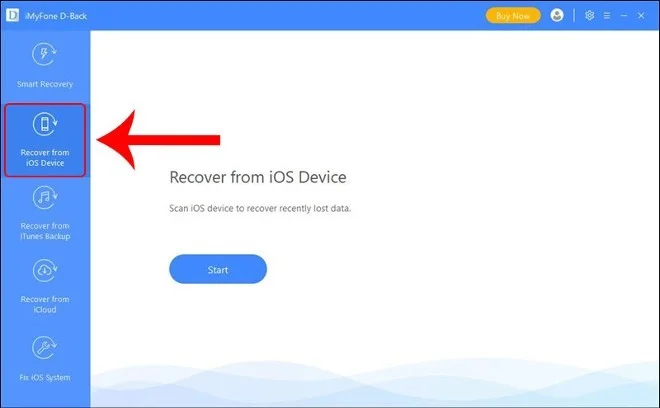
Step 2 : After installing the corresponding version for Windows or Mac, open iMyFone D-Back. Connect your iPhone to your computer and click the Recover from iOS Device button.
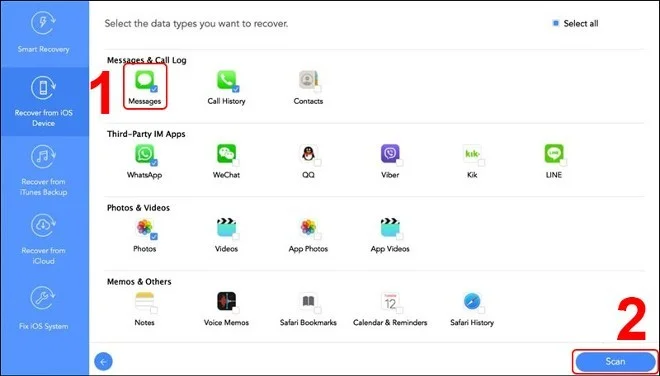
Step 3 : You choose the application you want to restore data. Specifically in this part is messages, so you choose the Messages application and then press Scan. Please wait a moment for the application to find the data.
Step 4 : Select the data you want to recover and click Recover.
Other commonly used software allows users to recover data on iPhone. Although when you delete messages, they still exist on the device until they are overwritten, the above applications can help you recover those messages.
There are several advantages of recovering iPhone messages, including:
Normally, network operators will store users' text messaging data. However, you can only access this data in extremely special situations such as at the request of a court, serving an investigation...
Good luck!
See also:
Enable Debian’s unattended security updates over SSH, keep the default package sources, and verify scheduled runs through systemd and APT logs.
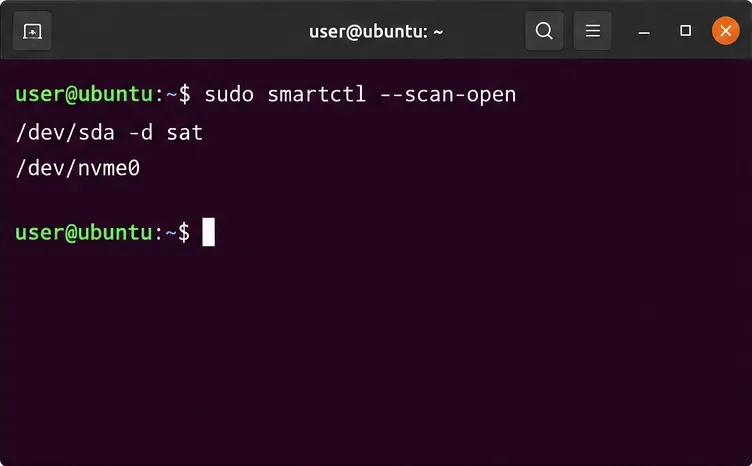
Compare mail delivery options, configure smartd on Ubuntu, and verify that disk-health warnings reach your inbox.
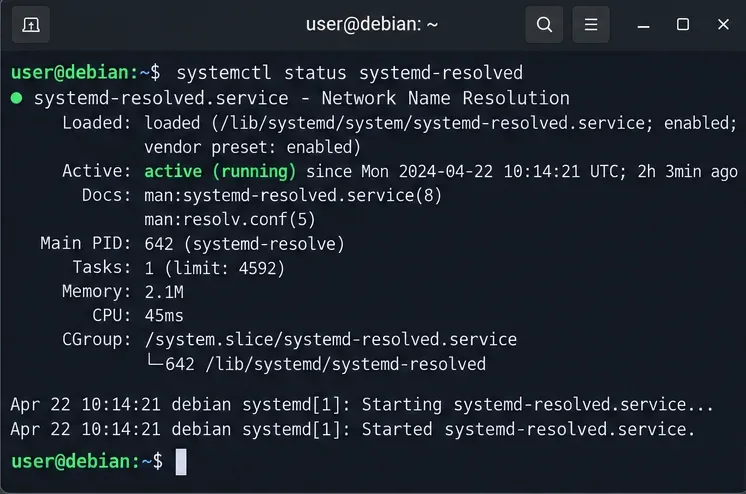
Restore DNS lookups on Debian 12 by checking systemd-resolved, repairing resolv.conf when needed, and verifying upstream DNS and application resolution.
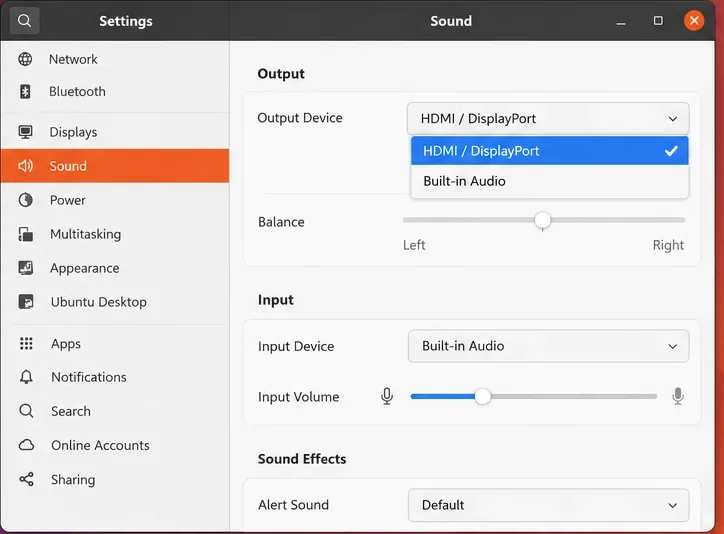
Get Ubuntu to detect your monitor or TV as an audio output, select it in Sound settings, and check the connection or PipeWire device list if HDMI is missing.
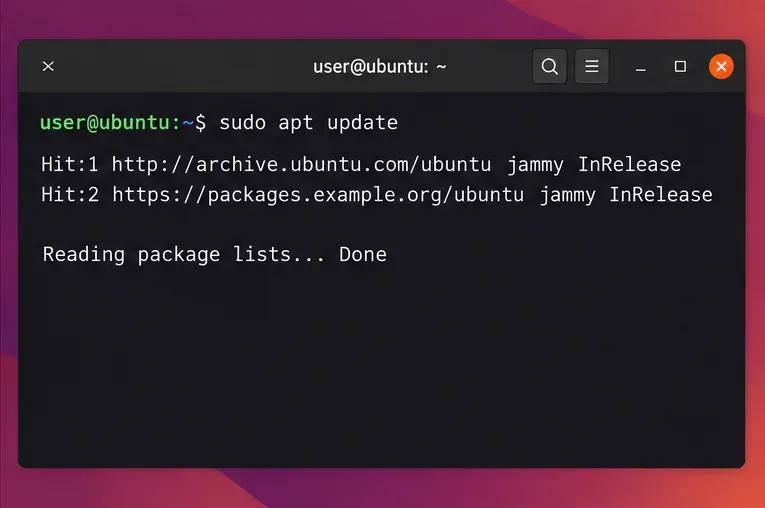
Resolve Ubuntu APT signature warnings safely by identifying the failing source, refreshing its verified key, and checking the result without disabling security.
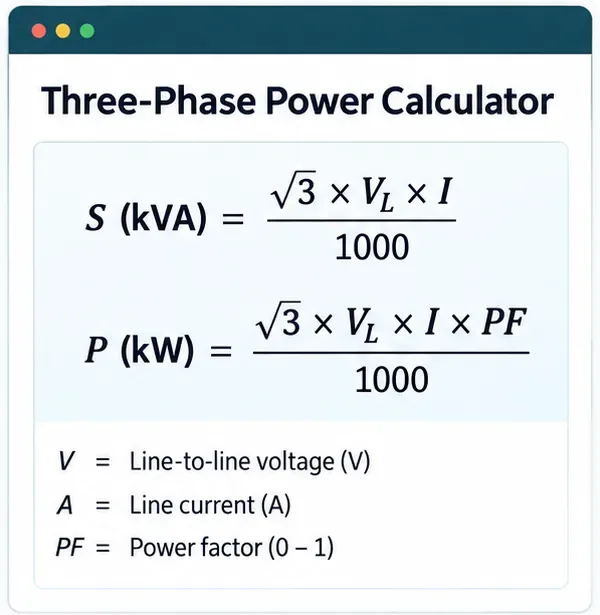
Learn the balanced three-phase formulas and convert line voltage, current, kW, kVA, and power factor step by step, with a worked example and limits to check.
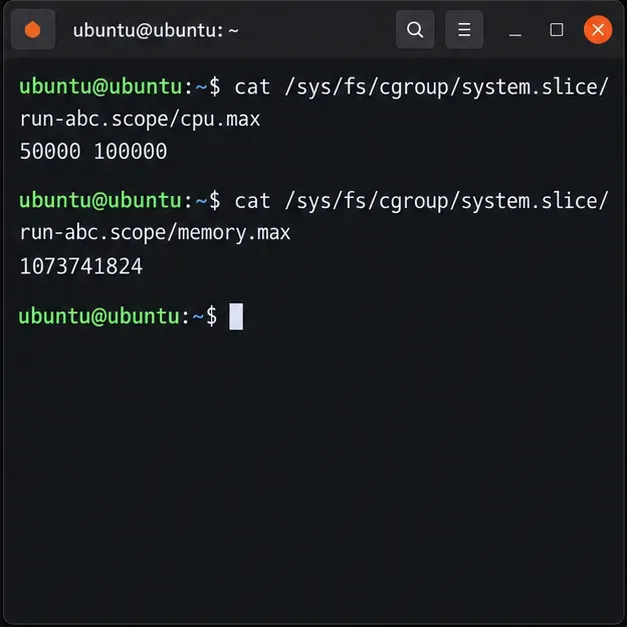
Run a workload inside a systemd scope with CPUQuota and MemoryMax, then verify the limits through cgroup v2.
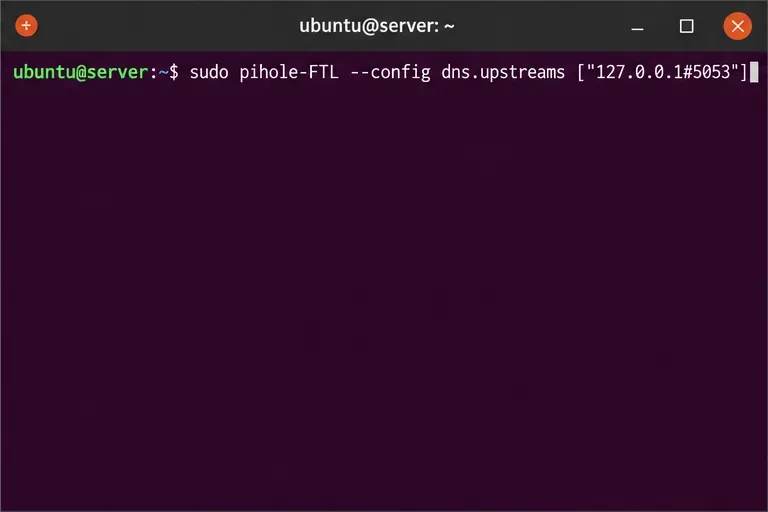
Set up dnscrypt-proxy as Pi-hole’s local DoH bridge on Ubuntu 24.04, with a localhost-only listener, resolver selection, and checks before switching DNS.
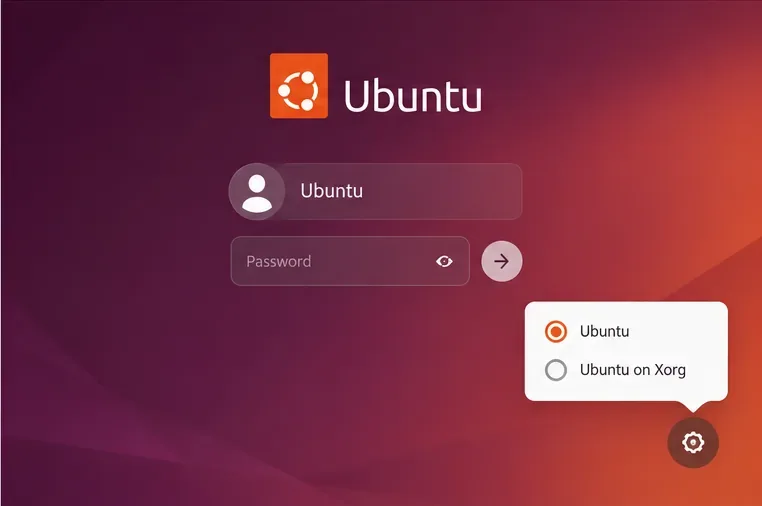
Check Ubuntu’s touchpad settings, confirm Wayland, and test GNOME’s built-in swipes before troubleshooting apps or hardware.
Create and verify a two-disk Debian 12 RAID 1 data array, format it safely, and configure it to assemble and mount after reboot.