How to Wash Suede Safely: What to Do Instead of Soaking It
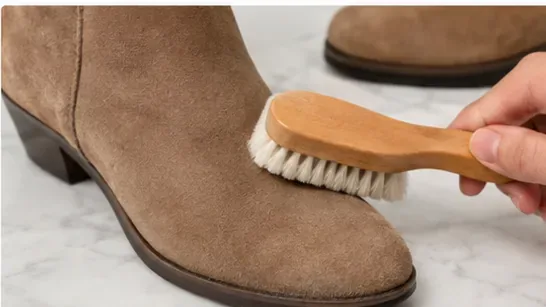
Learn how to clean suede safely without machine washing or soaking it, including brushing, stain removal, air-drying, and suede protection.
A bike chain usually comes off in one of two ways: you either open a removable quick link (also called a master link) or use a chain tool to push a rivet far enough to separate the chain. The right method matters because modern chains and connectors are not all designed to be opened, reused, or rejoined the same way.
Before touching the chain, identify what you have. A quick link looks different from the neighboring links and is made from two interlocking outer plates. If there is no removable connector, you will need a compatible chain breaker. On many derailleur bikes, removing the rear wheel is optional; on single-speed bikes, you may need to loosen the rear axle first to take tension off the chain.
For most bikes, you need only a rag or gloves plus one chain-specific tool. A master-link chain is easiest with master-link pliers. A riveted chain needs a chain tool that is compatible with the chain width and speed. Do not assume every chain breaker fits every modern chain.
| Chain setup | Best removal tool | Main advantage | Main trade-off |
|---|---|---|---|
| Modern derailleur chain with quick link | Master-link pliers | Fast and controlled | The connector may be single-use |
| Derailleur chain without a quick link | Compatible chain tool | Works without a removable connector | Rejoining requires the correct manufacturer-approved method |
| Older single-speed chain with clip-style master link | Needle-nose pliers or the specified link tool | Simple once the clip is identified | Clip-style links differ from modern quick links |
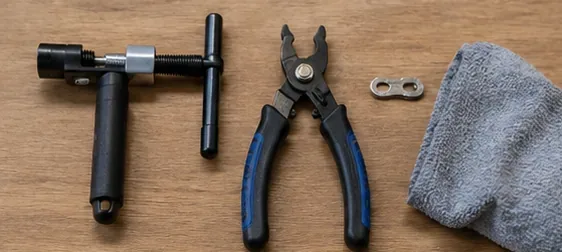
Park Tool's derailleur-chain replacement guide lists a chain tool and master-link pliers among the basic tools for chain removal. Its master-link pliers documentation also notes that connector designs differ, so tool compatibility matters.
Yes, on a typical derailleur bike it is helpful to shift onto the smallest rear sprocket before you begin. If the bike has multiple front chainrings, the smallest front ring also reduces chain tension and gives you more slack to work with. Stop pedaling before you handle the chain.
If the drivetrain has a derailleur clutch, follow the derailleur manufacturer's instructions for releasing or managing it; clutch mechanisms differ by brand and model. You generally do not need to remove the rear wheel just to disconnect a derailleur chain, although Park Tool notes that wheel removal can make the job easier by reducing tension.
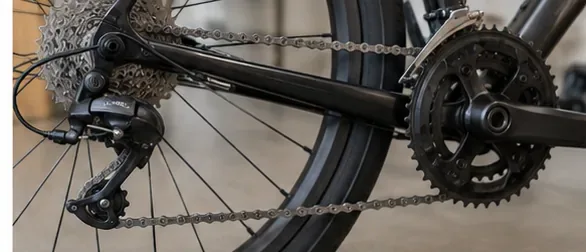
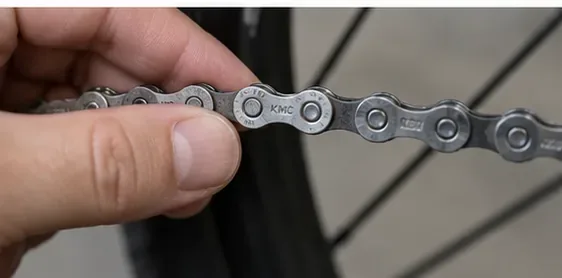
Rotate the cranks slowly by hand and inspect the outer plates. A quick link usually has two matching plates with elongated pin slots and often looks slightly different from the other links. Some are a different color; others are almost identical to the rest of the chain.
Do not confuse a quick link with an ordinary rivet. Shimano's chain dealer manual shows its QUICK-LINK being removed by sliding the link pins together with the specified removal tool. If you are unsure of the chain model, check the markings on the side plates before choosing a removal method.
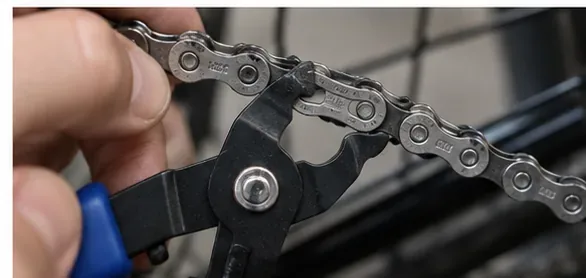
Bring the quick link to the lower, straight section of chain where it is easy to reach. Insert the jaws of master-link pliers into the two links on either side of the connector, then squeeze only until the connector slides to its unlocked position. Once the pins have moved into the wider parts of the slots, separate the two plates and let the chain ends hang free.
Do not pry the connector sideways with a screwdriver. A controlled squeeze with the correct pliers is less likely to distort the side plates or damage adjacent links. Park Tool's instructions say to remove tension from the chain, insert the plier tips into the master link, and squeeze just until the link separates.
Do not assume so. Connector rules are brand- and model-specific. Current Shimano guidance warns against reusing a QUICK-LINK after removal. SRAM likewise states that its Eagle PowerLock is designed for single use only; its Eagle PowerLock support page says to install a new PowerLock each time the chain is installed. Park Tool notes that some other master links may be reusable, so the safest rule is to follow the exact connector manufacturer's instruction rather than a generic habit.
Use a compatible chain tool. Place a normal chain rivet squarely in the tool's cradle and align the driving pin with the center of the rivet. Turn the handle slowly. The tool pin should stay centered; if it starts pushing at an angle, stop and realign it.
If the chain is worn out and being discarded, the goal is simply to separate it without damaging the chain tool. If you intend to reinstall the same chain, first confirm the manufacturer's approved joining method. Many modern chains do not allow you to drive an ordinary used rivet back in and call the job finished.
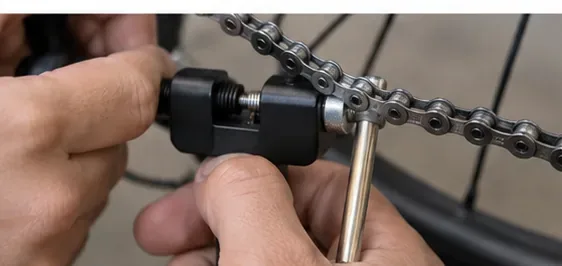
Not always. On some traditional chains, pushing the rivet just far enough to let the plates separate can make later handling easier. Park Tool's instructions for some single-speed chains specifically advise against driving the old rivet completely out when separating the chain. But that does not make the rivet universally reusable; joining requirements vary widely across chain designs.
For a modern multi-speed chain, use the chain or component manufacturer's service instructions for reassembly. If the chain is being replaced, there is no practical benefit to preserving a questionable connecting rivet.
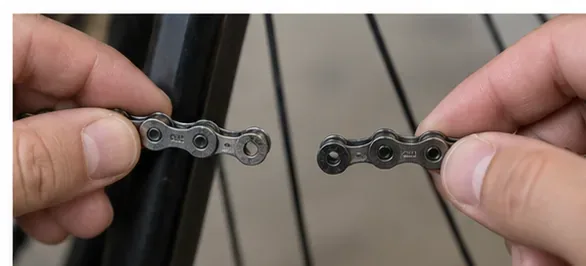
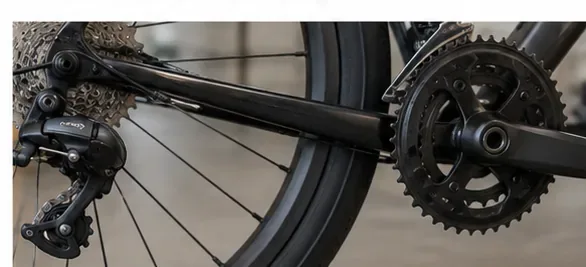
With the chain open, hold one end with a rag and slowly feed it forward off the chainring, cassette, and derailleur pulleys. On a derailleur bike, pay attention to the path through the pulley cage. Taking a quick reference photo before pulling the chain free can make reinstallation much easier.
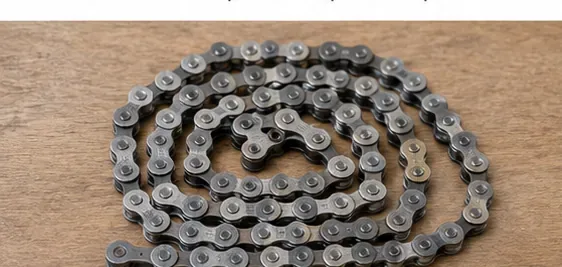
Avoid dragging a dirty chain across the frame, brake rotor, tire, or floor. If the chain is coming off for cleaning rather than replacement, coil it on a tray or rag so you do not lose the connector pieces.
Often, yes. A single-speed chain is not tensioned by a rear derailleur, so you may need to loosen the rear axle nuts or other tensioning hardware before opening the chain. Park Tool's single-speed chain replacement guide recommends relieving chain tension first and explains both clip-style master links and connecting-rivet chains.
Older clip-style master links are also different from the modern interlocking quick links used on many derailleur drivetrains. Park Tool notes that its MLP-1.2 pliers are not intended for the style with both pins attached to one plate and a separate spring clip; needle-nose pliers are more appropriate for those older designs.
Before moving on to cleaning or replacement, check four things:
If your chain has a removable quick link, master-link pliers are normally the quickest and least disruptive choice. If there is no quick link, use a chain tool that explicitly supports your chain. On an older single-speed setup, inspect the master-link style before choosing between quick-link pliers and needle-nose pliers.
The main trade-off is not speed; it is what happens after the chain is open. A connector that is safe to remove may still be one-time-use. A chain tool can separate almost any compatible riveted chain, but rejoining that chain may require a new connector, a special joining pin, or a different installation procedure. Before removing a chain you plan to reuse, verify the exact chain model and have the correct replacement joining part ready.
After the chain has been reinstalled, do not immediately ride away. Turn the cranks by hand, shift through the gears while the bike is safely supported, and inspect the joining link. It should articulate freely and sit flush with the neighboring links. Confirm any directional arrows or orientation marks required by the chain manufacturer.
If the link is stiff, does not lock positively, or you are uncertain whether the connector may be reused, stop and replace or reinstall it according to the manufacturer's service documentation. A chain connection is a safety-critical part of the drivetrain, and this is one place where the exact chain model matters more than a generic shortcut.
Learn how to clean suede safely without machine washing or soaking it, including brushing, stain removal, air-drying, and suede protection.
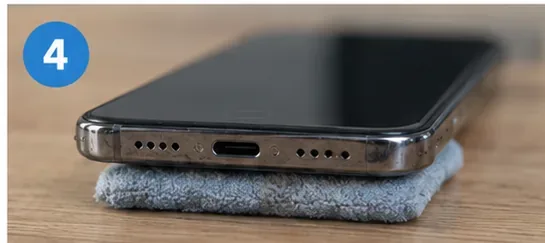
Learn how to dry a wet phone charger port safely, compare air-drying, wireless charging, emergency overrides, and service, and avoid heat, rice, and objects.
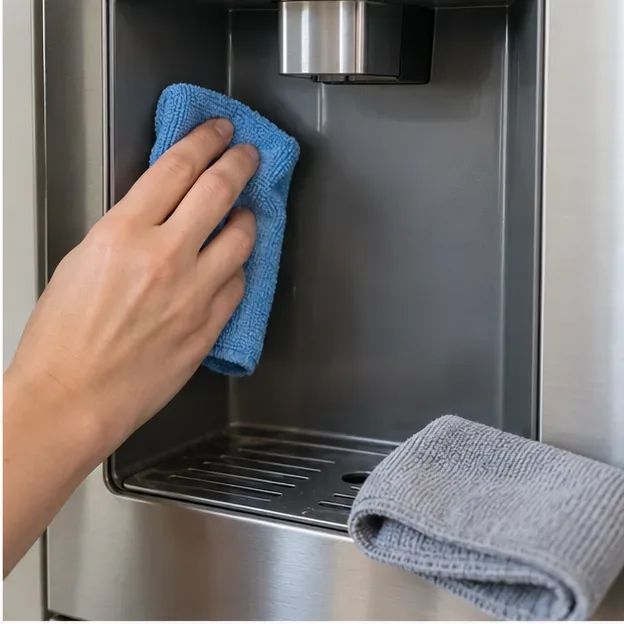
Clean a refrigerator water dispenser safely with mild soap, careful nozzle cleaning, mineral-scale removal, drying, and filter checks.
Learn how to take a bike chain off safely, whether it uses a quick link or rivet, plus which tools to use and when a connector must be replaced.
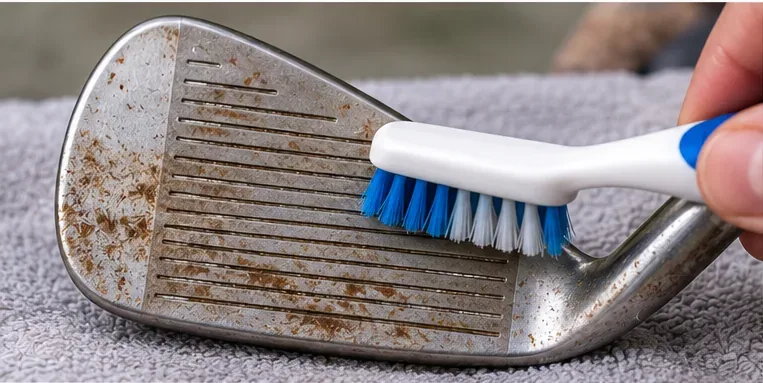
Learn how to remove rust from golf clubs safely, starting with soap and a soft brush, when to stop, and how raw wedges differ from plated irons.
How to Use Google Lens on Chromebook lets you scan objects, translate text, and solve problems directly from your device. Follow these steps to get started quickly.
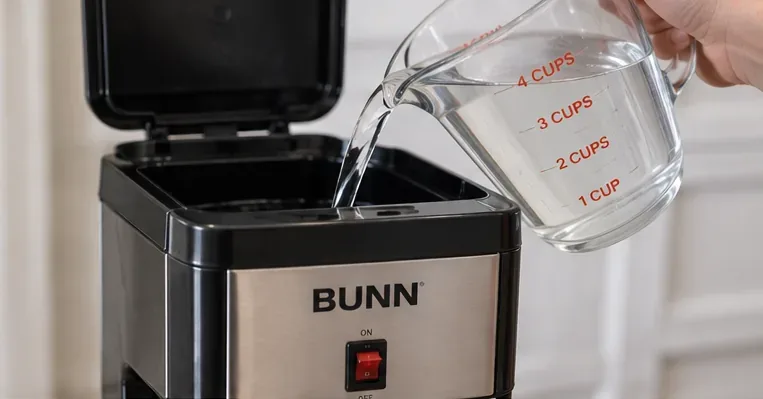
Clean a BUNN coffee maker with vinegar safely using the verified Heat N Brew method, plus model checks, sprayhead care, flushing steps, and mistakes to avoid.
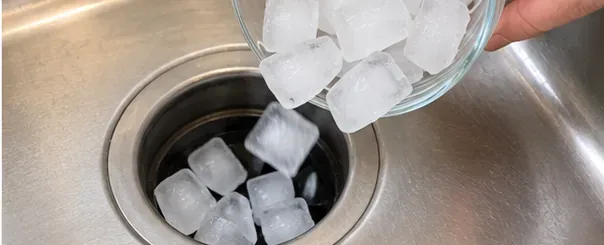
Learn how to clean a garbage disposal with ice, compare cold-water, citrus, and deeper-clean options, and know when ice is not enough.
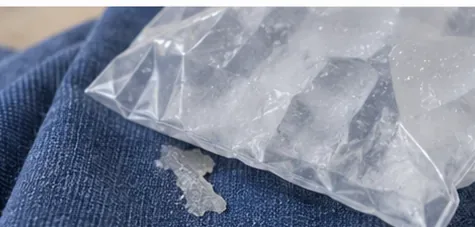
Learn how to remove school glue, super glue, hot glue, and adhesive residue from clothes safely, with fabric-specific steps and solvent cautions.
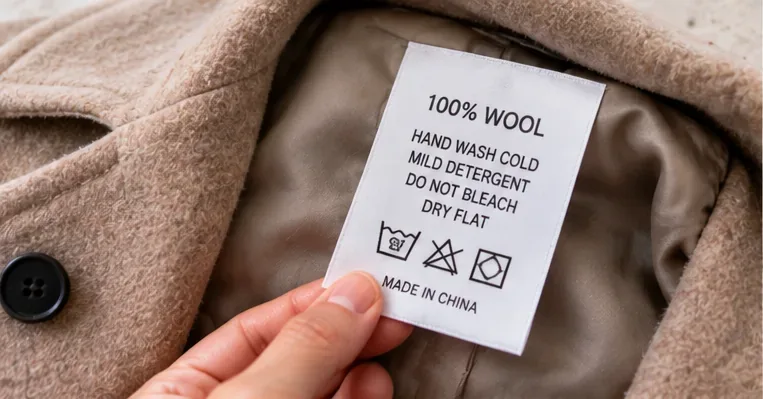
Learn how to wash a wool coat safely by following its care label, choosing a wool-safe detergent, washing gently, and drying without shrinking or distortion.