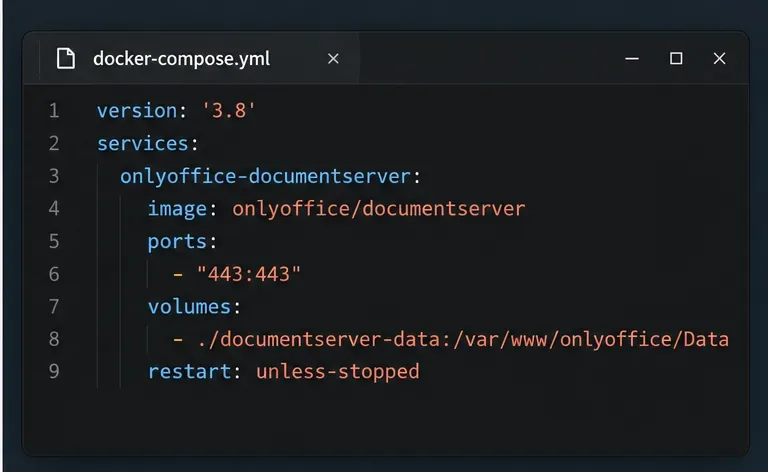








Deploy ONLYOFFICE Docs Enterprise with Its Official Compose File

Start the Enterprise Docker Compose stack, persist its license and data, configure JWT safely, and confirm the editors are ready to integrate.
The following article will introduce you to the functions and effects of buttons on the BN59-01198C remote of Samsung J5500 Smart TV .

1 - Turn on and off the TV
2 - Display and select the currently connected picture signal (See how to use the SOURCE button )
3 - Turn Sport Mode on or off (See also how to use the SPORTS button )
4 - Select a live channel
5 - Select the Teletext ON, Double, Mix or OFF mode
6 - Return to the previous channel
7 - Mute or unmute temporarily
8 - Change channels
9 - Adjust volume
10 - Display the channel list
11- Smart Hub (See how to use the SMART HUB button )
12 - Open the Menu
13 - Show electromagnetic instruction program
14 - Quick selection of frequently used functions
15 - Display information on the screen
16 - Move the cursor, select menu items on the screen and change the values shown on the TV menu
17 - Return to previous menu
18 - Exit the menu screen
19 - Use the buttons according to the instructions on the screen
20 - E-Manual: Display the e-Manual
Search: Perform a search function (See also how to use the SEARCH button )
AD / SUBT: Displays Accesibility Shortcuts
P.Mode: Change the picture mode
P.Size: Resize the image
S.Mode: Shows a list of audio modes and allows to change modes
21 - Use these buttons for special features and follow the instructions on the screen
Input source, soccer mode, search, smart hub, size are the recommended buttons to use it to best experience your Samsung J5500 TV home.
The SOURCE button effect
+ For content source selection (TV / USB / HDMI / ...)
Use mirroring images from mobile devices to TV
How to use the SOURCE button
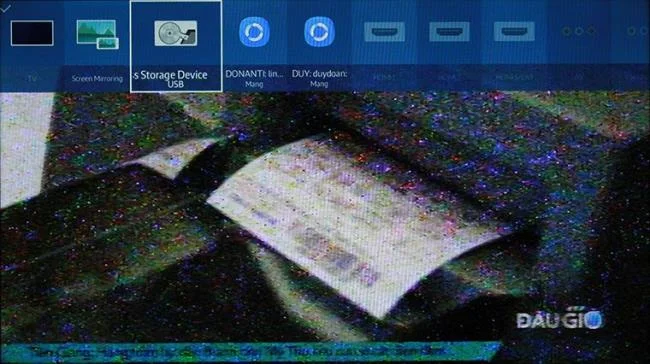
Step 1: Click the SOURCE button on the remote
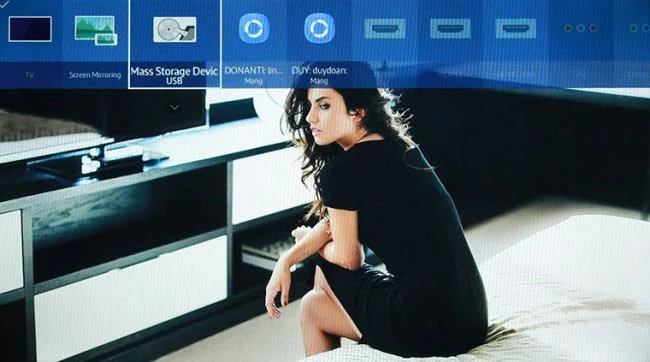
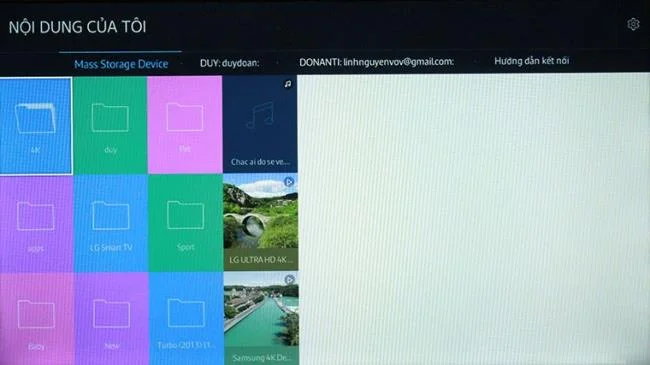
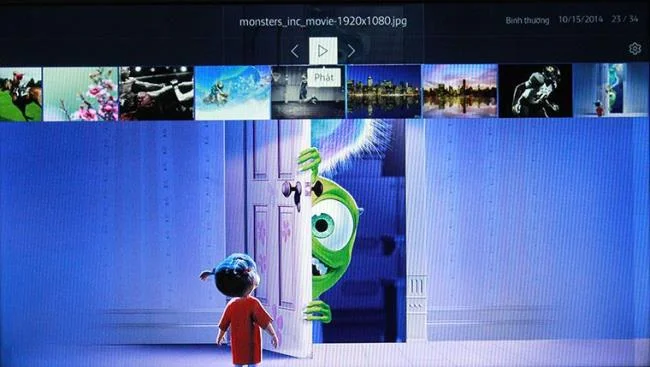
Step 2: Select the input source that you want to see. WebTech360 is taking the example in the article to view the content from a USB source.
Step 3: Select the content and slideshow
This method is similar to other input sources such as: HDMI, TV, AV ...
Effects of the SPORTS button
+ Help enhance the sharpness, smoothness, and greenness of images in sports matches
+ Increase the sound for the ball game - screams - cheers
How to use the SPORTS button
Step 1: Press the SPORTS button - the sport mode will be turned on automatically
Step 2: Click again to exit the sport mode
See more:
SMART HUB button effects
Boot up the TV's smart interface, from where you can:
+ Play games, online facebook, watch youtube
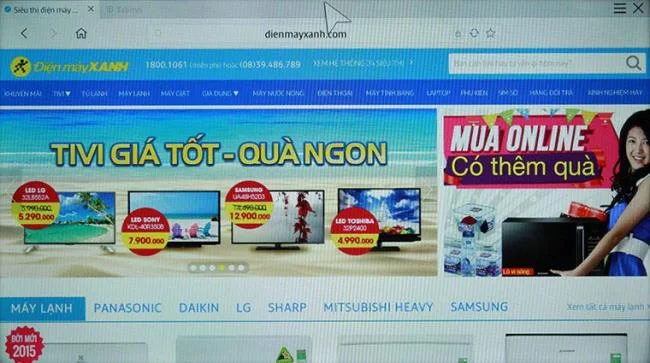
+ Access to web browser to surf the web, read newspapers ...
+ Download new applications
Uses the Smart Hub button
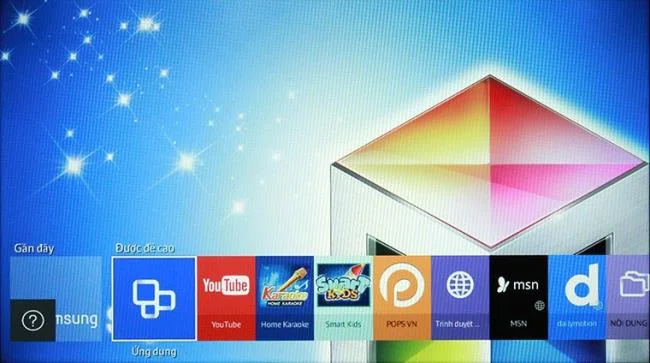
Step 1: Click the Smart Hub button.
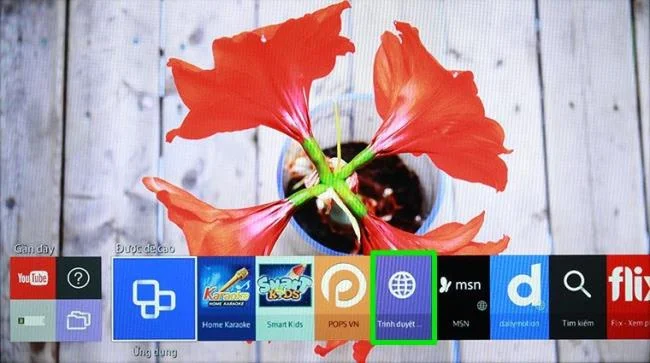
Step 2: At this time, the Smart Hub interface is started, select a certain content to experience. For example: WebTech360 chooses a browser to surf the web.
Search button effects
+ Quick search for content on TV
+ Search content from app store / youtube
+ Helps you to quickly launch or quickly download searched content from TV
How to use the SEARCH button
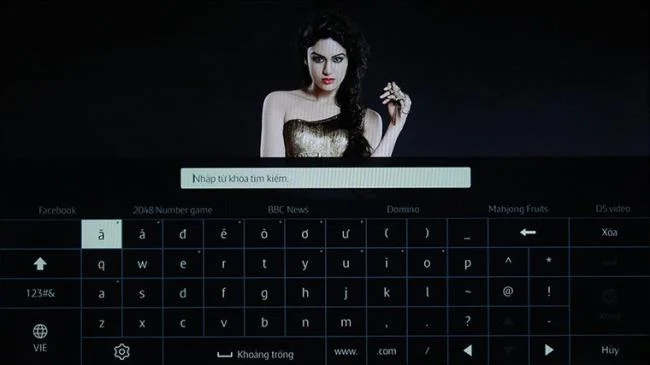
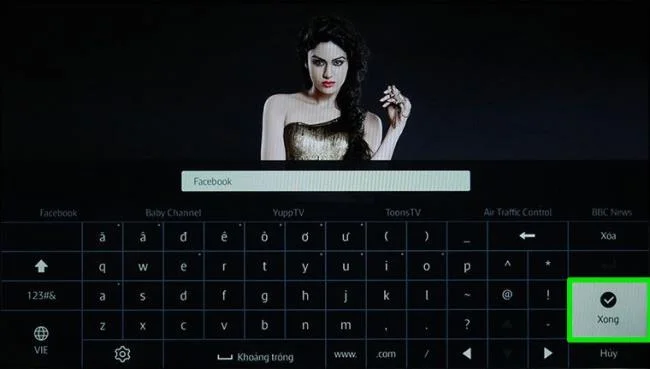
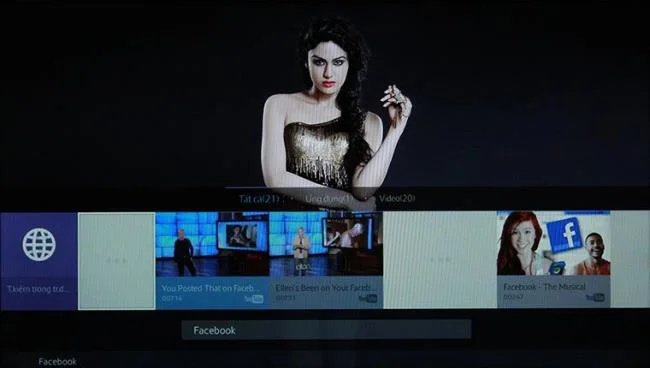
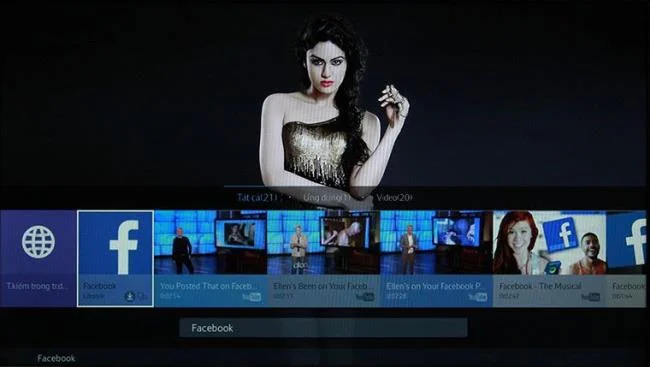
Step 1: Click the Search button
Step 2: Enter your search, then select Done. Here, WebTech360 chooses facebook application.
Record button effects
+ Record the program the TV is playing on the USB or hard drive.
How to use the record button
Note: Before recording, connect a USB or hard drive to the TV set
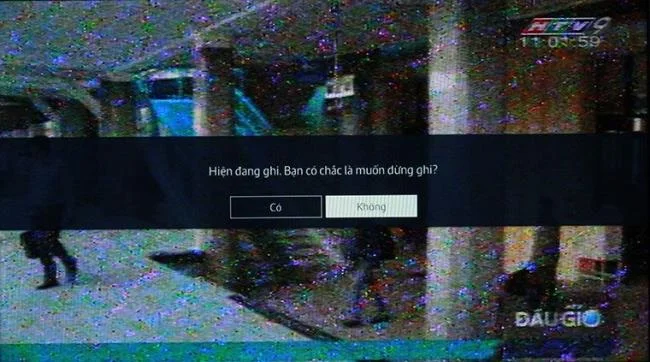
Step 1: Click the record button

Step 2: Click Yes when the message asking about recording appears
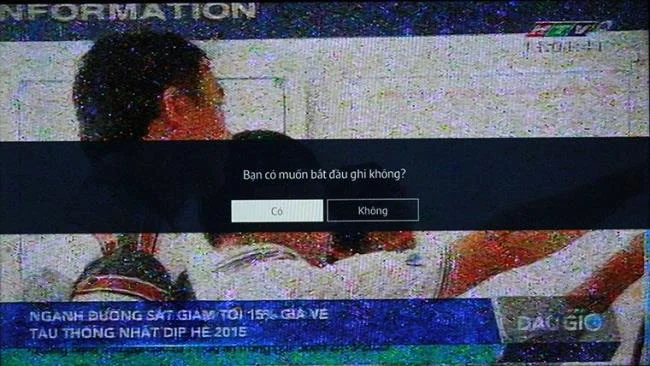
Step 3: Wait while the TV is recording
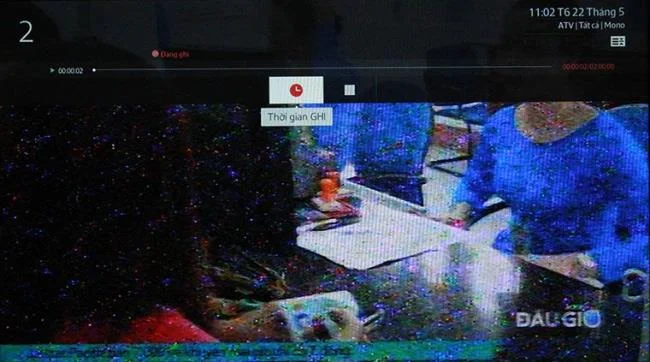
Step 4: Click the button Stop and click Yes to stop recording
Step 1: Click the SOURCE button, select the USB source.
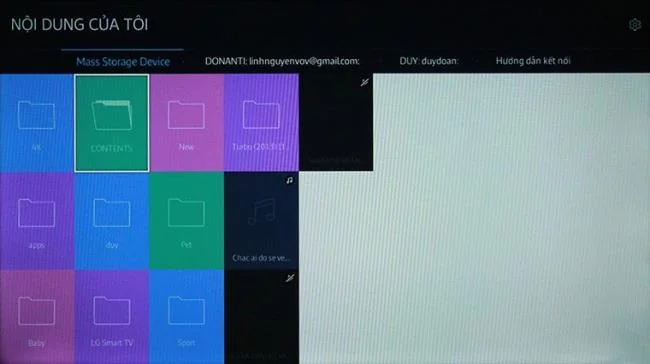
Step 2: Open the CONTENTS folder (this folder is created by the TV)
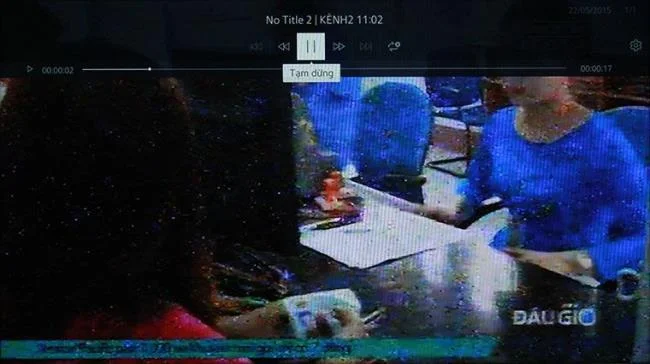
Step 3: Select the content that the TV just recorded and play it.
See more:
How to record a TV show on a Samsung TV
Above is the content of instructions on basic remote buttons Samsung BN59- 01198C- Currently this remote is being used for Smart TV model J5500.
Start the Enterprise Docker Compose stack, persist its license and data, configure JWT safely, and confirm the editors are ready to integrate.
Use an ONLYOFFICE JavaScript macro to remove nonprinting characters and trim extra spaces from a defined spreadsheet range, with a safe review workflow.
Connect ONLYOFFICE DocSpace to Active Directory or OpenLDAP, import users and groups safely, map account fields, and schedule reliable synchronization.
Move portal data from Disk Default to a supported cloud storage provider, or relocate Docker data safely by changing its host volume mapping.
Identify whether Document Server uses a Linux package or Docker, remove only its components, and check remaining data without deleting shared services by mistake.
Trace slow collaborative editing to Docker resource pressure, proxy connections, or document load, then choose the fix that matches your measurements.
Install custom fonts in ONLYOFFICE Document Server, compare persistent Docker mounts with direct copies, rebuild the font list, and verify the result.
Choose where TLS should terminate, mount a trusted certificate and private key safely, and verify HTTPS access to a Dockerized ONLYOFFICE Docs server.
Embed the ONLYOFFICE editor in your PHP app, sign its configuration with JWT, and save edited files through a secure callback.
Set the proofing language for the whole document or selected text, confirm spell checking is active, and identify when a server dictionary is missing.