Enable FIPS Mode on SLES 15 and Verify the Boot State
Follow SUSE’s SP7 procedure to enable FIPS mode, reboot safely, verify the active policy, and check whether your compliance requirement calls for validated modules.
The System Update Readiness Tool is a great free tool that helps you easily fix operating system update errors.
The System Update Readiness Tool is a small piece of software released by Microsoft that is used to fix or fix Windows update problems. If you are unable to update Windows 10/8/7 or encounter an error 0x000000 that causes this process to fail, then the System Update Readiness Tool can definitely help you resolve the problem.
The System Update Readiness Tool regularly scans the system to promptly fix file errors and inconsistent registry settings for updates. The process of installing the System Update Readiness Tool takes about 15 minutes. The software does not encourage you to exit the SUR tool when installing. Although it does not display scan results on the screen, you can find activity log reports at% windir% \ Logs \ CBS \ CheckSUR.log.
The System Update Readiness Tool is only available on Windows Vista, Windows 7 , Windows Server 2008 and Windows Server 2008 R2. However, it has been integrated into Windows 10/8 so you can use the DISM command and sfc / scannow to activate immediately without installation.
To use the System Update Readiness Tool on these two operating systems, you must download it from the Microsoft web site or via Download.com.vn.
Download System Update Readiness Tool
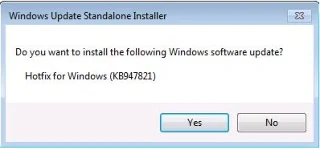
Step 1 : Double-click the installer and follow the instructions. The process is quite simple and easy.

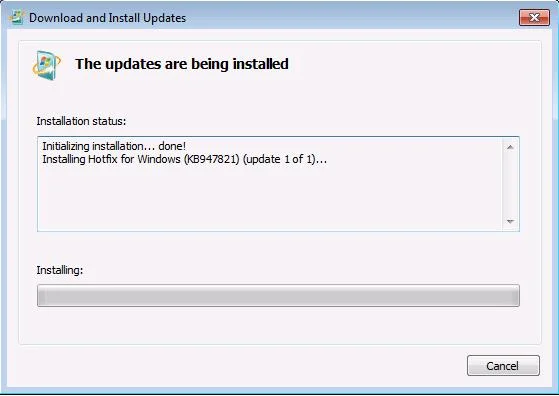
Step 2 : When the installation is complete, the tool automatically starts the system scan. Please wait patiently for this job to complete.
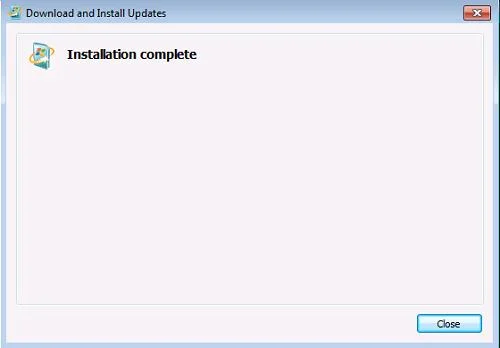
Step 3 : Click Close .
Step 4 : Now try to install Windows Update again. Hopefully you will no longer see Windows update errors.
In case the System Update Readiness Tool handles a computer failure, you can refer to Troubleshooting Windows Update not working with 5 simple steps .
Hope the article is helpful to you.
Follow SUSE’s SP7 procedure to enable FIPS mode, reboot safely, verify the active policy, and check whether your compliance requirement calls for validated modules.
Compare YaST and cryptsetup for a new encrypted SLES data volume, choose LUKS1 or LUKS2, and verify unlock and mount behavior safely.
Create, refine, and verify a least-privilege AppArmor profile on SLES 15 SP7, with a clear note on SLES 16’s SELinux default.
Set up RMT on SLES 15, mirror entitled repositories, and verify HTTPS registration and package access from a test client.
Connect SLES 15 to AD with YaST’s SSSD-based logon management, then verify directory lookup, domain login, and Kerberos tickets.
Set up the right Live Patching path for SLES 16.0 or 15 SP7, apply eligible kernel fixes, and confirm what is active without confusing it with a reboot-required kernel update.
Load a custom SLES 15 kernel module without disabling Secure Boot. Match the running kernel, sign the .ko file, enroll a MOK key, and verify loading.
SLES 15 SP5 can migrate online to SP6, but each node must reboot. Use a tested rolling upgrade or blue-green cutover to keep workloads reachable.
Use SUSE’s supported STIG profile to scan SLES 15, test remediation, review remaining findings, and retain assessment evidence.
Trace a failed Cockpit connection through DNS, port 9090, the systemd socket, firewalld, TLS, and login settings using current SUSE guidance.