Home
» How to
»
How to Wash a Baseball Cap in the Dishwasher—Safely, If the Label Allows
How to Wash a Baseball Cap in the Dishwasher—Safely, If the Label Allows
The safest answer is that a dishwasher is not the default way to clean a baseball cap. As of September 2026, New Era’s current cap-care FAQ tells owners to hand wash in cool water with mild detergent, avoid bleach and hot water, reshape the cap, and air dry it away from direct heat. New Era also recommends hand washing rather than machine washing and drying because mechanical washing can distort the crown, brim, and structure. See the New Era cap-care guidance.
That does not mean every generic baseball cap will be ruined by a dishwasher. It means there is no universal, manufacturer-verified dishwasher method that is safe for every cap. If your care label allows machine washing, the cap is inexpensive and replaceable, the brim and decorations are water-safe, and you accept some risk of fading or distortion, you can reduce the risk by using the upper rack, no heated dry, no sanitize or high-temperature option, and a short/light or rinse-style cycle. This guide shows that conservative approach.
What a beginner should know before putting a cap in the dishwasher
A dishwasher is designed for dishes, not textiles. Whirlpool notes that many dishwashers are supplied with water around 120°F (49°C) for normal cleaning performance. That is far warmer than the cool-water hand washing recommended for many caps. Whirlpool also explains that heated drying raises the temperature inside the tub to speed evaporation. Those two facts are why heat is the main risk, especially for cotton that may shrink, structured crowns that may soften, adhesives that may loosen, and colors that may fade. See Whirlpool’s dishwasher water-temperature guidance and heated-dry guidance.
Cap condition or construction
Dishwasher?
Better choice
Care label says hand wash only, cold wash, or do not machine wash
No
Follow the label and hand wash
Wool, leather, suede, felt, vintage, signed, collectible, or heavily embellished
No
Spot clean or use the maker’s recommended care method
Brim material is unknown, softened, cracked, or already warped
No
Hand clean carefully
Modern, sturdy cap with washable fabric, stable embroidery, and a resilient plastic-style brim; label does not prohibit machine washing
Possible, with risk
Use the lowest-heat dishwasher method below
What to prepare
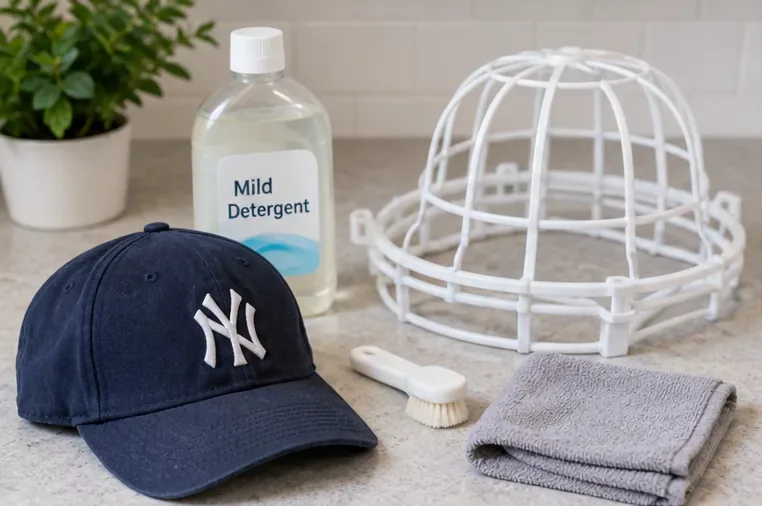
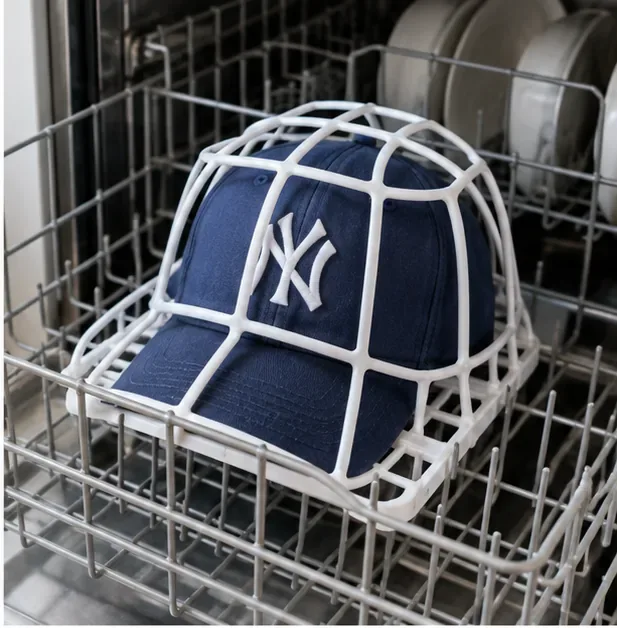
You need a soft nylon brush or clean soft toothbrush, a white cloth for a color-transfer test, a small amount of mild detergent for sink-side spot cleaning, a towel, and optionally a rigid cap-washing frame. The frame is only a shape support; it does not make an otherwise delicate cap dishwasher-safe.
Gather the cap, a soft brush, a towel, and an optional rigid frame. Any mild soap shown here is for manual pre-cleaning at the sink, not for pouring into the dishwasher.
Step 1: Read the care label and inspect the cap
Start inside the cap. If the label says hand wash only or cold hand wash, stop there and follow it. A dishwasher cannot reliably reproduce a cool hand-wash process because dishwasher temperatures vary by model and cycle.
Inspect the brim, sweatband, embroidery, patches, closures, and any glued decoration. If the brim feels papery, has internal cracking, or you do not know what stiffens it, use hand washing instead. The same applies to leather straps, suede panels, wool fabric, metallic trim, heat-transferred graphics, autographs, or sentimental caps.
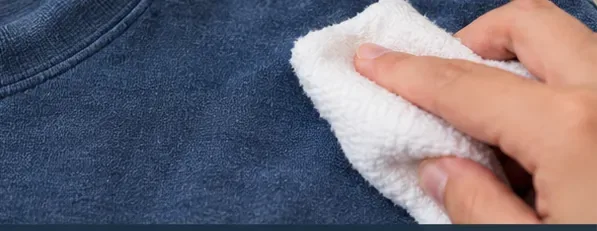
For a cap that still looks like a reasonable dishwasher candidate, press a damp white cloth against a hidden inside seam for several seconds. If dye transfers noticeably, stop and hand wash with cool water so you can control exposure.
Step 2: Remove loose dirt and pre-treat the sweatband
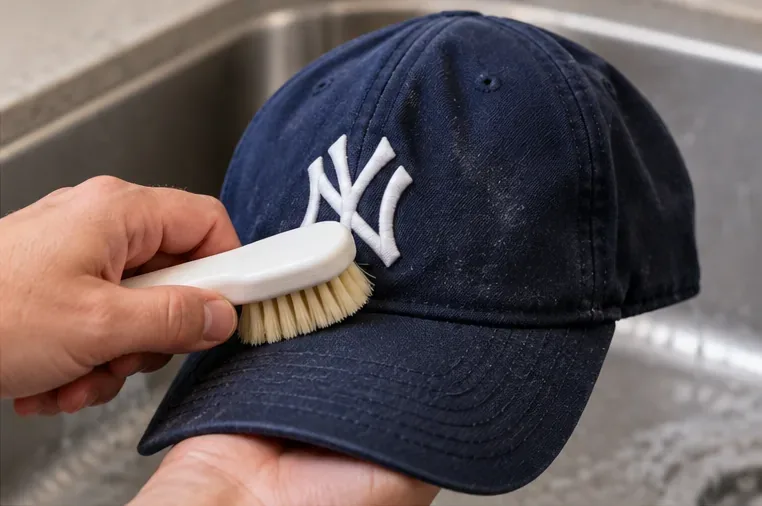
Brush off dust, dried mud, hair, and surface grit before the cap goes near the dishwasher. This keeps debris from being driven deeper into the fabric and lets you see which marks actually need wet cleaning.
Use a soft non-metal brush to lift dry dirt from the crown, seams, embroidery, and brim before any wet cleaning.
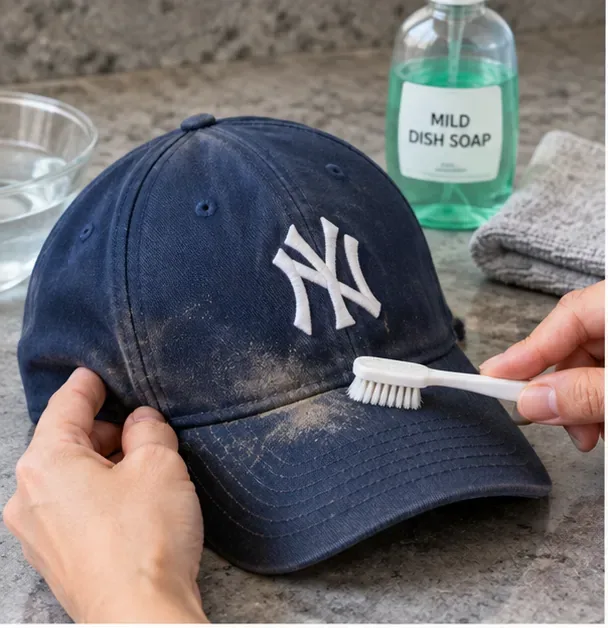
Sweat and skin oils usually concentrate along the inner sweatband. Dampen a white cloth or soft brush with cool water and a tiny amount of mild laundry detergent, then work only the stained area. Rinse that spot thoroughly at the sink so no sudsy laundry or hand-dish soap remains before the cap goes into the appliance.
Do not put hand dish soap or laundry detergent into an automatic dishwasher. Whirlpool warns that the wrong detergent can create excessive suds, leak from the machine, and reduce wash performance. Automatic dishwashers should use only automatic-dishwasher detergent. See Whirlpool’s dish-soap warning. For this conservative cap method, it is simpler to pre-clean stains by hand and run the dishwasher without detergent rather than expose fabric and dyes to a detergent formulated for plates and cookware.
If you use a mild soap for spot cleaning, keep that step at the sink and rinse the cap thoroughly before loading it. Never pour ordinary hand dish soap into the dishwasher.
Step 3: Support the cap and place it on the upper rack
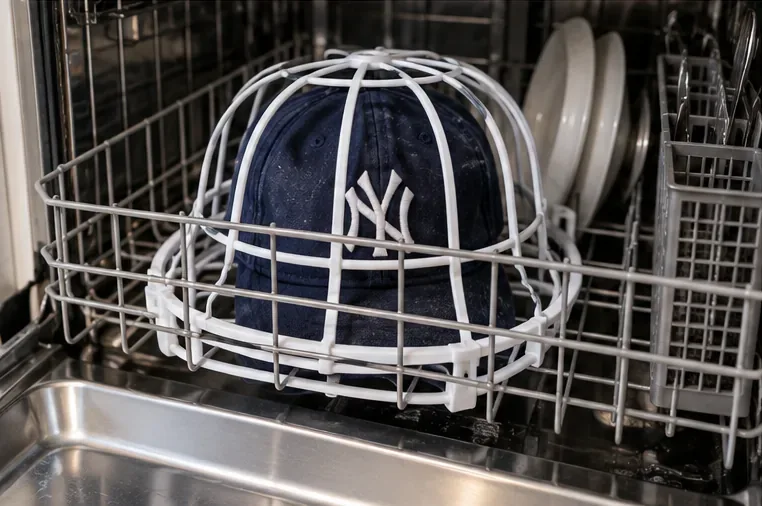
Fasten adjustable straps loosely so they cannot snag. If you have a rigid cap frame, place the cap inside without forcing the crown into a shape it does not naturally have. The brim should sit in its normal curve rather than being flattened or bent sharply.
Put the cap on the upper rack if your dishwasher layout allows it, with enough clearance that the spray arm can turn freely. The upper area is commonly used for heat-sensitive dishwasher-safe plastics because it is generally farther from the strongest heat source, although dishwasher designs differ. Check your appliance manual if the heating element location is unclear.
A rigid frame can help the crown and brim resist spray pressure. Place the supported cap on the upper rack when it fits safely and does not block a spray arm.Make sure the frame is stable and cannot flip during the cycle. For the cleanest setup, wash the cap without dirty food-covered dishes in the same load.
Wash the cap by itself rather than with greasy dishes, pans, or utensils. The goal is clean water spray, not exposure to food soil. Confirm that the frame and cap do not prevent the detergent door, spray arms, or rack from moving normally.
Step 4: Use the gentlest cycle available and turn heat options off
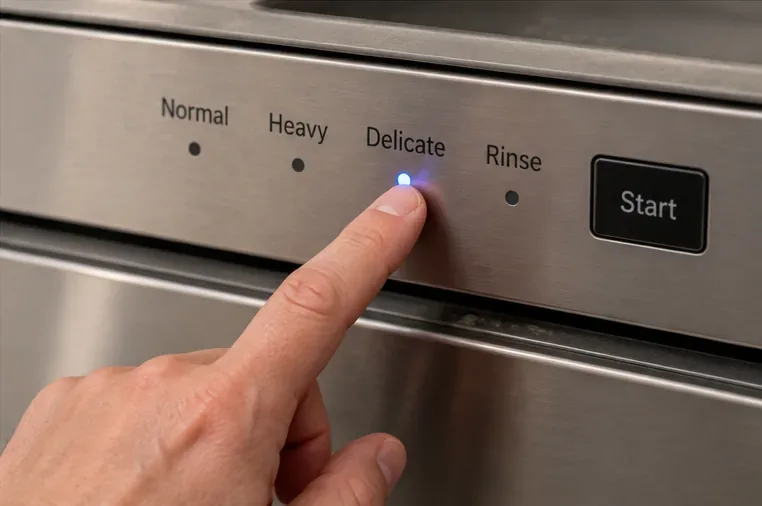
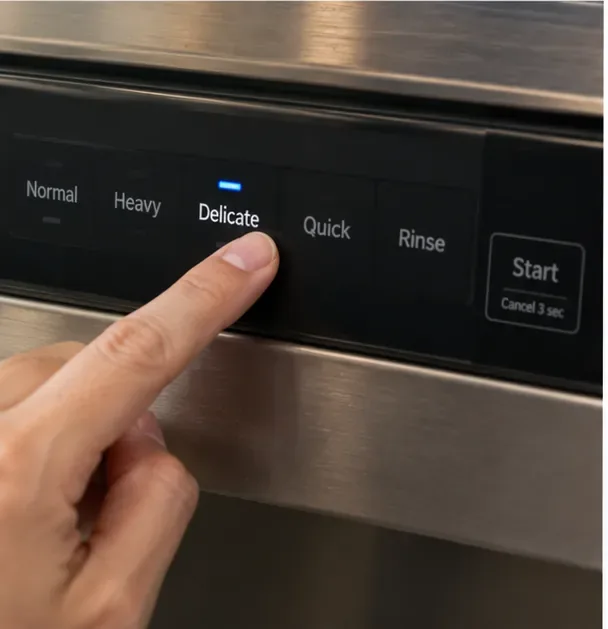
Cycle names differ, so do not look for one universal button. Choose the shortest, lightest, lowest-temperature option your machine provides, such as a light, delicate, quick, or rinse cycle. Turn off Heated Dry, High Temp, Sani Rinse, Sanitize, or similar heat-boosting options. If your machine cannot run without high heat, skip the dishwasher and hand wash instead.
This control panel illustrates the idea: choose a gentle setting if your dishwasher offers one. Cycle names and actual temperatures vary by model, so check your owner’s manual.Avoid sanitize and high-temperature options. If a rinse-only or light cycle is the lowest-heat choice on your machine, prefer that and disable heated drying.
There is an important limitation here: selecting “light” does not guarantee cool water. Whirlpool notes that dishwashers commonly rely on hot-water supply around 120°F (49°C), and some models heat water internally. That is why a dishwasher remains a compromise even with gentle settings.
Step 5: Remove the cap promptly, reshape it, and air dry
When the water portion of the cycle ends, remove the cap rather than letting it sit through any automatic heated-dry phase. Blot excess water with a clean towel; do not twist or wring the crown or brim.
Reshape the crown with your hands and support it from inside with a clean bowl, a loosely rolled towel, or the cap frame. Set it in a ventilated room away from a heater, hair dryer, clothes dryer, or strong direct sunlight. New Era’s current instructions likewise call for reshaping and air drying away from direct heat.
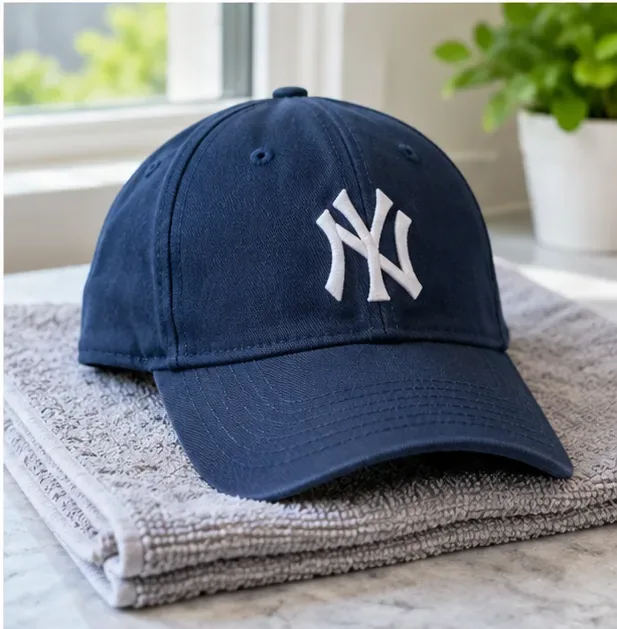
Reshape the crown and brim while damp, then let the cap air dry naturally on a clean towel or rounded support. Do not use the dishwasher’s heated-dry stage.
Common dishwasher mistakes that damage caps
Ignoring “hand wash only.” The care label outranks an internet cleaning hack.
Using hand dish soap or laundry detergent in the dishwasher. These products can oversuds; Whirlpool explicitly warns against them in automatic dishwashers.
Choosing sanitize, high-temperature wash, or heated dry. Extra heat increases the chance of shrinkage, fading, adhesive failure, or a distorted brim.
Washing a valuable, vintage, wool, leather-trimmed, signed, or sentimental cap. The downside is much larger than the convenience.
Putting the cap with dirty dishes. Food grease and soils defeat the purpose of cleaning headwear.
Assuming a cap cage makes every hat safe. A frame helps maintain shape; it cannot protect fragile dyes, adhesives, or water-sensitive materials.
How to check the result
Once the cap is completely dry, compare it with its original fit and shape. The crown should stand as it did before, the brim should keep the same curve, the sweatband should not feel stiff with residue, colors should be even, and embroidery or patches should not lift at the edges. If you see puckering, color loss, a softened brim, or loose decoration, do not repeat the dishwasher method.
If stains remain but the cap still looks structurally sound, spot clean them by hand rather than running a second hot cycle. Repeated dishwasher exposure adds more heat and mechanical spray without guaranteeing better stain removal.
When hand washing is the better answer
For many authentic baseball caps, especially structured or collectible styles, hand washing is the better choice because you control the water temperature, soaking time, pressure, and drying shape. New Era’s current guidance is straightforward: cool water, mild detergent, no bleach or hot water, then reshape and air dry. That method also avoids the conflict between fabric care and the dishwasher’s normal use of hot water and dish-focused detergents.
Bottom line
You can reduce the risk of washing a suitable baseball cap in the dishwasher, but you cannot make the method universally safe. First read the label. If it says hand wash only, follow it. If the label does not prohibit machine washing and the cap has washable fabric, stable decoration, and a resilient brim, pre-clean stains by hand, secure the cap on the upper rack, use the lightest non-heated cycle available, skip dishwasher detergent for the cap, disable heated dry, and air dry the cap in shape.
For a favorite team cap, an expensive fitted hat, or anything you would be upset to replace, the more reliable beginner choice is still the one major cap makers recommend: hand wash it in cool water.