Home
» How to
»
How to Wash a Leather Jacket Without Ruining It: A Care-Label-First Method
How to Wash a Leather Jacket Without Ruining It: A Care-Label-First Method
Most genuine leather jackets should not be treated like ordinary washable clothing. The safest answer to “how to wash a leather jacket” is usually: do not soak it or put it in a washing machine unless the care label or the manufacturer explicitly says that method is safe for that exact jacket. Leather finishes, dyes, linings, adhesives, hardware, and trim can all react differently to water and cleaners.
Illustrative example: imagine Jordan owns a black finished-leather motorcycle jacket that picked up dust, a few rain spots, and light grime at the cuffs. This is a hypothetical teaching example, not a real product test or testimonial. Jordan wants the jacket clean enough for regular wear without changing its color, feel, or shape. The key is to make the care label—not a generic internet recipe—the decision-maker.
First decide whether the jacket can be cleaned at home
Current care instructions from major leather-jacket makers show why this first check matters. Some genuine-leather jackets from Levi’s explicitly say not to wash, tumble dry, iron, or use ordinary dry cleaning, and instead call for professional cleaning by a leather specialist. AllSaints likewise lists specialist leather cleaning for a sheep-leather jacket, while Ralph Lauren specifies cleaning by a leather specialist on a full-grain cowhide jacket.
The U.S. Federal Trade Commission’s care-label guidance explains that care instructions should be supported by a reasonable basis and that warnings are used when an expected cleaning method could harm a garment. Its glossary also defines “Leather clean” as cleaning by a professional using special leather or suede care methods. See the FTC Care Labeling Rule for the terminology and requirements.
What the label says
Practical response
“Professional leather clean only” or similar
Do not wet-wash or machine-wash the jacket. Use a qualified leather cleaner for a full cleaning.
“Damp wipe only”
Limit home care to careful surface wiping as directed. Do not immerse the garment.
Specific hand-wash or machine-wash instructions
Follow the stated method, temperature, drying method, and warnings exactly.
Label is missing, unreadable, or conflicts with online advice
Check the maker’s official care page or ask a leather specialist before using water or cleaner.
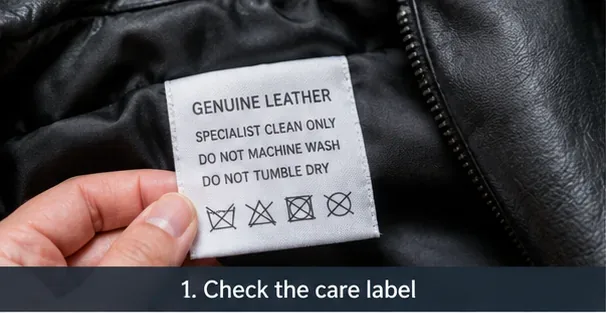
Step 1: Read the care label before using water or cleaner. A “specialist clean only” instruction means a full at-home wash is not the right method.
The cautious at-home routine for leather that permits surface cleaning
For the rest of the hypothetical example, assume Jordan’s jacket maker confirms that light surface cleaning with a damp cloth is acceptable. If your label instead requires specialist cleaning, stop at non-invasive dust removal and follow the label.
1. Remove dust and loose grit before adding moisture
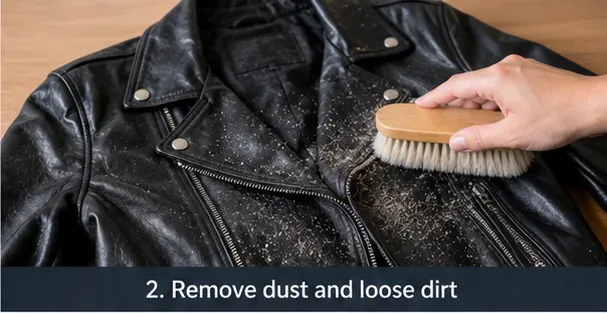
Empty the pockets and lay the jacket on a clean, stable surface. Use a very soft brush or clean dry cloth to lift dust from the shoulders, seams, lapels, cuffs, and around hardware. Do not scrub. Grit can act like an abrasive if you immediately start rubbing with a damp cloth.
Step 2: Remove loose dirt gently before any damp cleaning so grit is not rubbed across the leather surface.
2. Use only a cleaning product the leather can tolerate
Leather Naturally, an industry education organization, recommends using appropriate leather cleaning and care products, patch-testing first, cleaning dirt with a brush or damp cloth before applying care products, and avoiding hard rubbing. Its leather-care fact sheet also notes that more absorbent, open-pored leathers are more likely to mark or stain.
That means a generic soap-and-water mix is not automatically safe. If the manufacturer recommends a particular leather cleaner, use that product as directed. If the only approved instruction is “damp wipe,” use a clean cloth dampened with plain water rather than improvising with detergent. Suede, nubuck, aniline leather, hand-painted leather, distressed finishes, vintage pieces, and jackets with unusual trim deserve extra caution.
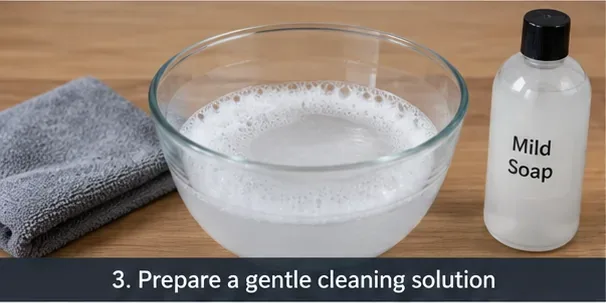
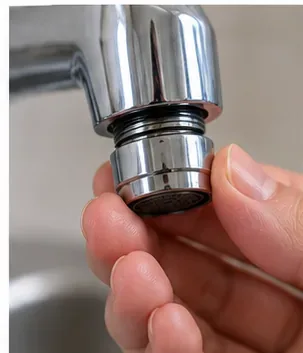
Step 3: Prepare only the cleaner approved for the jacket. The pictured mild-soap setup is not a universal recipe; follow the label or maker’s instructions for your leather.
3. Patch-test in a hidden area
Before cleaning a visible panel, test the approved cleaner or damp-cloth method in an inconspicuous spot, such as inside a hem or under a flap. Let the area dry completely and check for darkening, dye transfer, stiffness, loss of sheen, or texture change. Schott NYC says each leather jacket can require a unique cleaning and conditioning method and advises testing products on a hidden area, then allowing 24 hours to observe color and texture changes. See Schott NYC’s repair and care guidance.
4. Wipe the surface with a barely damp cloth
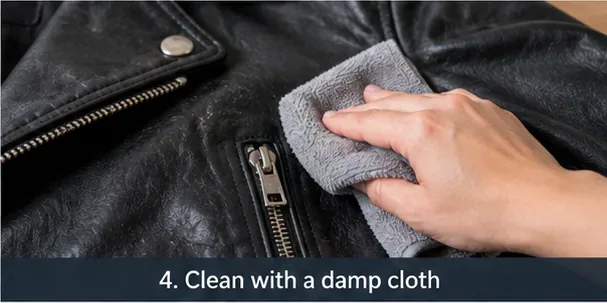
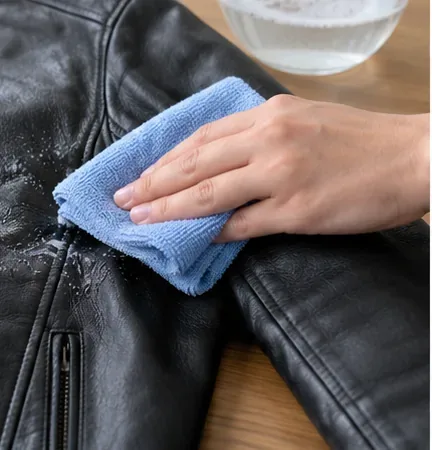
For a jacket whose instructions permit damp cleaning, wring the cloth thoroughly so it is damp rather than wet. Work in small sections with light pressure. Give extra attention to high-contact areas such as cuffs, collar edges, pocket openings, and the lower front. Do not saturate seams, linings, zippers, snaps, patches, or glued details.
In Jordan’s example, the goal is not to make the leather visibly wet. It is to lift light surface soil while using as little moisture as necessary. If the cloth immediately picks up a large amount of dye, stop and let the test area dry before proceeding.
Step 4: Use a barely damp cloth and light pressure on small sections rather than soaking the jacket.
5. Remove excess moisture with a clean dry cloth
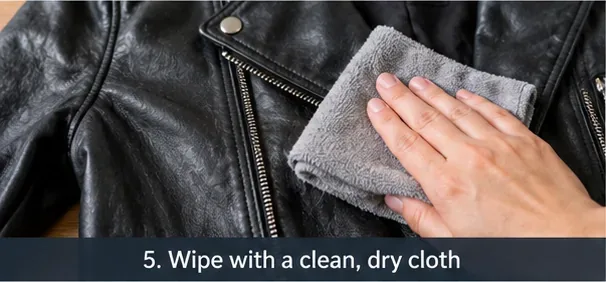
After each small section, use a second clean, dry, soft cloth to pick up surface moisture and loosened soil. Avoid vigorous polishing while the leather is damp. If a stain remains after one cautious pass, repeated hard rubbing is more likely to damage the finish than to help.
Step 5: Blot or wipe away remaining surface moisture with a clean dry cloth instead of rubbing aggressively.
6. Let the jacket dry naturally, then condition only if appropriate
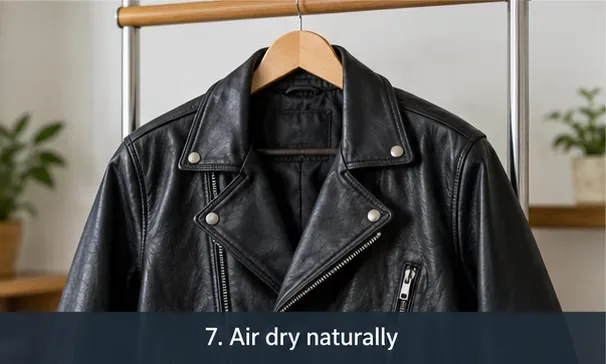
Leather Naturally advises letting wet leather dry naturally and specifically warns against using a hair dryer, radiator, or direct sunlight. Heat can dry the material too quickly and may change its feel or appearance. Place the jacket on a supportive hanger in a ventilated indoor area and give it time to dry completely.
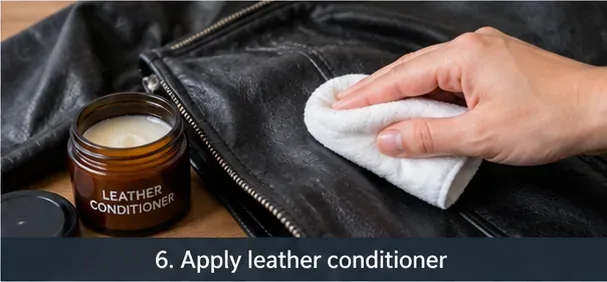
Conditioner is optional, not an automatic final step. Use one only if the jacket maker recommends conditioning for that leather and finish. Apply a small amount to a hidden test area first. A conditioner that works well on one type of leather can darken or flatten the character of another.
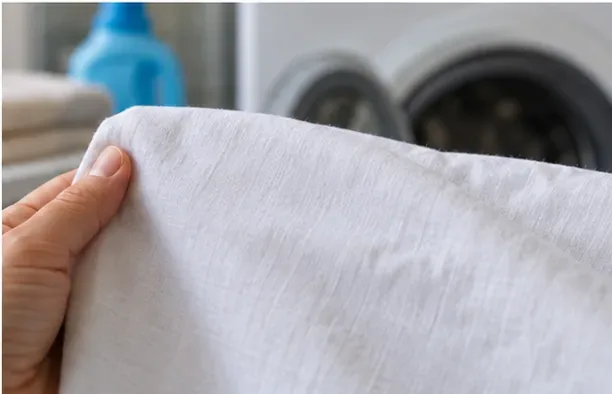
Step 6: Condition only after the jacket is dry and only when the maker approves a compatible leather conditioner.Step 7: Let the jacket air dry naturally indoors. Do not speed drying with a radiator, hair dryer, or direct sun.
7. Store the jacket only after it is fully dry
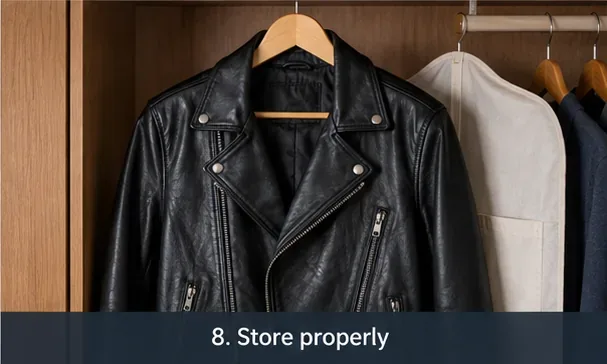
Once no dampness remains, hang the jacket so it keeps its shape and is not crushed against other clothing. Keep it away from persistent heat and strong direct sunlight. If the maker provides specific storage instructions for a specialty finish, follow those instead.
Step 8: Store the leather jacket only when fully dry, with enough space to avoid crushing or distortion.
Can you put a leather jacket in the washing machine?
Only if the garment’s own care instructions explicitly permit machine washing. Do not assume that “gentle cycle” makes machine washing safe for real leather. A washer exposes the whole jacket to water, detergent, agitation, spinning, and then a drying decision—all of which can affect leather, dye, structure, trim, and lining.
Also confirm that the jacket is actually leather. A polyurethane or other faux-leather jacket is a different material and can have completely different washing instructions. Follow its own label rather than applying genuine-leather care rules.
What if only the lining smells or looks dirty?
If the leather shell is labeled for specialist cleaning, do not soak the lining in place. Water can migrate through seams or reach the leather from the inside. For minor lint or dust, dry removal is the lowest-risk option. If the lining has widespread perspiration odor, staining, or a spill that needs detergent and rinsing, a leather specialist is the more predictable route because the entire garment—including lining, leather, hardware, and adhesives—must be considered together.
When should you stop and use a professional leather cleaner?
The label says “professional leather clean only,” “leather clean,” or similar.
The jacket is suede, nubuck, highly absorbent aniline leather, hand-painted, heavily distressed, vintage, or has a specialty finish you cannot identify.
There is an ink, oil, grease, dye-transfer, mold, or large liquid stain.
A patch test causes darkening, dye transfer, stiffness, tackiness, loss of sheen, or a texture change.
The jacket is expensive, collectible, structurally damaged, or has glued decorations, fur, embroidery, or mixed materials.
The lining needs a true wash rather than light surface attention.
A quick “did I do this safely?” checklist
I read the care label before using water.
I did not machine-wash or immerse the jacket unless the label explicitly allowed it.
I removed loose dirt before damp cleaning.
I used only a manufacturer-approved method or leather-care product.
I patch-tested and let the test area dry before cleaning visible sections.
I used minimal moisture and avoided hard rubbing.
I let the jacket dry naturally away from direct heat and sunlight.
I conditioned only if the leather type and manufacturer guidance supported it.
For Jordan’s hypothetical jacket, success is not “it looks brand new.” A better outcome is more modest: surface dust and light grime are reduced, the color remains even, the leather still feels supple rather than stiff or sticky, and the jacket keeps its original shape. If cleaning starts to change the finish, color, or texture, that is the signal to stop rather than escalate to stronger products.