How to Dark Mode on Google
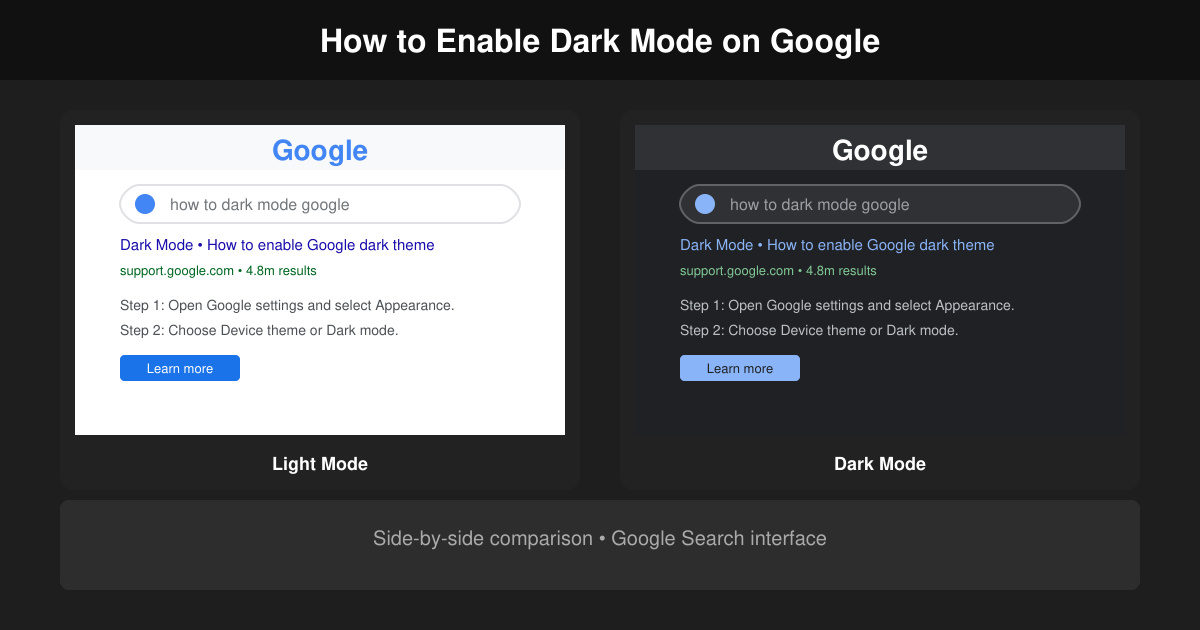
Learn how to dark mode on Google across Search, Chrome and apps to cut eye strain at night. This guide shows the exact settings to enable Google dark theme in under a minute.
The Ask Screenshot for ChatGPT utility provides a feature that allows you to summarize, explain, reply, translate or select text in a screenshot. Although the ChatGPT desktop application has a screenshot feature, you can shorten the process of taking screenshots with ChatGPT via the right-click menu. Here are instructions for sending screenshots to ChatGPT.
How to create screenshot shortcut using ChatGPT
Step 1:
You install the Ask Screenshot for ChatGPT extension for Chrome browser using the link below.
Step 2:
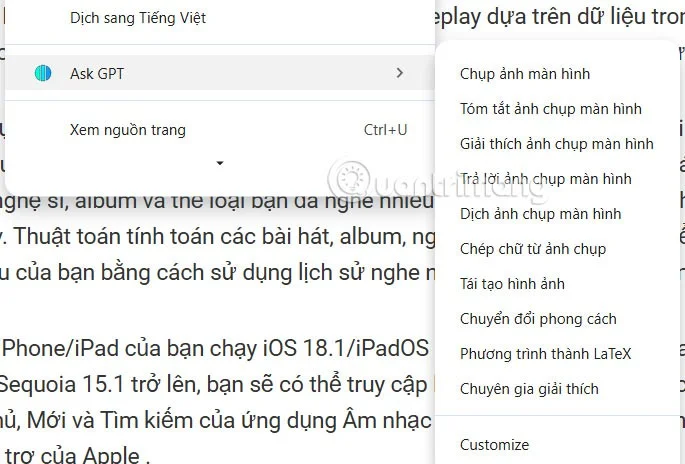
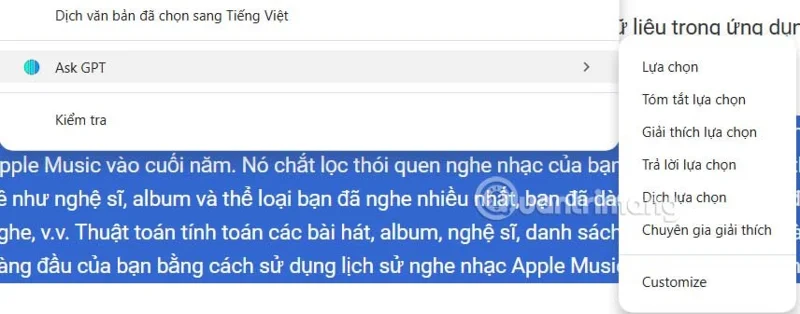
Next, you find the interface you want to take a screenshot of and right-click and select Ask GPT . At this time, the options as shown in the picture will be displayed for us to use according to our needs.
Step 3:
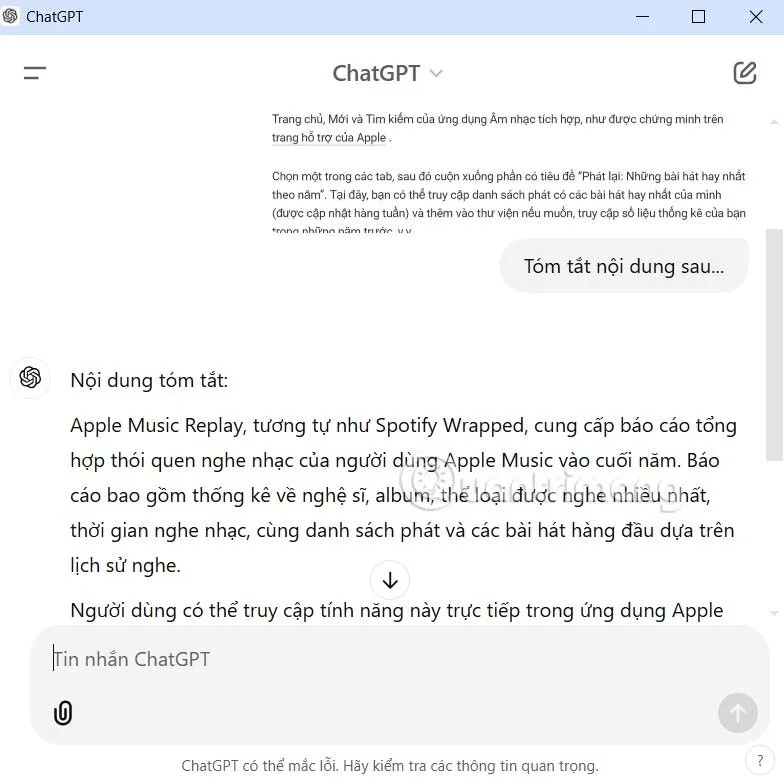
For example, if you need to summarize the content of the screenshot being displayed, select Summary screenshot . At this point, the user needs to select the content to summarize and release the finger.
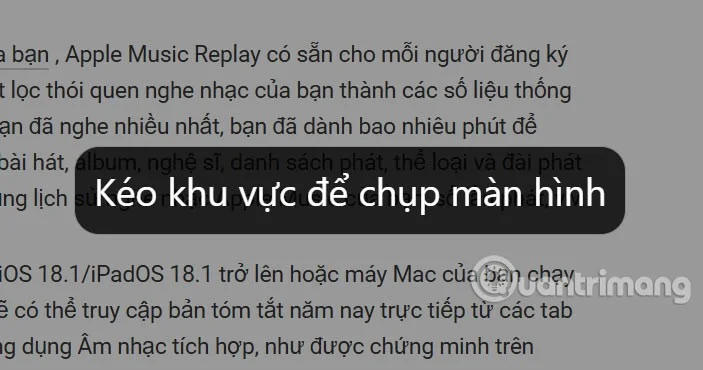
Instantly display the feedback interface from screenshot using ChatGPT. Note, you need to log in to your ChatGPT account to get the result.
Step 4:
In addition, the utility also supports answering the content you choose on the browser . We also need to highlight the content that needs to be answered, right-click and select AskGPT and then do the necessary operations.
Step 5:
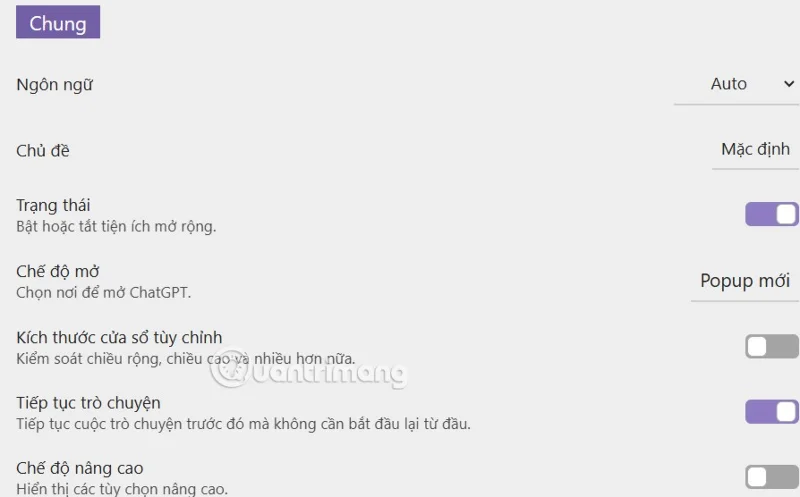
If you want to change any settings for the extension, click on the extension icon and you will see an interface with options to change.
Learn how to dark mode on Google across Search, Chrome and apps to cut eye strain at night. This guide shows the exact settings to enable Google dark theme in under a minute.
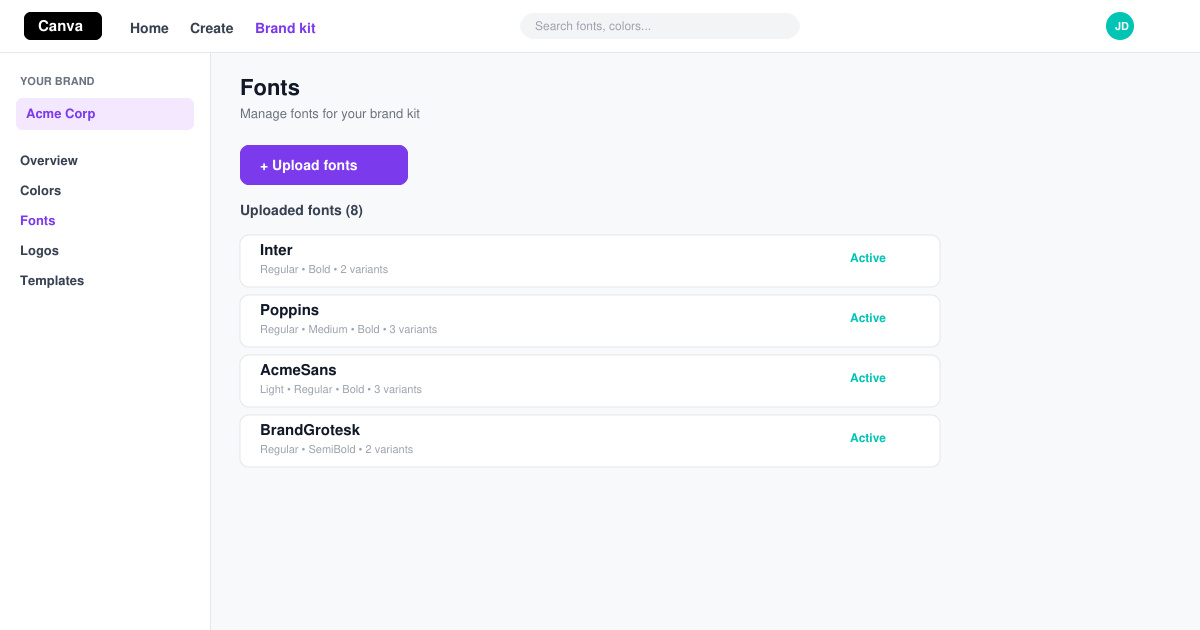
Learn exactly how to add font to Canva with this step-by-step guide. Upload custom fonts through Brand Kit to use them across all your designs in minutes.
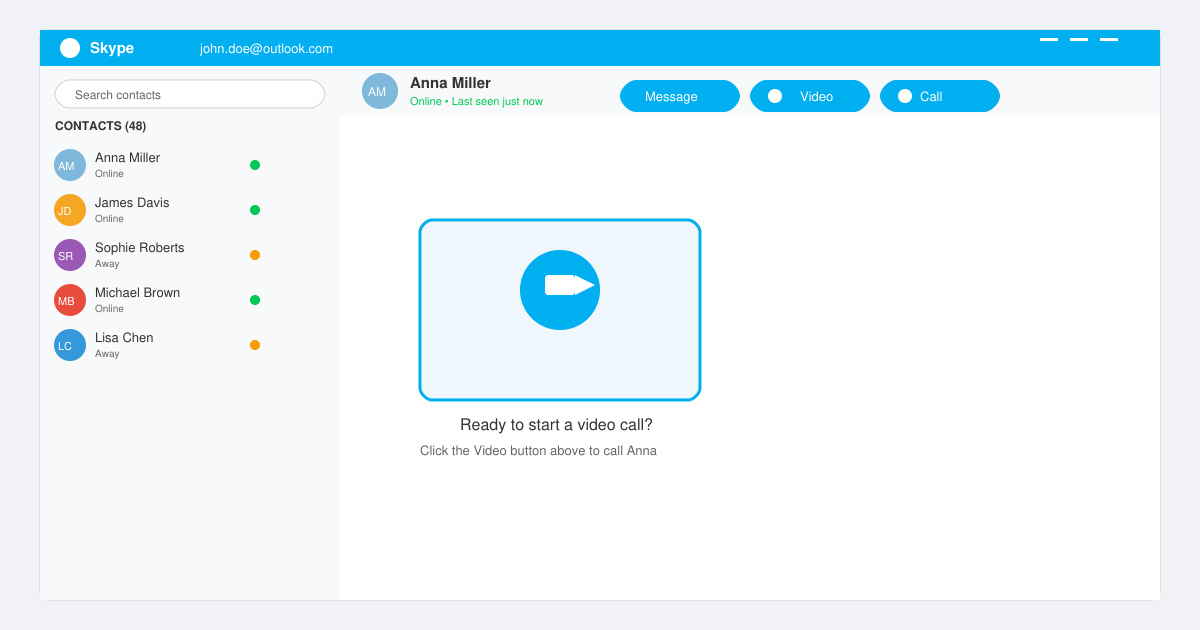
How to Use Skype for free video calls, messaging, and screen sharing. Follow this complete guide to install the app, set up your account, and start communicating in minutes.
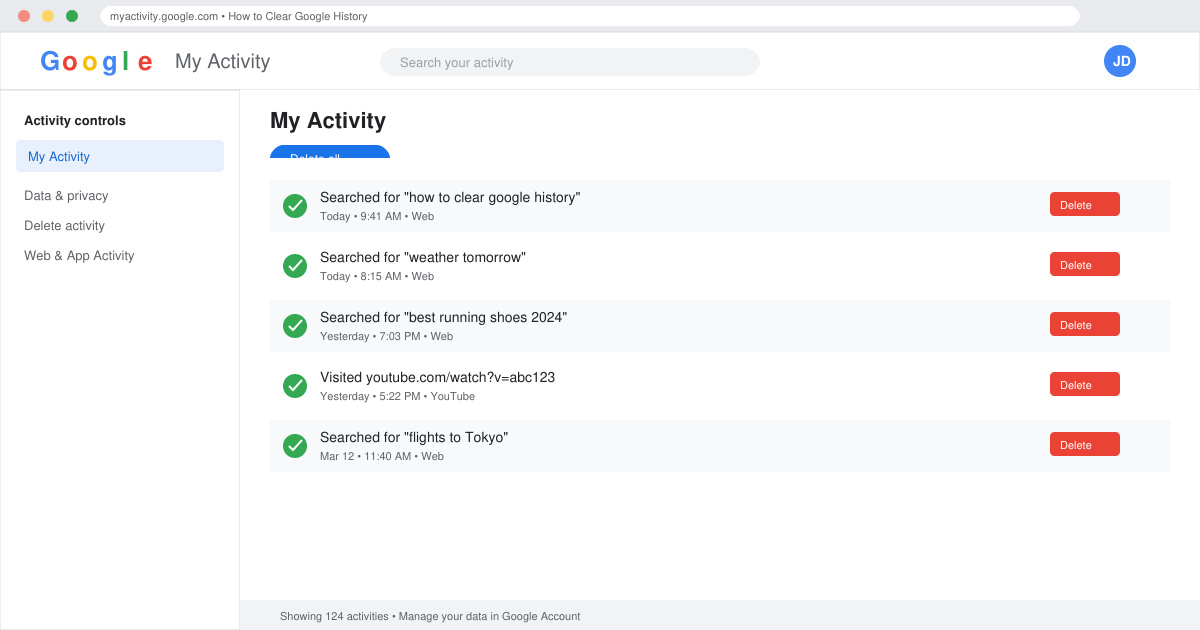
Learn how to clear Google history quickly to protect your privacy. This step-by-step guide shows you how to delete search activity from your Google account on any device.
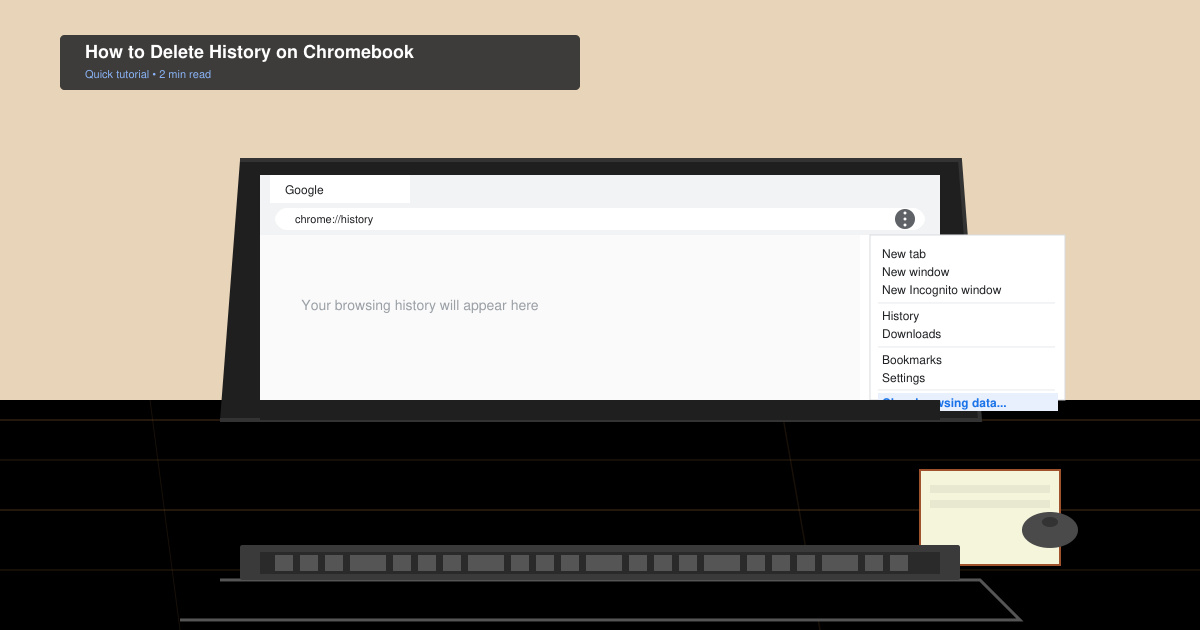
Learn exactly how to delete history on Chromebook to protect your privacy. Follow these precise steps to clear browsing data, cookies, and cached files on your device.
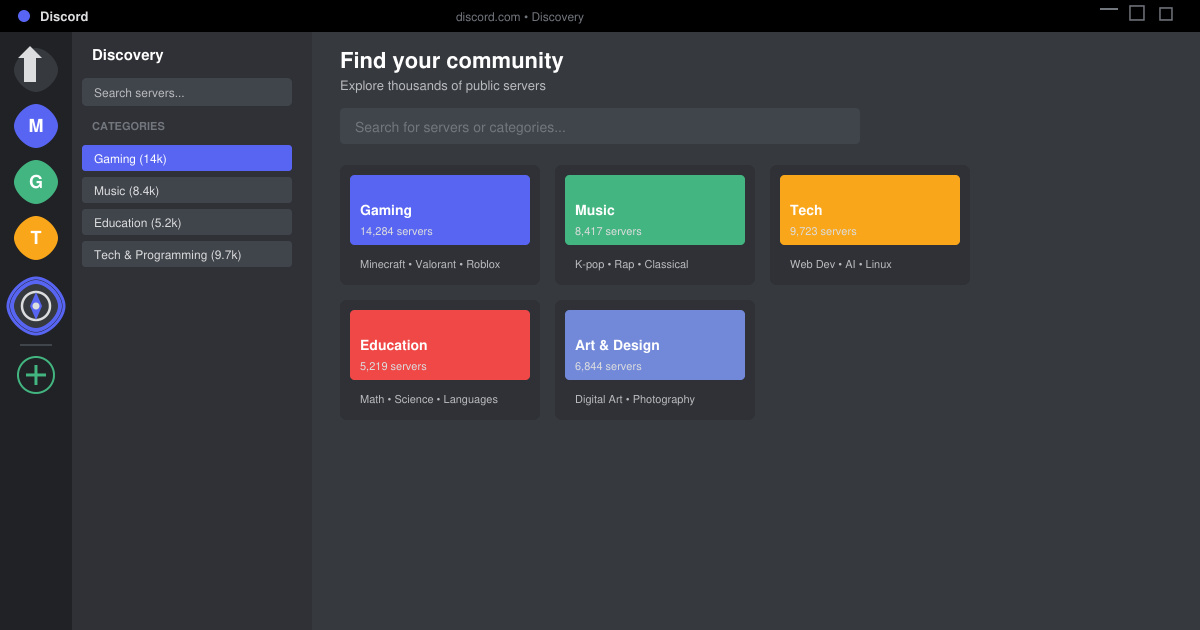
Learn how to find a server on Discord with this clear walkthrough of the built-in Discovery tool and other reliable methods. Join active communities fast.
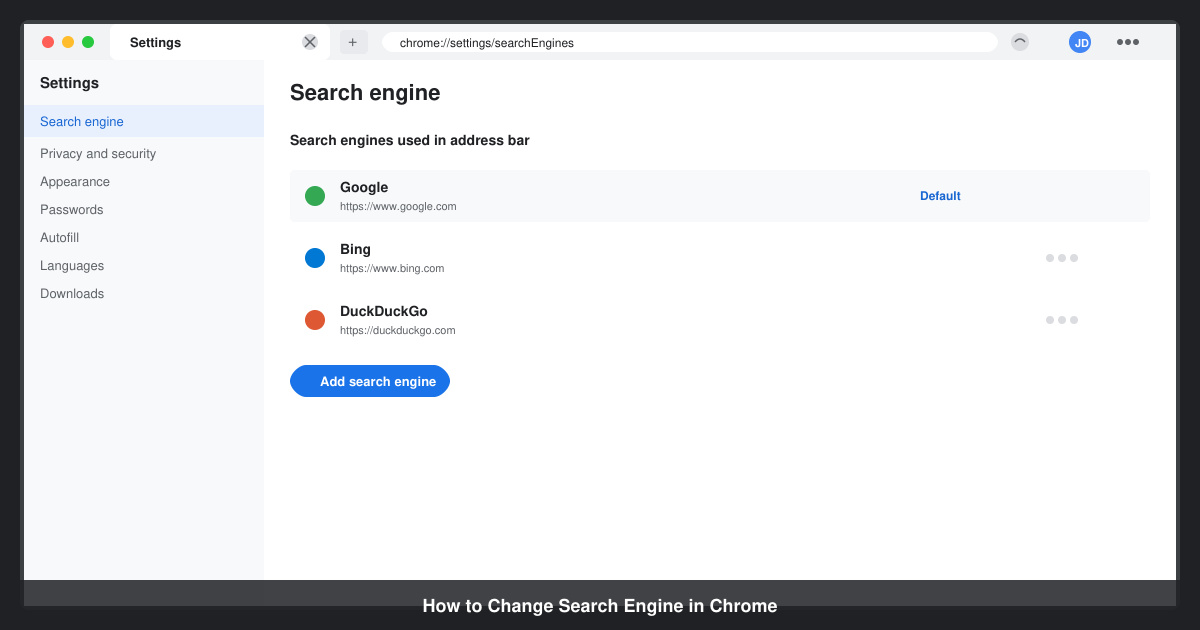
How to Change Search Engine in Chrome takes just a few clicks in Settings. Switch your default provider to Google, Bing, DuckDuckGo or another option and improve search results instantly.
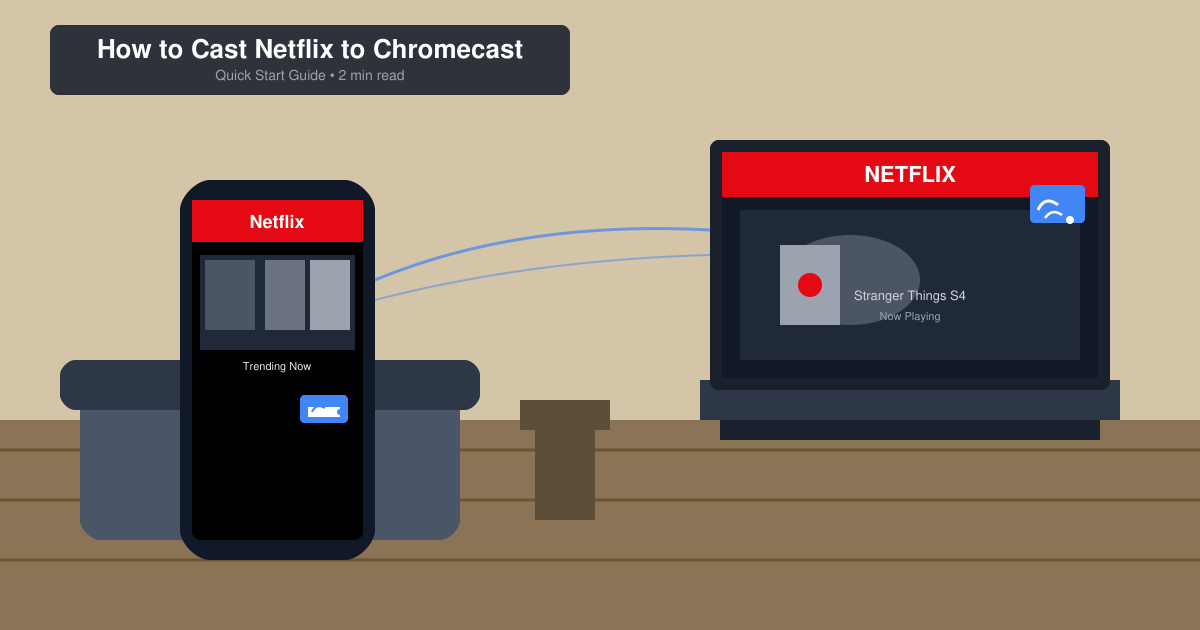
Learn exactly how to cast Netflix to Chromecast from your phone or computer. Follow these steps to stream movies and shows to your TV in minutes.
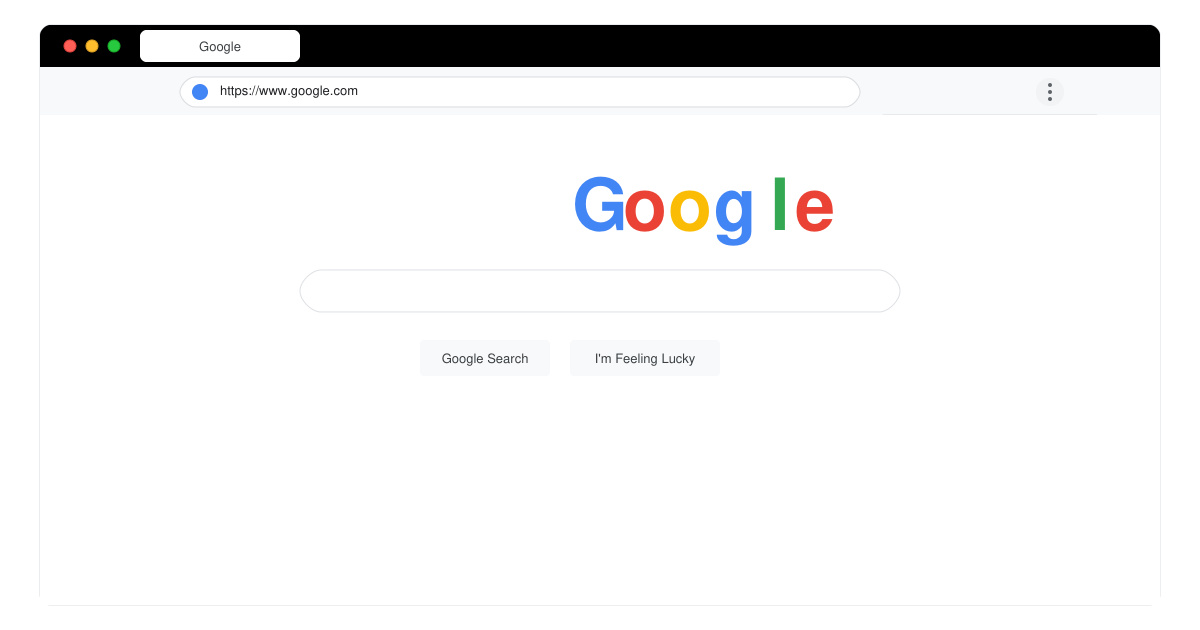
Learn exactly how to set Google as your homepage on Chrome in under a minute. Follow the precise steps in Chrome Settings to make google.com load when you click the home button.
Learn how to add pictures to Canva in just a few clicks. This guide shows the fastest ways to upload your own photos or use Canva's library for any design project.