


SLES 15 KVM Setup: Make Selected VMs Start at Boot

Install the SLES 15 KVM and libvirt tools, enable the right host service, and configure selected virtual machines to start after a reboot.
Messenger allows you to check the amount of chat space occupied on your device, with media files sent and received in Messenger. Through this feature, you know which chat is taking up a lot of data to delete multimedia files. The following article will guide you to delete chat data on Messenger.
How to delete chat data on Messenger
Step 1:
At the interface on the Messenger application, users click on the 3-dash icon below. Switch to the interface as shown, click on Settings .
Step 2:
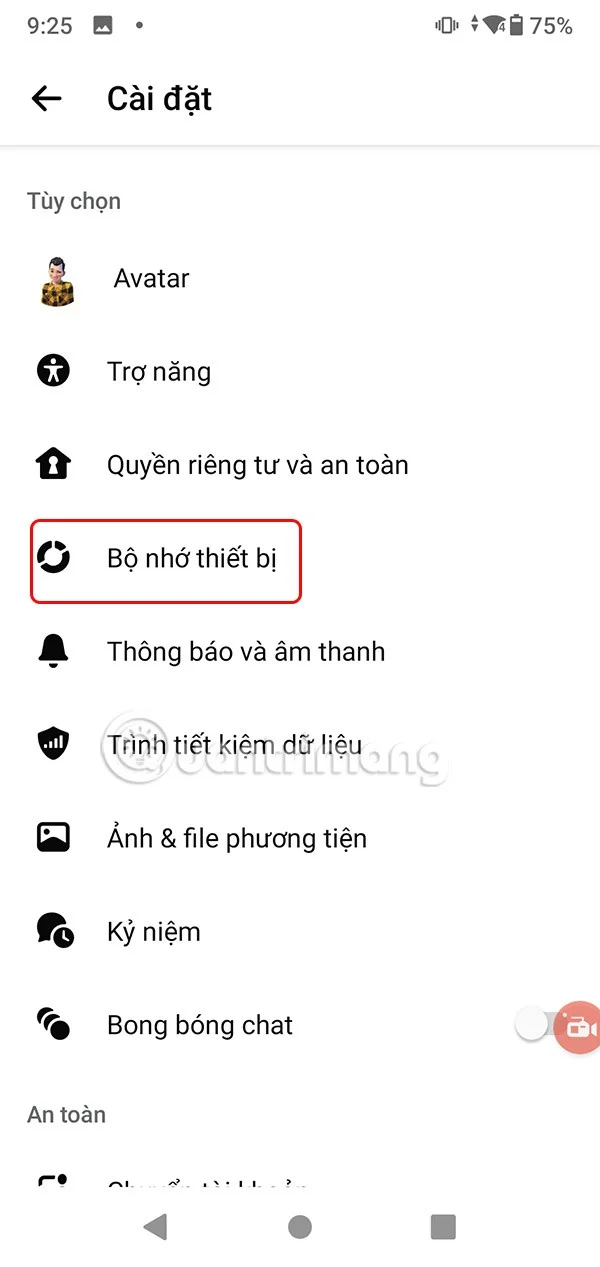
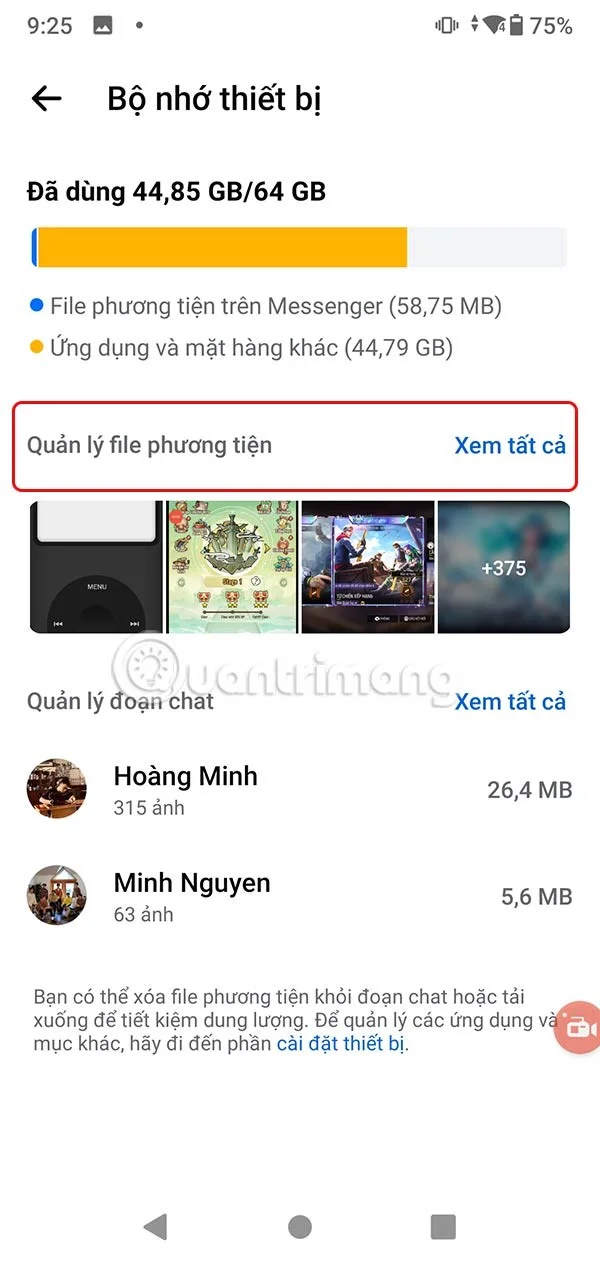
Display the settings for the application, you scroll down and tap on Device storage to adjust. Now we will see how much space Messenger occupies on the device with multimedia files of photos and videos. At Manage media files , tap See all .
Step 3:
In this interface we see all the photos and videos that you have received and sent in chats. We click on Sort by and then choose how to display multimedia files as we like.
Step 4:
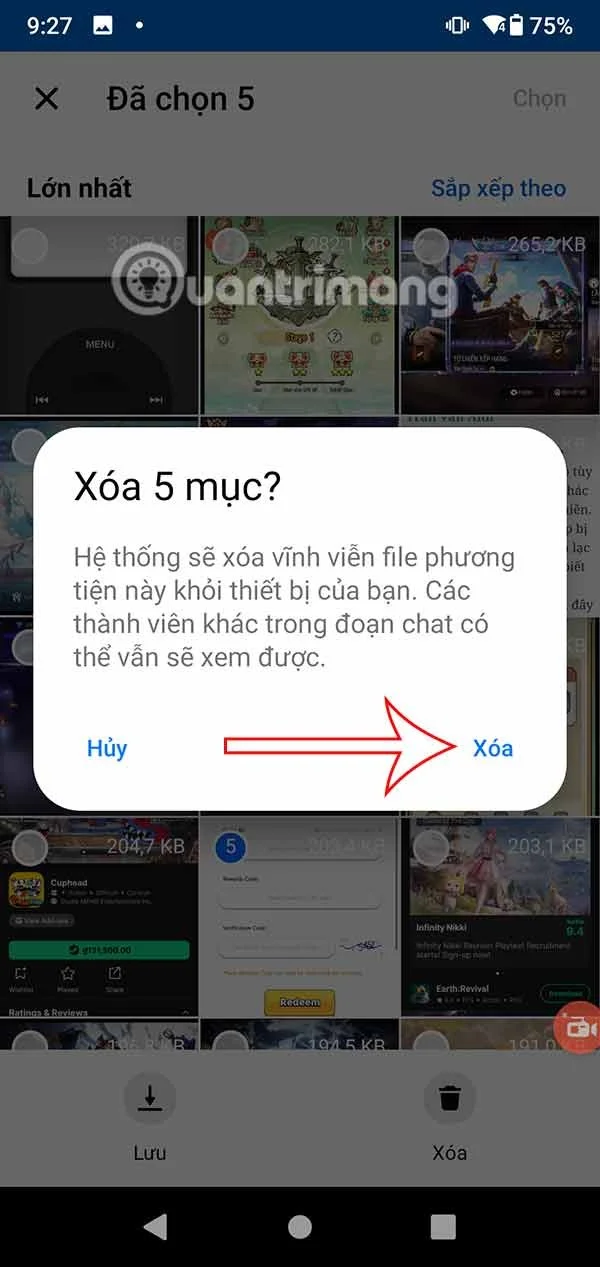
Tap Select and then tap the media file to delete from Messenger storage on your device. You will now be asked if you are sure you want to delete the selected files, tap Delete to do so.
Step 5:
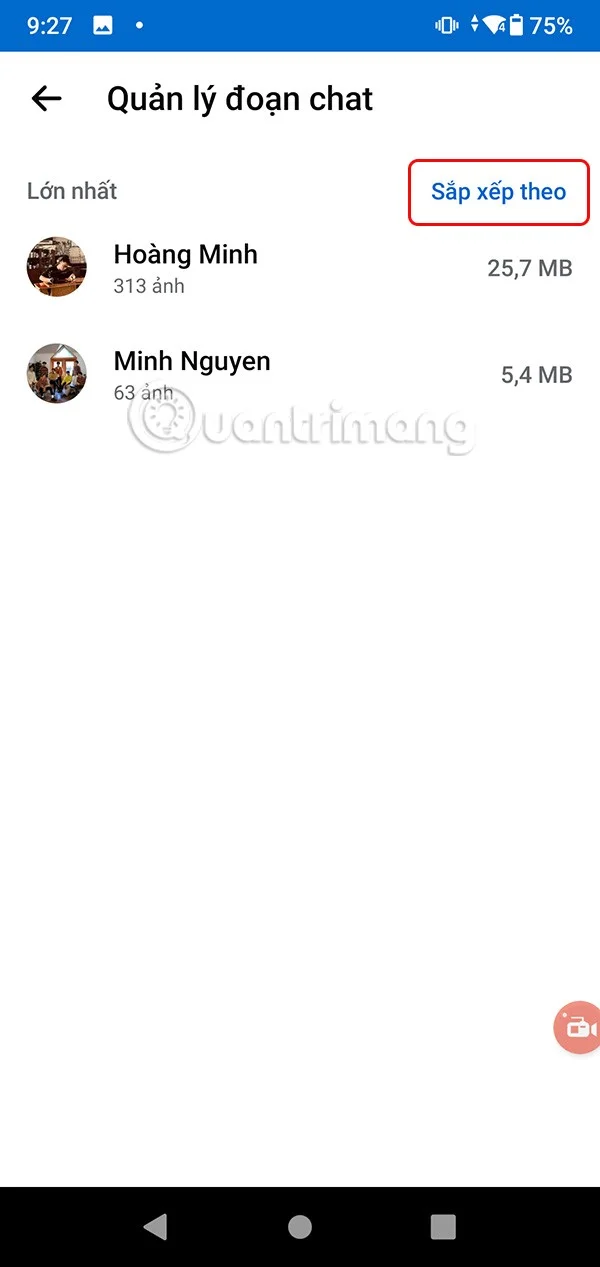
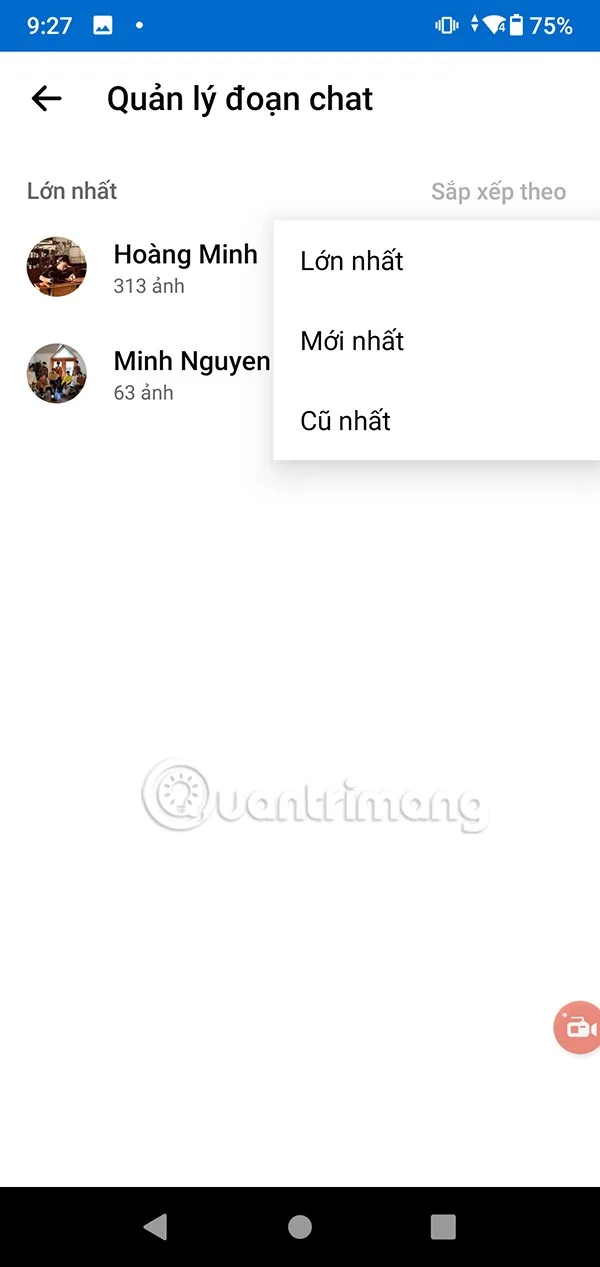
Back to the Device Memory interface, in Chat Management, tap View All . Here you will see the number of multimedia files for each chat and how much space it takes up. You can tap Sort by to change the display style.
Step 6:
Click on the chat to delete chat data on Messenger, with the deletion of images and videos that you no longer need to use.
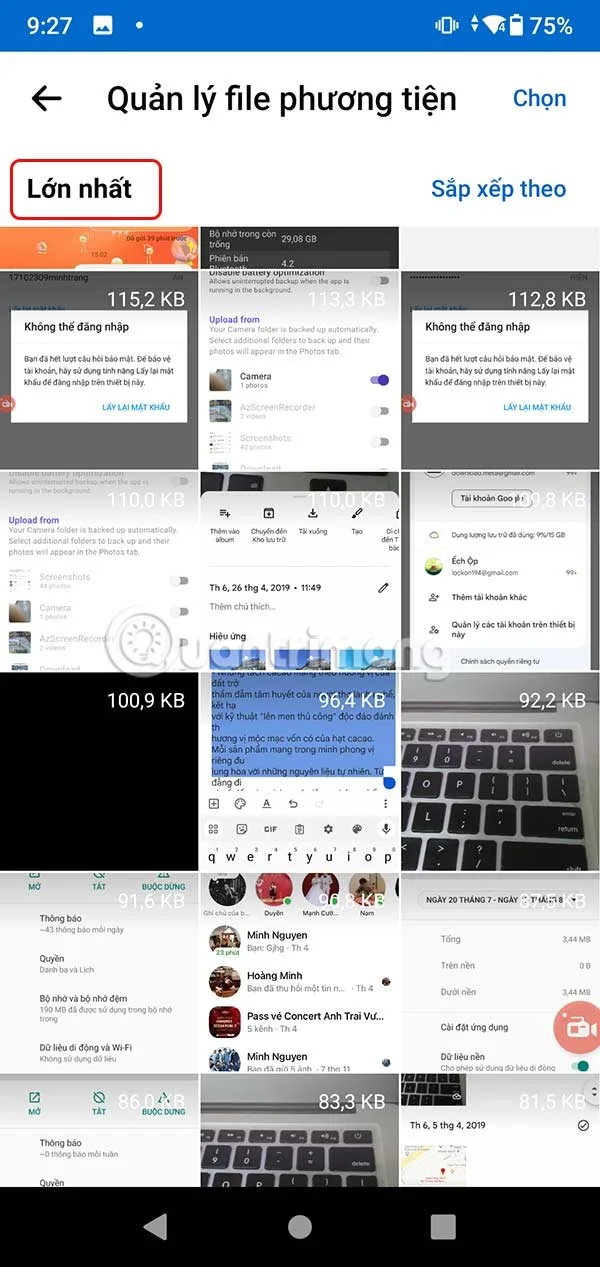
To easily classify multimedia file size , you also click Sort by and then select the display method to delete.
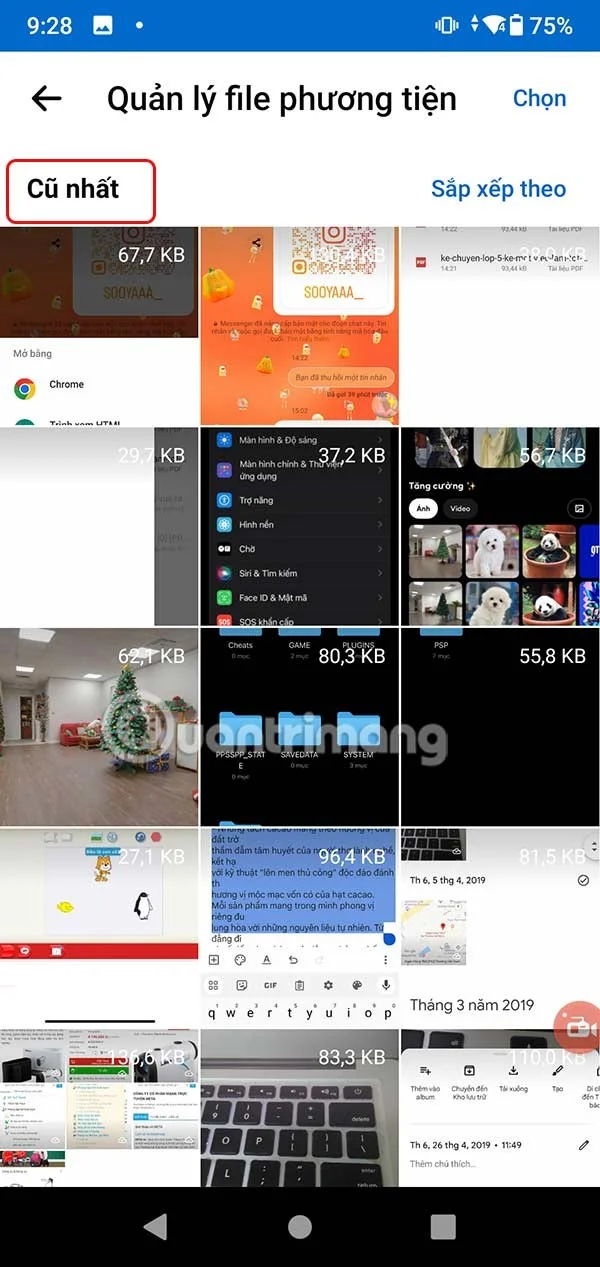
Video tutorial on how to delete chat data in Messenger
Install the SLES 15 KVM and libvirt tools, enable the right host service, and configure selected virtual machines to start after a reboot.
Use systemd jobs and the previous boot journal to locate a slow service, mount, or storage dependency, then correct it without masking the cause.
Use firewall-cmd to inspect the active zone, allow HTTP safely, preserve SSH access, and verify that the rule survives a reload on SLES 15.
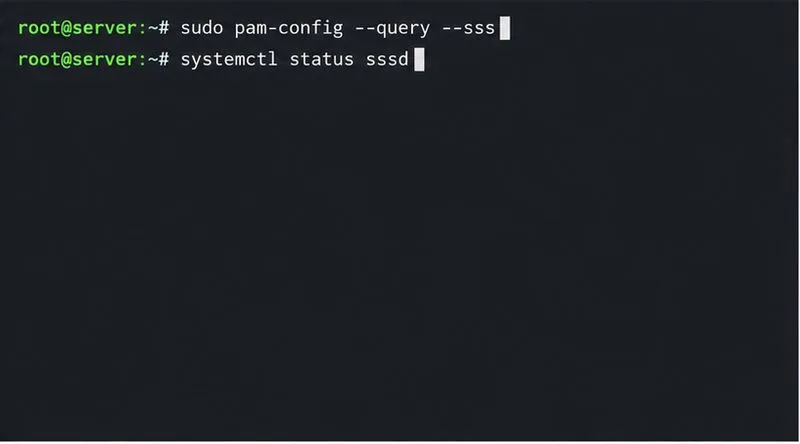
Trace a PAM failure to its service, account policy, or identity provider, then repair the right SLES configuration while preserving a working admin session.
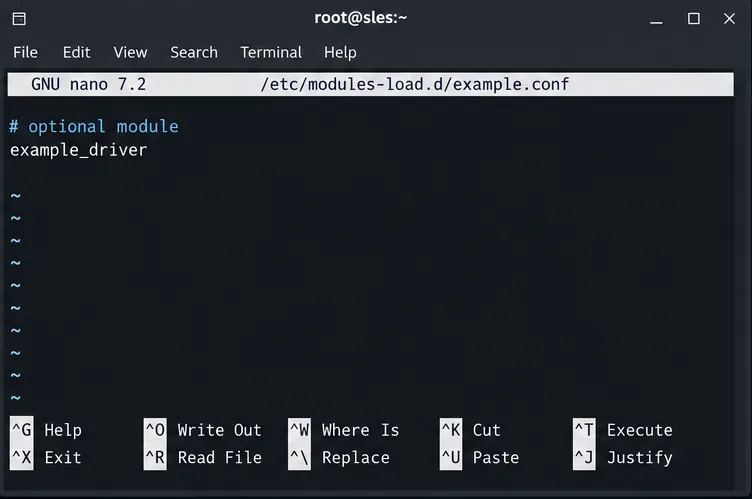
Trace a failed kernel module at SLES startup, correct an obsolete boot entry or repair the required driver, and verify the next boot.
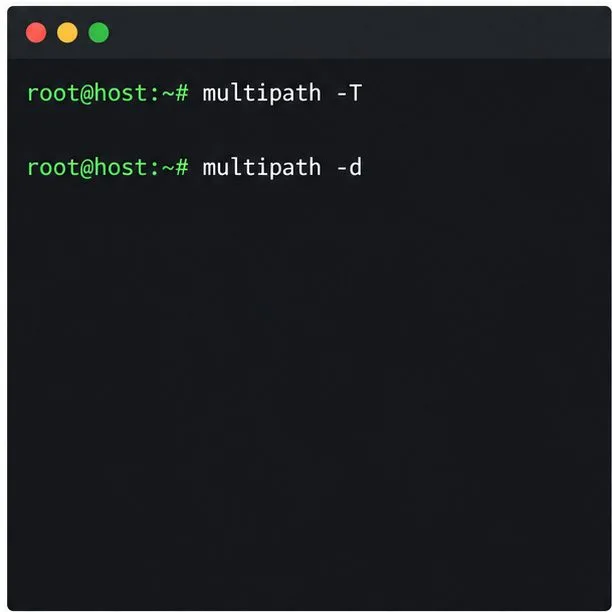
Prepare SCSI SAN paths, enable multipathd, inspect SUSE’s hardware defaults, and verify stable device maps without guessing array settings.
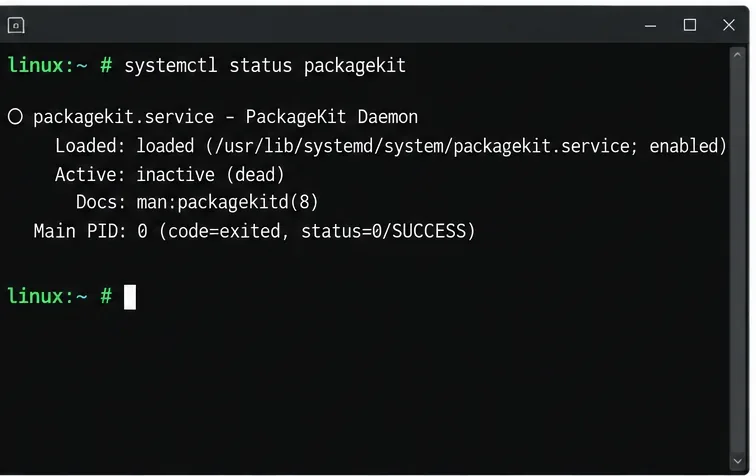
Find the process holding Zypper’s package lock, distinguish process conflicts from package locks, and retry updates without deleting lock files blindly.
Register SLE HA, bootstrap SLES 15 nodes, then add fencing, quorum, and tested service resources before relying on failover.
Trace a Zypper refresh error to SUSE, RMT, or a third-party endpoint, then apply the right server-side or cache fix without disabling essential updates.
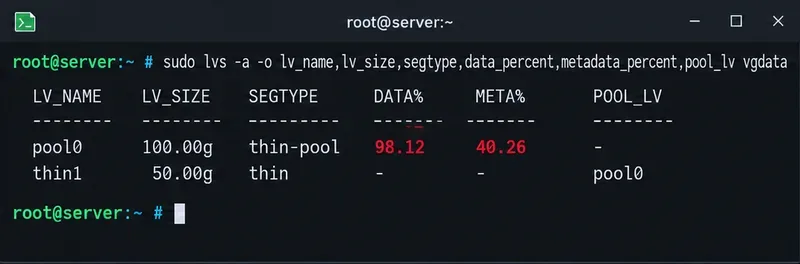
Resolve SUSE LVM thin-pool space errors by checking data and metadata usage, expanding the pool safely, and preventing repeat outages.