Instructions for installing and recording video lip syncing with Kwai

Video Instructions for installing and recording video lip syncing with Kwai

It can be said that there are many young people today who like to shoot lip-syncing videos and upload them to social networking sites for everyone to see. To do this, we need to use lip-syncing video recording apps such as Tik Tok , Muvik , Kwai, etc.

Kwai is one of the most popular lip-syncing apps for young people today, with this app we not only record lip-syncing videos from songs, but also conversations from popular movies today. ... Here we will introduce the article to guide downloading and recording lip-syncing videos with Kwai, invite you to refer.

1. Instructions to install Kwai on the phone

Here are the steps to install this application on Android , in addition you can do the same for iOS or click the download button below.

Download Kwai on Android Download Kwai on iOS

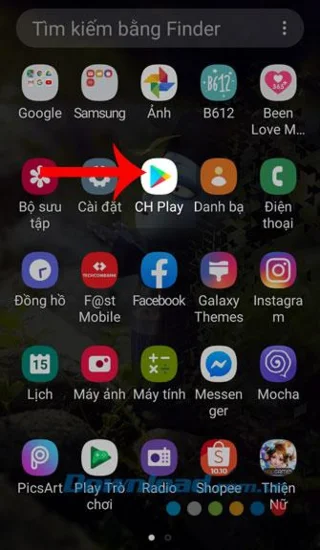
Step 1: First, you need to click on the Google Play ( App Store on iOS) icon on the phone screen.

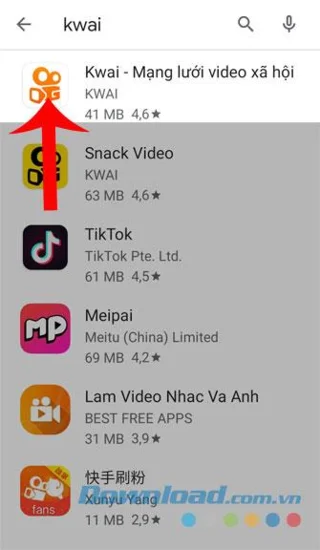
Step 2: Type the keyword Kwai and press search .

Instructions for installing and recording video lip syncing with Kwai Instructions for installing and recording video lip syncing with Kwai

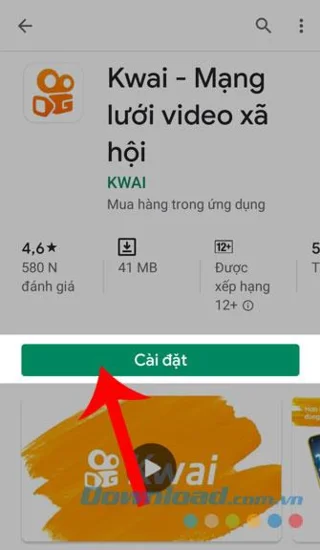
Step 3: For the application download process to be started, press the Install button .

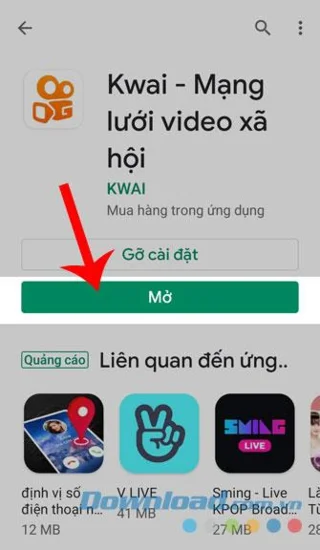
Step 4: Click Open to use Kwai immediately when the download process is finished.

Instructions for installing and recording video lip syncing with Kwai Instructions for installing and recording video lip syncing with Kwai

2. How to record lip syncing videos on Kwai

Step 1: Once you have installed and opened this application, you first need to log in to your account with Facebook , Zalo , Google+ .

Step 2: Search for friends using this application by searching via Facebook or Phone Contacts .

Step 3: At Kwai's main screen, click the camera icon .

Instructions for installing and recording video lip syncing with Kwai Instructions for installing and recording video lip syncing with Kwai Instructions for installing and recording video lip syncing with Kwai

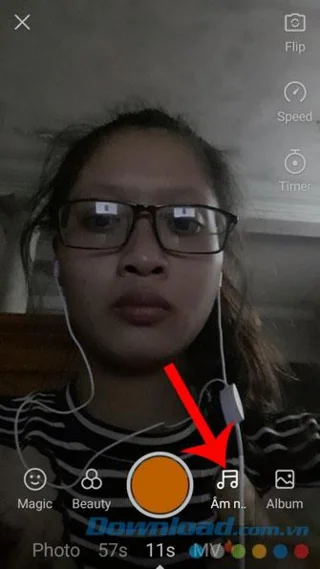
Step 4: Click the note icon at the bottom of the screen.

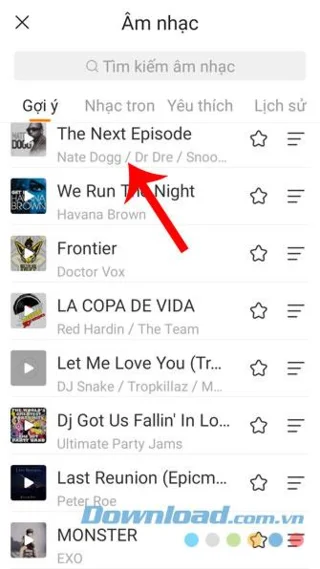
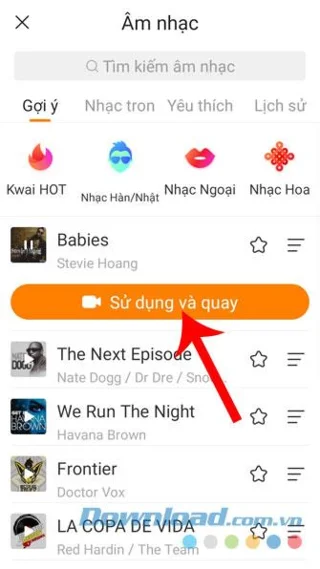
Step 5: At this time, the list of current hottest songs will be displayed, click on the song you want to lip-sync.

Step 6: Click the Use button and spin .

Instructions for installing and recording video lip syncing with Kwai Instructions for installing and recording video lip syncing with Kwai Instructions for installing and recording video lip syncing with Kwai

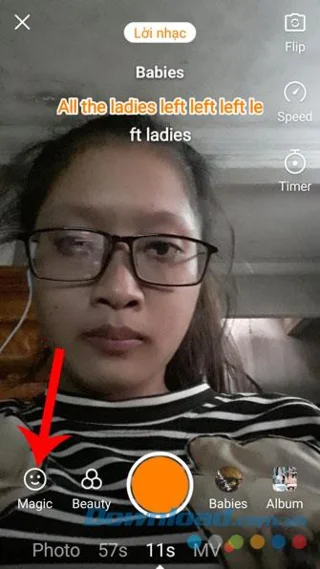
Step 7: Return to the interface of the movie, touch the face icon in Macgic section.

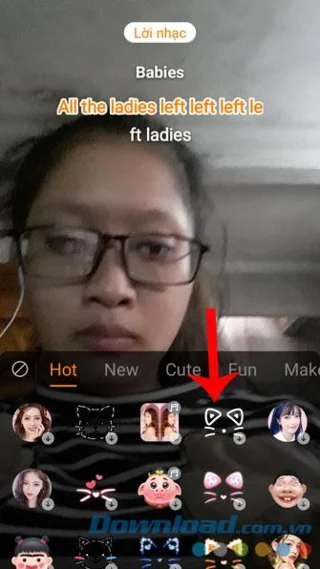
Step 8: Choose the face effect you like.

Instructions for installing and recording video lip syncing with Kwai Instructions for installing and recording video lip syncing with Kwai

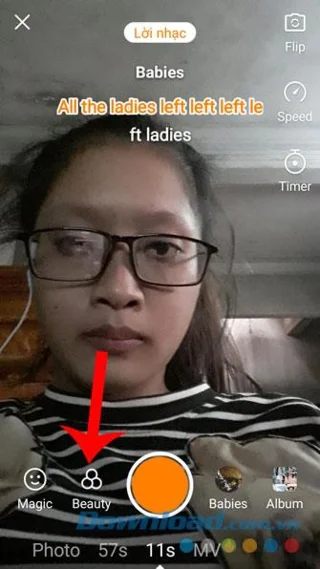
Step 9: Click the Beauty section , to select visual effects for the video.

Instructions for installing and recording video lip syncing with Kwai Instructions for installing and recording video lip syncing with Kwai

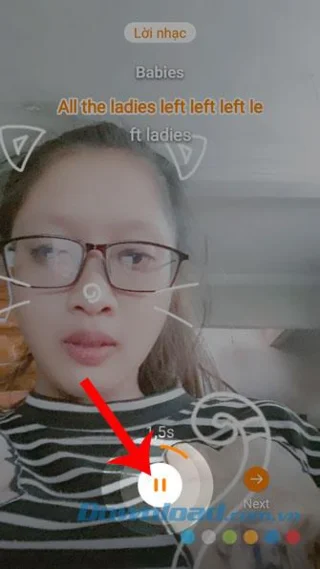
Step 10: Next, press the circle at the bottom of the screen to start video recording.

Step 11: To end the video, continue to touch the circle .

Step 12: Click the arrow icon , to start saving the video.

Instructions for installing and recording video lip syncing with Kwai Instructions for installing and recording video lip syncing with Kwai Instructions for installing and recording video lip syncing with Kwai

Step 13: Set up additional features for videos like: Brightness, Mixing, Effects, Cover images, .... Then click Next button in the upper right corner of the screen.

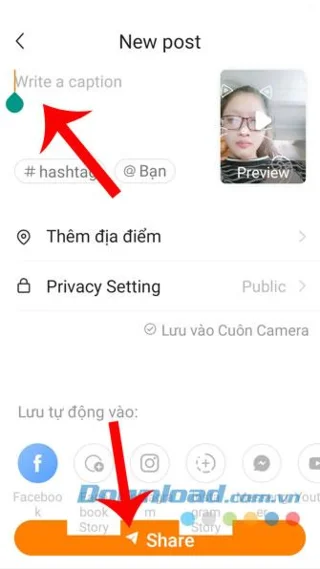
Step 14: Write a caption for the video, then press the Share button .

Step 15: Finally, my lip-syncing video will be posted on Kwai's homepage.

Instructions for installing and recording video lip syncing with Kwai Instructions for installing and recording video lip syncing with Kwai Instructions for installing and recording video lip syncing with Kwai

Above is the instruction to install and record Kwai lip-syncing videos on the phone, we hope that after following this article, you can freely create extremely impressive lip-syncing videos and share them share for everyone to see.
Also you can refer to some other articles: 

I wish you successful implementation!

Leave a Comment

Sync Active Directory Users with ONLYOFFICE DocSpace via LDAP

Sync Active Directory Users with ONLYOFFICE DocSpace via LDAP

Connect ONLYOFFICE DocSpace to Active Directory or OpenLDAP, import users and groups safely, map account fields, and schedule reliable synchronization.

Change ONLYOFFICE Workspace’s Default Storage Location

Change ONLYOFFICE Workspace’s Default Storage Location

Move portal data from Disk Default to a supported cloud storage provider, or relocate Docker data safely by changing its host volume mapping.

Completely Remove ONLYOFFICE Document Server from Linux

Completely Remove ONLYOFFICE Document Server from Linux

Identify whether Document Server uses a Linux package or Docker, remove only its components, and check remaining data without deleting shared services by mistake.

Stop ONLYOFFICE Co-Editing Lag by Finding the Bottleneck

Stop ONLYOFFICE Co-Editing Lag by Finding the Bottleneck

Trace slow collaborative editing to Docker resource pressure, proxy connections, or document load, then choose the fix that matches your measurements.

Add Fonts to ONLYOFFICE Document Server: Docker vs Linux

Add Fonts to ONLYOFFICE Document Server: Docker vs Linux

Install custom fonts in ONLYOFFICE Document Server, compare persistent Docker mounts with direct copies, rebuild the font list, and verify the result.

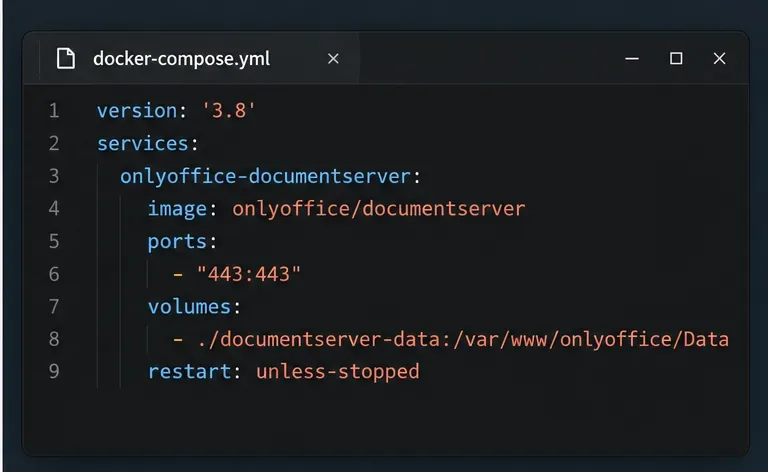
Configure HTTPS for ONLYOFFICE Docs in Docker

Configure HTTPS for ONLYOFFICE Docs in Docker

Choose where TLS should terminate, mount a trusted certificate and private key safely, and verify HTTPS access to a Dockerized ONLYOFFICE Docs server.

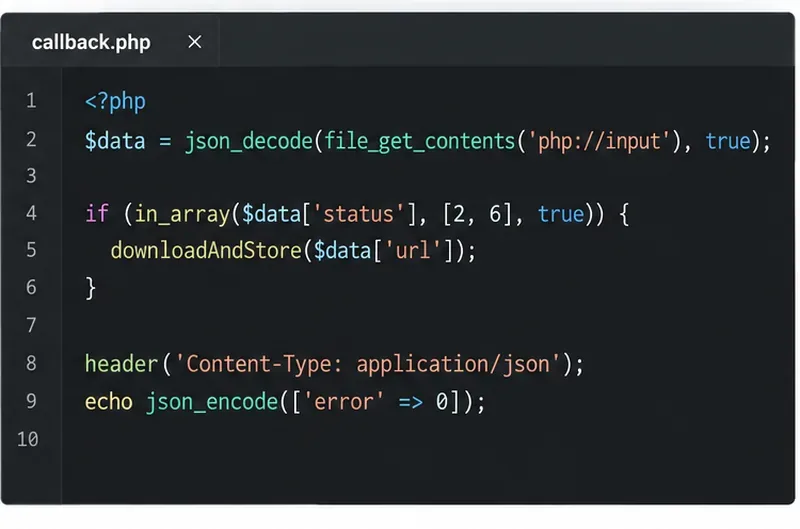
Connect a PHP App to ONLYOFFICE Docs and Save Edits

Connect a PHP App to ONLYOFFICE Docs and Save Edits

Embed the ONLYOFFICE editor in your PHP app, sign its configuration with JWT, and save edited files through a secure callback.

Keep ONLYOFFICE Spell Check on the Language You Choose

Keep ONLYOFFICE Spell Check on the Language You Choose

Set the proofing language for the whole document or selected text, confirm spell checking is active, and identify when a server dictionary is missing.

Keep Track Changes On When a Document Reopens

Keep Track Changes On When a Document Reopens

Enable persistent Track Changes for everyone in one ONLYOFFICE document, verify edits are recorded, and understand the limits of this setting.

Trace the Upstream to Clear ONLYOFFICE’s Nginx 502

Trace the Upstream to Clear ONLYOFFICE’s Nginx 502

Find whether Nginx, Docker networking, or an internal ONLYOFFICE service is returning 502, then verify the corrected upstream and health check.