Hard Disk Sentinel is a hard drive monitoring and care software that has long been favored for its accuracy and stability . In this article, Download.vn will guide you how to install and use the hard disk health monitoring software Hard Disk Sentinel extremely simple and fast.
Install and use Hard Disk Sentinel
First we download the Hard Disk Sentinel software installer.
Download the latest Hard Disk Sentinel
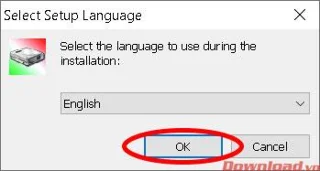
After the download is complete, we proceed to extract and run the file hdsentinel_pro_setup.exe. The installation language selection table will appear. Leave the default as English and click OK .

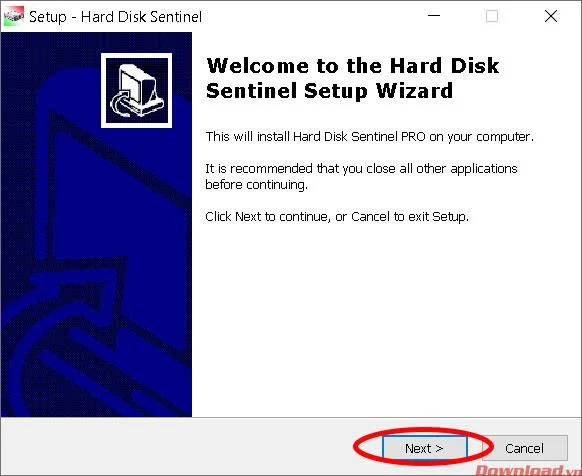
The installation window appears, click Next to continue.

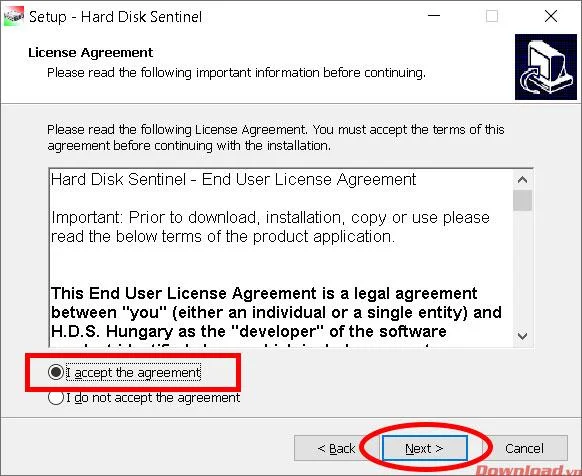
Next, select I accept the agreement and click Next .

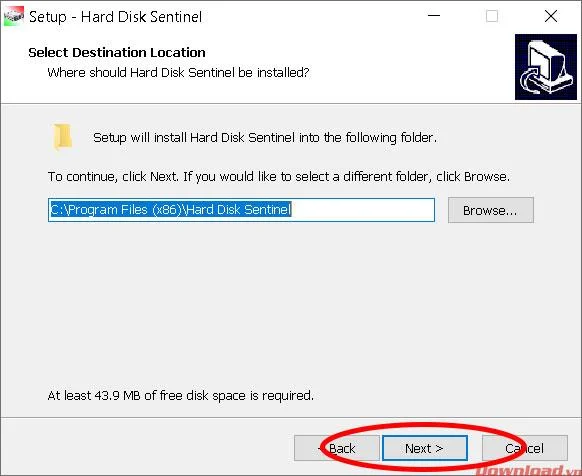
Select the installation location with the Browse ... button or leave it as default. Click Next .

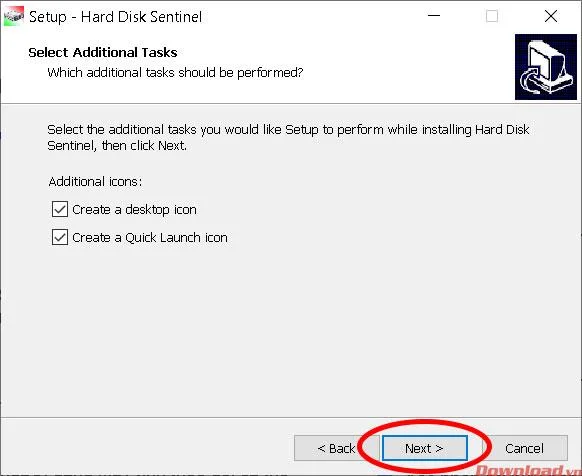
Check in the 2 boxes Create a desktop icon and Create a Quick Launch icon to bring the shortcut of the software to the screen. Click Next .

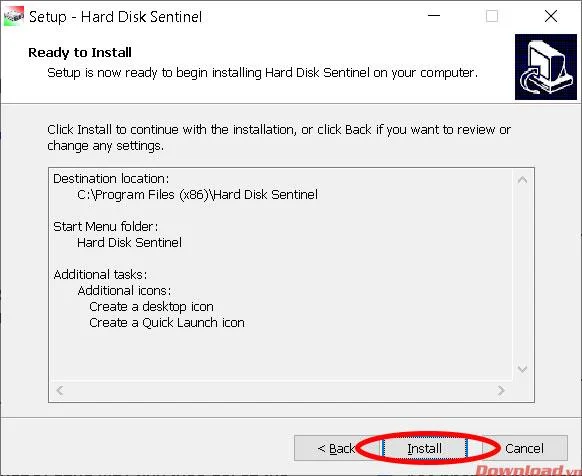
Check all the sections and click Install to begin the installation.

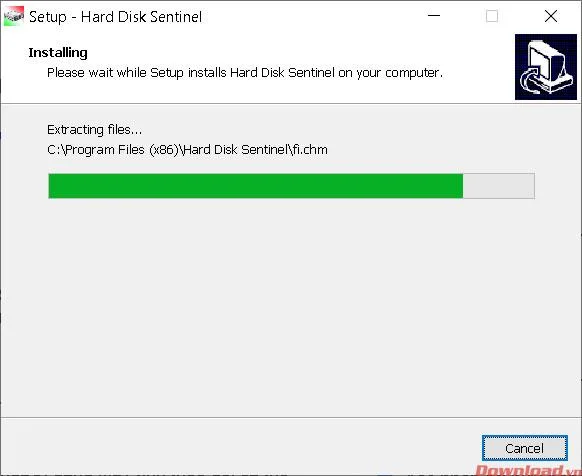
Wait for a while for the installation to take place.

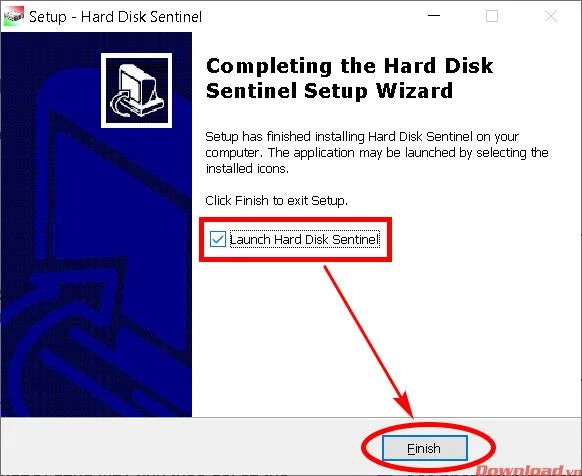
After successful installation, the completion window will appear. Check the box of Launch Hard Disk Sentinel to run the software after the installation finishes and click Finish to finish the installation process.

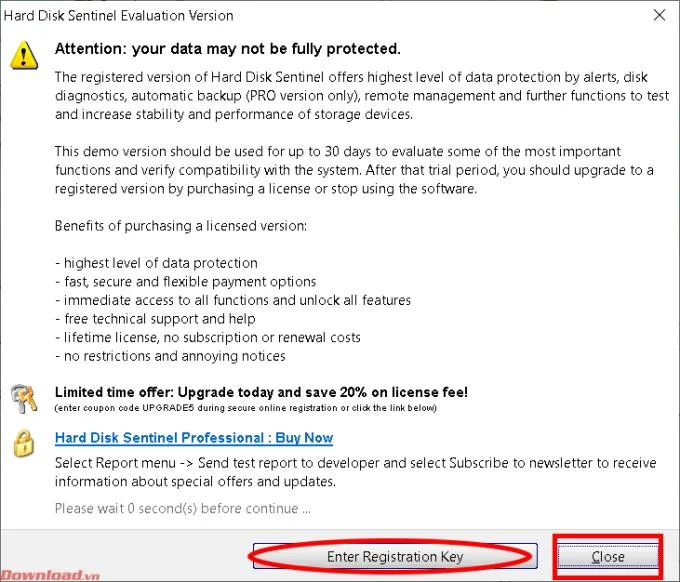
When launching the software will display a notice board as shown below. If you already have a license key, click the Enter Registration Key , if you want to continue trying, click the Close button . The software will allow you to use it free of charge for 30 days from the date of installation.

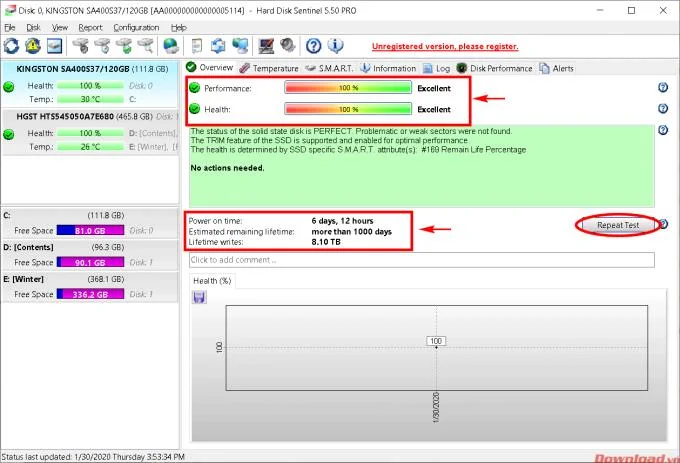
In the main window, you can see some key parameters and considerations that correspond to each hard drive you own:
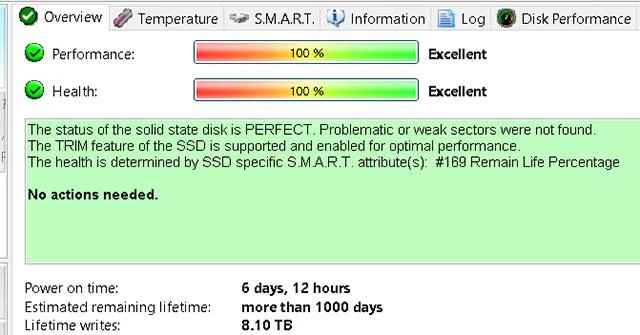
- Performance : Performance of the hard drive.
- Health : Hard drive health
There are also a number of operating time parameters , estimated hard drive duration of stable operation , the amount of data recorded . If you want to check the status of your hard drive again, press the Repeat Test button .
To change to another hard drive, select the drive on the left side of the software.

I wish you successful implementation!