Change ONLYOFFICE Workspace’s Default Storage Location
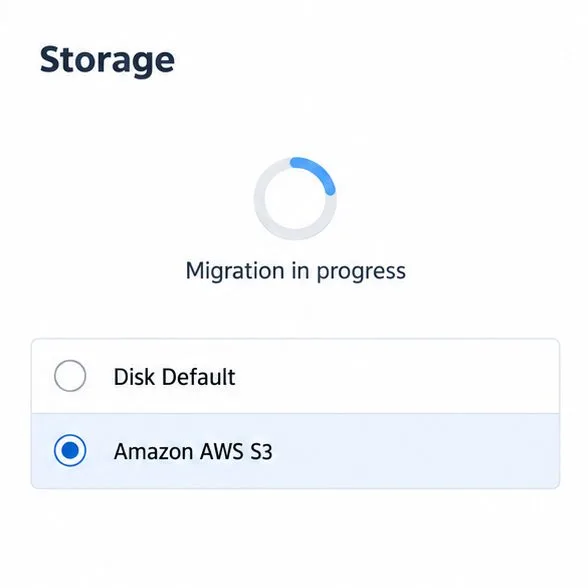
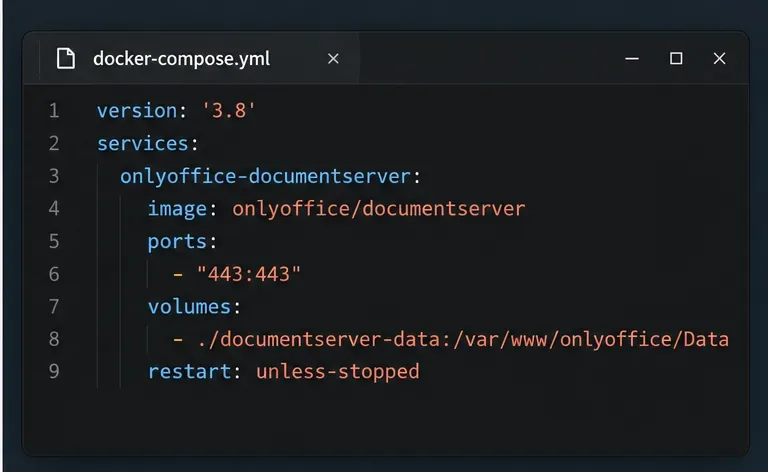
Move portal data from Disk Default to a supported cloud storage provider, or relocate Docker data safely by changing its host volume mapping.
Internet Download Manager (IDM) is the best download acceleration and download acceleration software available today, used by many people. However, this software is only for a 30 day trial, after the trial period IDM automatically disables all functions that prevent you from downloading files anymore.
When users remove Internet Download Manager in the normal way and reinstall it is still reported that the expiry date, need to buy a license to continue using. So how to continue using IDM free 30 days? Please refer to the following article to know how to remove IDM thoroughly, before installing Internet Download Manager again.
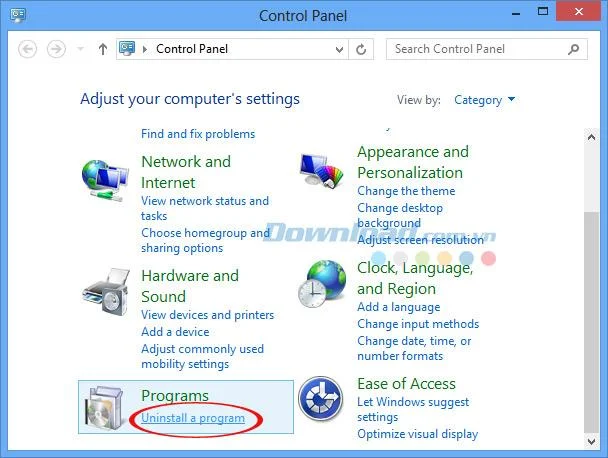
Go to Control Panel , navigate to Programs and click on Uninstall a program to uninstall Internet Download Manager.
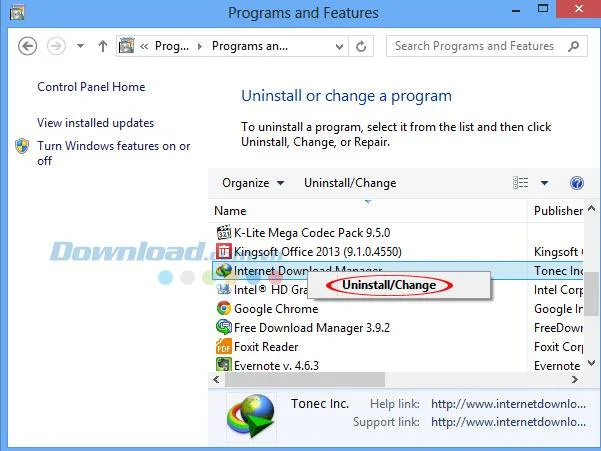
In the Programs and Features window, find Internet Download Manager software, right-click and select Uninstall / Change to remove IDM.
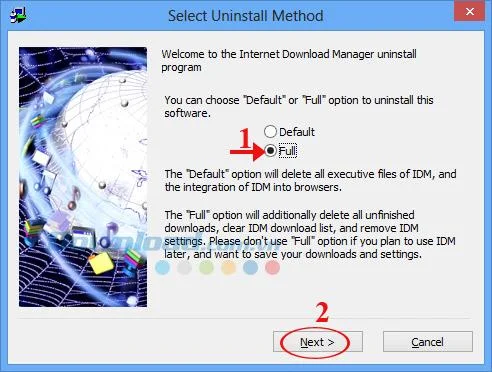
Immediately after the Select Uninstall Method window appears allowing you to select the method of uninstalling IDM, click the Full box , and then click Next to move to the next step.
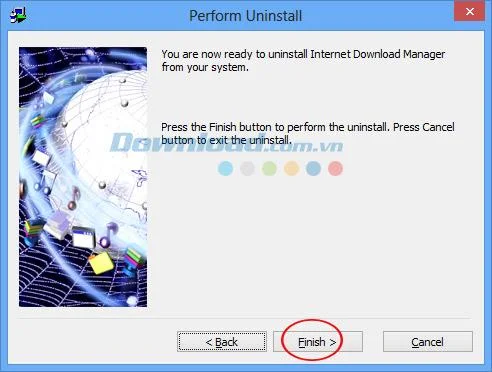
Wait for a while for the IDM uninstall process to complete, click Finish to complete the IDM uninstall process from the system.
Thus, Internet Download Manager has been removed from the computer in the normal way, but not completely removed if you proceed to reinstall IDM, then the installation message will still appear after the installation is completed. So please continue to follow the steps below to remove IDM thoroughly.
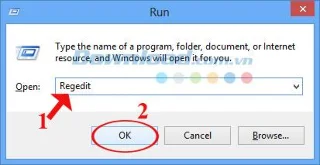
This is the most important step in the process of removing Internet Download Manager from your computer. First, press Windows + R keys to open the Run dialog box , then type Regedit in the Open box and press OK or press the Enter key .
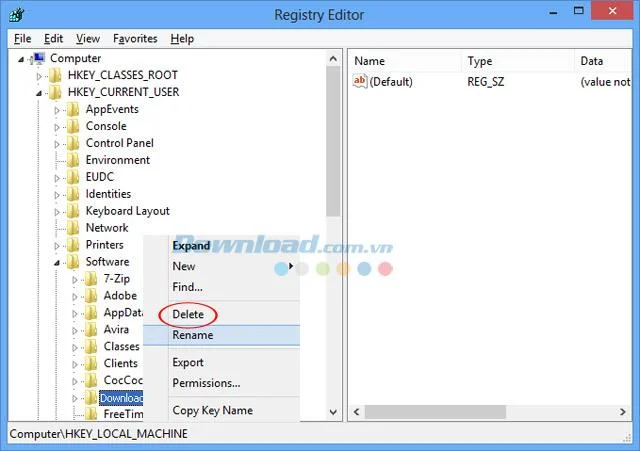
Shortly after, the Registry Editor window appears, opening the path HKEY_CURRENT_USER \ Software \ DownloadManager. Here, right-click and select Delete.
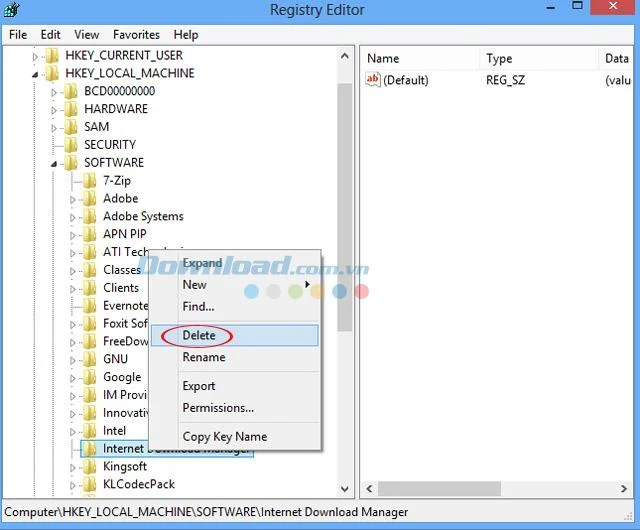
Continue to select HKEY_LOCAL_MACHINE \ SOFTWARE \ Internet Download Manager, right-click Internet Download Manager and select Delete.
Next go to C -> Program Files . Then find the Internet Download Manager application and delete it. Remember to press Shift + Del to wipe from your computer too.
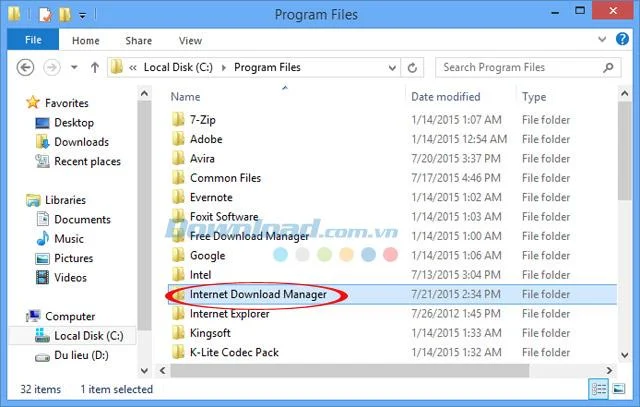
Finally restart the computer so that Windows switches to a new state and to remove all the data of Internet Download Manager saved earlier. After logging back in, you can install Internet Download Manager as usual.
So with just a few taps you have completely removed IDM from your computer, without installing any supporting software. And if anyone is afraid to manipulate this manually, you can refer to some software that supports application removal such as: Your Uninstaller , Revo Uninstaller , KUninstall , IObit Uninstaller ...
Move portal data from Disk Default to a supported cloud storage provider, or relocate Docker data safely by changing its host volume mapping.
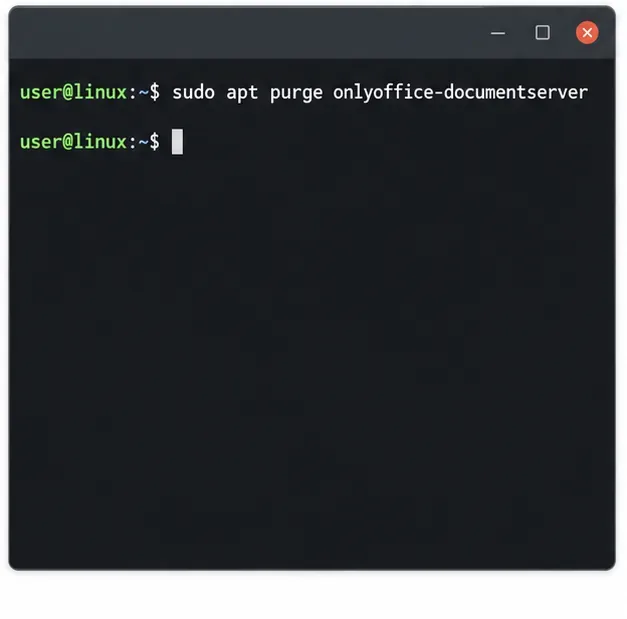
Identify whether Document Server uses a Linux package or Docker, remove only its components, and check remaining data without deleting shared services by mistake.
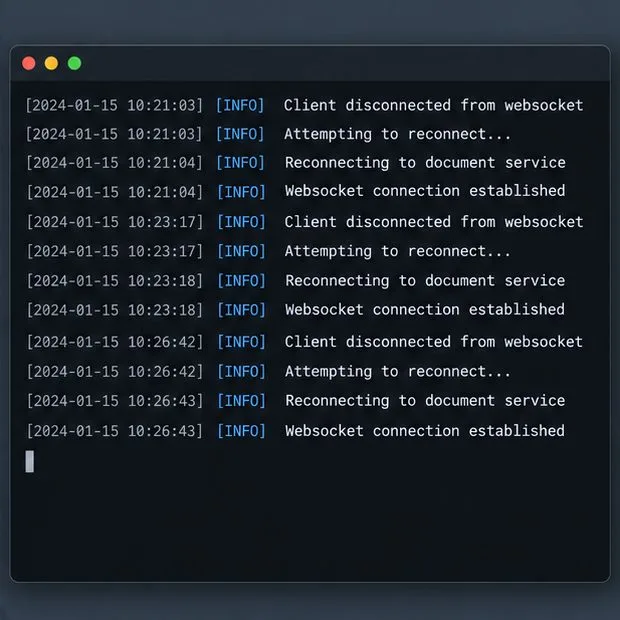
Trace slow collaborative editing to Docker resource pressure, proxy connections, or document load, then choose the fix that matches your measurements.
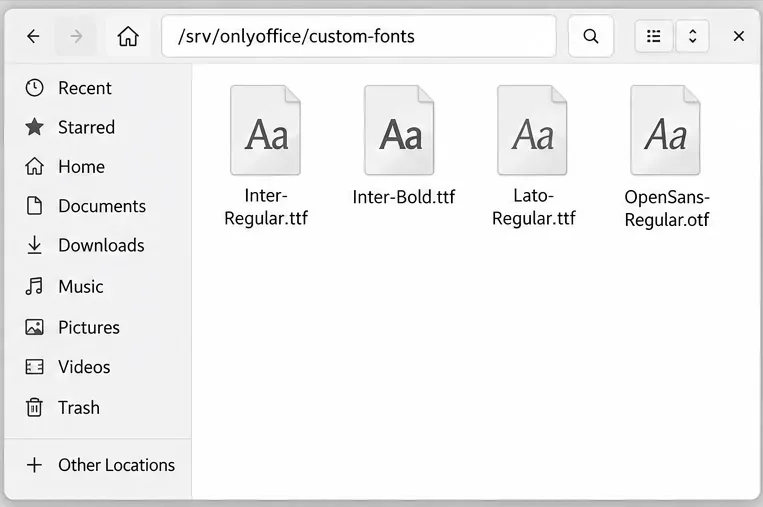
Install custom fonts in ONLYOFFICE Document Server, compare persistent Docker mounts with direct copies, rebuild the font list, and verify the result.
Choose where TLS should terminate, mount a trusted certificate and private key safely, and verify HTTPS access to a Dockerized ONLYOFFICE Docs server.
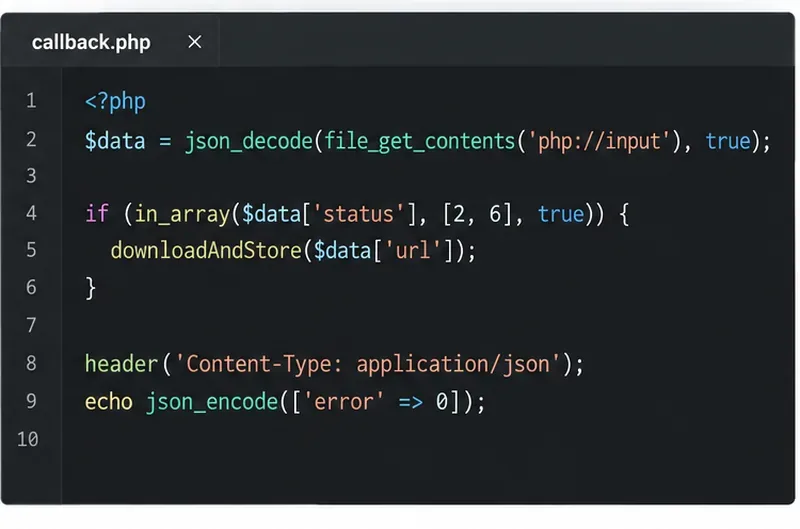
Embed the ONLYOFFICE editor in your PHP app, sign its configuration with JWT, and save edited files through a secure callback.
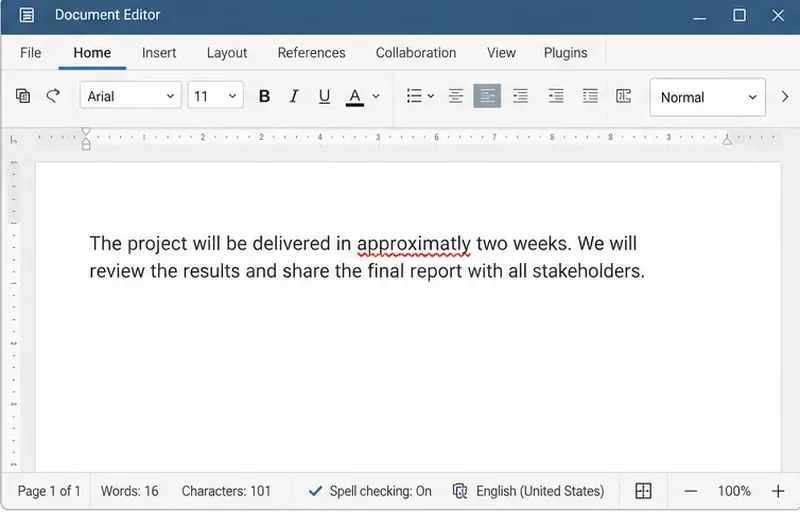
Set the proofing language for the whole document or selected text, confirm spell checking is active, and identify when a server dictionary is missing.
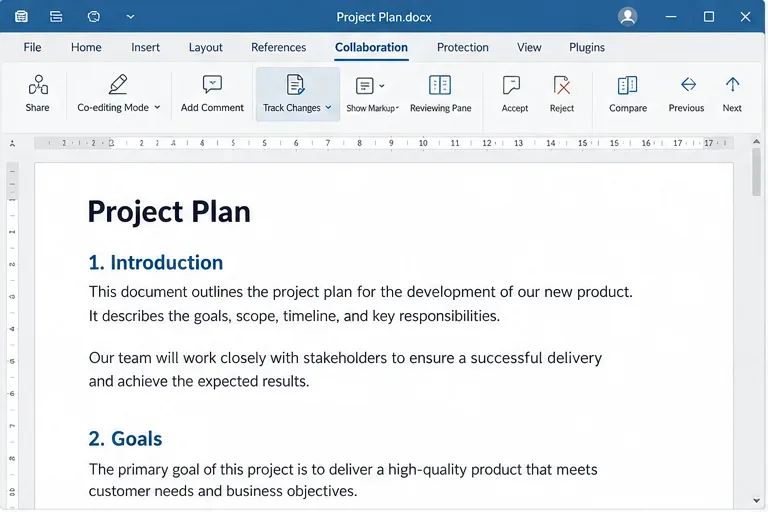
Enable persistent Track Changes for everyone in one ONLYOFFICE document, verify edits are recorded, and understand the limits of this setting.
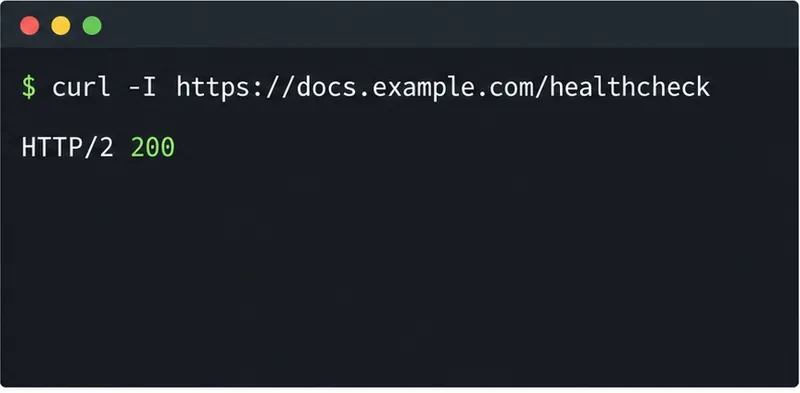
Find whether Nginx, Docker networking, or an internal ONLYOFFICE service is returning 502, then verify the corrected upstream and health check.
Diagnose failed ONLYOFFICE saves by checking the Nextcloud callback route, proxy redirects, and storage logs, then verify the edited file persists.