Make Custom Fonts Available in Collabora CODE Docker
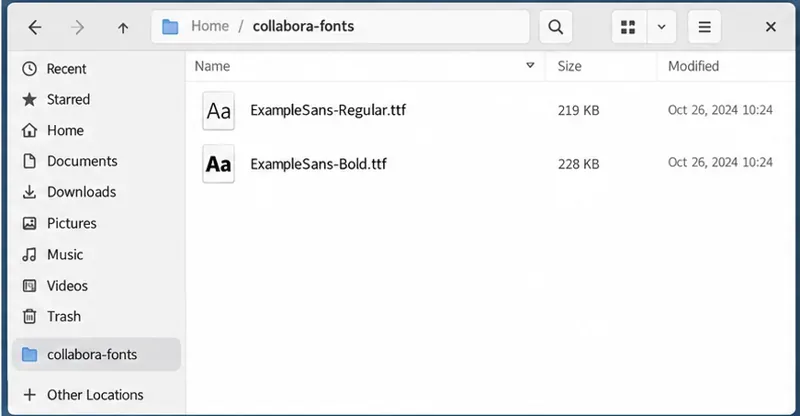
Mount font files into Docker and Collabora’s systemplate so custom typefaces appear in the editor and render correctly in documents.
To make a custom font render in Collabora Online CODE running in Docker, keep the font files on the host and mount the same directory into both the container’s system font directory and its document systemplate. The systemplate supplies files to isolated document processes; mounting fonts only into /usr/share/fonts can make a family appear in the font menu without making it render in the document. This guide uses Docker Compose and the current CODE image path /opt/cool/systemplate; verify the path if you use another image line.
A read-only bind mount is usually the simplest option for one Docker host. It preserves the font files when the CODE container is recreated or upgraded, and you can review exactly which files the container can read. Use font files you are authorized to install and redistribute to the server. Do not copy an entire desktop system’s font directory unless you have checked its licenses and need those files.
Use uncompressed font files in formats supported by your environment, commonly TrueType (.ttf) or OpenType (.otf). Include the styles your documents need, such as regular, bold, italic, and bold italic. Keep family names and file names clear, and make sure the container user can read every directory and file. A font that contains only one style may cause Collabora to substitute another face when a document requests bold or italic.
First create a dedicated host directory and copy the authorized files into it:
sudo mkdir -p /srv/collabora/fonts
sudo cp BrandSans-Regular.ttf BrandSans-Bold.ttf /srv/collabora/fonts/
sudo chmod -R a+rX /srv/collabora/fonts
Replace the example filenames with your actual font files. The read permission matters because the CODE process runs as an unprivileged account in current images. Keep the directory path stable; the Compose bind mounts will refer to it.
In your existing collabora service in docker-compose.yml, add these volume entries. Preserve your existing image, ports, domain allowlist, SSL settings, secrets, and restart policy; the snippet below shows only the font mounts.
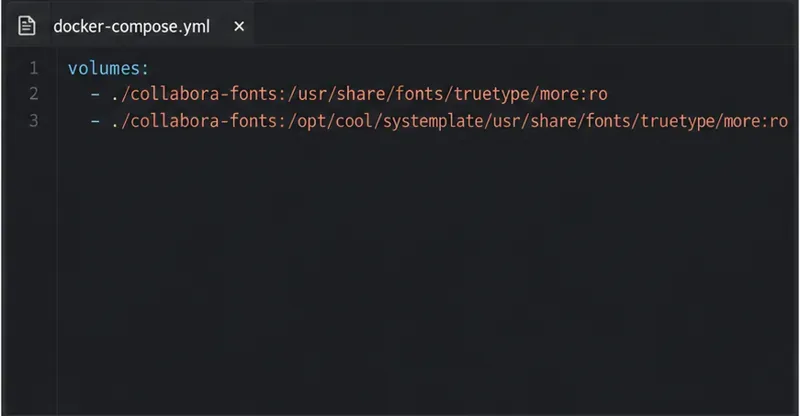
services:
  collabora:
    volumes:
      - /srv/collabora/fonts:/usr/share/fonts/truetype/more:ro
      - /srv/collabora/fonts:/opt/cool/systemplate/usr/share/fonts/truetype/more:ro
The first target makes the fonts available to the container’s regular font discovery. The second target places them inside the template used to prepare isolated document environments. Collabora’s SDK manual documents this two-location volume pattern for Docker. Do not mount over the whole /usr/share/fonts or systemplate directory: that can hide fonts already supplied by the image.
The systemplate path is version-sensitive. The current CODE 26.04 image metadata identifies /opt/cool/systemplate as its system template path, and Collabora’s current documentation uses that location. If you run an older image or a vendor-specific build, inspect that image’s documentation or startup configuration before editing the target path.
After saving the Compose file and placing the font files on the host, recreate the CODE service so Docker applies the bind mounts:
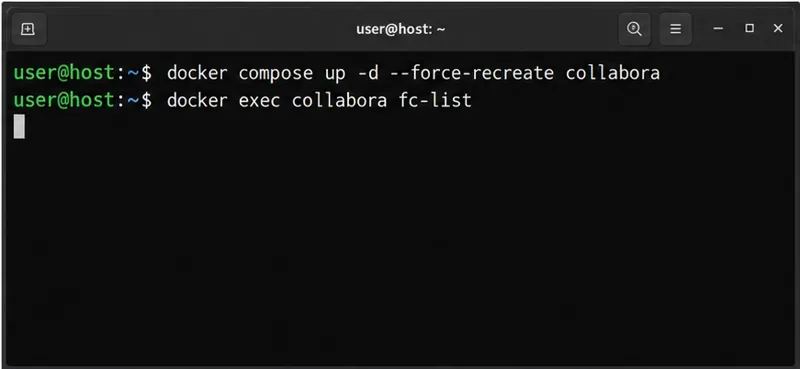
docker compose up -d --force-recreate collabora
docker compose exec -T collabora fc-list
In the output, look for the font family name or the mounted file path. To narrow the list, pipe it through grep with the family name reported by the font itself, for example:
docker compose exec -T collabora fc-list | grep -i "Brand Sans"If the command reports no match, check the host path, file permissions, mount indentation, and container logs. You can inspect the effective mounts with docker inspect on the running container, or use docker compose config to catch YAML indentation mistakes. Running docker compose down is not normally needed just to apply the volume change; recreating the service is sufficient.
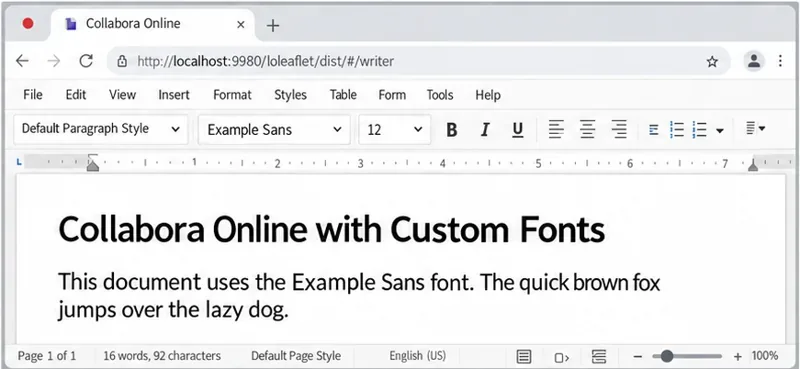
Open a test document through the normal Nextcloud or WOPI integration, select a short sample of text, and choose the custom family from the font picker. Type a new line in that font, save, close, and reopen the file. Check regular and bold text, and compare line breaks or page layout with the source document. A family appearing in the menu is only a discovery check; visible text after reopening is the useful rendering check.
fc-list output and the container startup logs.A bind mount keeps fonts independent from the CODE image, but it does not guarantee identical layout on every client or in every document. Font substitution, missing glyphs, different font versions, and document-specific formatting can still change line wrapping. For additional configuration details, use Collabora’s font installation documentation, its CODE Docker image guide, and the Collabora Online SDK manual. The manual’s Docker example and current image documentation should be checked again when you change CODE versions.
Mount font files into Docker and Collabora’s systemplate so custom typefaces appear in the editor and render correctly in documents.
Back up coolwsd.xml and its deployment sources, restore them safely, and verify CODE before users return to editing.
Allow the exact Nextcloud or other WOPI origin in CODE, then verify the active host allow-list and distinguish it from Nextcloud’s source-IP restriction.
Trace Collabora’s browser, WOPI, and WebSocket connections to find why a document will not open, then apply the fix that matches your Nextcloud setup.
Deploy Collabora CODE replicas with Helm, keep each document on one pod through WOPI affinity, and verify ingress, node placement, and Nextcloud editing.
Trace a failed socket handshake from browser to coolwsd, then match the reverse-proxy route to your Collabora version, including the CODE 26.04 Apache change.
Trace Collabora WOPI proof failures to mismatched keys, stale discovery data, clock drift, or proxy URL changes—without weakening validation.
Reset browser zoom, test a clean session, and identify when a malformed size menu needs a Collabora server update.
Deploy Collabora CODE with Docker, connect it securely to Nextcloud Office, and verify document editing with practical WOPI and proxy checks.
Temporarily raise coolwsd to debug, capture one failed open, and use the log sequence to separate WebSocket, WOPI, proxy, and container issues.