








Diagnose a SUSE Server That Hangs at the systemd Shutdown Screen

Use systemd jobs and the previous boot journal to locate a slow service, mount, or storage dependency, then correct it without masking the cause.
If you use Google Files on Android, you can easily share files quickly via Bluetooth between devices. Devices that are close to each other can receive or send files immediately, without any restrictions on the type of file sent. Besides, you also have the right to adjust the sharing object and limit the time to receive files. Below are instructions for quickly sharing files on Google Files.
How to quickly share files on Google Files
Step 1:
Open the Google Files file manager app on your Android phone. Next, tap the share icon in the upper right corner and select Quick Share below.

Step 2:
Displays the interface to set up the Quick Share feature on Google Files. First we can change the display name for your phone name when connecting.
Once you have changed the device name, click Continue below.

Step 3:
Switch to the new interface with the notification to allow access to WiFi and Bluetooth , click Agree to do it. Next, click on the gear to adjust the object of quick file sharing on Google Files . Here you adjust the object of receiving files and sharing files.
Step 4:
After turning on Bluetooth and WiFi, the sharing feature will scan for nearby devices . When you see any nearby devices appear in the interface, click on the device you want to connect to share files. Immediately after that, you will see the process of sending files to other devices being done.
Step 5:
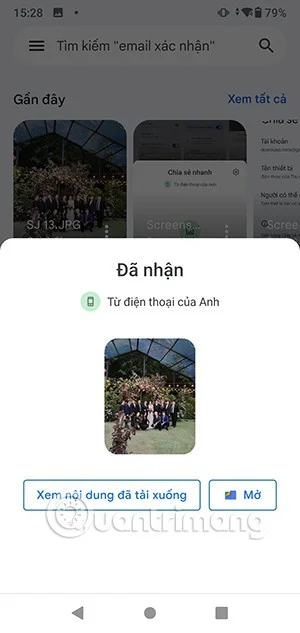
On the receiving device, tap Accept and then you'll see the file, depending on its size. The file is saved in the Google Files app and you can access it in the Quick Share folder .
Use systemd jobs and the previous boot journal to locate a slow service, mount, or storage dependency, then correct it without masking the cause.
Use firewall-cmd to inspect the active zone, allow HTTP safely, preserve SSH access, and verify that the rule survives a reload on SLES 15.
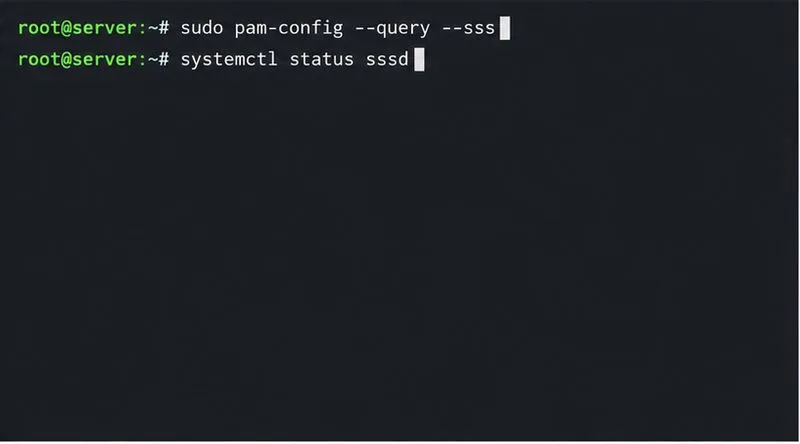
Trace a PAM failure to its service, account policy, or identity provider, then repair the right SLES configuration while preserving a working admin session.
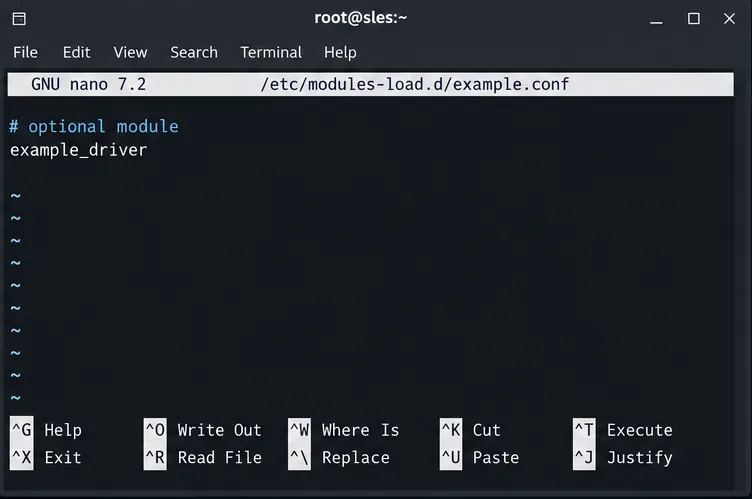
Trace a failed kernel module at SLES startup, correct an obsolete boot entry or repair the required driver, and verify the next boot.
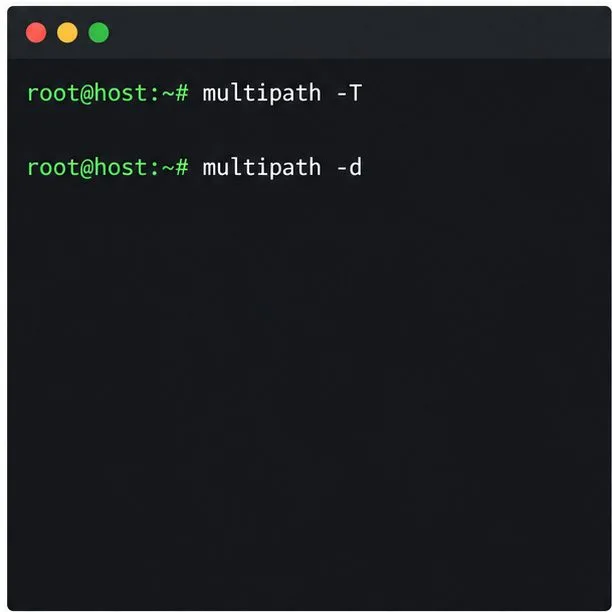
Prepare SCSI SAN paths, enable multipathd, inspect SUSE’s hardware defaults, and verify stable device maps without guessing array settings.
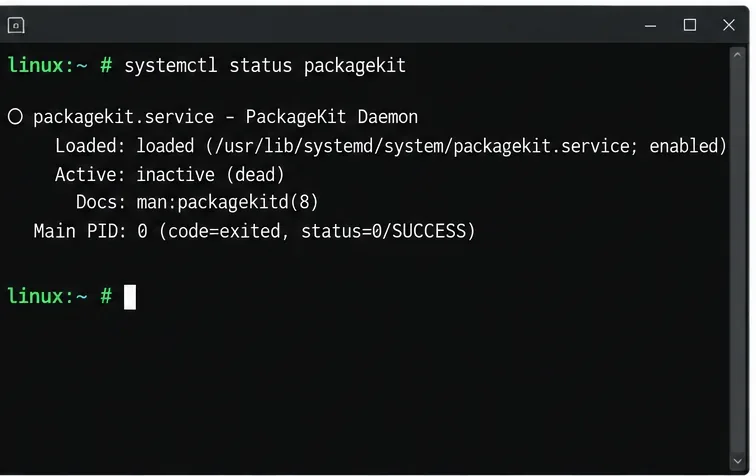
Find the process holding Zypper’s package lock, distinguish process conflicts from package locks, and retry updates without deleting lock files blindly.
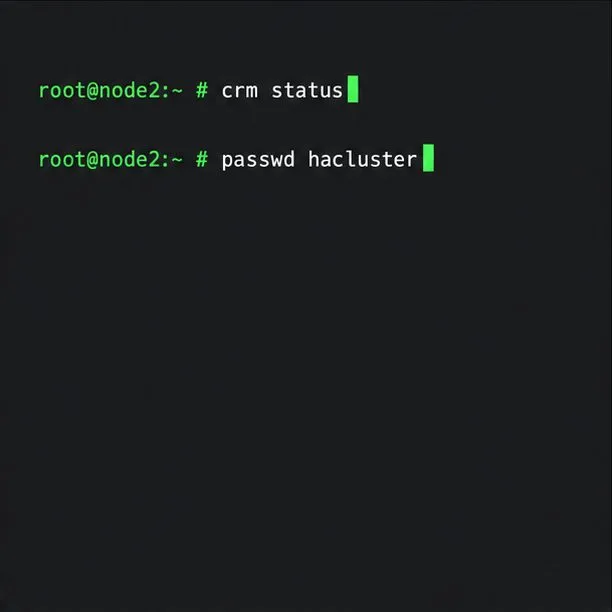
Register SLE HA, bootstrap SLES 15 nodes, then add fencing, quorum, and tested service resources before relying on failover.
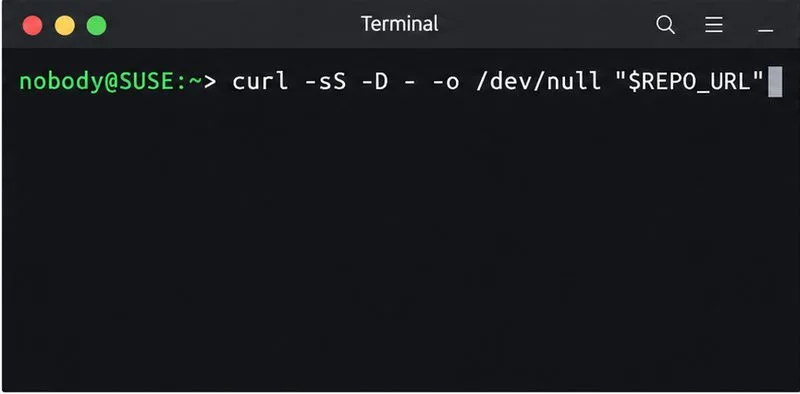
Trace a Zypper refresh error to SUSE, RMT, or a third-party endpoint, then apply the right server-side or cache fix without disabling essential updates.
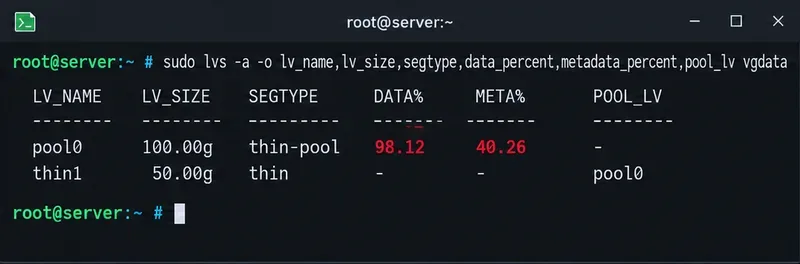
Resolve SUSE LVM thin-pool space errors by checking data and metadata usage, expanding the pool safely, and preventing repeat outages.
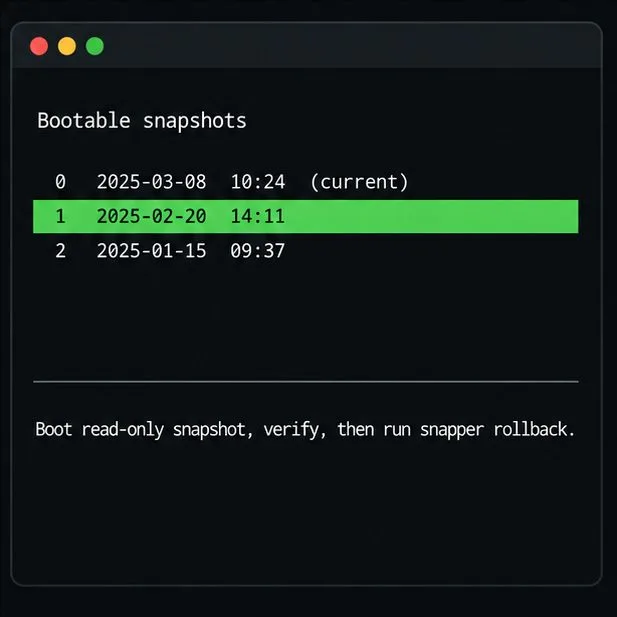
Identify whether Btrfs is intentionally read-only, short on space, or protecting data after errors, then choose a recovery path that fits the cause.