Home
» How to
»
Instructions for downloading and installing TeamLink to learn online
Instructions for downloading and installing TeamLink to learn online
Video Instructions for downloading and installing TeamLink to learn online
Along with Zoom , TranS , TeamLink is also receiving great attention from users. After downloading TeamLink, you can quickly install the TeamLink application to learn online without spending too much time logging into classes that already have an ID.
However, to create a classroom when using the TeamLink app to teach, you will need to register for an account. First, download and install the TeamLink app to get ready for free online classes. Below will be detailed instructions on how to install TeamLink for your reference.
Video on installing TeamLink
Instructions for installing the TeamLink application
Step 1:
Select the link to download the above TeamLink app for your device.
With mobile devices you will be taken to the link to download TeamLink on the app store. You just need to press Install and wait for the application to finish installing and using.
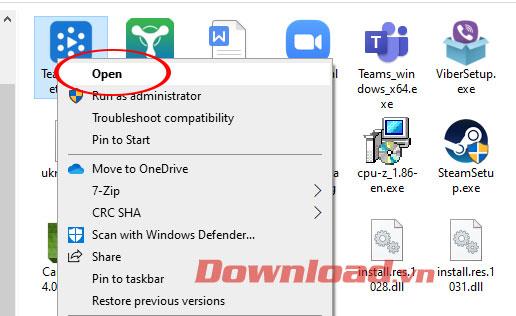
On the computer, you will have the installation file of TeamLink-Setup.exe . Double click on this file.
Install TeamLink
Step 2:
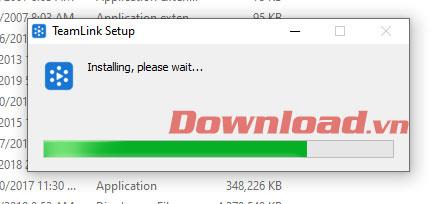
Immediately after, the TeamLink installation window will appear and proceed to install the application.
The installation process takes about a few dozen seconds to 1 minute, after the installation is complete, the TeamLink login interface will appear for you to access the system.
TeamLink installation process
Step 3:
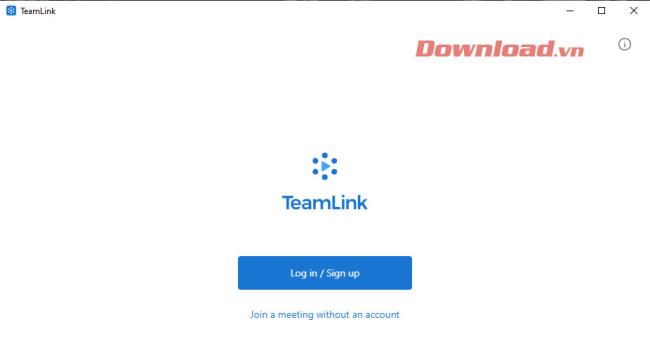
The new interface will allow you to login to TeamLink, click Log in / Sign up to login.
TeamLink interface after installation
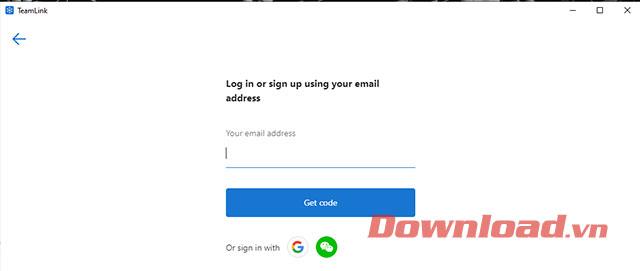
Enter your email to use online learning on TeamLink → Get Code.
Enter TeamLink email
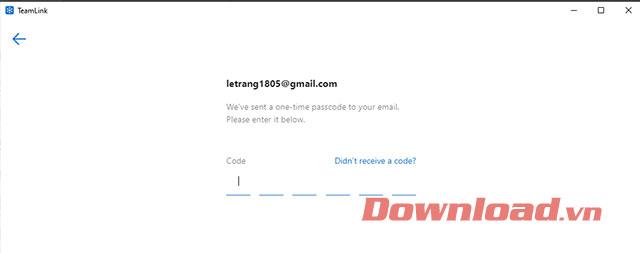
You will quickly receive a confirmation code sent to the registration email above to start coming to the main interface of TeamLink.
Enter the TeamLink verification code
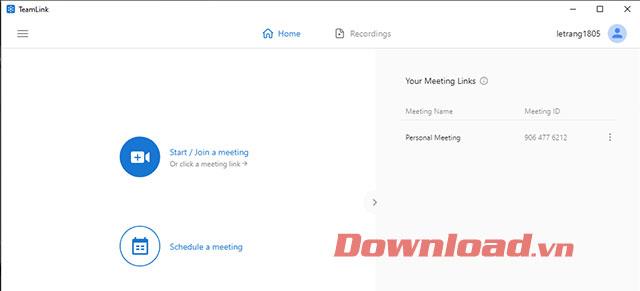
Here you can start taking lessons online, creating online classes or scheduling lessons.
The main interface of TeamLink
Above we have shown you how to install the online application TeamLink. Hope you will have a smooth, lag-free experience when learning online.