Home
» How to
»
The easiest way to fix data sync errors with OneDrive on Windows 10
The easiest way to fix data sync errors with OneDrive on Windows 10
Microsoft's OneDrive cloud storage service is built into Windows 10. Thanks to Office integration and free use, OneDrive has become the favorite backup option for many people.
However, occasionally, OneDrive error file sync. If some or all of your Microsoft OneDrive files are out of sync, try the simple troubleshooting solutions below.
First, you need to check if this is a system error or caused by OneDrive. To do this, right-click on the OneDrive icon in the notification area> click View online . This will open the OneDrive file in your browser. If the file is not downloaded or corrupted (not due to network or Internet signal loss), it may be a problem on Microsoft side.
Check OneDrive status
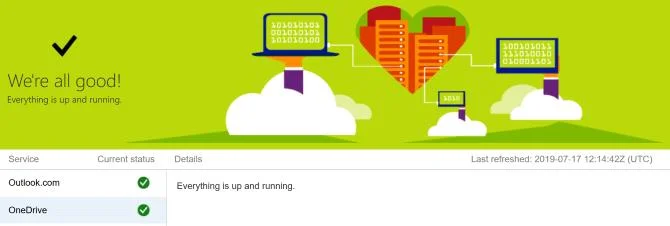
You can check back by going to the Microsoft 365 Service health page . Here, if you see the green area, that means OneDrive is still working normally. If the problem is with OneDrive, you need to wait until Microsoft fixed the problem.
2. Restart OneDrive
Have you tried turning off and on OneDrive again? Often, closing & reopening a program can fix the problem.
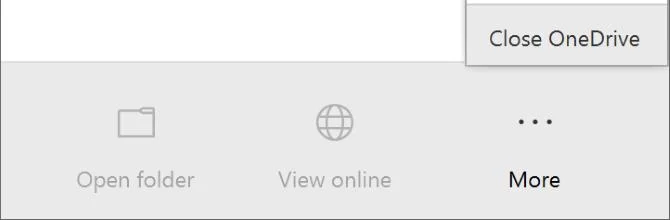
Right-click on the OneDrive icon in the notification area and click Close OneDrive . Then open Start , find OneDrive to open it.
Close OneDrive button
3. Make sure you have enough storage space
OneDrive offers 5GB of free storage. If you upgrade or sign up for Office 365, you can have up to 50GB, 1TB, or 5TB.
Despite the large size, you'll be surprised to see how quickly it fills up. Therefore, you should check if your OneDrive account is full.
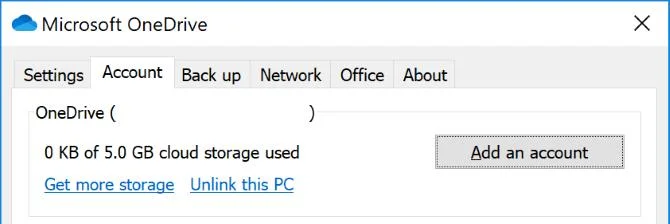
To do this, right-click on the OneDrive icon in the notification area, and then click Settings . Switch to the Account tab and view the memory used.
Check OneDrive free space
If you no longer have space or are near the limit, delete some files on OneDrive or upgrade the size.
4. Check for incompatible files
First, make sure there are no files you want to sync that are larger than 20 GB or higher than the remaining free OneDrive storage. If yes, try compressing the file first. You can refer to the best compression and decompression software today if needed.
Next, the entire file path (including the file name) cannot exceed 400 characters. This can happen if you have a lot of nested directories or the file / directory names are too long. To fix, rename the files or move them to the top-level directory.
Finally, files and directories cannot contain the following characters: "*: <>? / \ |
You should constantly update Windows and OneDrive to own the latest features, and fix errors in the old version. Both are automatically updated but you can manually do it yourself.
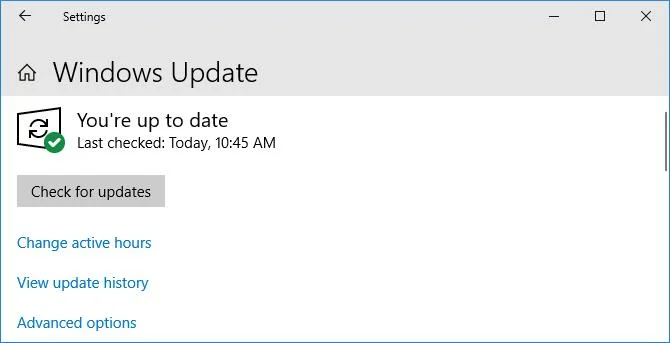
To update Windows, press the Windows+ key Ito open Settings . Click Update & Security> Check for updates . You will have an update when it is compatible with your current system.
Check for Windows updates
For OneDrive, you can download the latest version from its website or via Download.com.vn.
Find the message " Need to reinstall? ”, Run the installer, follow the instructions to complete the process, and then re-register your Microsoft account on OneDrive.
6. Relink to OneDrive
Sync errors may arise due to connection status with the OneDrive account. You can unlink OneDrive and your computer then reconnect to see if the problem is fixed.
Don't worry, this action will not delete anything in your OneDrive account, in other words, your data is safe.
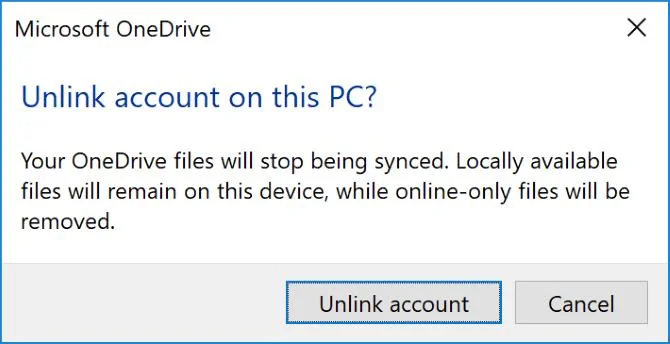
Right-click on the OneDrive icon in the notification window, tap Settings . On the Account tab , click Unlink this PC > Unlink account .
Unlink to a OneDrive account
You will then see the Set up OneDrive instructions . Enter your email address and follow the instructions to reconnect your OneDrive account.
7. Temporarily turn off protection
Firewalls or antivirus software may conflict with OneDrive. You can temporarily turn them off to determine if OneDrive data sync errors are originating here.
To turn off Windows Defender Firewall, open Settings by pressing the Windows+ key I, then Update & Security> Windows Security> Firewall & network protection . Select the active labeled network and slide the Windows Defender Firewall switch to Off .
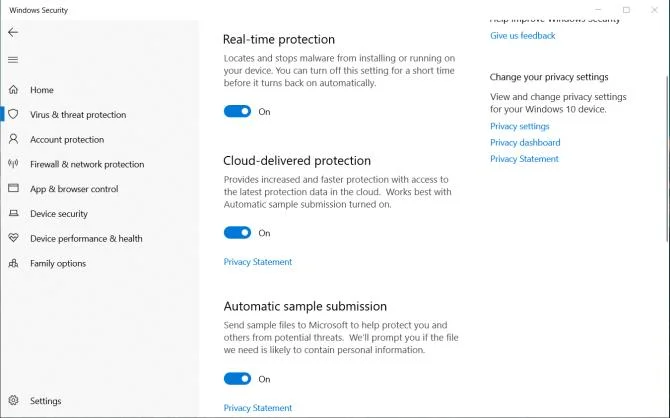
Turn off security fence on Windows 10
Then, to turn off the Windows Defender antivirus tool, still in the upper window, click Virus & threat protection in the left hand menu. Click Virus & threat protection settings , then turn Real-time protection to Off .
If you're using a third-party firewall or antivirus, read the support documentation for using that software to disable it.
Remember to turn on the firewall and browser virus again after the OneDrive sync error has been fixed.
8. Move the stuck file from OneDrive
Whether or not a file causes a sync error, it is always helpful to delete some files from the OneDrive sync folder.
First, right-click on the OneDrive icon in the notification area, and then press Pause syncing> 2 hours . Next, go to one of the folders you are trying to sync and move the file to a location on the computer that you are not syncing with. Right-click on OneDrive again and click Resume syncing . Complete the synchronization process, return the file to its original location.
9. Turn off uploading Office files
If the sync issue is related to certain Microsoft Office files , the Office upload file cache may be interfering with OneDrive. You can turn off the setting in OneDrive to see if the problem is solved.
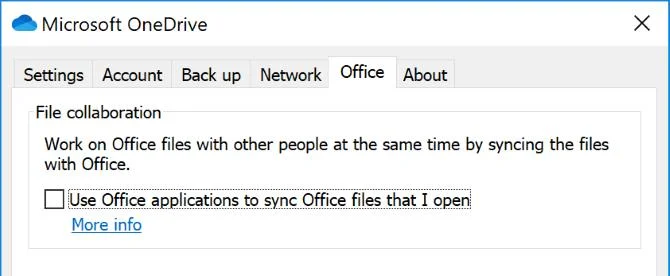
Right-click on the OneDrive icon in the notification area> select Settings . Go to the Office tab , uncheck Use Office 2016 to sync Office files that I open > click OK .
Turn off Office file synchronization
Turning this feature off means that any simultaneous changes in Office files in OneDrive will not be automatically synchronized. Of course, if it doesn't fix the sync error, simply turn it back on.
10. Fully restore the original settings of OneDrive
Resetting OneDrive will bring all your settings back to the default state, including the selected folder to sync but it might solve the problem. Also, it does not delete any of your files so you do not need to worry.
To get started, press the Windows+ key Rto open Run . Enter the following command and click OK :
% localappdata% \ Microsoft \ OneDrive \ onedrive.exe / reset
You can see the Command Prompt window appear. Wait for it to disappear. Next, open Start , find OneDriver and open it. Follow the instructions to set up your account settings. Reconfiguring settings is like choosing a folder to sync.