Teaching Handbook – OneNote Class Notebook is a plugin of OneNote , an application to help teachers set up OneNote in their classroom. This application will help teachers create a class notebook, including three types of notebooks:
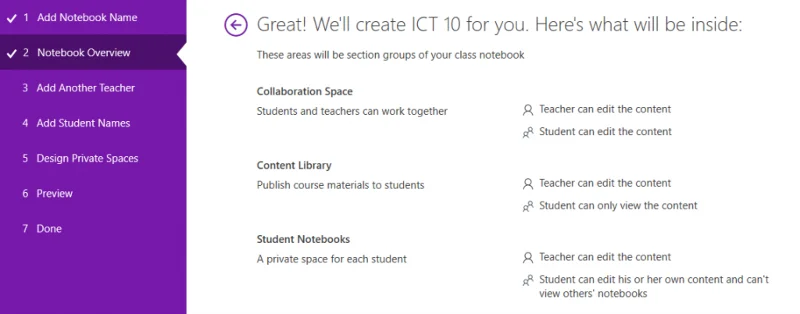
- Student notebook — Used for sharing between teachers and their students. Teachers can access student notebooks at any time. Students cannot see other students' notebooks
- Content Library — A type of notebook for teachers to share teaching materials, course content with their students. Teachers can add and edit documents in notebooks but students cannot edit them, they can only read and view notebooks
- Collaborative space — A type of notebook for all students and teachers in the classroom to share, organize, and collaborate on working together in one notebook.
Steps to take
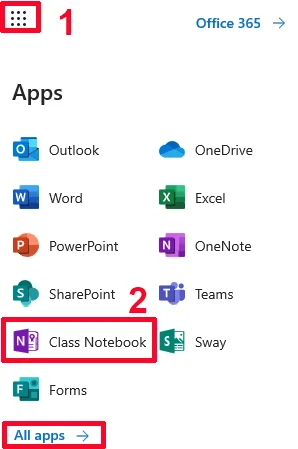
- Sign in to Office 365.
- Click the application launcher in the upper left.
- Click to select Class Note book
Create a Class Notebook
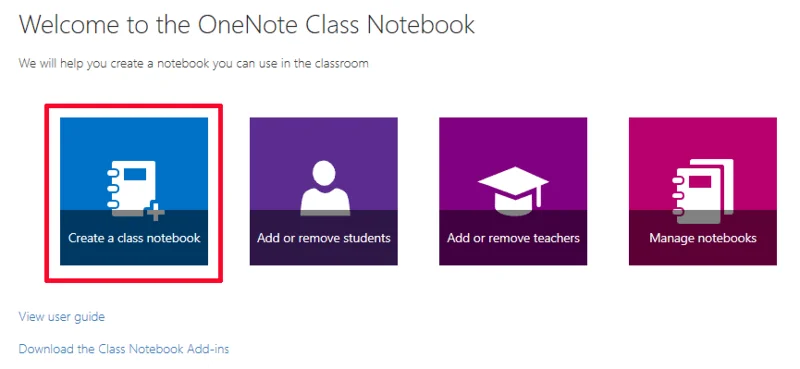
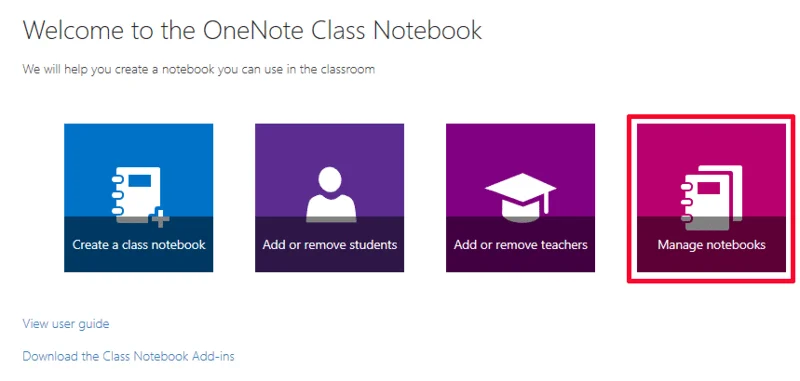
Teachers click Create Class Notebook in the class notebook wizard.

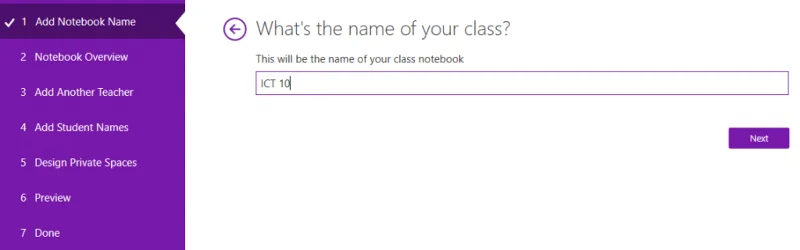
The wizard will guide you through the following steps to set up your notebook:

- Teachers can read through the introduction

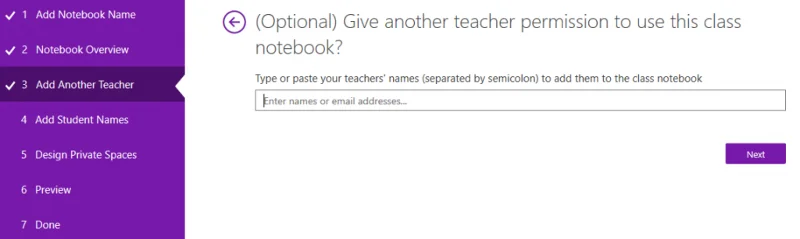
- Add 1 teacher to the class book (co-teacher)

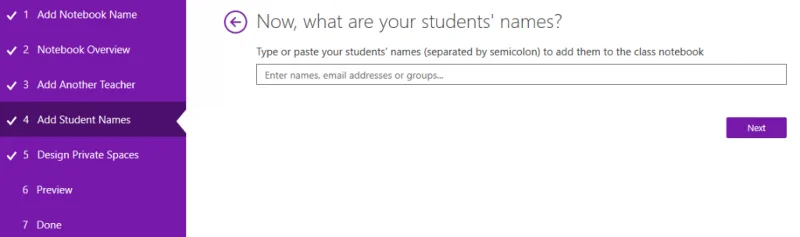
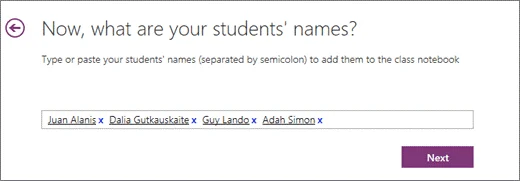
- Add students to the class book (this can be added later)
Add your students to the notebook by name, group name, or email address. Student names or names of groups, emails separated by periods.

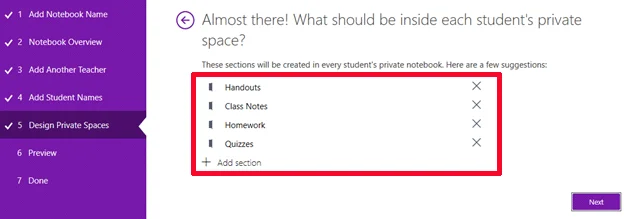
Here, teachers will be suggested by Class Notebook for some components, teachers can completely add or remove here.

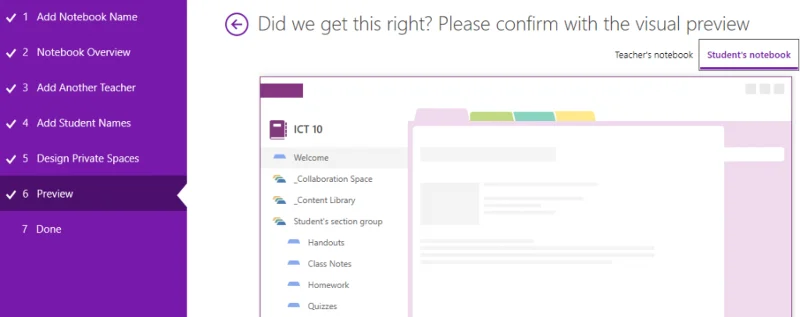
- Teachers can preview the shape of the classroom notebook they have just created
If you need to change, the teacher can go back to the previous steps to reset

- If nothing changes, the teacher clicks Create to create a notebook for her class.

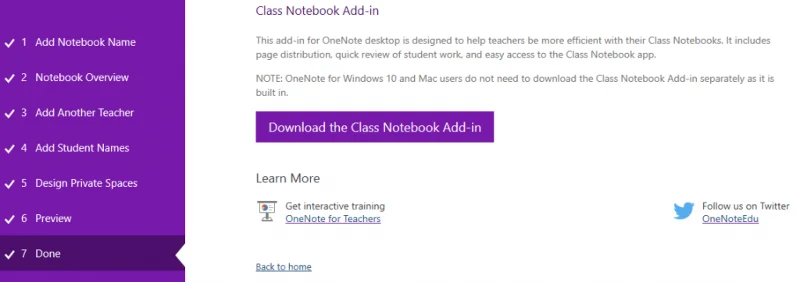
Here, teachers will be suggested by Class Notebook to download and install Class Notebook to their computer for more effective and easier use. If you are using OneNote for Windows 10 and Mac, you do not need to install it because it is already available on OneNote.
Add another teacher to the class notebook
If the teacher has not yet added a co-teacher in the book setting, she can add it later by following the instructions below.
- Open OneNote on your computer.
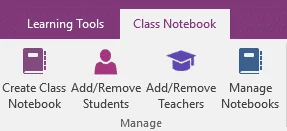
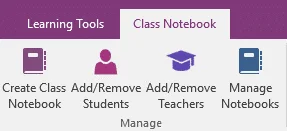
- Select the Class Notebook tab , then Add/Remove Teacher .
OR
OneNote for Mac : select the Class Notebook tab , then Manage Class Notebook , then Add/Remove Teacher

- The Class Notebook Wizard will automatically open in the teacher's web browser. Select the class book that the teacher is updating.
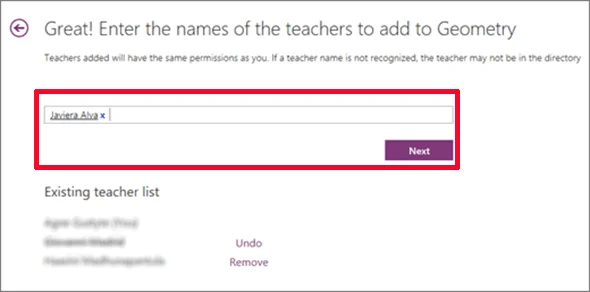
- Add teacher(s) by name or email address. Remove Add/Remove Teachers by selecting their name and clicking Remove

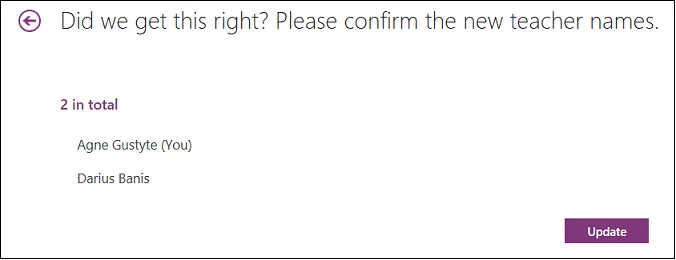
- Confirm the list of teachers with access to the teacher's classroom notebook

Teachers added by them will receive an email with a link to their notebook.
Add students to the Teacher's Class Notebook
To add students to the class book, the student needs an Office 365 account at the teacher's school before the teacher can add students to the notebook.
Teachers follow these steps:
- Open OneNote on your computer.
- Select the Class Notebook tab , then Add/Remove Students

OneNote for Mac : select the Class Notebook tab , then Manage Notebooks , and then Add/Remove Students .
- The Class Notebook Wizard will automatically open in the teacher's web browser. Select the notebook you want to update.
- Enter one or more student names, email addresses, or group names to add students to the notebook. List of hs separated by commas .

- Authenticate students with access to the teacher's class notebook.
- Click Update
Students you have added will receive an email with a link to their notebook.
Class Notebook Management
To manage other functions for the Teacher's Class Notebook, click the Manage Notebook button.

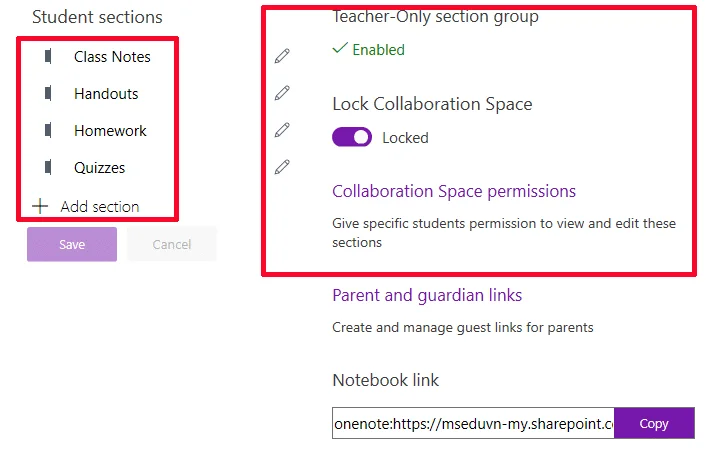
Class Notebook will display a page showing all the class notebooks created by the Teacher, as well as information for each customization.
Options include:
- Student Sections: Rename a student section — to rename any student section, click the little pencil icon, then type the new name of the section. Make sure to click save after renaming the student section.
- Student Sections: Add student sections — to distribute the new section to all students, click the Add Section button . Make sure to click save after adding the student sections.
- Teacher-Only section group is just a private space where only teachers can see what's inside. To add a teacher's own in the Teacher's Class Notebook, click Enable . Other teachers who have access to the Teacher's classroom notebook will also have access to the teacher-only section group, but students will not be able to see the content below.
- Lock Collaboration Space : Lock the collaboration space — this option allows the collaboration space to be changed to read-only (or locked) to prevent any students from editing. Teachers can turn this feature on/off at any time.
- Share link to Class Notebook — To send a Class Notebook link to Teacher's Class, select and copy the text in the Link box , and then paste it in the email.

What do teachers need to prepare?
- The Office 365 for Education subscription includes OneDrive for Business.
- School account grants (teacher) permission to use the OneNote Class Notebook app to create class notebooks.
- Teachers' students must have a school Office 365 account