SLES Boot Module Load Failure: Find the Driver and Fix It
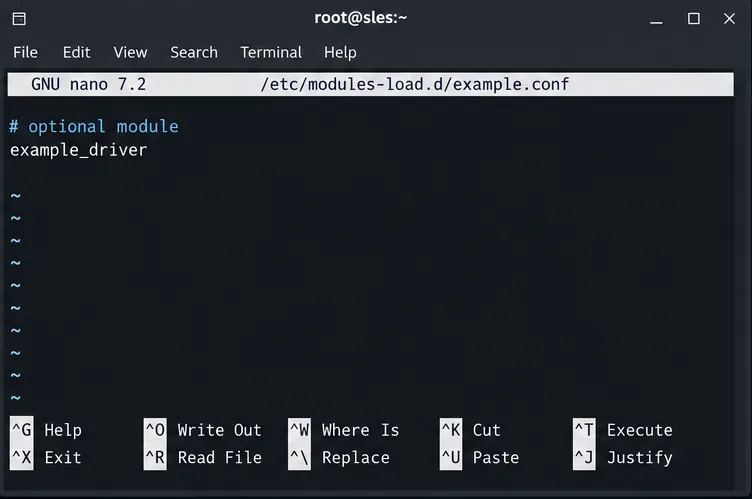
Trace a failed kernel module at SLES startup, correct an obsolete boot entry or repair the required driver, and verify the next boot.
I'm sure we clean our bodies every day but we don't pay attention to cleaning our iPhones, and maybe it's unnecessary.
However, if you do not clean your iPhone regularly, your iPhone will accumulate dust and bacteria over time. In particular, the speakers, charging port, video microphone, call microphone, screen and buttons will become dirty and can affect the use of your iPhone. If you want to clean your iPhone safely, follow the instructions below.
How to clean iPhone models from 11 to 15 Pro Max
The new iPhones have a premium matte glass finish on the back or around the camera. Over time, the matte glass on your iPhone may pick up marks from things that come into contact with your phone, like your jeans or items you keep in your pocket. These marks may look like scratches, but they can usually be wiped away with a slightly damp paper towel or cloth.
For iPhone 15 Pro and iPhone 15 Pro Max , sweat and oils from your skin can temporarily change the color of the outer edge. Simply wiping your iPhone with a soft, slightly damp cloth and a lint-free cleaning cloth will help restore its original appearance./
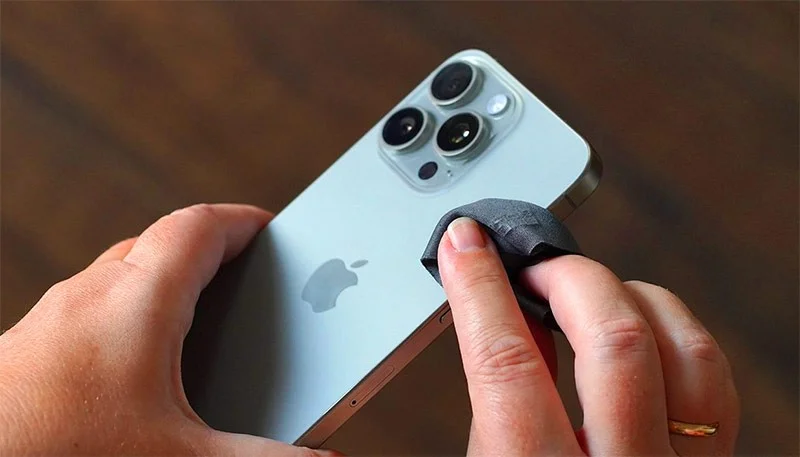
Clean your iPhone immediately if it comes into contact with anything that could cause stains or other damage — such as dust, dirt, sand, ink, cosmetics, soap, detergents, acids or acidic foods, or even lotions. Here's how to clean your iPhone:
Using a 70% isopropyl alcohol wipe, 75% ethyl alcohol wipe, or a regular paper towel that is not too damp, you can gently wipe the exterior surfaces of your iPhone. Do not use products containing bleach or hydrogen peroxide. Avoid getting alcohol or cleaning water into any openings, and do not submerge your iPhone in any cleaning agent.
Your iPhone has an oleophobic coating that repels oil, sweat, and fingerprints. Cleaning products and abrasive materials will degrade this coating and may scratch your iPhone more easily.
Cleaning from iPhone 7 to iPhone SE 2nd and 3rd generation
Includes: iPhone SE (2nd and 3rd generation), iPhone XS, iPhone XS Max , iPhone XR, iPhone X, iPhone 8, iPhone 8 Plus, iPhone 7, and iPhone 7 Plus.
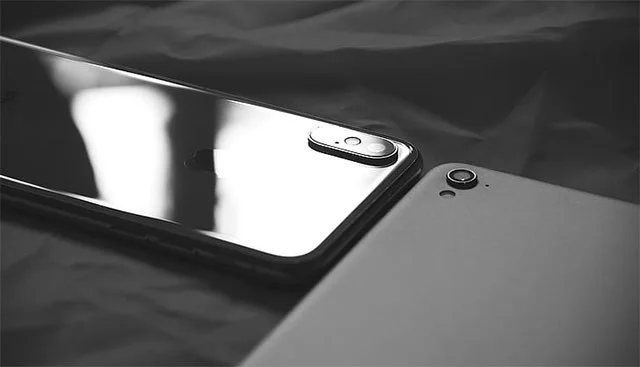
You should clean your iPhone immediately if it comes into contact with things that can easily stain or damage it, such as: dirt, sand, ink, cosmetics, soap, detergent, acids, acidic foods, or lotions.
Here are instructions for safely cleaning your iPhone:
Similar to the latest iPhone line, iPhone 7 to iPhone SE 2nd and 3rd generation all have an oleophobic coating that helps repel oil, sweat and fingerprints. So if you use cleaning products with strong detergents and abrasive materials, this coating will be reduced and can scratch your iPhone.
Cleaning iPhone 5s to iPhone SE 1st generation
Including: iPhone 6s, iPhone 6s Plus, iPhone 6, iPhone 6 Plus, iPhone SE (1st generation), iPhone 5s
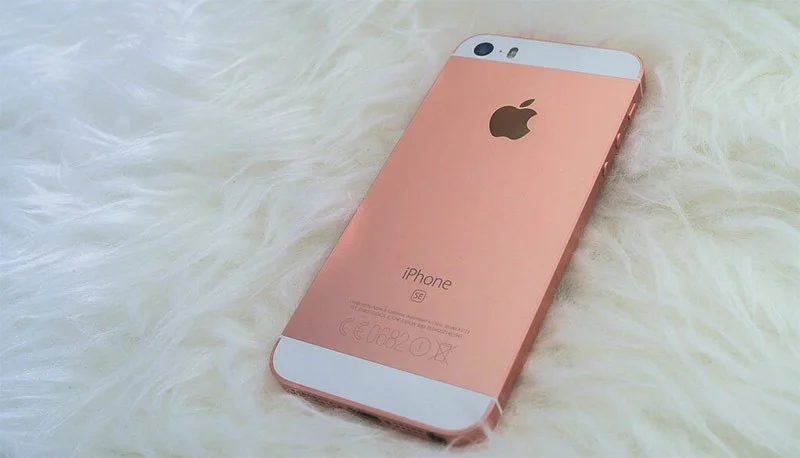
Similar to the iPhone models above, you need to clean your iPhone immediately if it gets dirty or stained, such as: ink, dyes, cosmetics, dirt, food, grease, and lotion.
Here are instructions for cleaning iPhones from 5s to iPhone SE 1:
Do not use harsh cleaning products or abrasive materials because, like the iPhone models above, from the iPhone 5s to the first generation iPhone SE, they are all coated with an oleophobic layer that helps prevent oil, sweat and fingerprints. For the Home button (if any), use a slightly damp soft cloth to clean it, helping the Touch ID fingerprint sensor work best.
Cleaning iPhone 5C
Although it is an iPhone finished in plastic, the steps for you to clean the iPhone 5C are no different from the iPhone lines above, even though the iPhone 5C uses a plastic back.
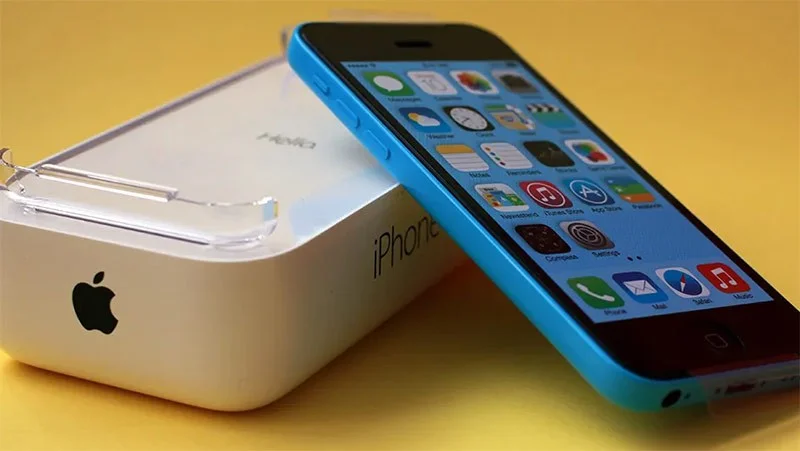
How to clean iPhone 5C
Also, to clean any dirt that may have accumulated around the SIM tray opening, use a soft, lint-free cloth and put a very small amount of rubbing alcohol on it. Very gently wipe the dirt away from the port opening and avoid getting any moisture in the opening.
Cleaning iPhone from iPhone 5 and below
The way to clean iPhone from iPhone 5 and below is no different from the iPhone lines above. You need to turn off the device, unplug the charger or all other cables connected to your iPhone, then choose a soft cloth, if you have a glass cleaning cloth, it is best. You can also use a soft toothbrush to clean dirt, speakers or charging ports.
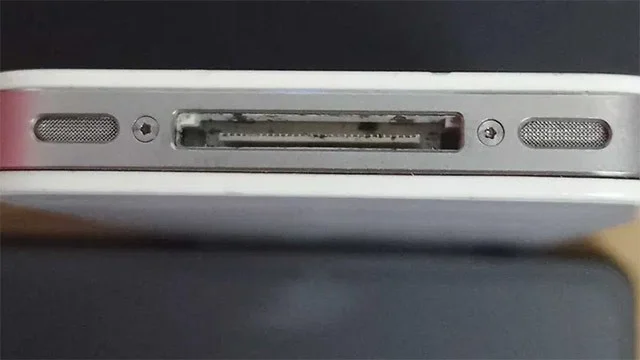
With the charging port from iPhone 4s and below, you should use a brush or tweezers to clean the charging port, because this charging port is larger than the lightning charging port, so it will often fall into a lot of dirt, fur, hair and even objects like toothpicks, thread... So they will often be more likely to be infested with foreign objects than the lightning charging port.
The charging port on the iPhone 4 series is a 30-pin port . This is a common charging port on Apple mobile devices since the first iPhone. The 30-pin port is flat and wide, with 30 metal pins to connect to the charging cable.
However, since the iPhone 5 launched in 2012, Apple has switched to using the proprietary Lightning charging port for its iOS devices. The Lightning port is more compact, easier to use, and can be plugged in on both sides, while the 30-pin port can only be plugged in on one side.
Hopefully the information that Quantrimang.com provides you in the above article will help you avoid mistakes when cleaning your iPhone.
Trace a failed kernel module at SLES startup, correct an obsolete boot entry or repair the required driver, and verify the next boot.
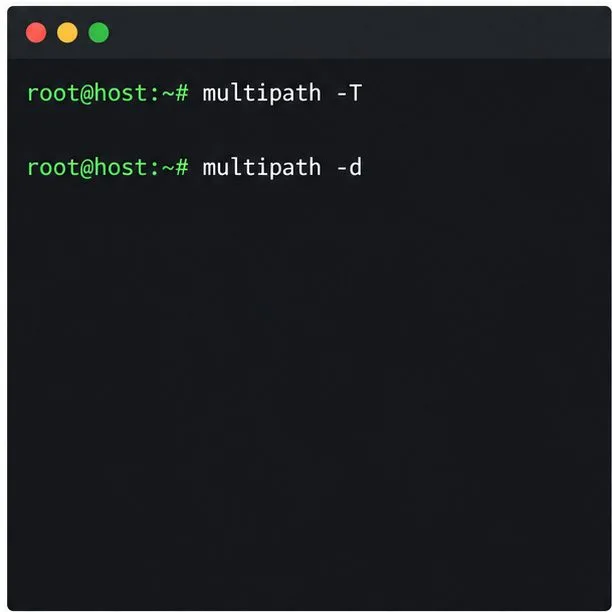
Prepare SCSI SAN paths, enable multipathd, inspect SUSE’s hardware defaults, and verify stable device maps without guessing array settings.
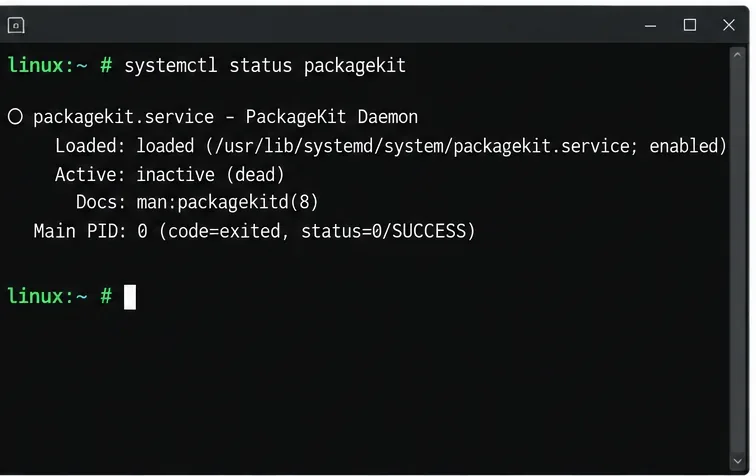
Find the process holding Zypper’s package lock, distinguish process conflicts from package locks, and retry updates without deleting lock files blindly.
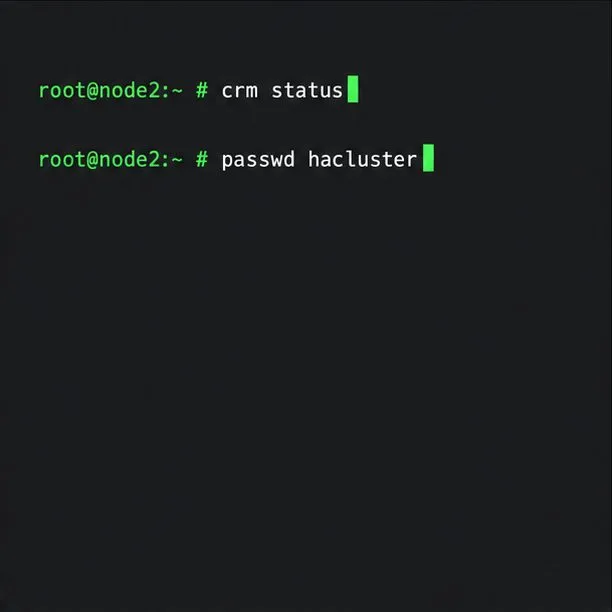
Register SLE HA, bootstrap SLES 15 nodes, then add fencing, quorum, and tested service resources before relying on failover.
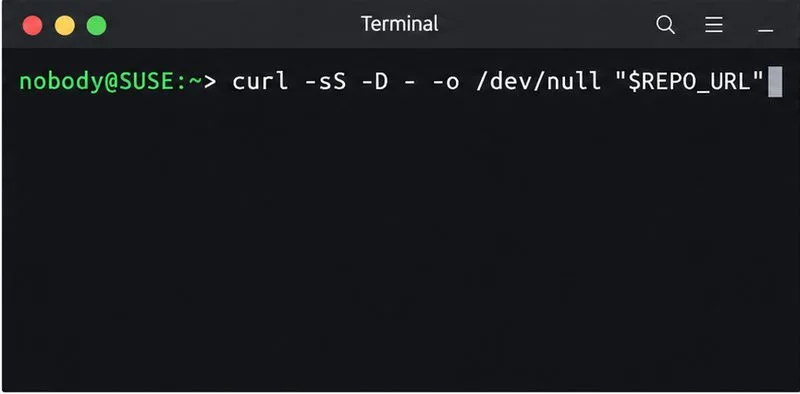
Trace a Zypper refresh error to SUSE, RMT, or a third-party endpoint, then apply the right server-side or cache fix without disabling essential updates.
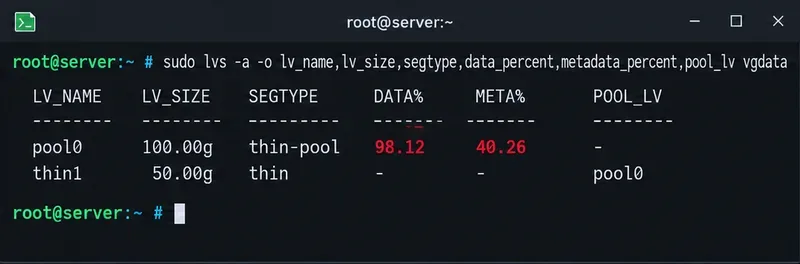
Resolve SUSE LVM thin-pool space errors by checking data and metadata usage, expanding the pool safely, and preventing repeat outages.
Identify whether Btrfs is intentionally read-only, short on space, or protecting data after errors, then choose a recovery path that fits the cause.
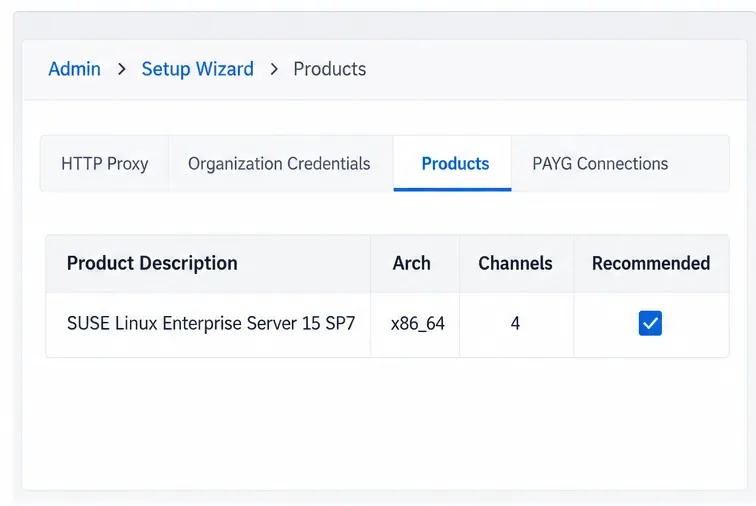
Prepare mirrored channels, create an activation key, and bootstrap an SLES 15 client without direct internet access while preserving the connection needed for Manager check-ins.
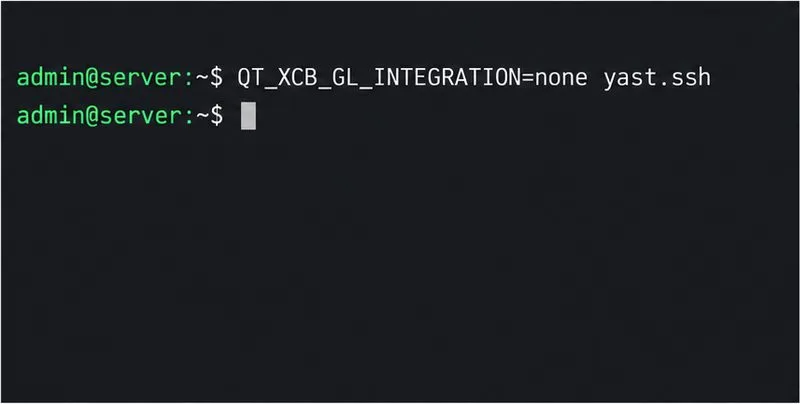
Fix YaST’s XIO launch error over SSH, verify X11 forwarding and xauth, and switch to the ncurses interface when a remote window is unnecessary.
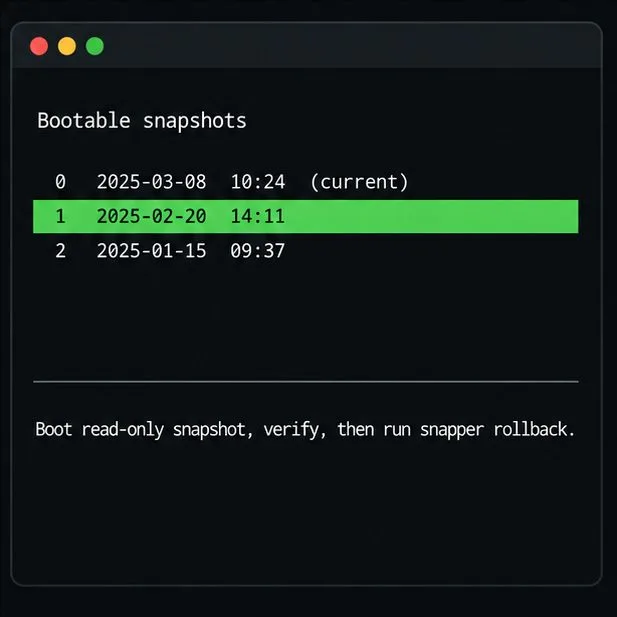
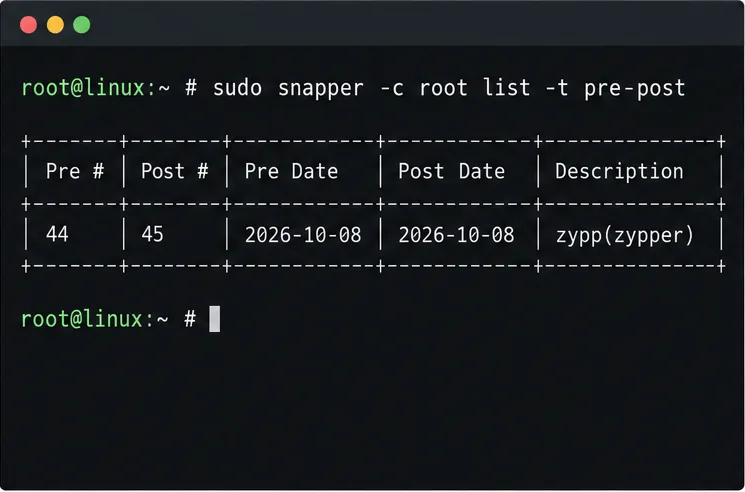
Find the pre-update Btrfs snapshot, test it read-only, and make recovery permanent with Snapper while understanding which data stays outside the root rollback.