Remote Desktop Protocol (RPD), or Remote Desktop, is a feature that has been integrated into Windows since Windows XP Pro, and plays an important role in the user experience on the operating system. Remote Desktop allows users to easily connect to and control another Windows computer or device remotely, extremely convenient.
This article will guide you how to enable and use Remote Desktop on Windows 11.
How does Remote Desktop work?
As mentioned, you can use the built-in Remote Desktop feature in Windows 11 to connect and access your computer using a remote access tool. Once the connection is established, you can perform simple tasks such as checking your download list, installing applications, or even copying files from your computer with ease. With Remote Desktop, you can even access and manage your Windows computer remotely using just a smartphone.
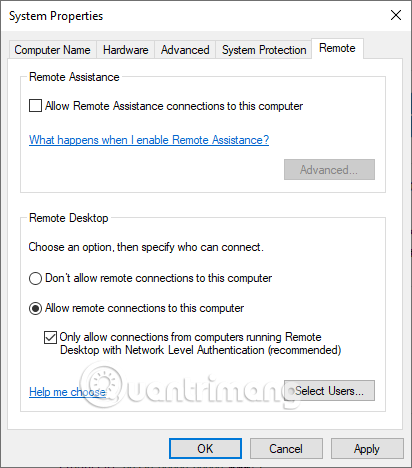
However, we recommend that you only use Remote Desktop on your home network, with Network Level Authentication acting as a secure layer of login security at the network level. You will need to use your Windows user account password to authenticate yourself before you can access the remote computer. This is a security requirement.
( Warning : You should not share the Remote Desktop service directly to the internet. Microsoft recommends that users set up their own VPN if they want to access Remote Desktop from a local network).
Enable Remote Desktop on Windows 11
First, launch the Settings app by clicking the “ Start ” button on the taskbar and selecting “ Settings ” from the menu that appears. Alternatively, you can also press the Windows + i key combination to quickly access the Settings app.
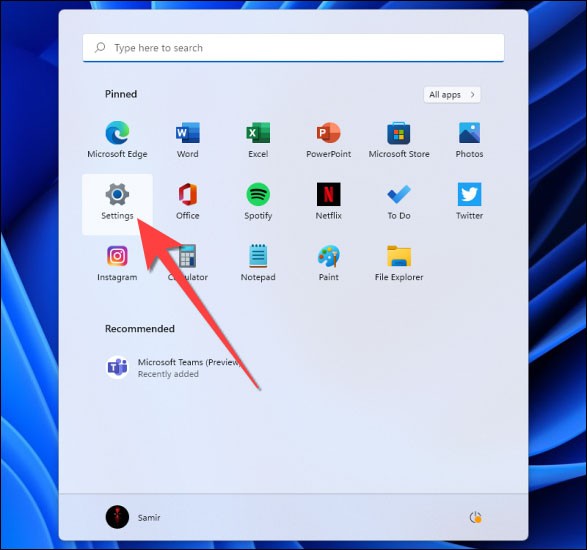
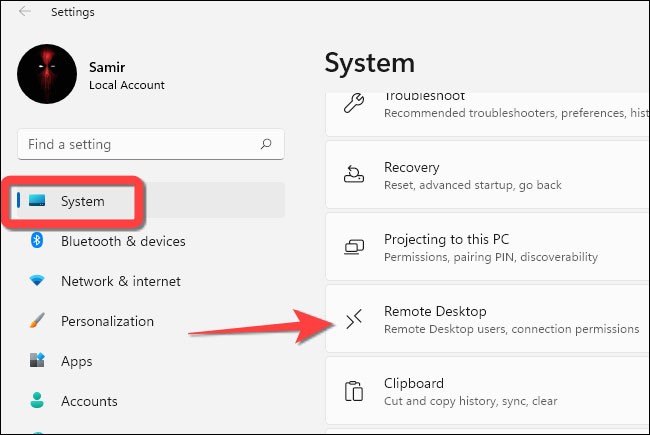
On the Settings interface that opens, click on “ System ” in the list on the left side of the screen. Then, look to the right and select “ Remote Desktop ”.
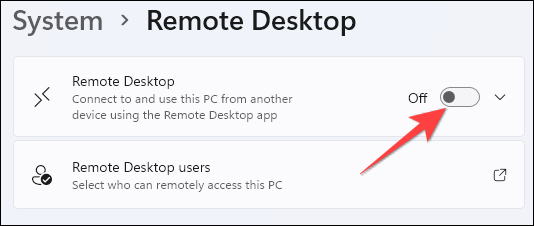
Next, click on the toggle switch to the right of the “ Remote Desktop ” option to turn it to “ On ” state .
The User Account Control (UAC) warning window will immediately appear. Click the “ Confirm ” button to confirm the request to enable Remote Desktop.

Next, click the drop-down button next to the Remote Desktop toggle switch.
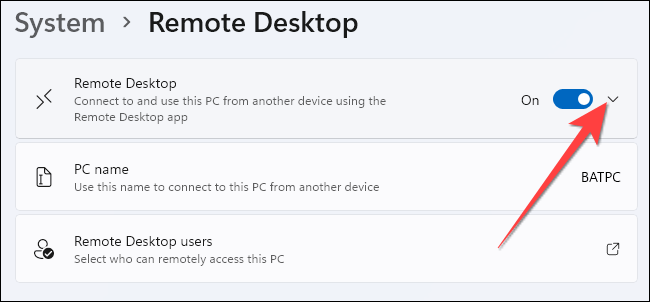
Check the box next to “ Require devices to use Network Level Authentication Connect (Recommended) ”. You will then need to provide the remote PC’s Windows user account password to authenticate yourself on the local network. Only after the authentication process is successful will the Windows login screen appear.
Click “ Yes ” on the UAC window that appears, and click “ Confirm ” to enable this additional layer of security for using Remote Desktop.

Use Remote Desktop application to access PC
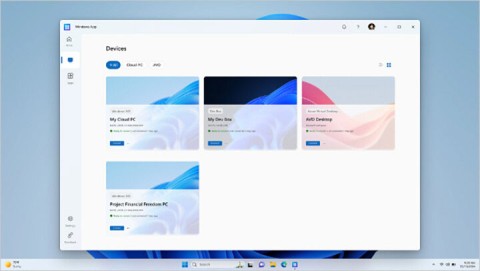
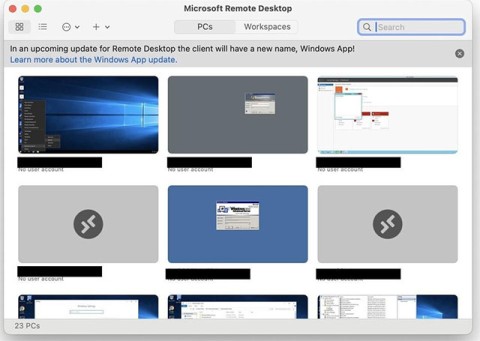
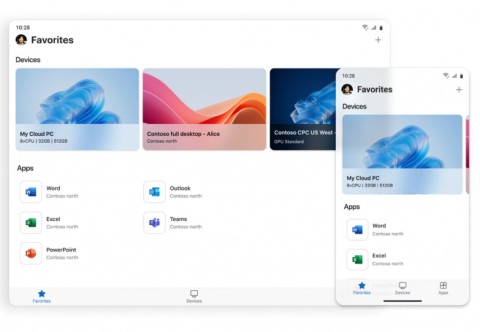
In general, you can try any of the free remote access tools to use your Windows 11 PC remotely. But only a few have mobile apps. This example will demonstrate how to access Remote Desktop using the Microsoft Remote Desktop app, developed by Microsoft itself and available on Windows , macOS , Android , iPhone , and iPad .
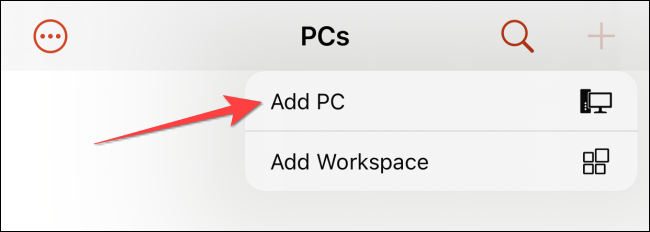
After successfully downloading and installing the Microsoft Remote Desktop application on the device you use to access, such as the iPhone in this example, you launch it and tap the plus (+) icon in the top right corner.
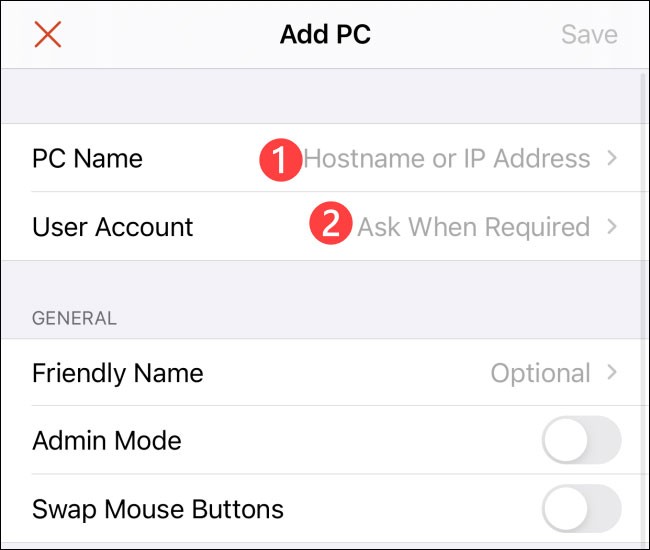
Then, enter the PC name and Windows user account details you want to access. Next, you can enable options like “ Clipboard ”, “ Microphone ”, “ Storage ”, and a few others.
Click “ Save ” in the upper right corner to save all changes.
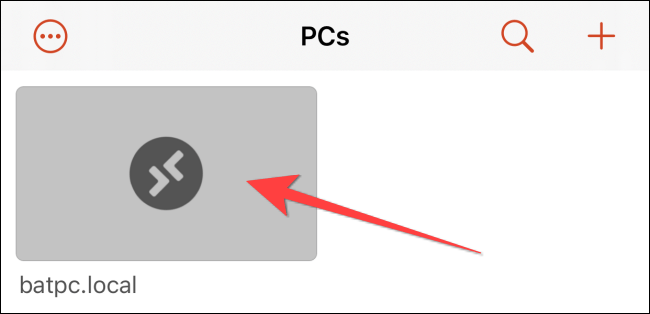
Now, simply click on the card with the name of the PC you want to access to start a Remote Desktop connection session.
Remember to turn off Remote Desktop when you don't need to use it. Good luck!
