Instructions for using Macro Recorder in the latest NoxPlayer

In the recent update, the famous emulator NoxPlayer 6.2.6.3 has improved performance, compatibility, and optimized some details in macro recording and other multi-version management tools to provide Gives better game experience to players.

Use the new Macro Recorder to record the activities to review as follows:

  • Step 1: Click " Record " to start recording.
  • Step 2: It automatically shrinks to the top of the emulator window and records activities such as mouse clicks, slideshows, keyboard clicks.
  • Step 3: After stopping the recording, the script is automatically saved to the current list.

For <Shake> recording function, please use the shortcut key to enter, clicking on <shake> will not be recorded.

Instructions for using Macro Recorder in the latest NoxPlayer

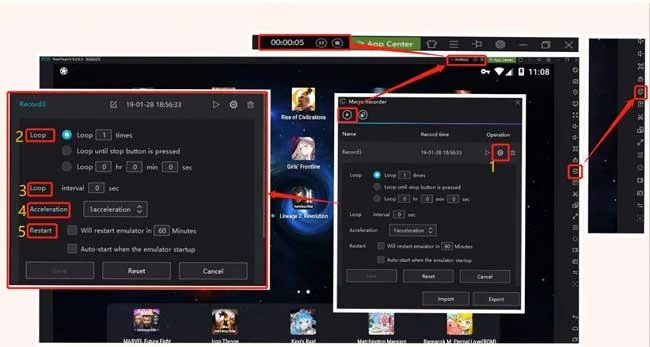
Advanced settings

1. Click to open advanced settings.

2. Loop

  • Select the number of executions.
  • Repeat continuously until the user clicks the stop button.
  • Extended operation time.

3. Set the script execution time interval.
4. Increase the script execution speed (speed 0.5 - 8x).
5. Restart

  • The emulator setup time is automatically restarted.
  • The script setting automatically restarts when the emulator is opened.

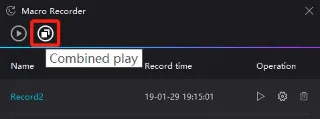
Merging scripts

  • Click the "Combined Play" button

Instructions for using Macro Recorder in the latest NoxPlayer

Instructions for using Macro Recorder in the latest NoxPlayer

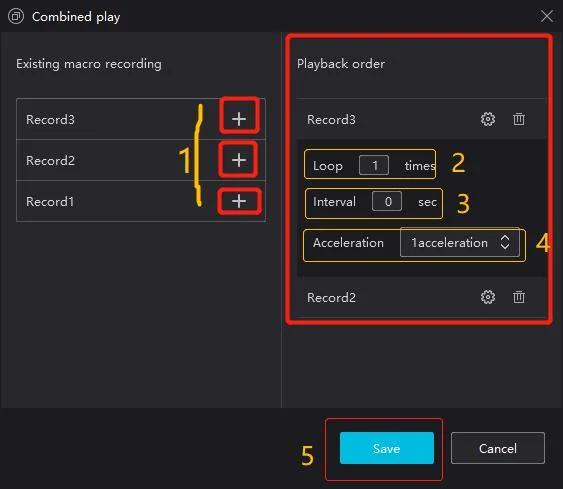
  1. Click " + " to add the playback items in order. Add / set each script.
  2. Select the number of executions.
  3. Set the interval between each script execution.
  4. Speed ​​up script execution (0.5 - 8x).
  5. Finally, click " Save " to automatically add the aggregated script to the operation help list.

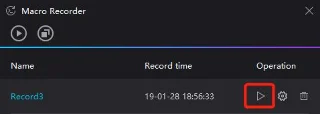
Execute script

Instructions for using Macro Recorder in the latest NoxPlayer

When the script is executed, it automatically shrinks to the top of the screen window and displays the number of executions.

Instructions for using Macro Recorder in the latest NoxPlayer

After performing the iteration, the operation assistant will automatically stop execution. The user can also click the stop button to cancel execution.

Optimize the interface and new features for the new version of the multi-version manager and emulator

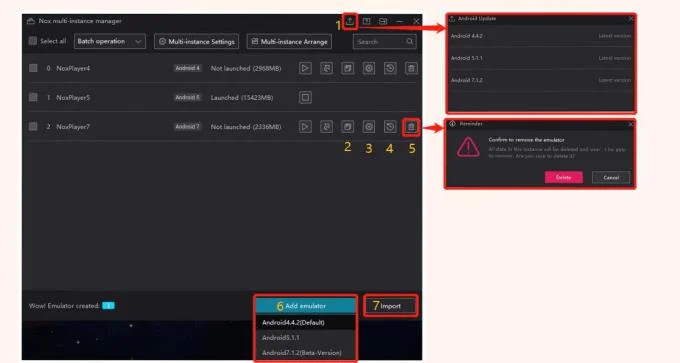
Adjust the multi-version management interface

Instructions for using Macro Recorder in the latest NoxPlayer

New interface button

  • Add a standalone window " Android upgrade ": Update status more clearly.
  • Independent copy button to simplify version copying process.
  • The " Settings " button allows the user to pre-set parameters such as display simulator, rate analysis in multi-version manager.
  • Independent " Backup " button helps you develop backup habits.
  • Delete the version, the secondary pop-up window ensures that the user does not delete the wrong version.
  • Adjust the " Add emulator " interface to remove redundant options, the default is only 5.1.1, 4.4.2 and 7.1.2 (experimental).
  • One click " Import " to restore data and backup operations.

New features and adjustment of the emulator interface

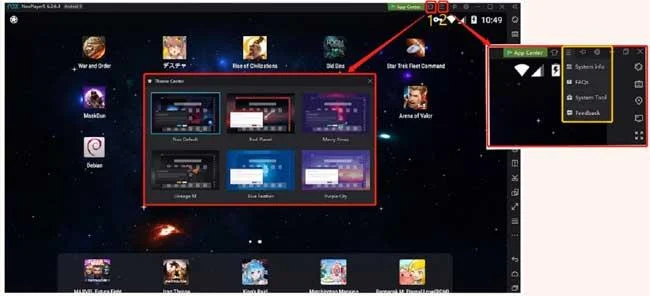
Window simulator

Instructions for using Macro Recorder in the latest NoxPlayer

  1. Interface center now supports one-click interface replacement.
  2. Adjust the drop down menu button.

System installation

Instructions for using Macro Recorder in the latest NoxPlayer

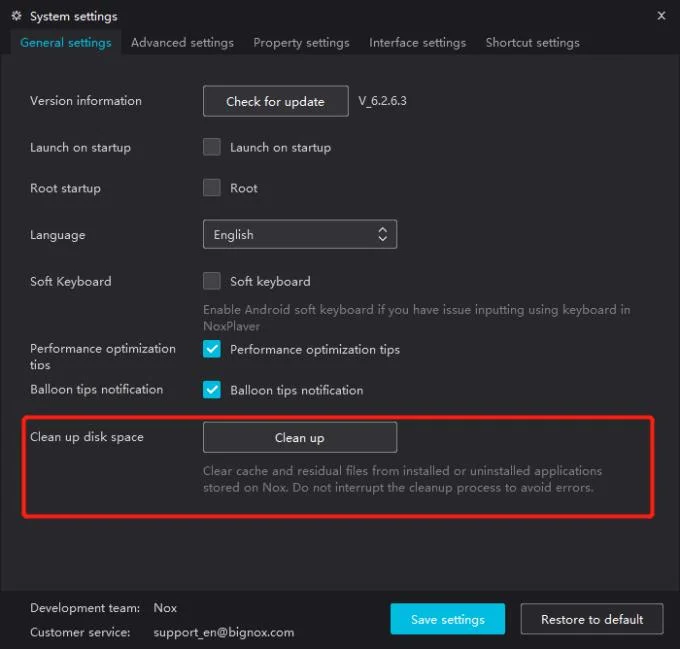
Adjust the original disk space cleanup option in the multi-version manager under "System Settings" -> "General Settings" .

Instructions for using Macro Recorder in the latest NoxPlayer

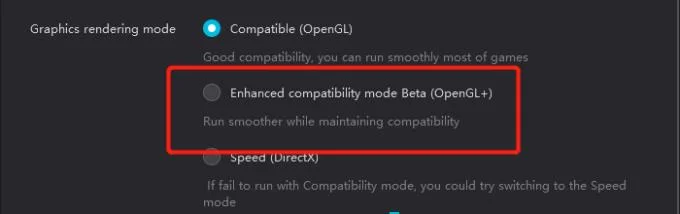
"System Settings" -> "Advanced Settings" has added the "Enhanced Compatibility Mode Beta (OpenGL +)" display mode to run smoother while maintaining game compatibility.

Instructions for using Macro Recorder in the latest NoxPlayer

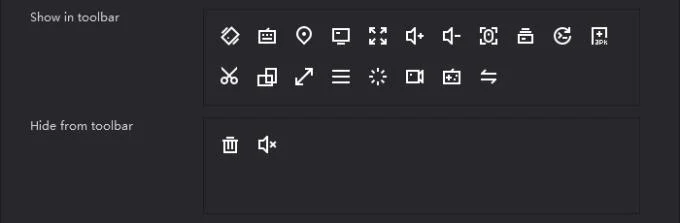
The function buttons of the main control panel are located in "System Settings" -> "Interface Settings" which supports click to show or not to display on the main control panel; No need to drag icons, simplify the operation process.

Leave a Comment

Deploy Shared Pardus Wallpapers and Policies with Lider Ahenk
Deploy Shared Pardus Wallpapers and Policies with Lider Ahenk

Distribute a custom wallpaper to Pardus clients, configure Xfce or GNOME desktops, and apply Lider Ahenk user policies with safe pilot checks.

Get Higher Resolutions in a Pardus 23 KVM Guest

Get Higher Resolutions in a Pardus 23 KVM Guest

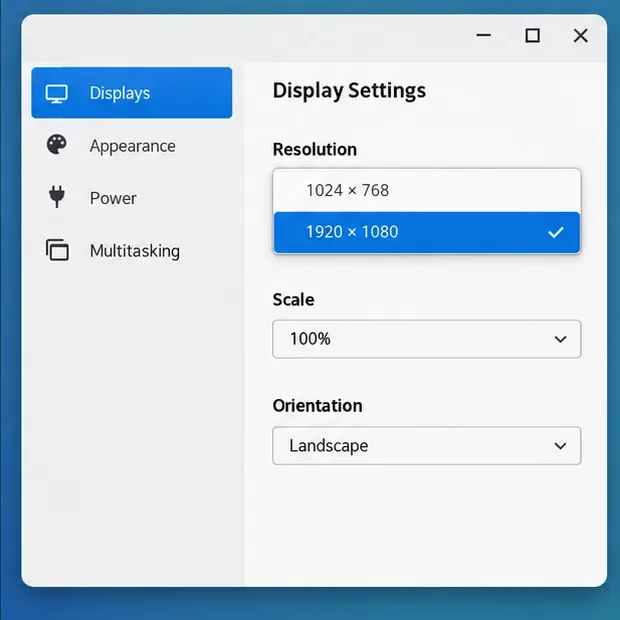
Fix a 1024 × 768 ceiling by checking SPICE, virtual video, the guest channel, and spice-vdagent—with safe checks when Pardus lacks a package candidate.

Deploy LIDER AHENK on Pardus and Enroll Your First Clients

Deploy LIDER AHENK on Pardus and Enroll Your First Clients

Set up the Lider server, configure its installer safely, register Ahenk endpoints, and verify a pilot before expanding central management.

Create a Pardus 23 Live USB on Windows with Rufus

Create a Pardus 23 Live USB on Windows with Rufus

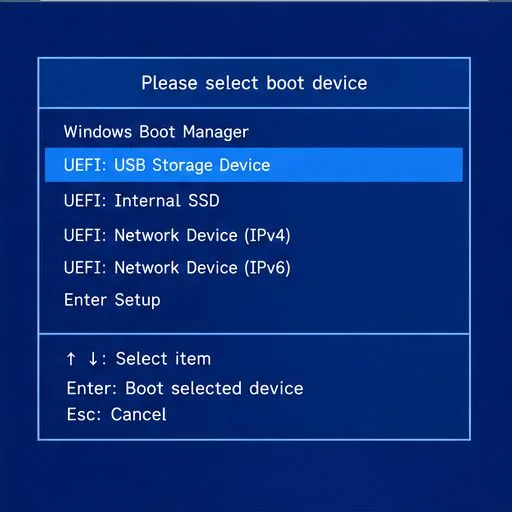
Download the official Pardus 23 desktop ISO, write it safely with Rufus, and boot a Windows PC into a temporary Live session.

Pardus 23 Sound Card Missing? Check ALSA and Restore Audio

Pardus 23 Sound Card Missing? Check ALSA and Restore Audio

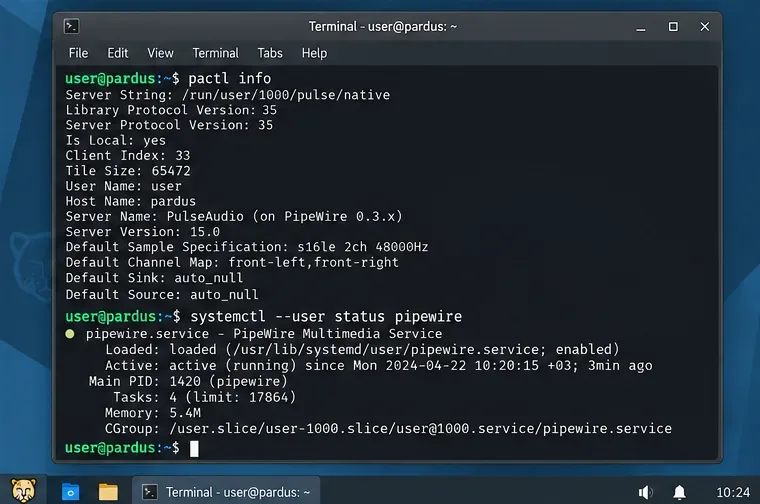
Find out why Pardus 23 cannot detect your sound card, then use targeted ALSA, firmware, and PipeWire or PulseAudio checks to restore playback.

Back Up and Restore HamoniKR Settings Without Missing Hidden Files

Back Up and Restore HamoniKR Settings Without Missing Hidden Files

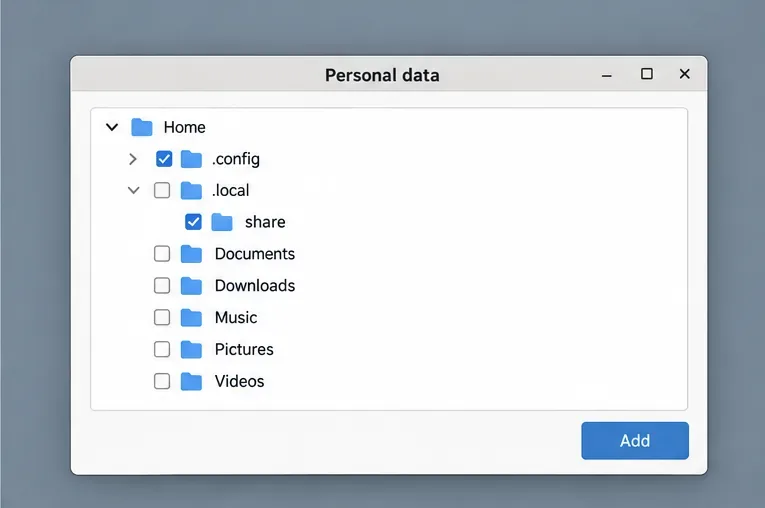
Save HamoniKR preferences to external storage, include hidden home folders, and choose a safe restore mode when moving to a fresh installation.

Set Up Secure RDP Access to a Pardus Xfce Desktop

Set Up Secure RDP Access to a Pardus Xfce Desktop

Install and configure xrdp on Pardus, choose the right Xfce session, restrict network access, and verify that remote login works.

Pardus 23 APT Errors: Check DNS and the yirmiuc Repositories

Pardus 23 APT Errors: Check DNS and the yirmiuc Repositories

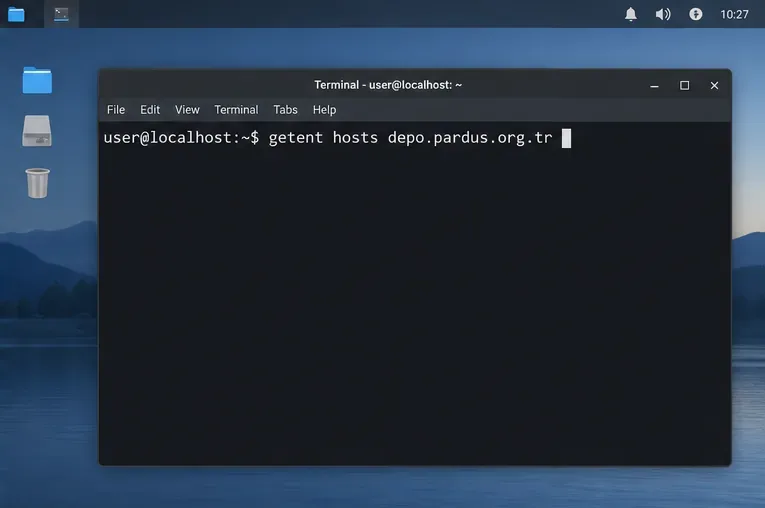
Diagnose Pardus 23 APT connection failures, confirm the official yirmiuc sources, and restore apt update without bypassing package signature checks.

Configure USB and Network Printers with CUPS on Harmonica OS

Configure USB and Network Printers with CUPS on Harmonica OS

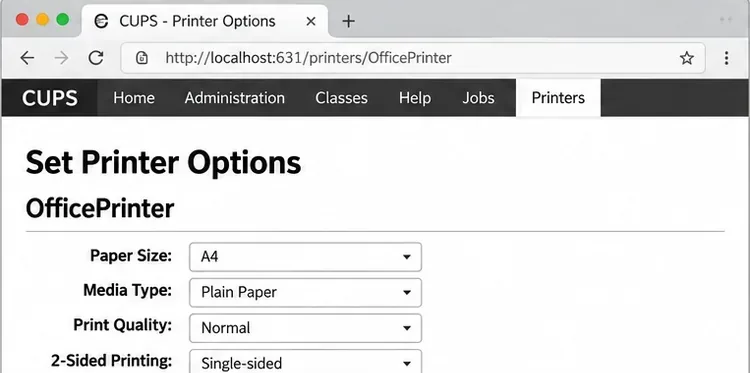
Configure printers on Harmonica OS using CUPS, compare driverless IPP with legacy drivers, and verify USB or network printing with a test page.

Reset a Forgotten Root Password on Harmonica OS with GRUB Recovery

Reset a Forgotten Root Password on Harmonica OS with GRUB Recovery

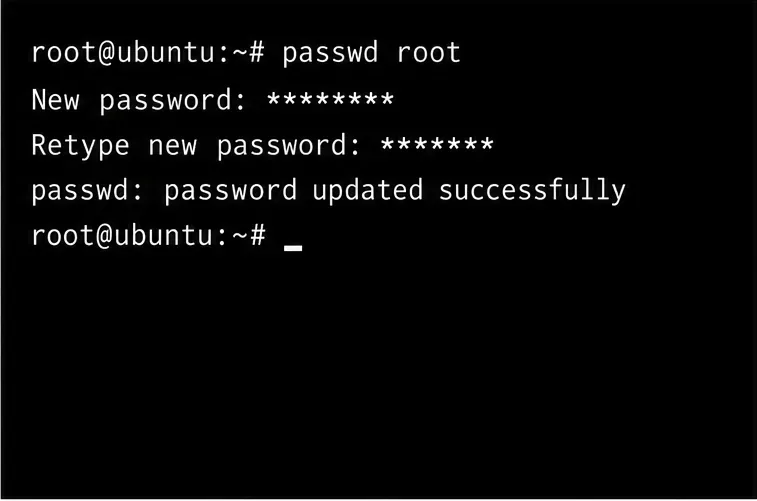
Use a recovery shell to set a new Harmonica OS root password, with checks for encrypted disks, read-only filesystems, and accounts that use sudo.