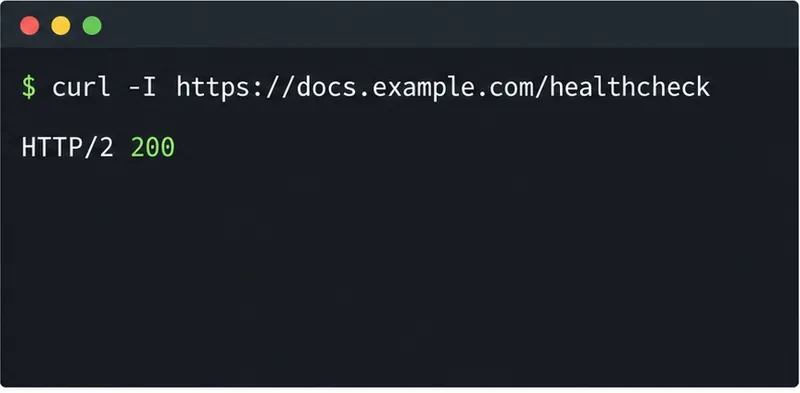
Configure HTTPS for ONLYOFFICE Docs in Docker
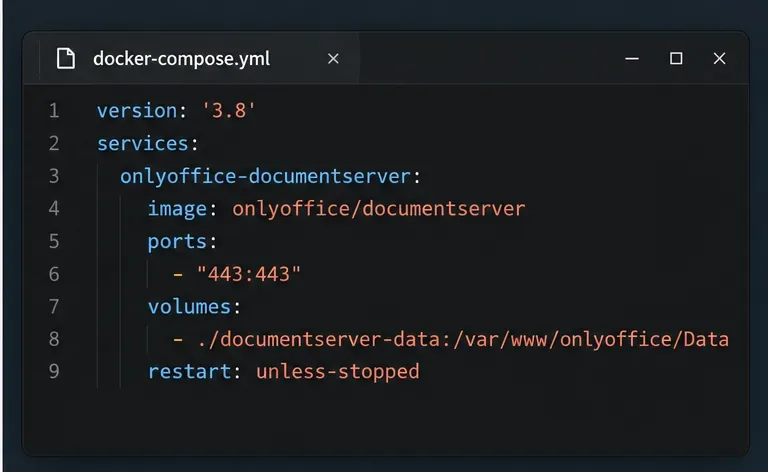
Choose where TLS should terminate, mount a trusted certificate and private key safely, and verify HTTPS access to a Dockerized ONLYOFFICE Docs server.
Sometimes, while using TeamViewer you want to be in incognito mode so that other TeamViewer users cannot keep track of what they are doing. As a result, you can experience a private and comfortable computing experience. Here, download.com.vn will share how to turn off online mode on TeamViewer with just a few simple steps below. Please follow along with the article below!
First, you need to open TeamViewer and the interface of the program will appear as shown below:
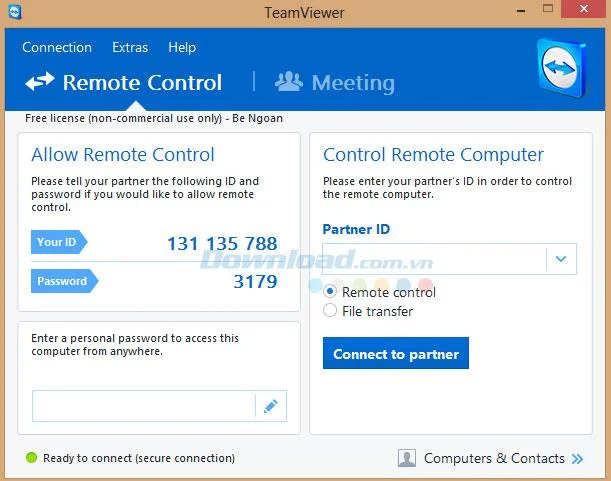
Then access the Extras menu , select Options .
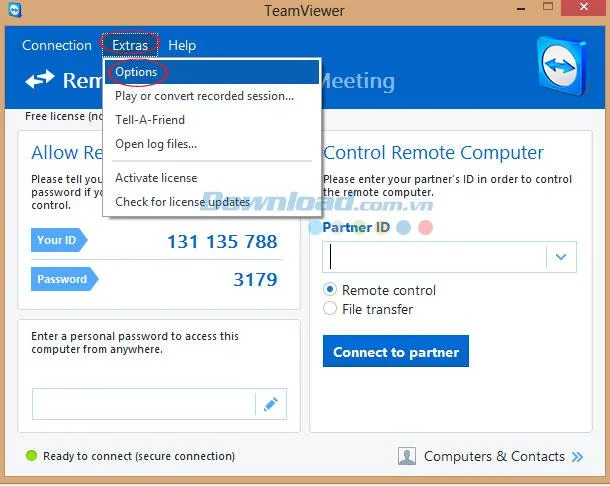
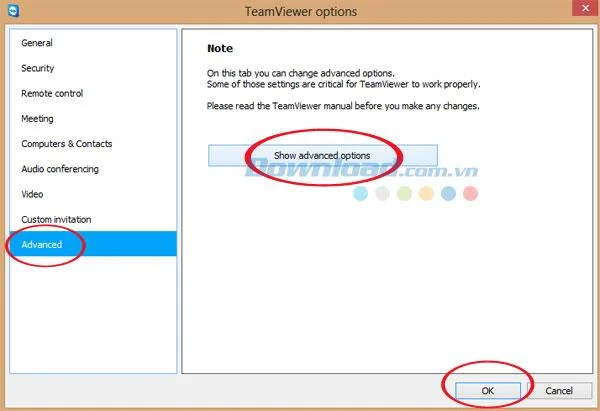
Next, in the Options window , please select Advanced on the bottom left of the interface. Then, select Show advanced options to change the advanced options , then click Ok to continue.
Next, click on the Hide online status for this TeamViewer ID box , and then click OK .
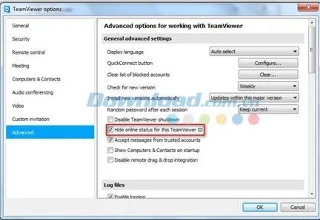
So you've just completed the process of hiding online status on TeamViewer quite easily. After enabling Hide online status for this TeamViewer ID , your TeamViewer will be completely anonymous on the Computer & Contract list .
This will help you avoid the hassle of not participating in virtual meetings or when the server connects and takes control of your computer. In addition, you can restore the online status of TeamViewer easily by following the steps above.
Hopefully this tutorial will help you learn how to turn off online status on TeamViewer .
Choose where TLS should terminate, mount a trusted certificate and private key safely, and verify HTTPS access to a Dockerized ONLYOFFICE Docs server.
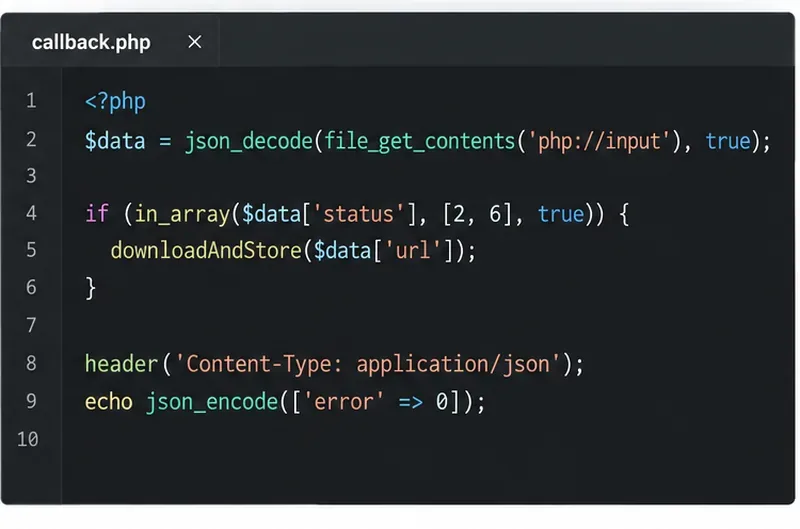
Embed the ONLYOFFICE editor in your PHP app, sign its configuration with JWT, and save edited files through a secure callback.
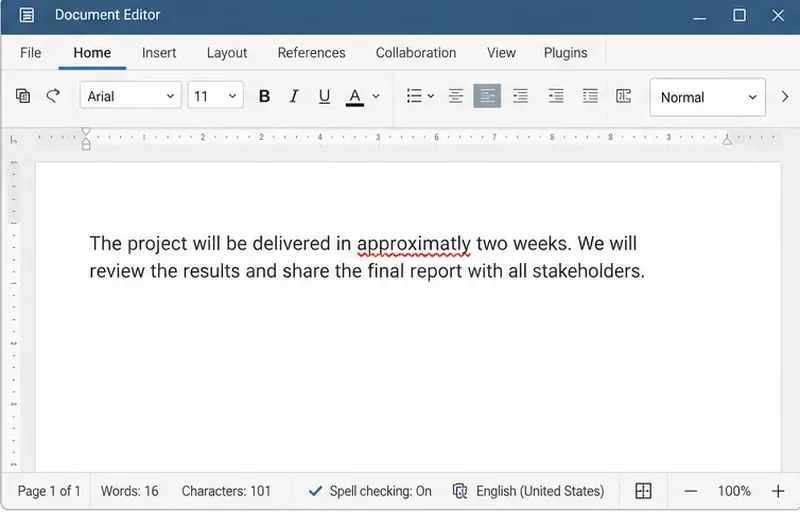
Set the proofing language for the whole document or selected text, confirm spell checking is active, and identify when a server dictionary is missing.
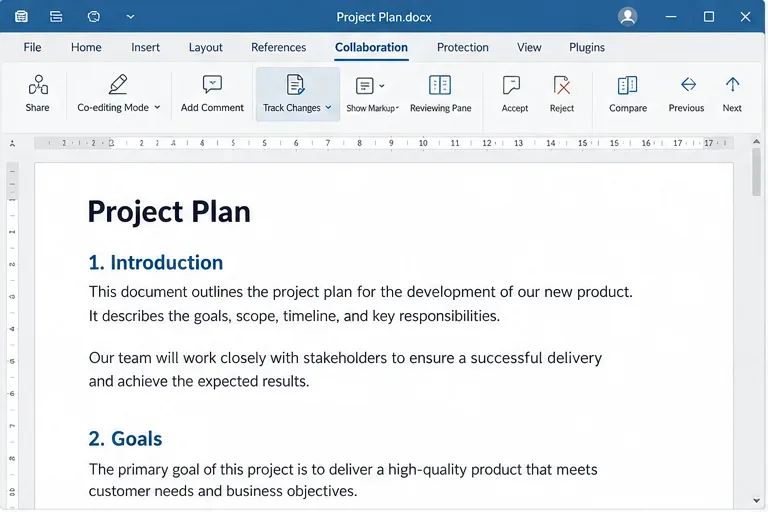
Enable persistent Track Changes for everyone in one ONLYOFFICE document, verify edits are recorded, and understand the limits of this setting.
Find whether Nginx, Docker networking, or an internal ONLYOFFICE service is returning 502, then verify the corrected upstream and health check.
Diagnose failed ONLYOFFICE saves by checking the Nextcloud callback route, proxy redirects, and storage logs, then verify the edited file persists.
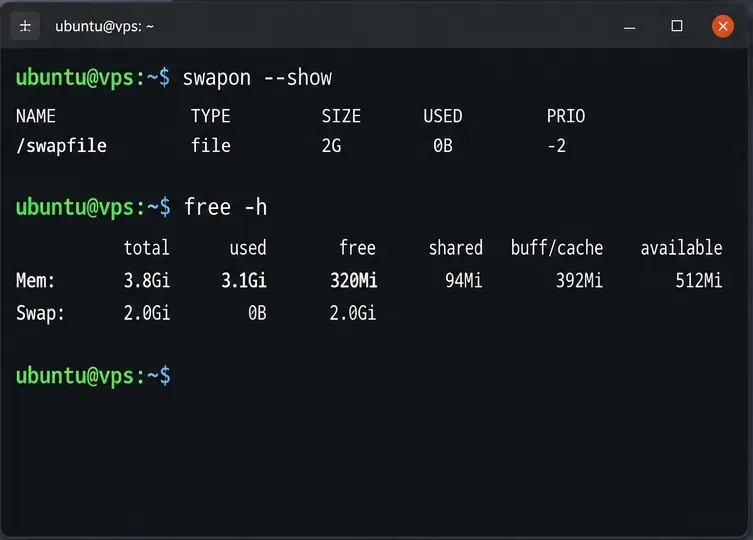
Find the cause of ONLYOFFICE memory crashes, check Docker limits, size VPS RAM correctly, add swap safely, and verify that documents open and save.
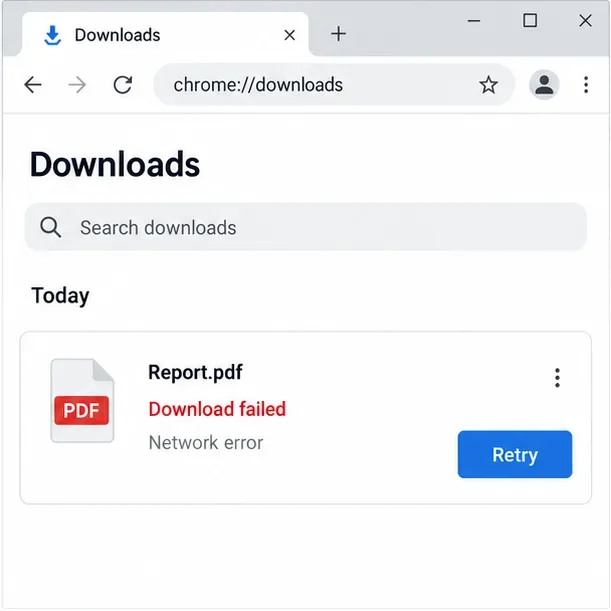
Separate browser download problems from server-side conversion errors and use the right log or access check to get your PDF export working.
Match the JWT secret used by ONLYOFFICE Docs and Nextcloud, apply it safely for Docker or Linux installs, and verify the connection without weakening authentication.
Install ONLYOFFICE Workspace Community on Ubuntu 24.04 with the official Docker script, check server requirements, skip Mail if needed, and verify the portal safely.